

Z-Anime: Create Studio-Quality Anime Naturally in Seconds Locally
This anime has been created from a simple text prompt by using an AI model. Anime has been stealing our hearts for over 60 years. From the magical worlds of Studio Ghibli to the epic battles of modern hits like Jujutsu Kaisen, it is all about bold characters, breathtaking visuals, and pure imagination.
AI is completely changing the game, letting anyone create stunning anime art in seconds instead of waiting months for an artist. I have covered a lot of anime models and this new model, Z-Anime, stands out for its rich style and diversity. I will install it locally, generate multiple styles, run it around 8 GB of VRAM, and explain how it was made in simple words.
Z-Anime overview
What exactly is this model. An indie developer took Alibaba's strong 6 billion parameters Z Image Base Model and did a full fine tune from the ground up. It was retrained on high quality anime art, turning it into an anime focused model while keeping strengths like great prompt understanding and creative freedom.
Let us see how successful that creator was. I will walk through local setup and generation. Then I will share a few prompts and results with upscaling.
Read More: Google Ai Studio
Z-Anime local setup
ComfyUI is a powerful node based interface for running AI image generation models like Z-Anime. I am assuming you already have ComfyUI running and loaded. If not, install ComfyUI first.
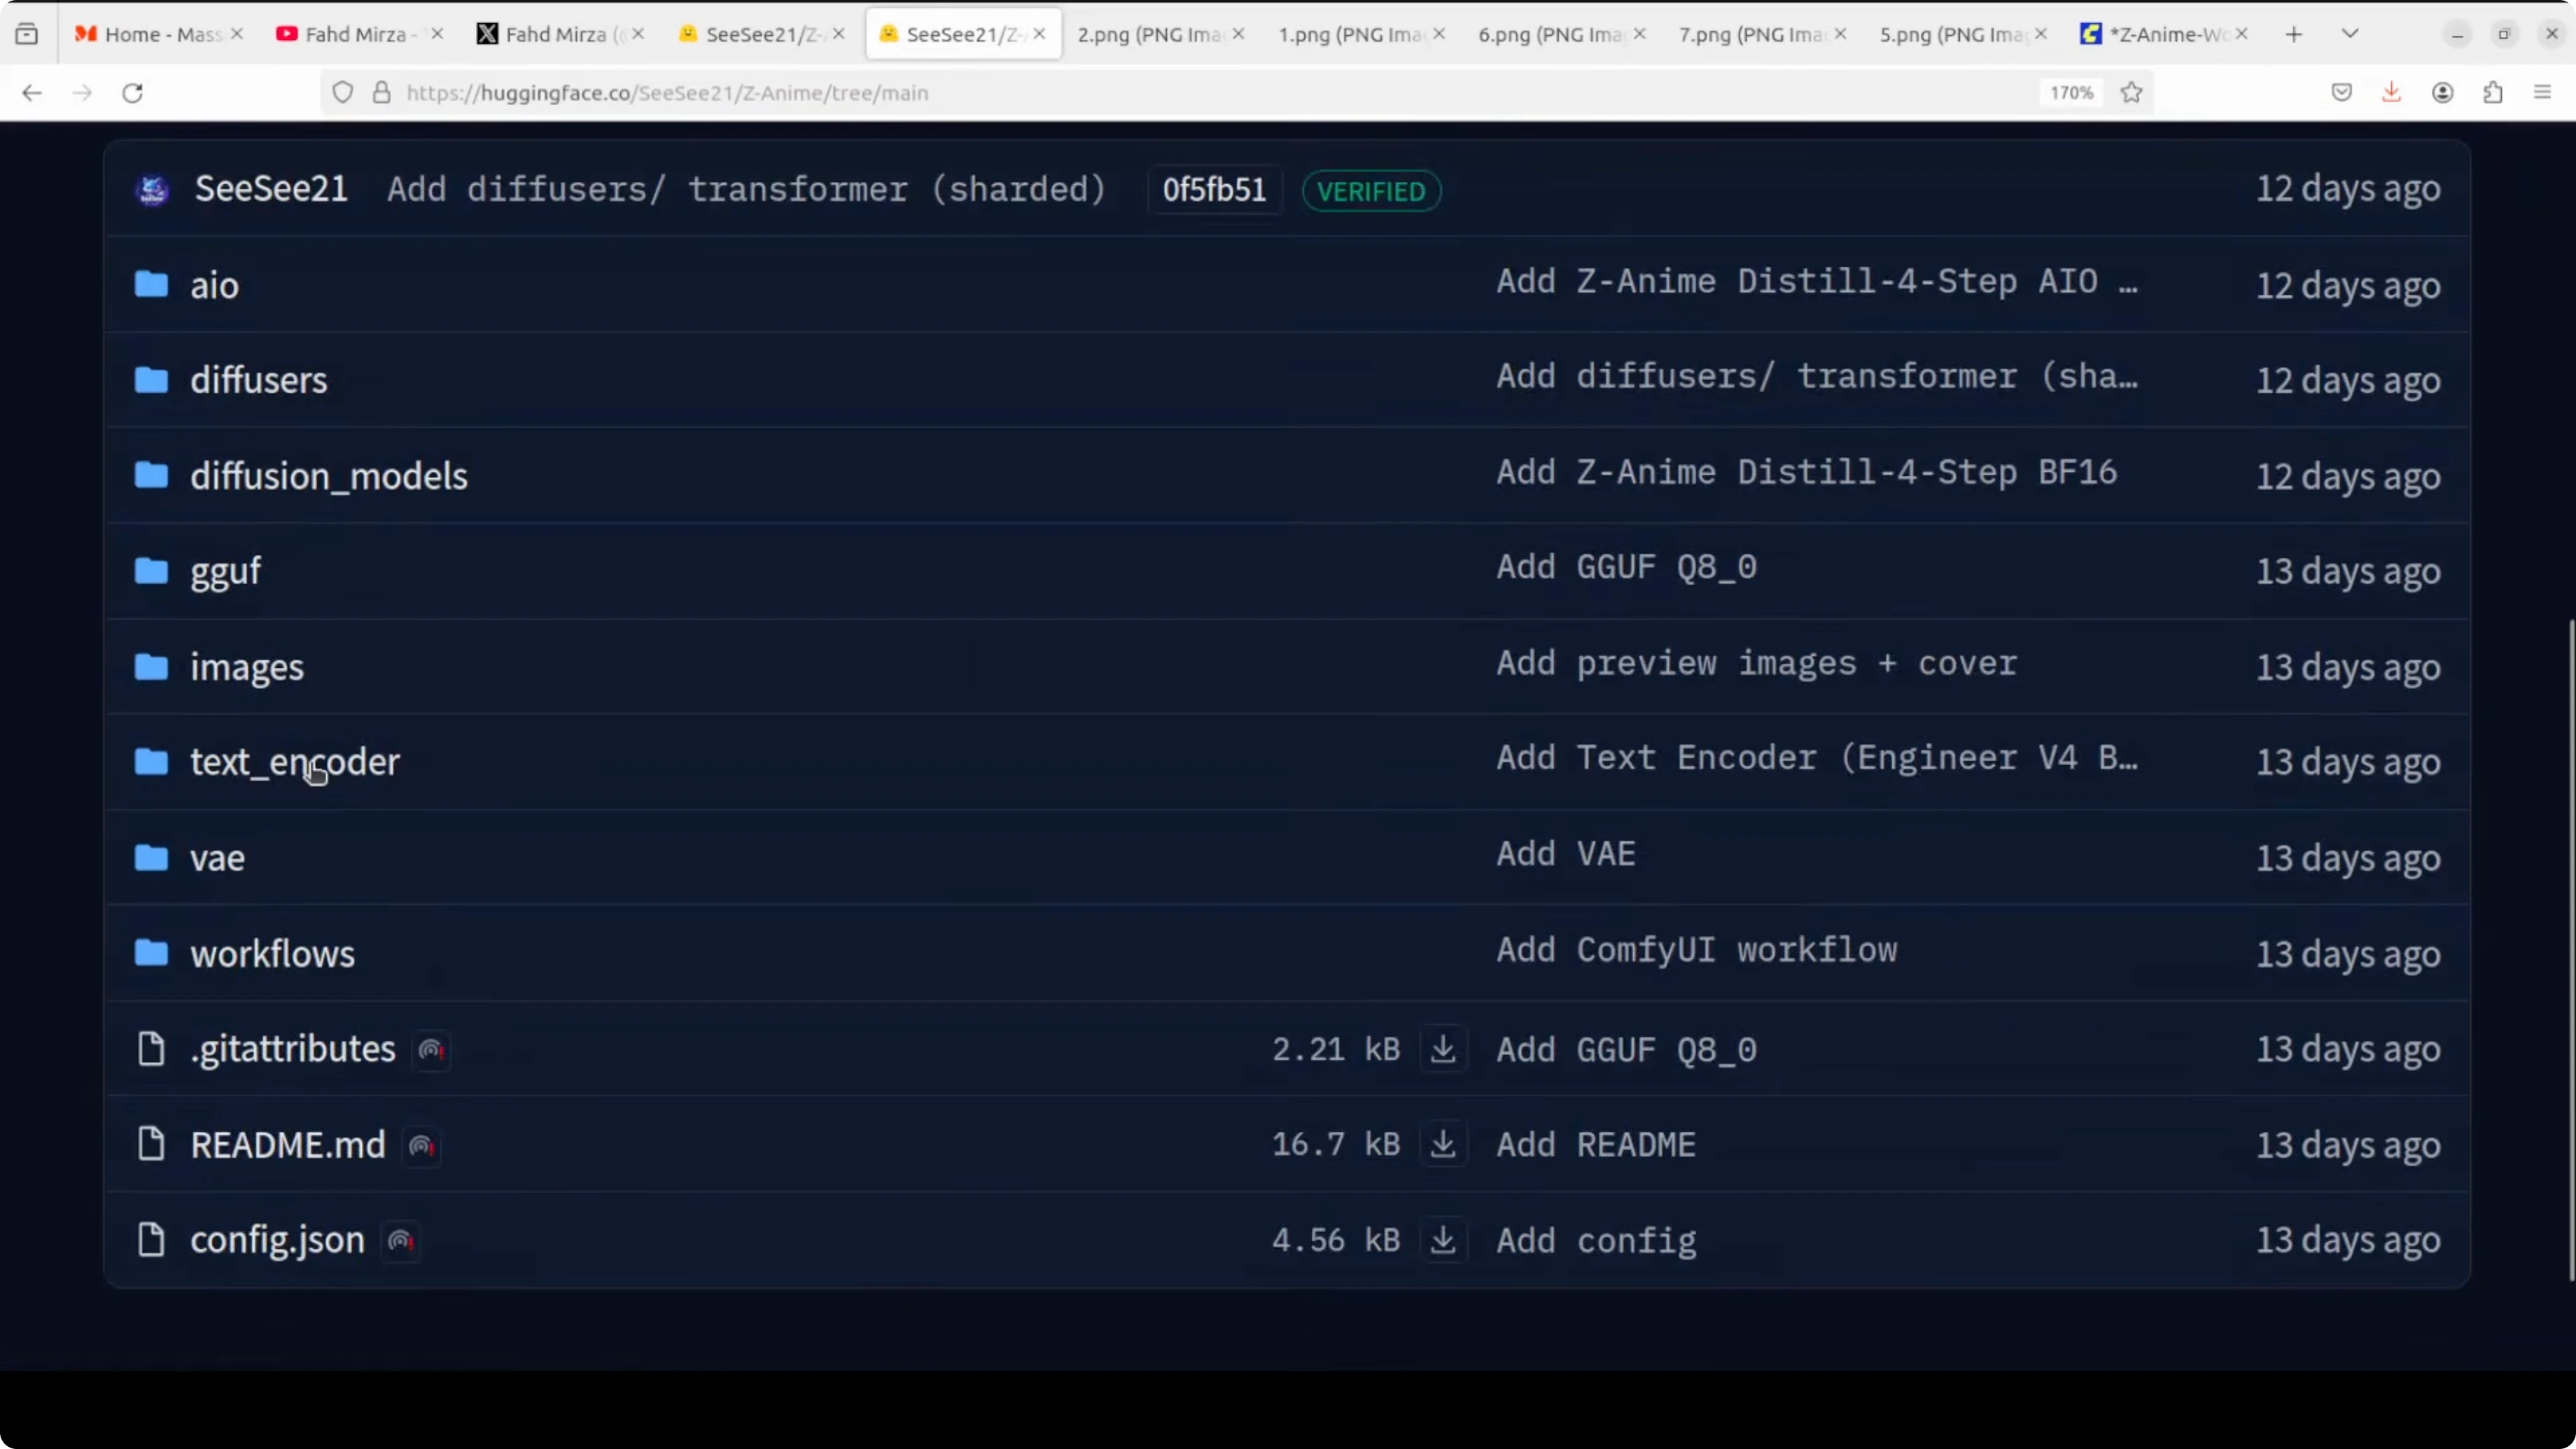
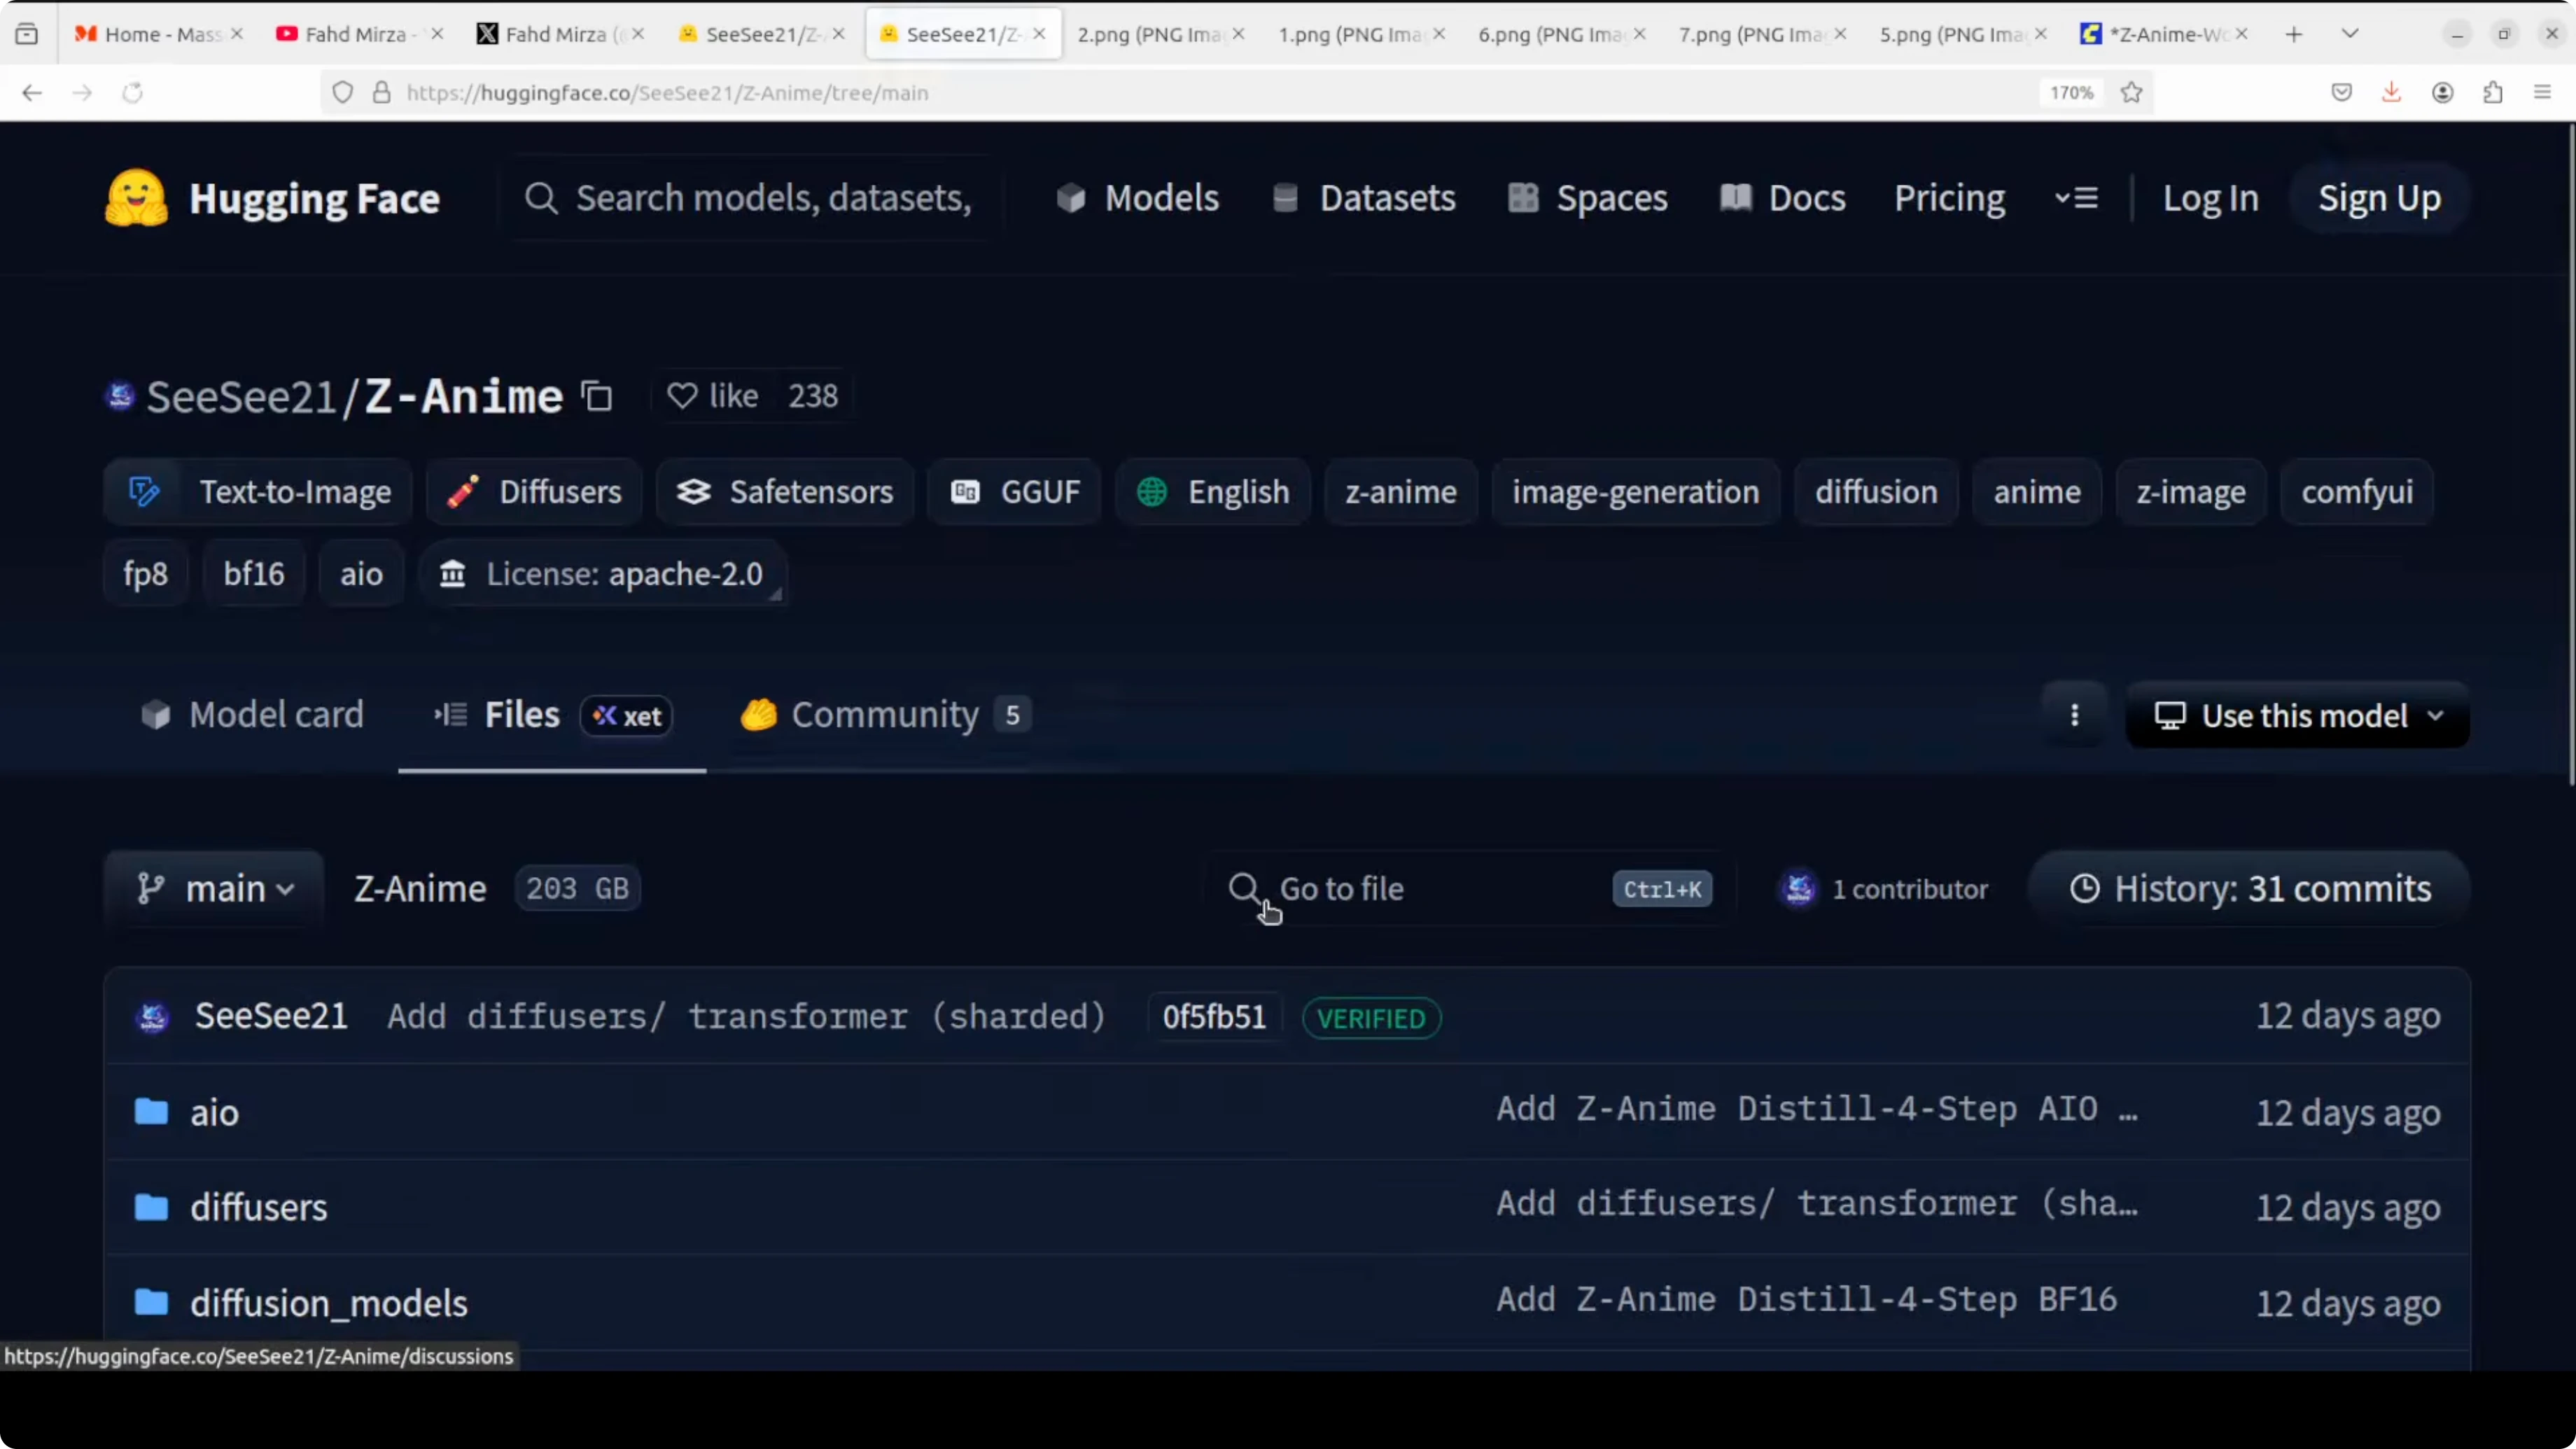
Go to the model card on Hugging Face and open the Files section. Download the diffusion model that matches your GPU. If you have a lower GPU like 8 GB of VRAM, pick the smaller variant, and if you have more headroom you can choose the full version.
I went with the full version because my GPU on Ubuntu is Nvidia RTX 6000 with 48 GB of VRAM. To download, right click the file and choose Save link as. Save it into your ComfyUI models folder.
ComfyUI/
  models/
    diffusion_models/         # place the base diffusion model here
Next, download the text encoder. This component handles your prompt. I selected BF16, and you can choose FP8 for lower VRAM.
ComfyUI/
  models/
    text_encoders/            # place the text encoder here
Third, download the variational autoencoder model, the VAE. This VAE is the same across versions and brings your model from latent space to pixel space.
ComfyUI/
models/
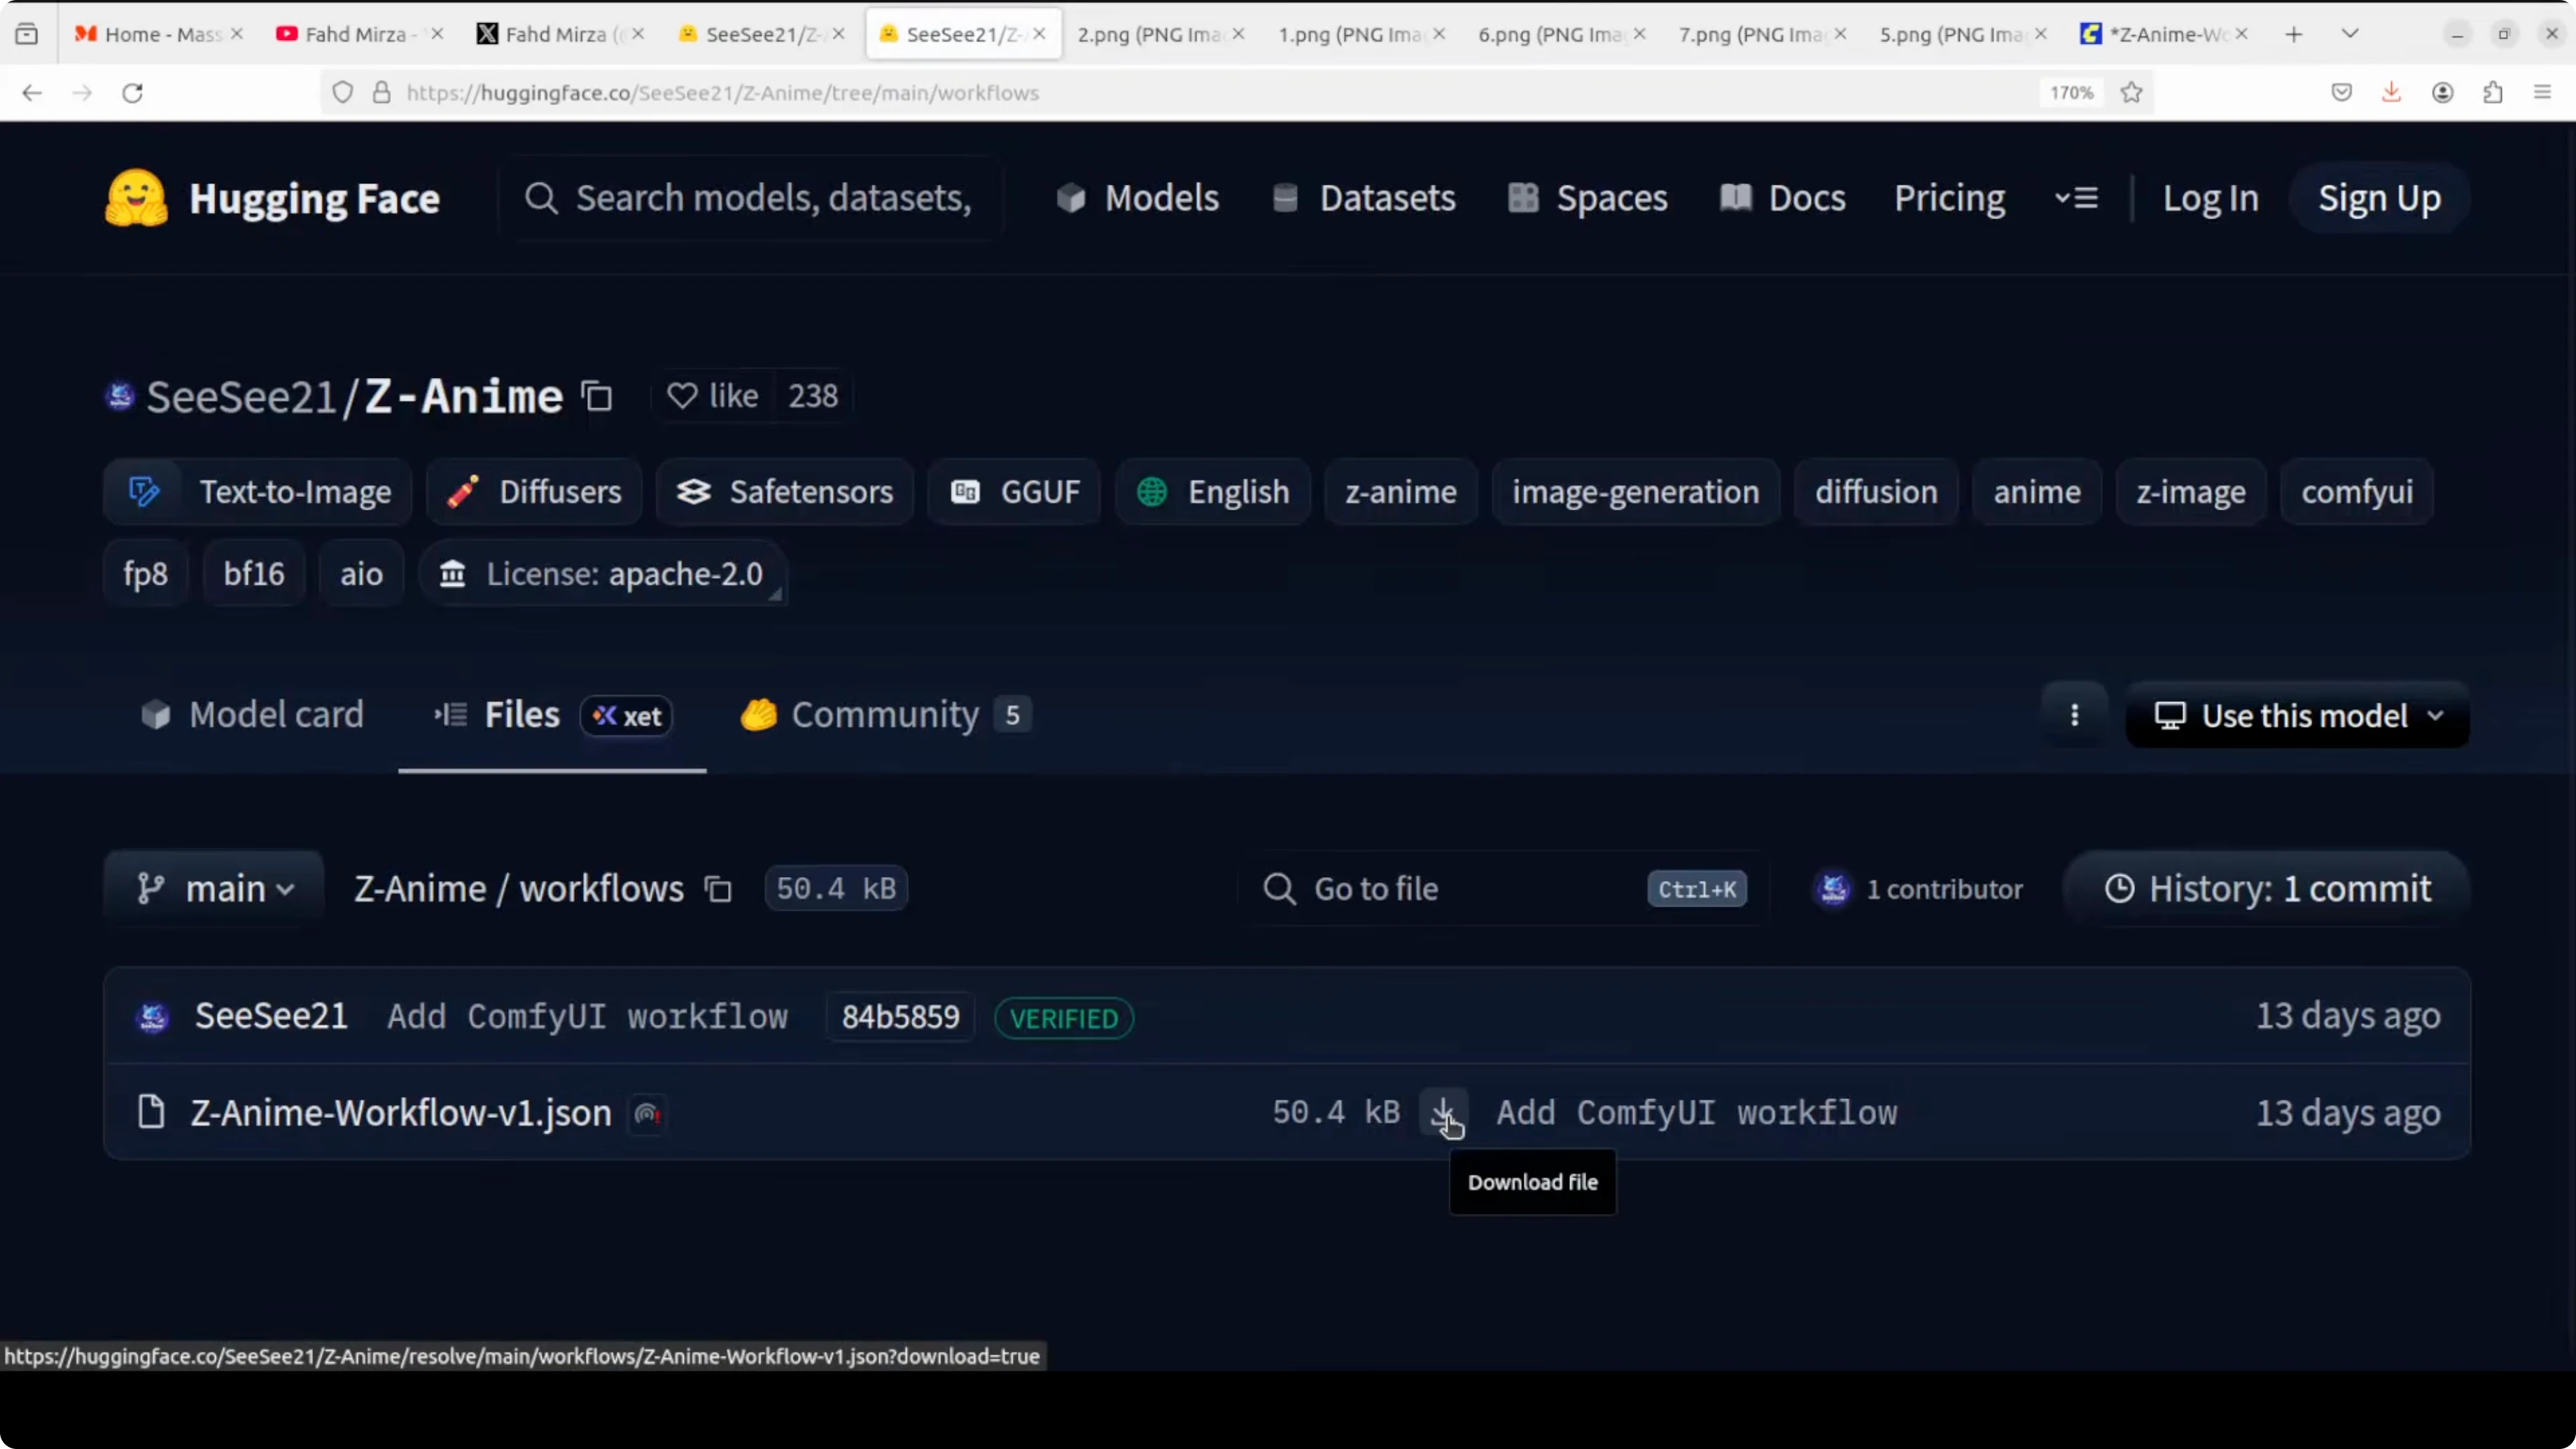
vae/ # place the VAE hereFinally, download the provided workflow and drag and drop it into ComfyUI. The workflow wires nodes so you can generate images right away and includes an upscaler.
Read More: Fine Tune Qwen3 5 8B Locally
Z-Anime nodes in ComfyUI
Load the diffusion model with the Load Diffusion Model node. Select the base model in the diffusion loader, the text encoder in the CLIP slot, and the VAE in the VAE slot.
If you are using a GGUF build, use the provided GGUF node. Load the GGUF model and toggle the GGUF option on.
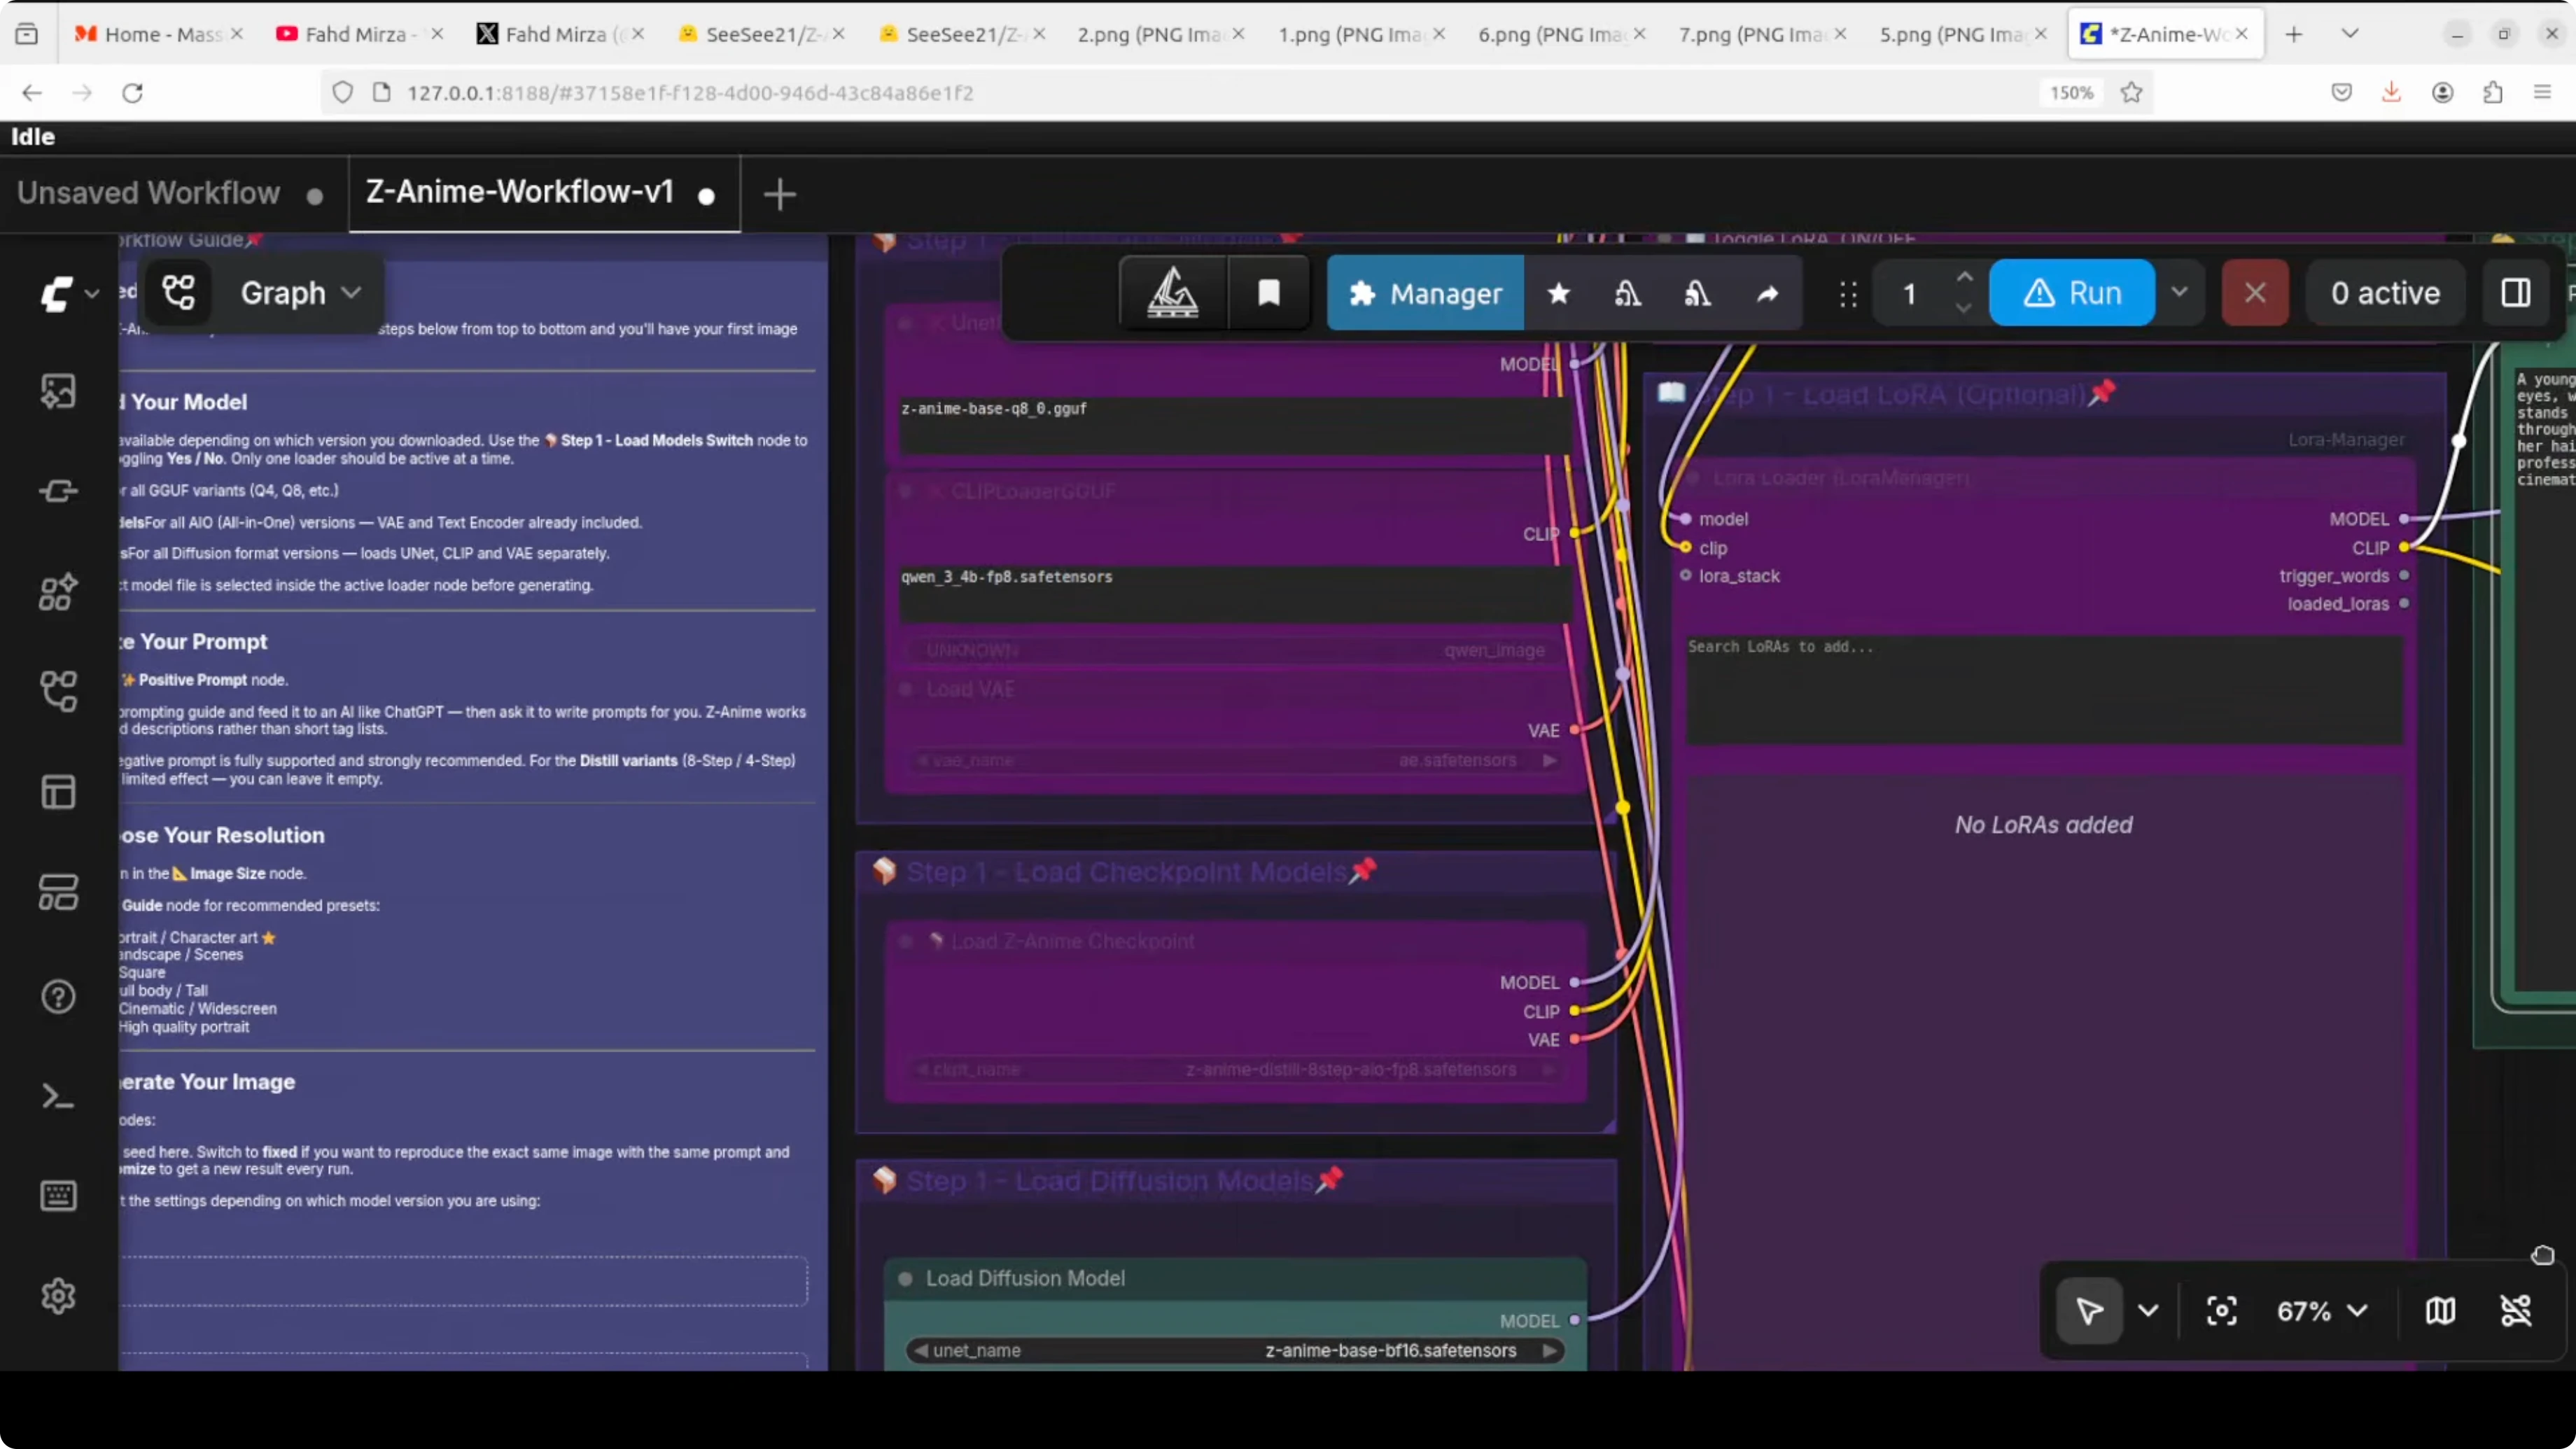
I have toggled diffusion models on because I am using diffusion files. Do not worry about the single checkpoint option here. I rather not go with that one.
Read More: Gpt 5 2 Vs Opus 4 5 Speed Cost Quality
Z-Anime prompting and VRAM
Give your positive prompt and run the workflow. It will generate the base image and then upscale it in the same graph. You can compare the original and the upscaled result for detail and clarity.
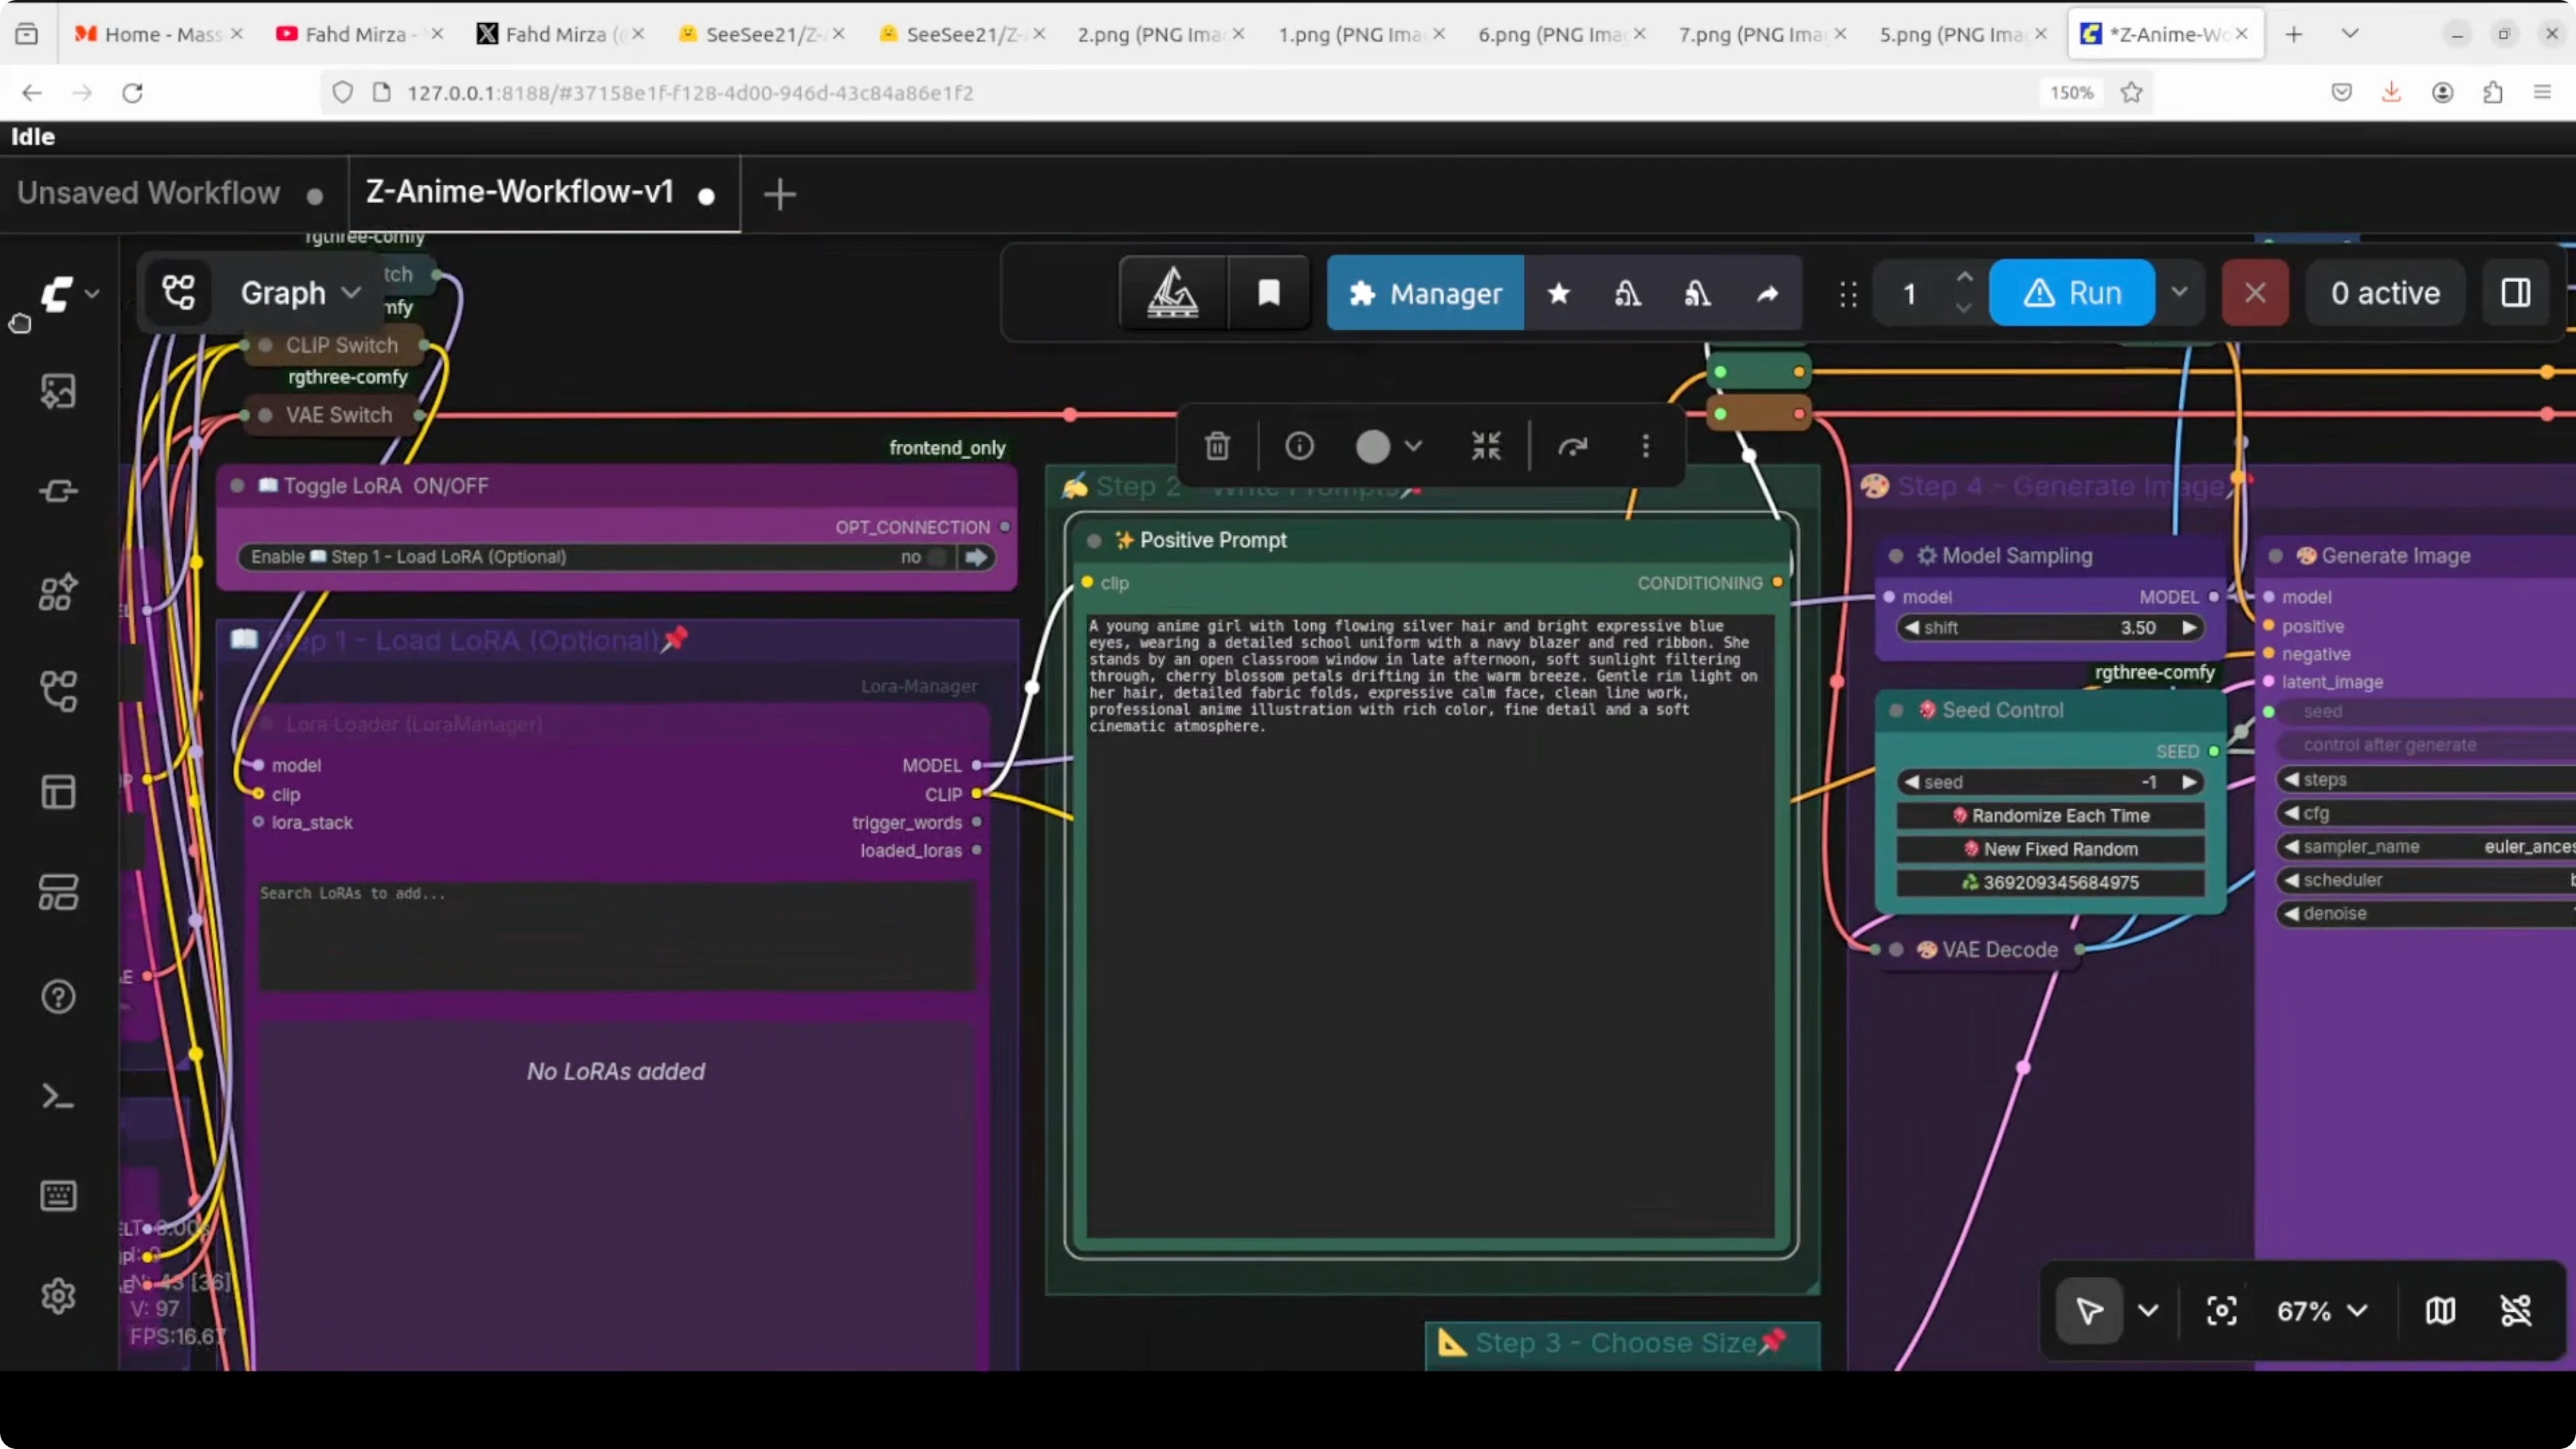
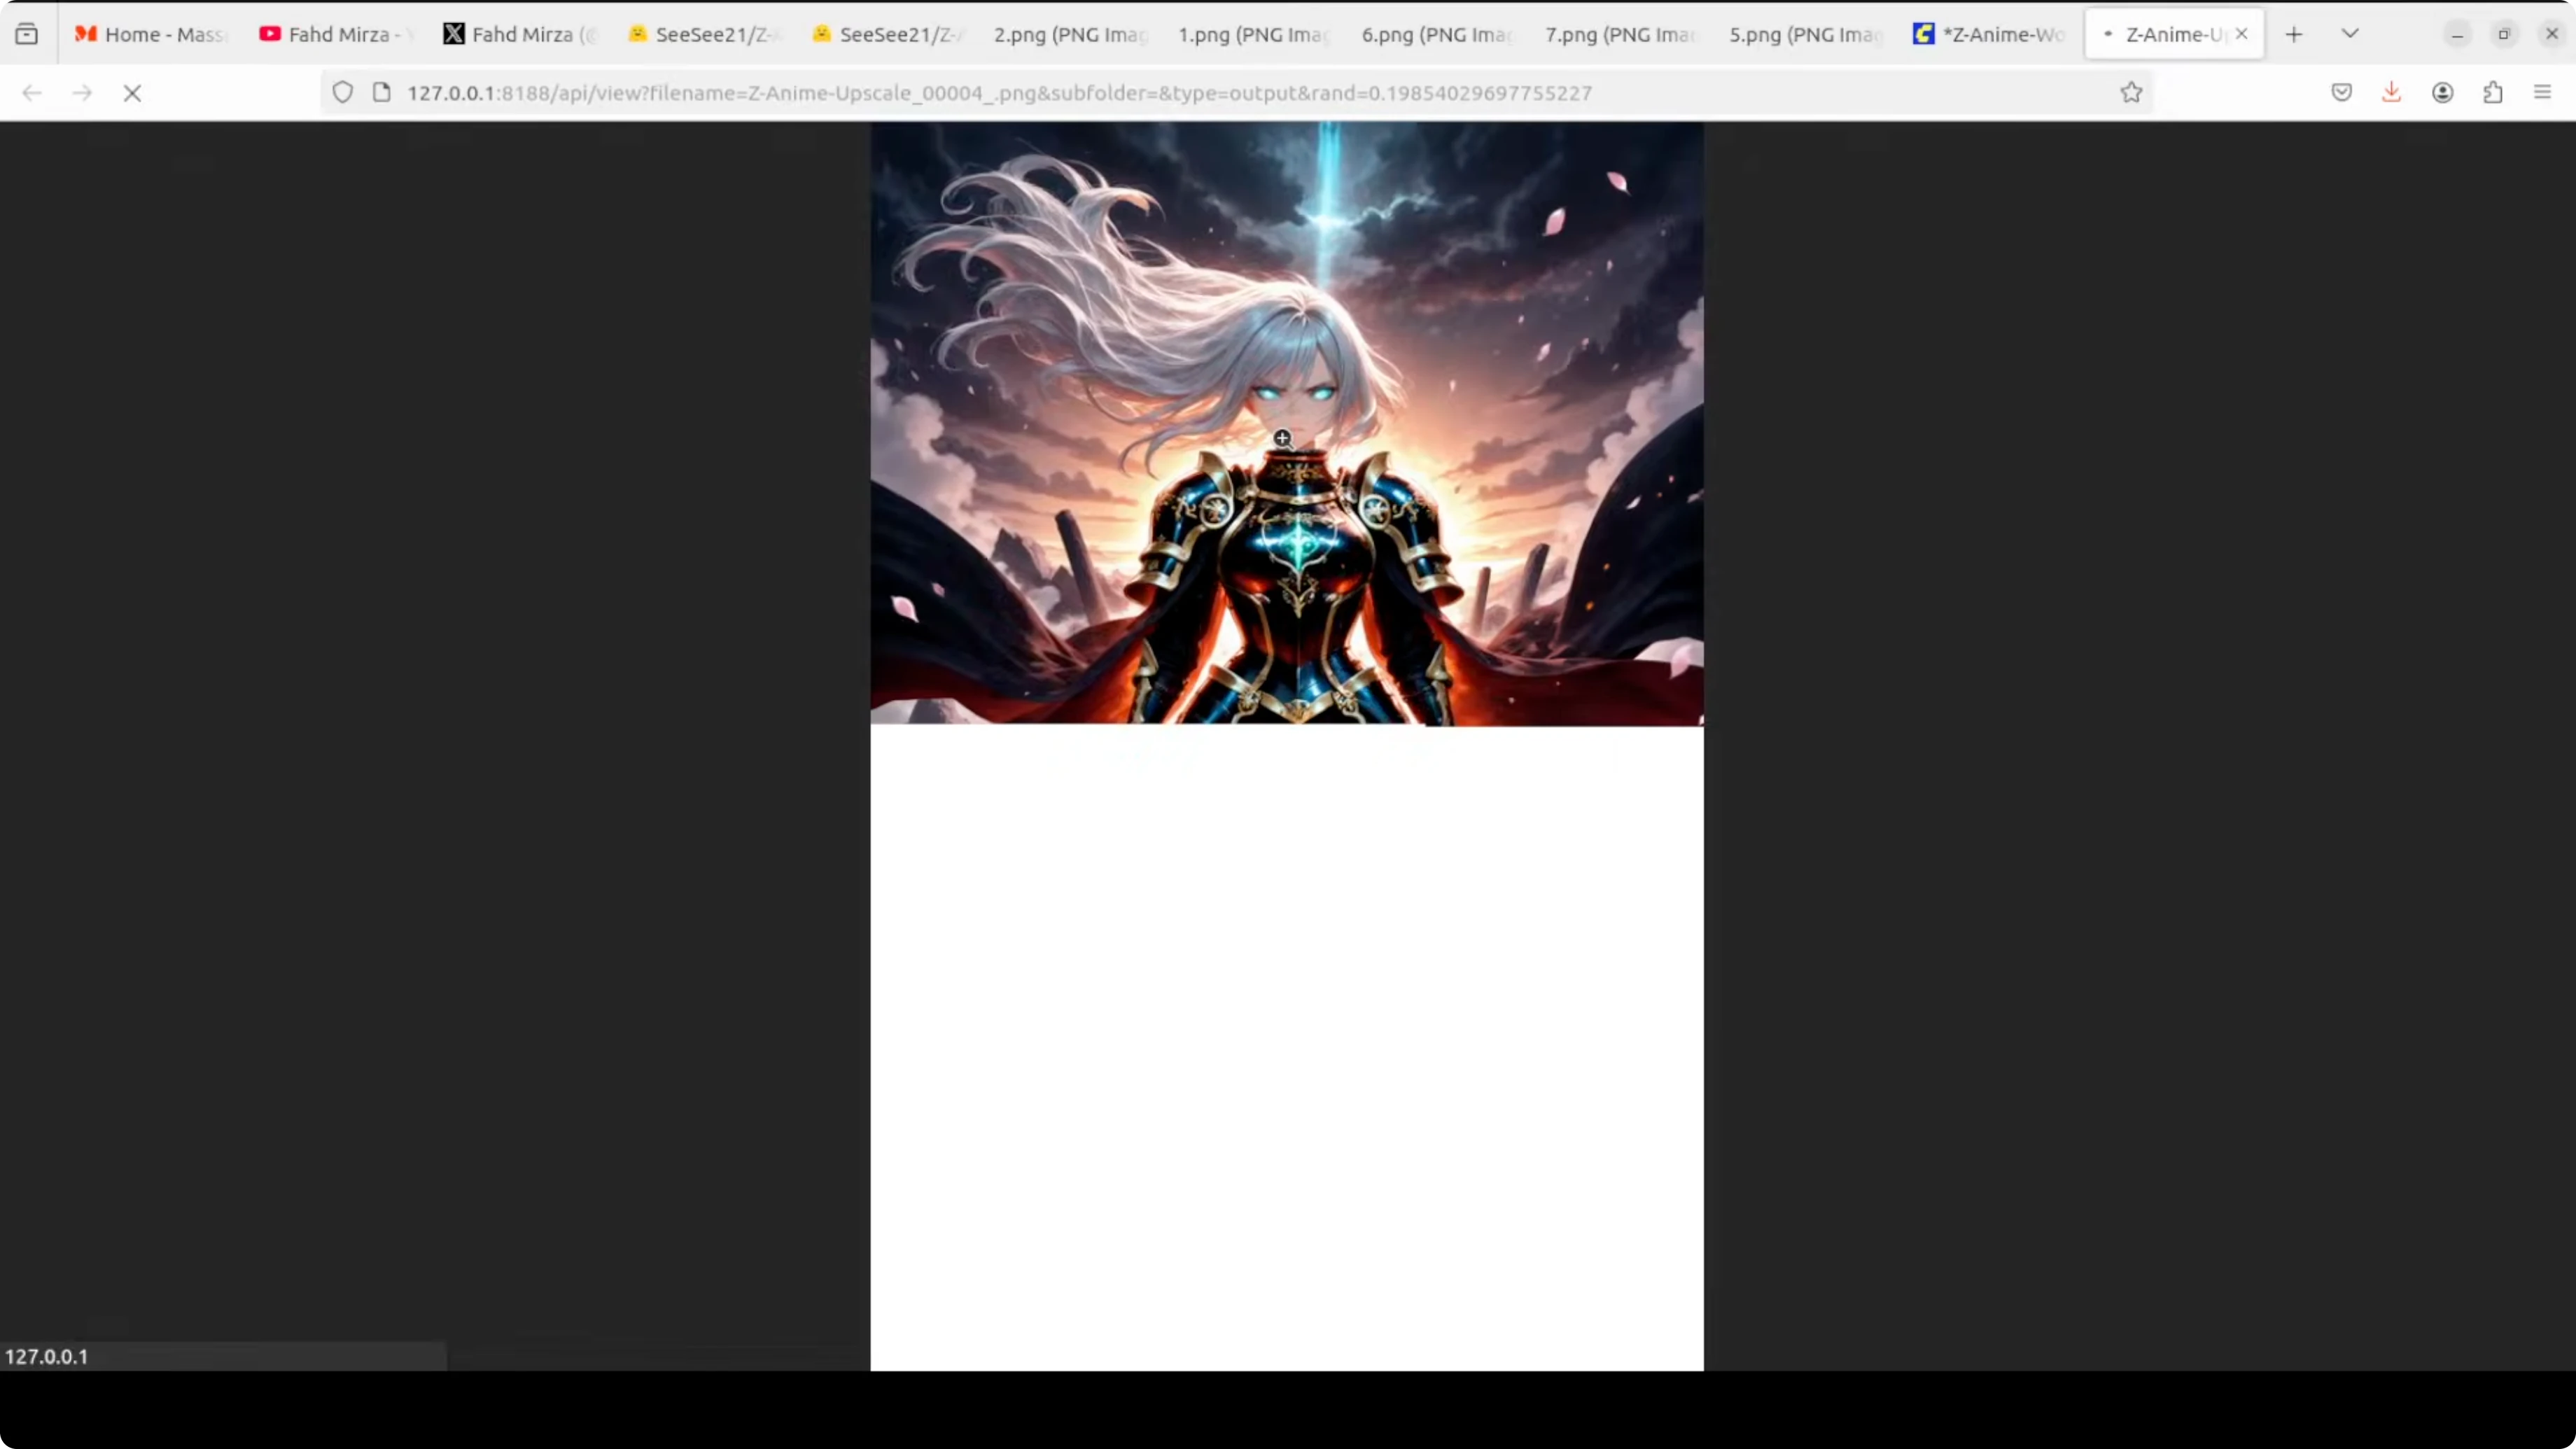
Here is a sample prompt I used.
breathtaking masterpiece anime illustration of an elegant silver haired anime warrior queen standing atop a crumbling ancient temple ruin at twilight, dramatic lighting, intricate armor, flowing cape, embers and fire in the wind, cinematic composition, highly detailedVRAM use for the full model sits at a touch over 12 GB during generation. It may spike a bit to around 13 to 14 GB, which is still fine for a consumer GPU. Smaller FP8 builds help if you want to stay near 8 GB.
Read More: Fix Google Ai Studio Failed To Generate Content Permission Denied
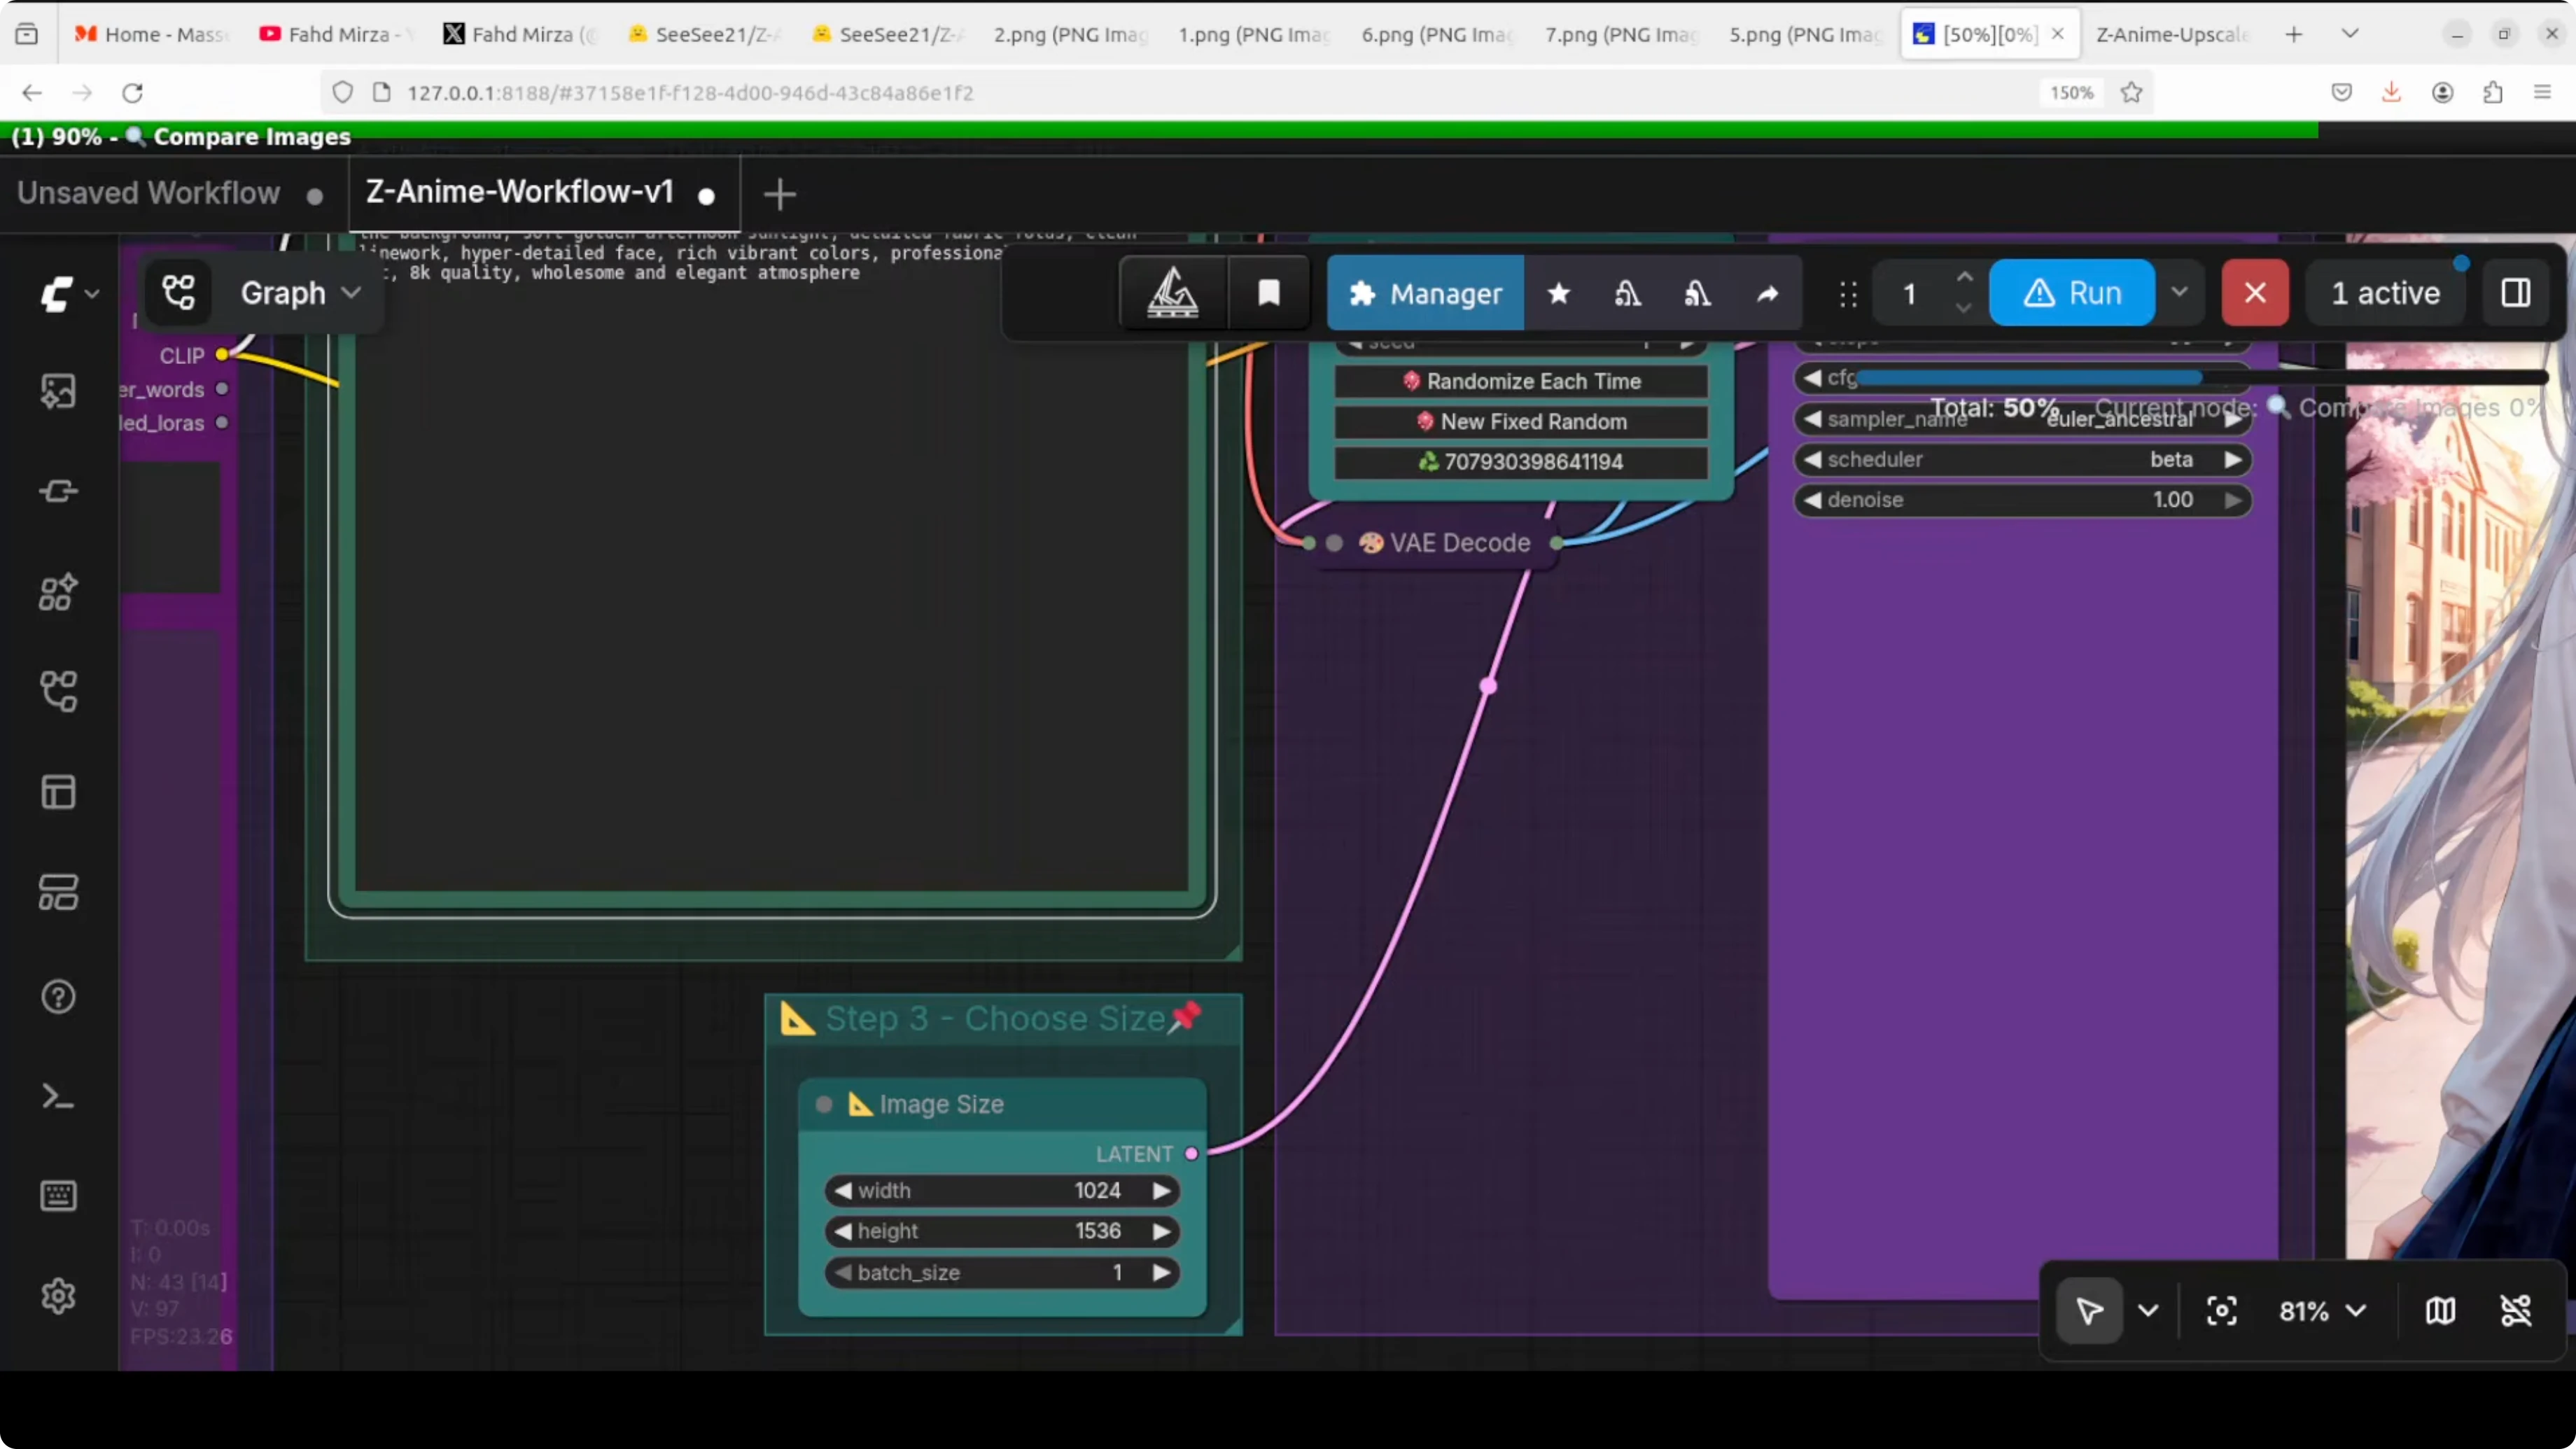
Z-Anime parameters explained
You will see parameters like steps, CFG, sampler, scheduler, seed, and resolution. Steps is how many times the AI thinks and refines your image, more steps give higher quality but take longer. CFG is guidance scale and it controls how strictly the AI follows your prompt, higher number is more obedient and lower number is more creative, similar to temperature.
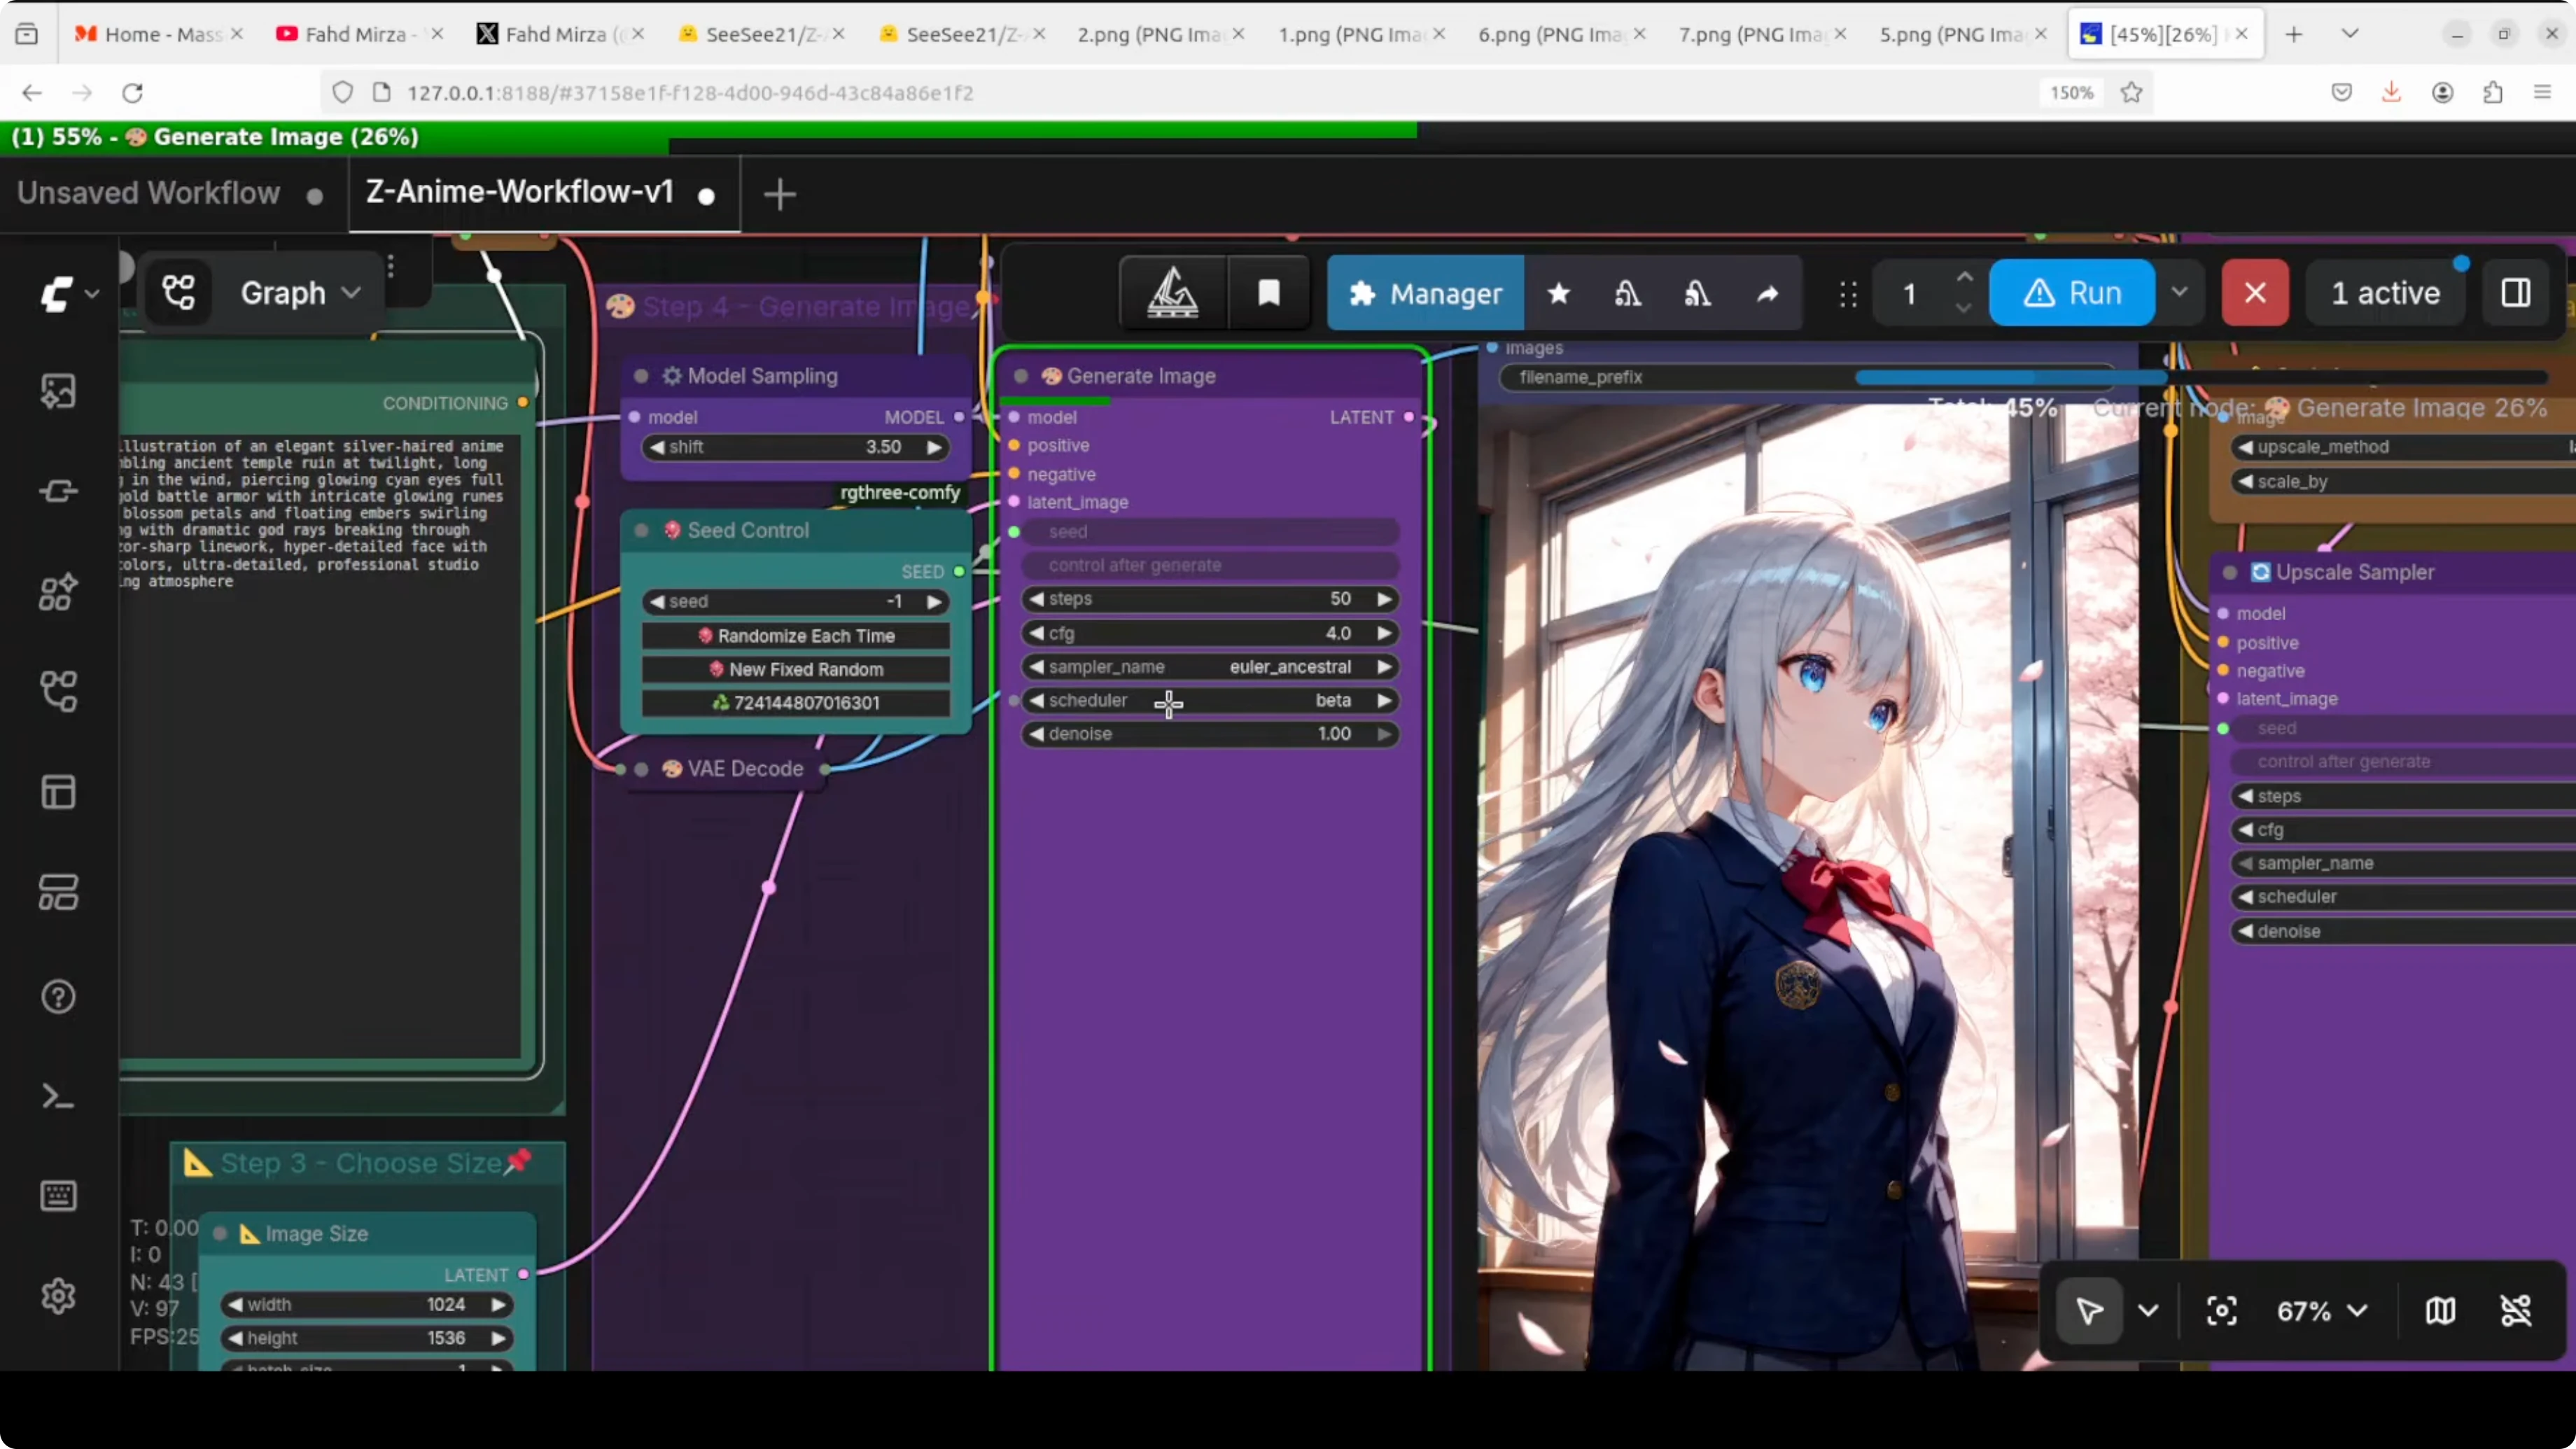
The sampler turns noise into an image and I used Euler Ancestral, which is a sweet spot for the Z anime base model. The scheduler works with the sampler to decide how the image is cleaned up over each step and I used a beta schedule. Seed is a random number that fixes the exact look, same seed with same settings gives identical results every time, and resolution is self explanatory.
steps: 30 to 50
cfg: 5 to 8
sampler: euler a
scheduler: beta
seed: fixed for repeatability
resolution: start at 768x1024 or 1024x1024
Read More: Fix Google Ai Studio Permission Denied Error
Z-Anime results and examples
The model created a vivid image from the warrior queen prompt. The upscaled version is more detailed and more fine grained and keeps the requested fire and dramatic mood. Expressions are strong and the composition holds up well.
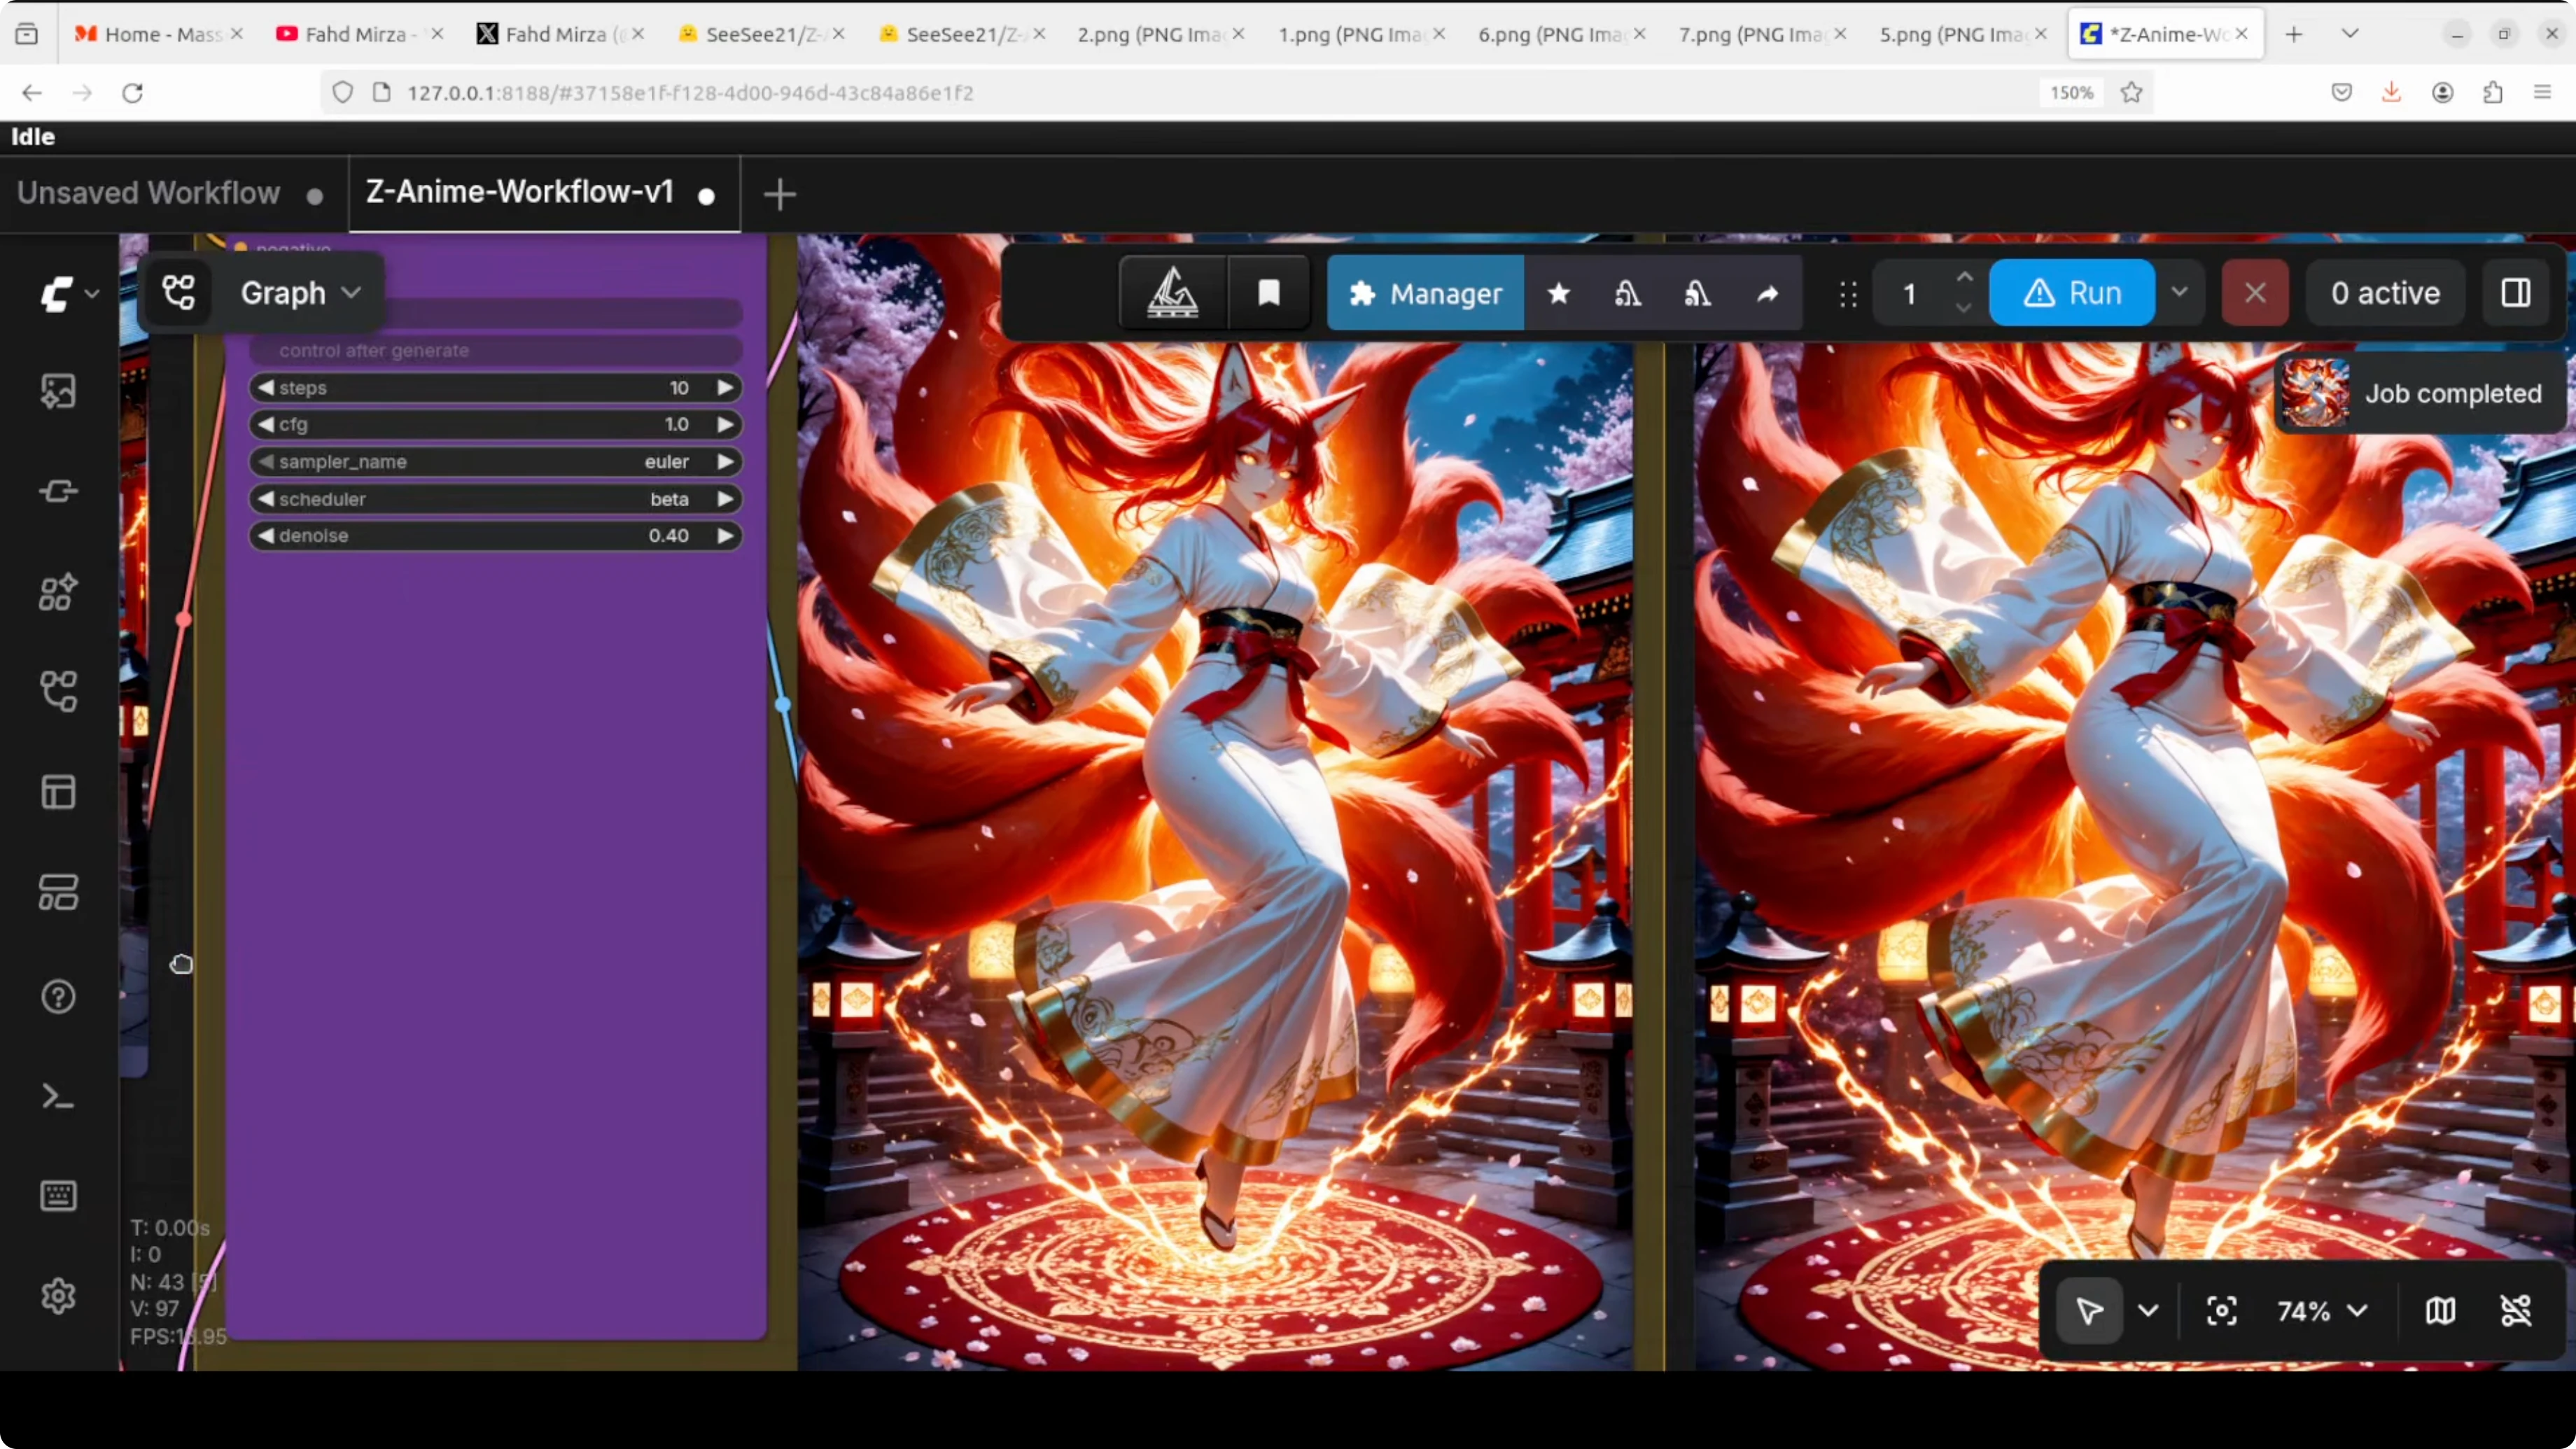
I asked for a mystical nine tailed fox spirit girl floating gracefully, with kimono, flowing ribbons, cherry blossoms, and rich vibrant colors. The original image came out so vibrant and so vivid and it followed my prompt closely. The upscaled result was even better and looked beautiful.
For the last test I asked for a college girl anime with emerald eyes and a warm friendly smile. The cherry blossom and sunny college campus details were depicted clearly. The upscaled image kept facial expression quality and cleaned fine edges.
Final thoughts
Z-Anime delivers rich anime style with strong prompt following and creative freedom. The local workflow in ComfyUI is straightforward and runs on 8 to 14 GB of VRAM depending on the file variant. The built in upscale path adds extra sharpness and polish to already strong generations.
If you want a focused anime model with fast local iteration, this setup works well. Try different CFG values, seeds, and samplers to dial in your style. Save your best seeds and prompts to reproduce results quickly.
Read More: Google Ai Studio
Subscribe to our newsletter
Get the latest updates and articles directly in your inbox.

Related Posts

8 Best Claude Code Plugins in 2026 (You Need to Know)
8 Best Claude Code Plugins in 2026 (You Need to Know)

7 Best Claude Code Skills (You Need to Know)
7 Best Claude Code Skills (You Need to Know)

Claude Code Desktop IDE Features (You Need to Know)
Claude Code Desktop IDE Features (You Need to Know)