

Claude Code Setup: A Complete Step-by-Step Guide 2025
I am going to install Claude Code on my local machine and get it working in a real project. I already have Node.js 18 or newer installed. After installation, I open the terminal, navigate into my project, and launch the tool.
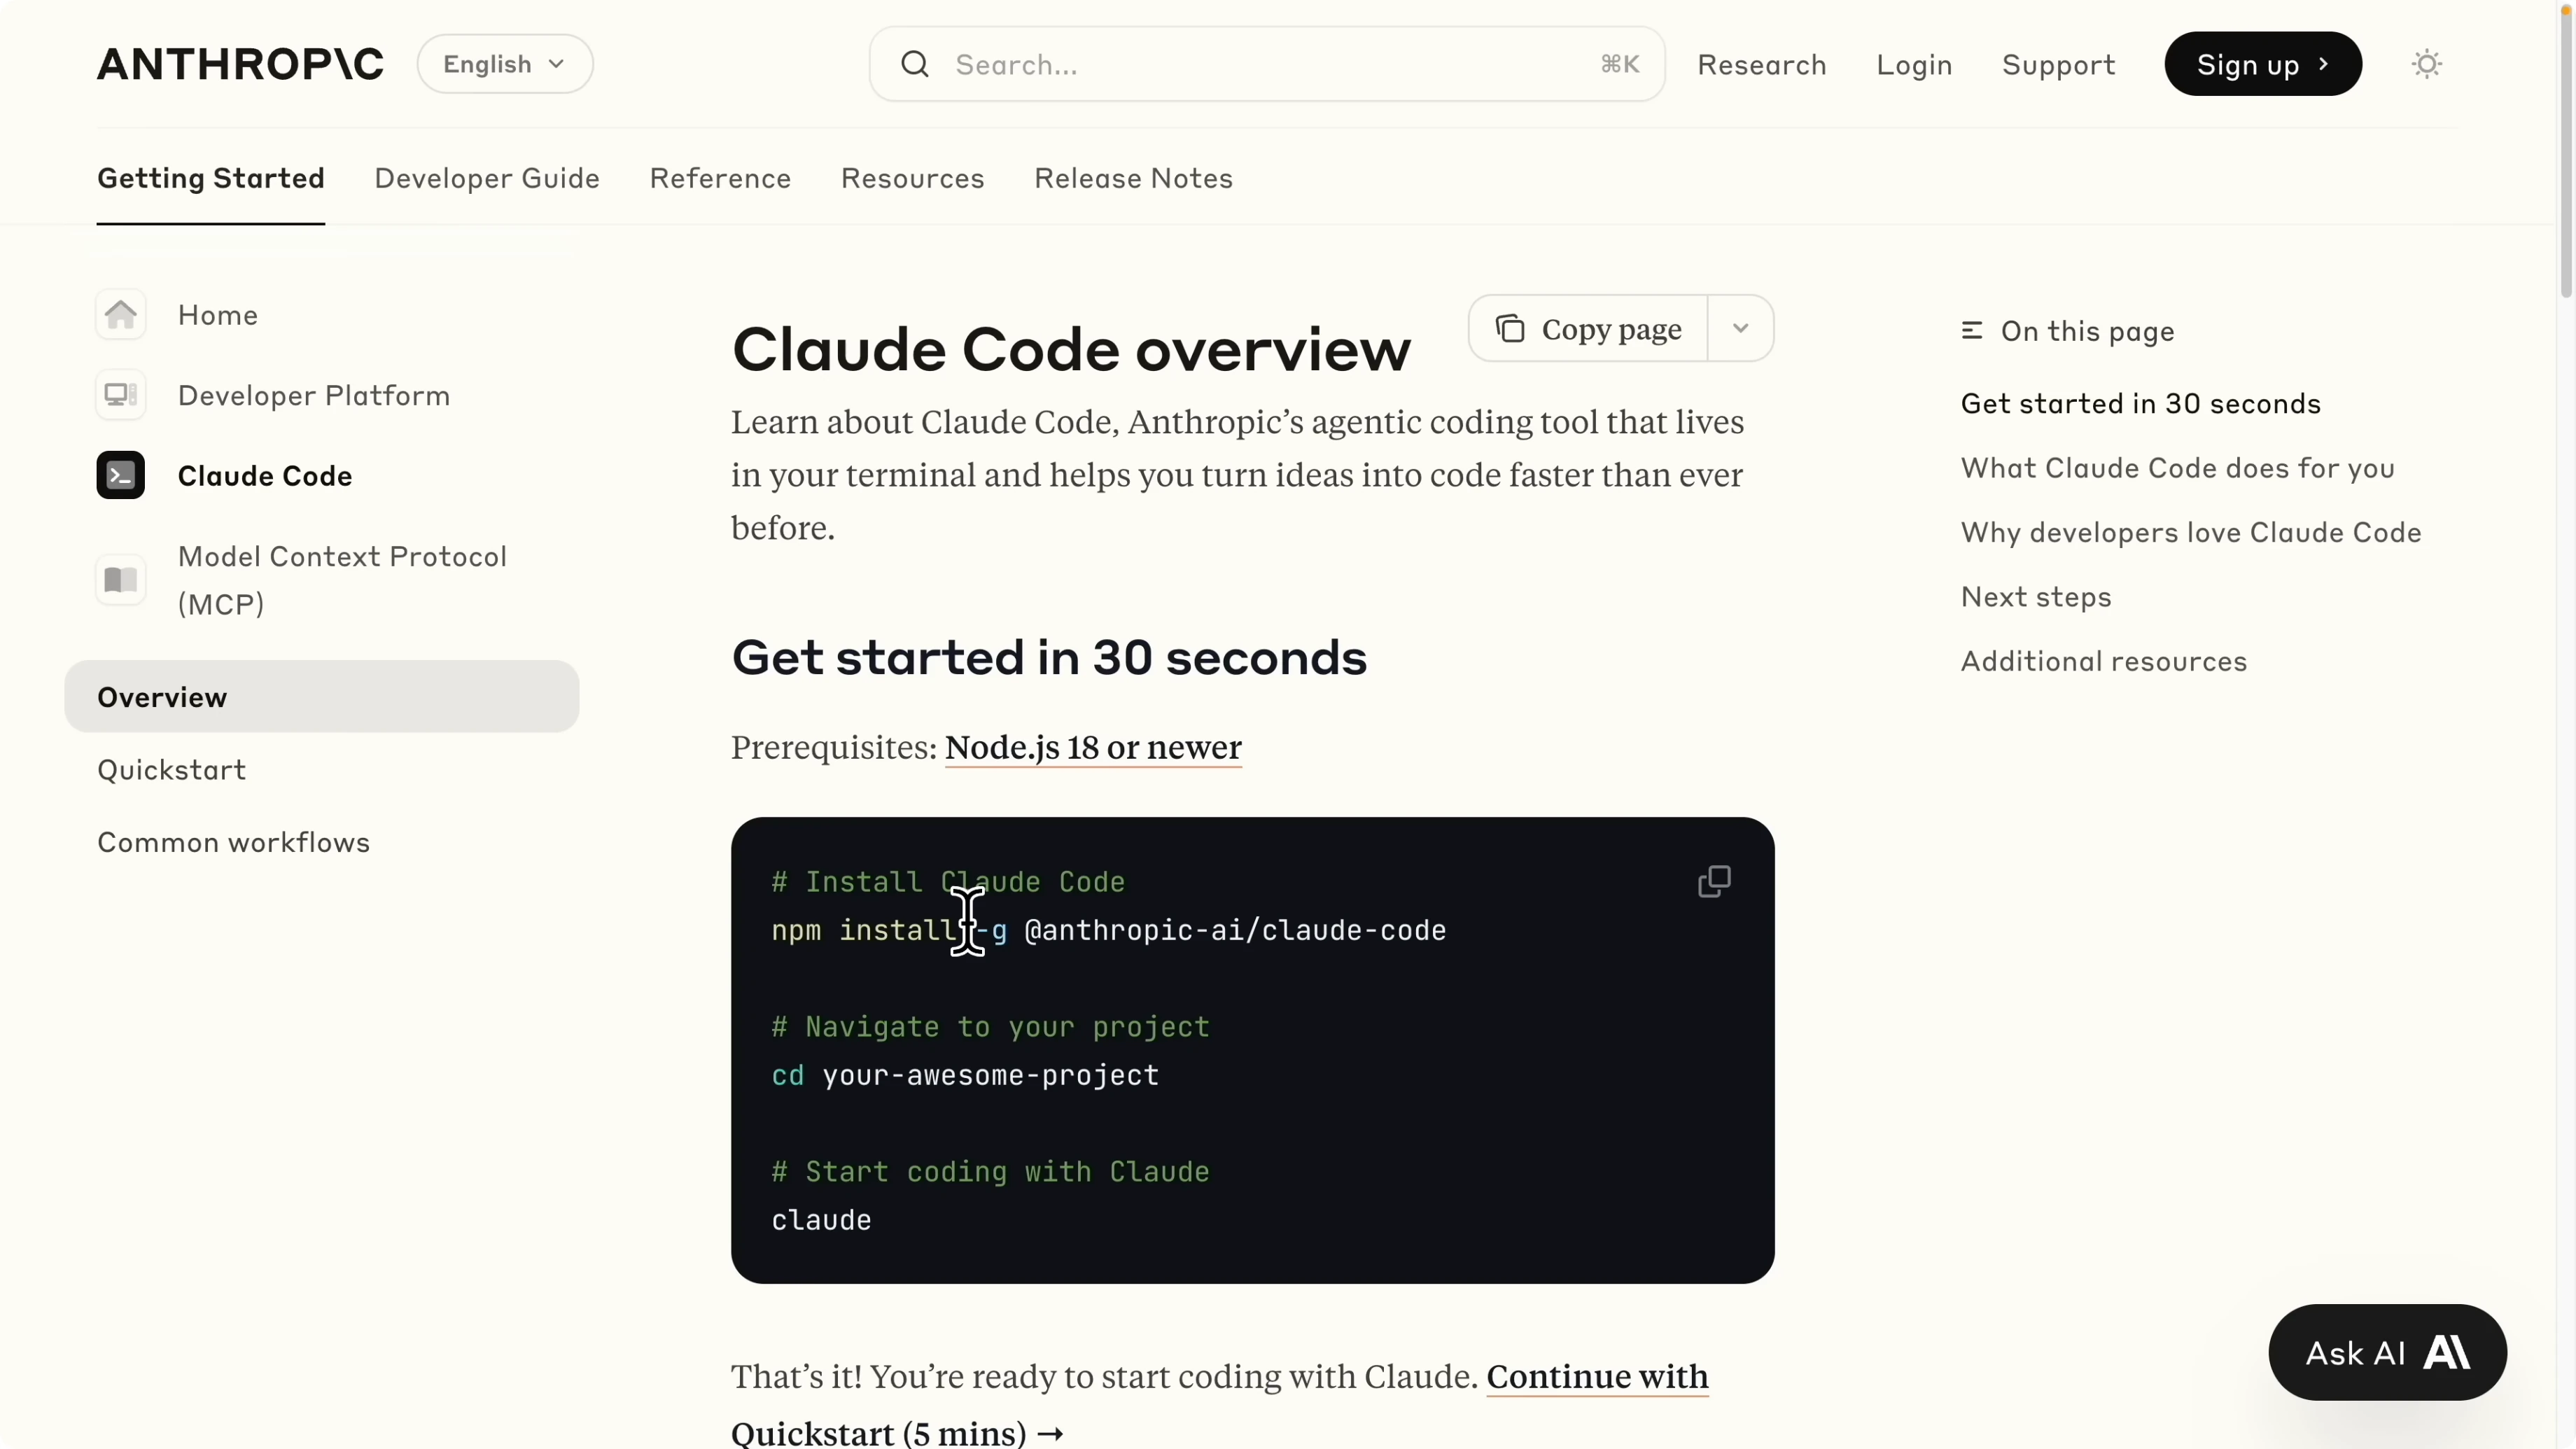
I run the command to start the session.
claudeI pick a terminal theme and stick with dark mode for simplicity. I am prompted to select a login method, and I choose the Claude Code account with the Pro plan, which is twenty dollars per month. After I authenticate, I accept the recommended settings.
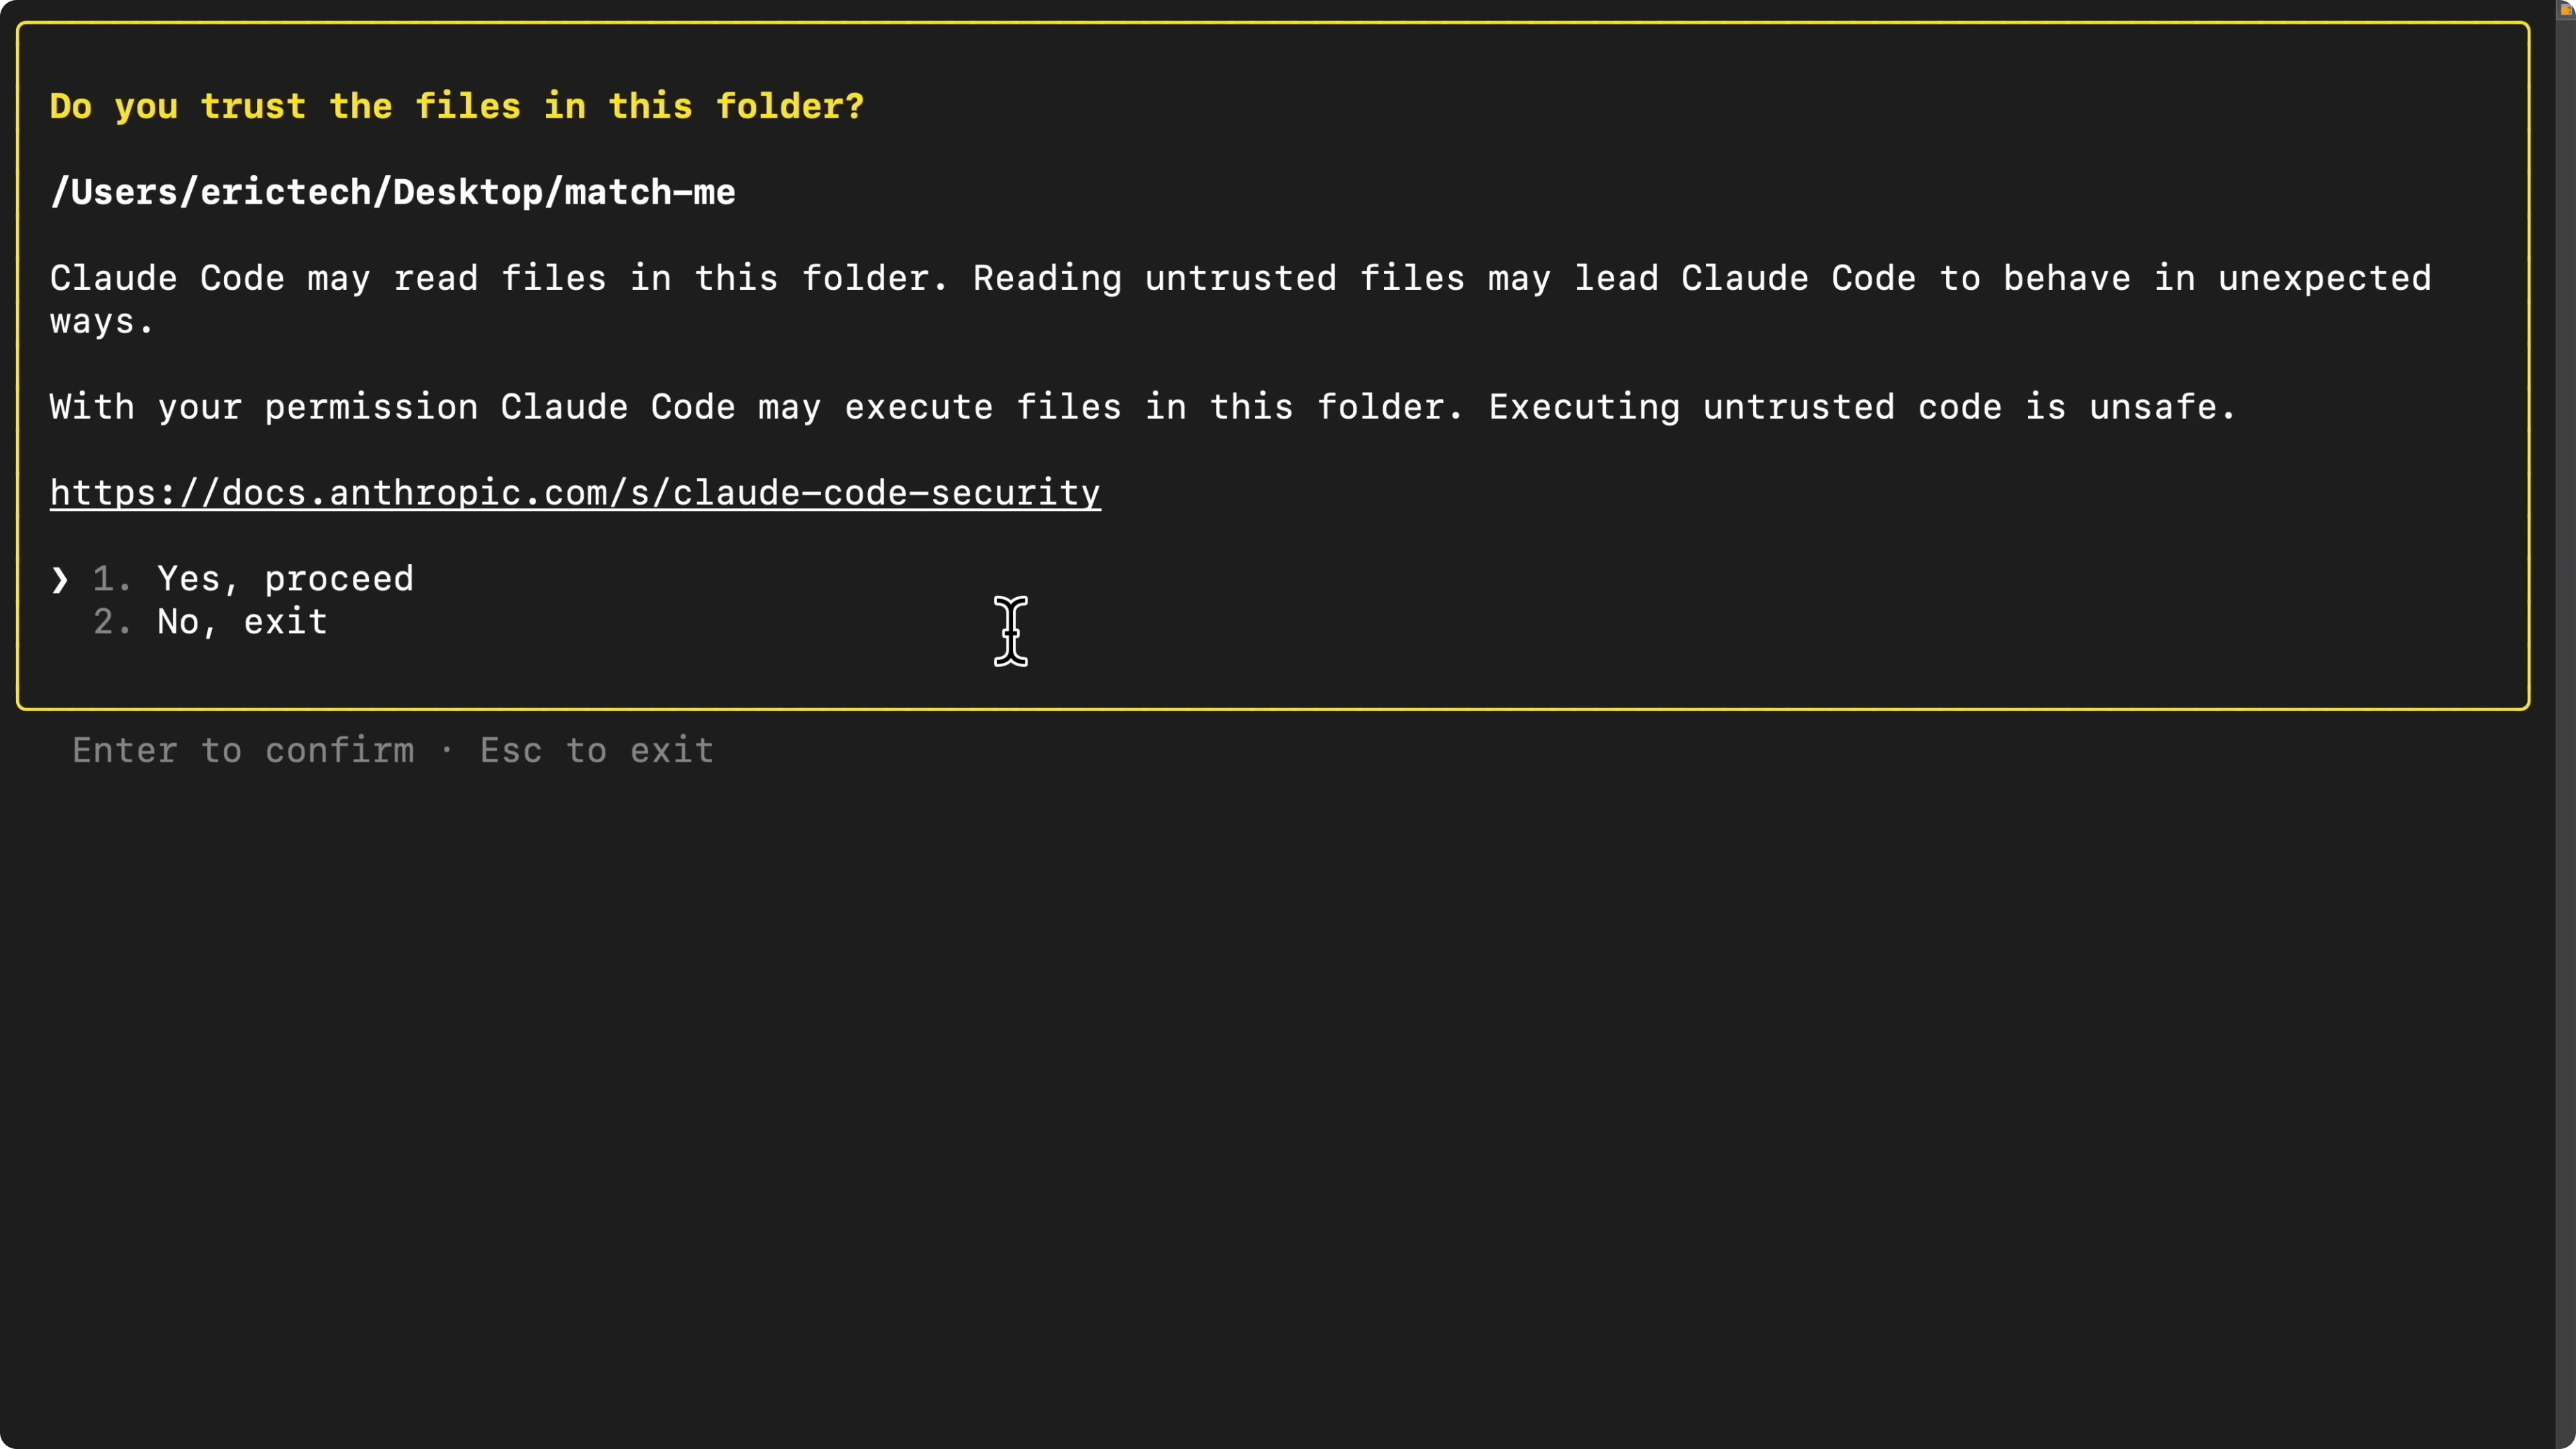
I grant access for Claude Code to read files inside the project folder. Once access is granted, Claude Code is fully available in the terminal for this codebase. If you hit a setup or login issue where the model selector or session disappears, see this fix: troubleshoot the setup or login issue.
Claude Code Setup: Editor integration
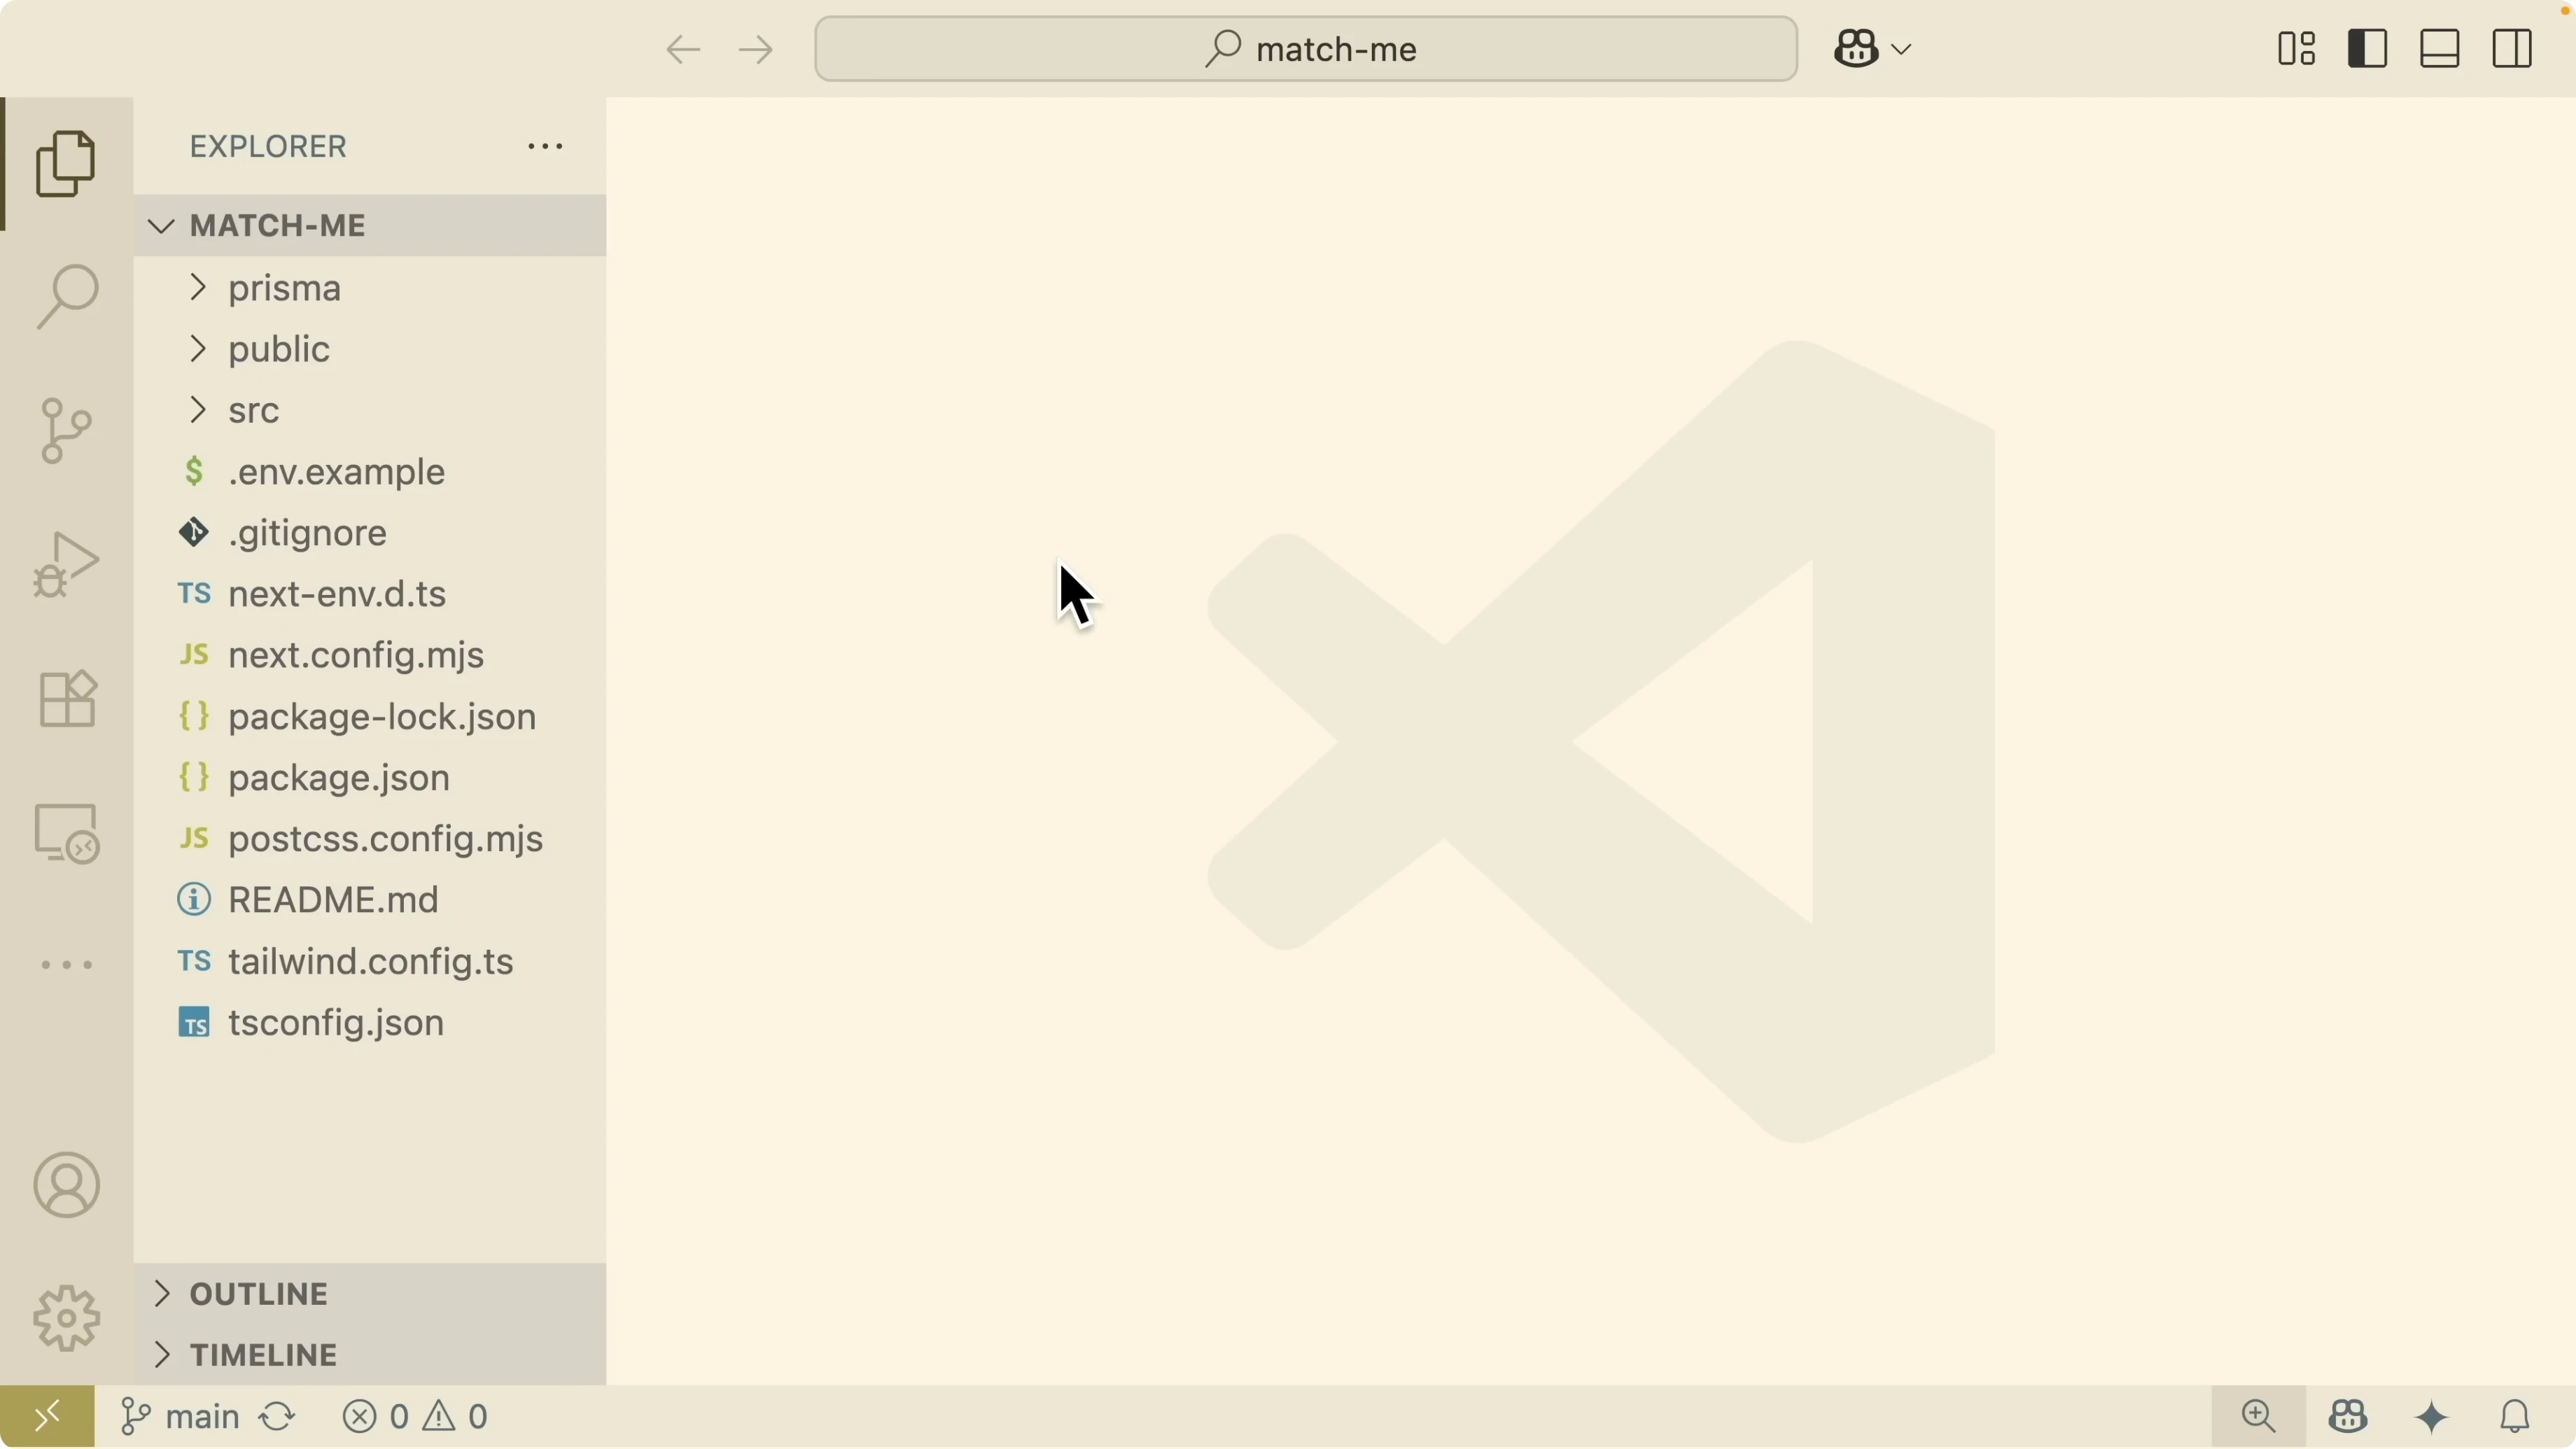
I also use Claude Code inside Visual Studio Code with Cursor. I open the VS Code terminal and run the same command.
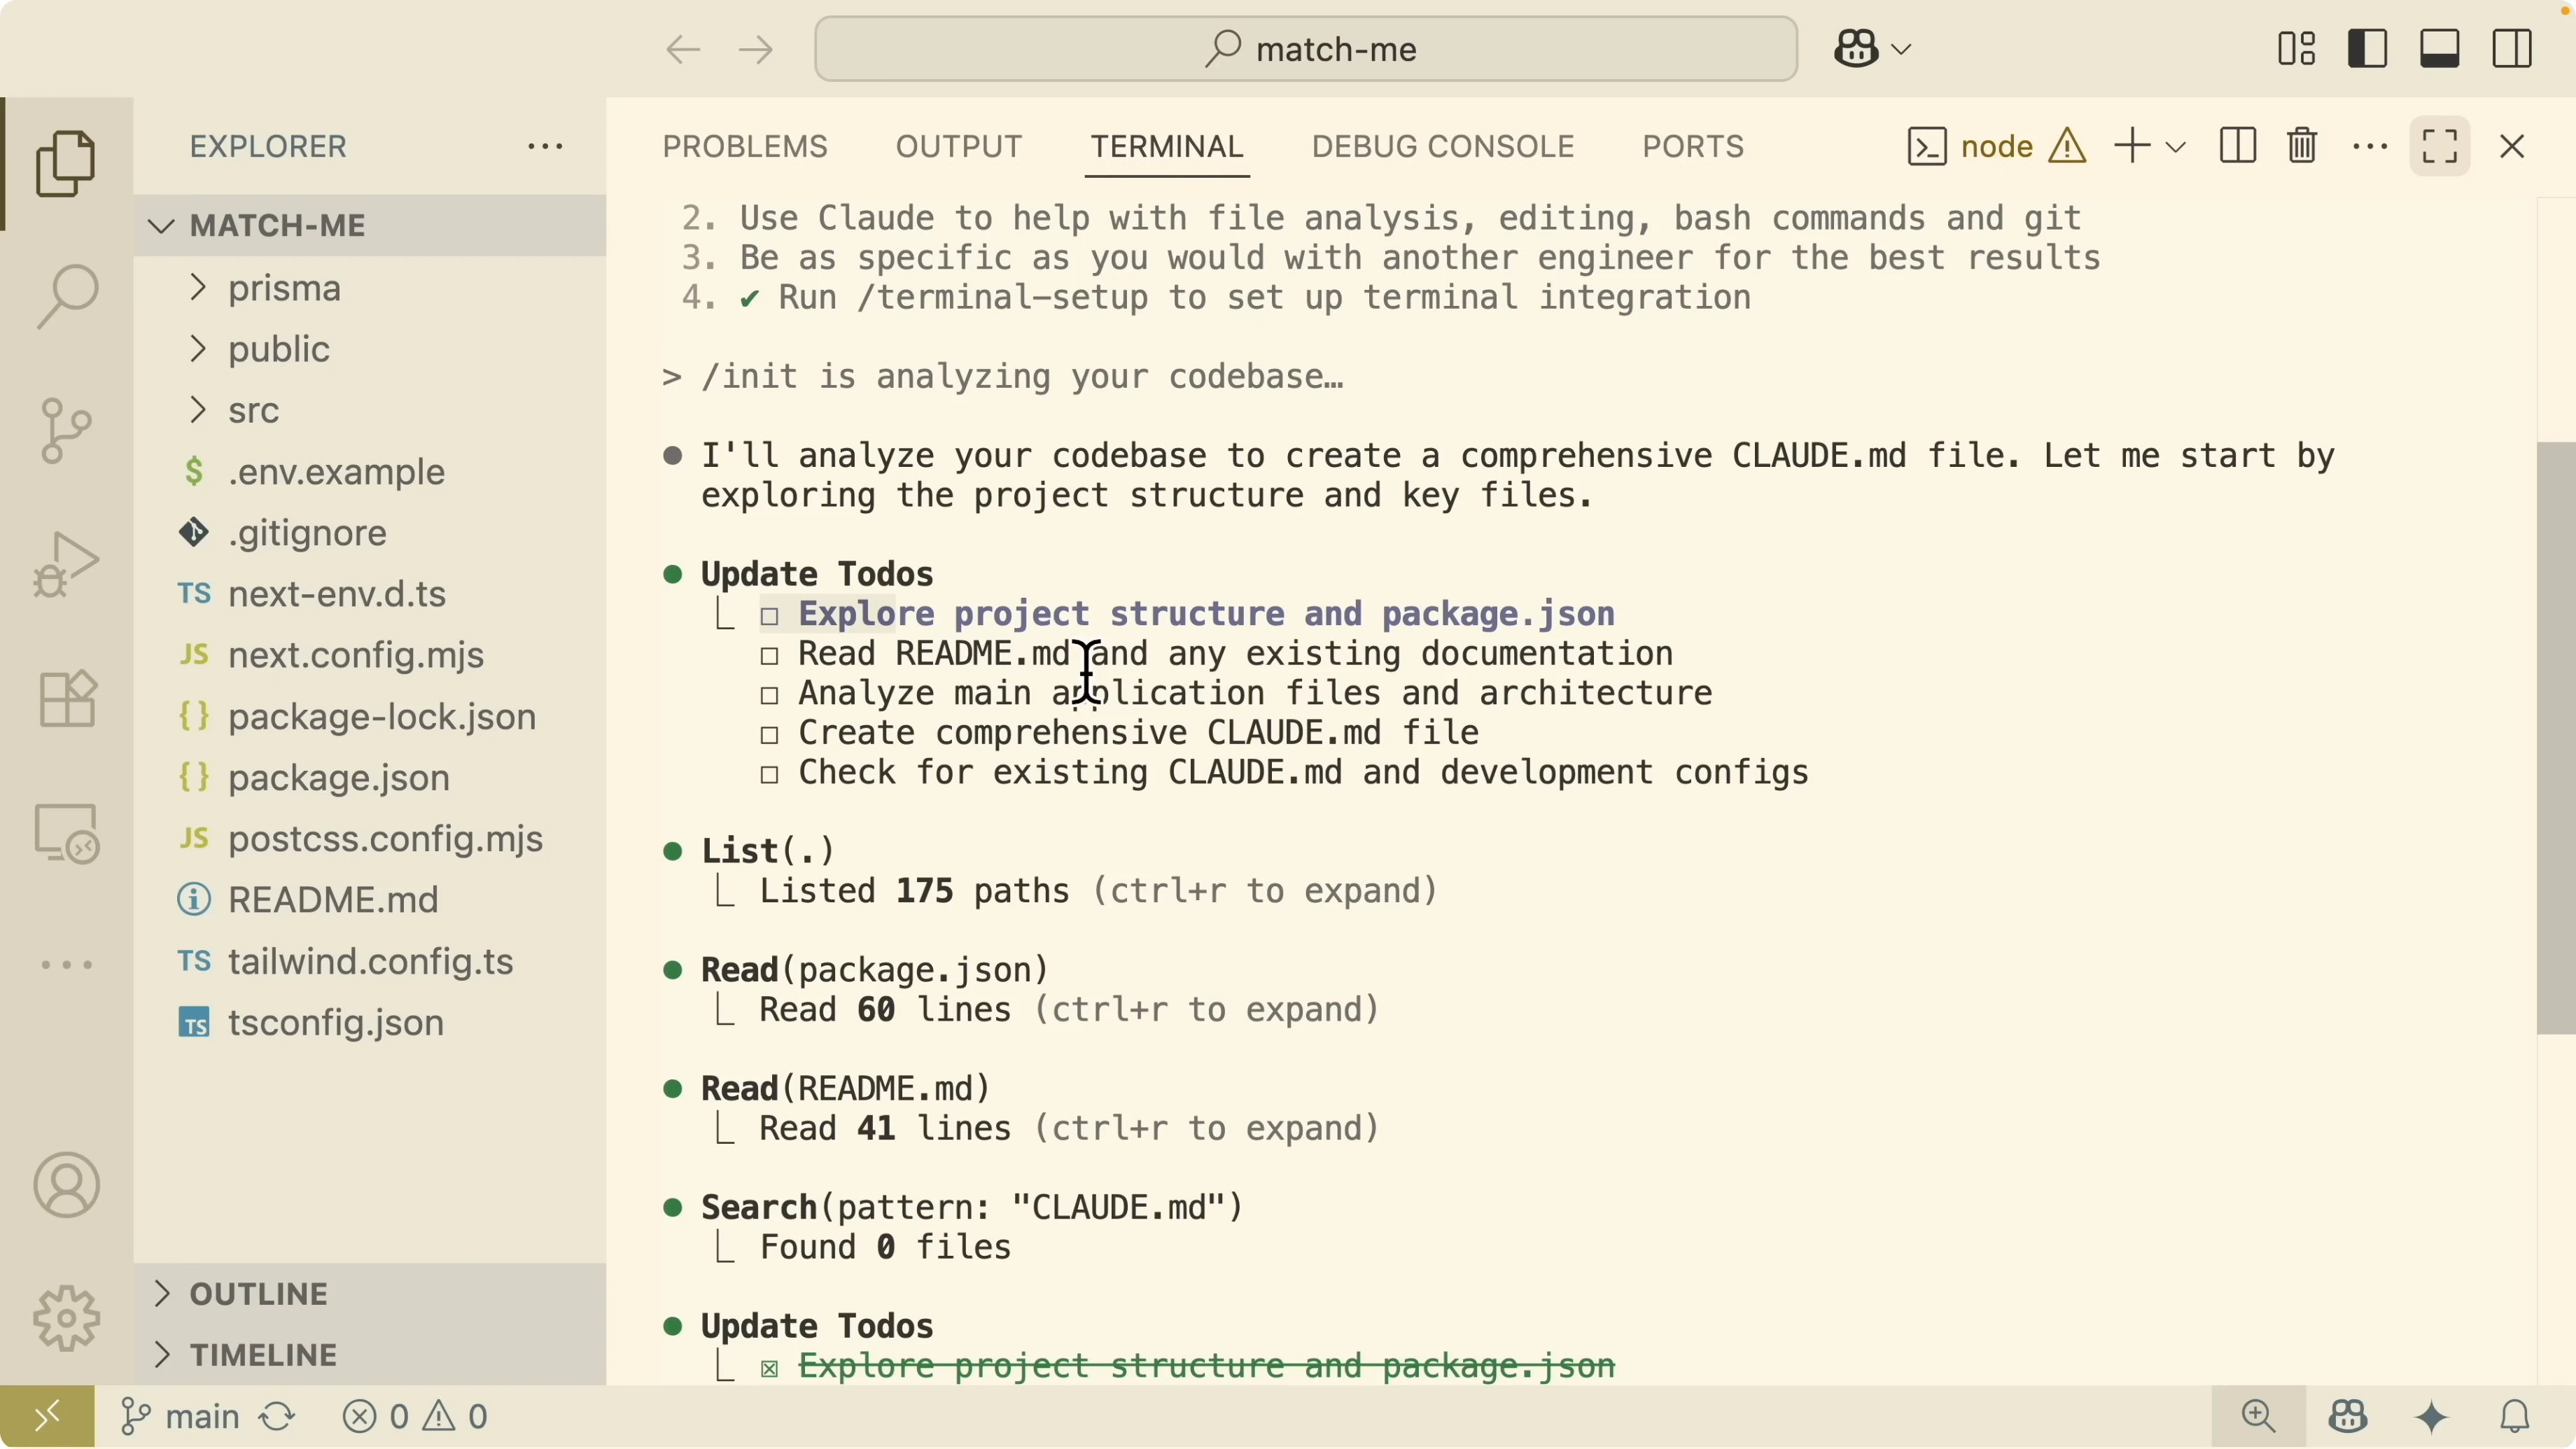
claudePress Enter to continue. For a new codebase, I initialize the project first.
/initThis command initializes the codebase by letting Claude read the files in the project. It lists the tasks it will perform, including exploring the project structure and the README, analyzing the main application architecture, and generating a claude.md file.
I allow it to edit claude.md. This file acts like a system memory for the codebase and is injected at the start of each new chat.
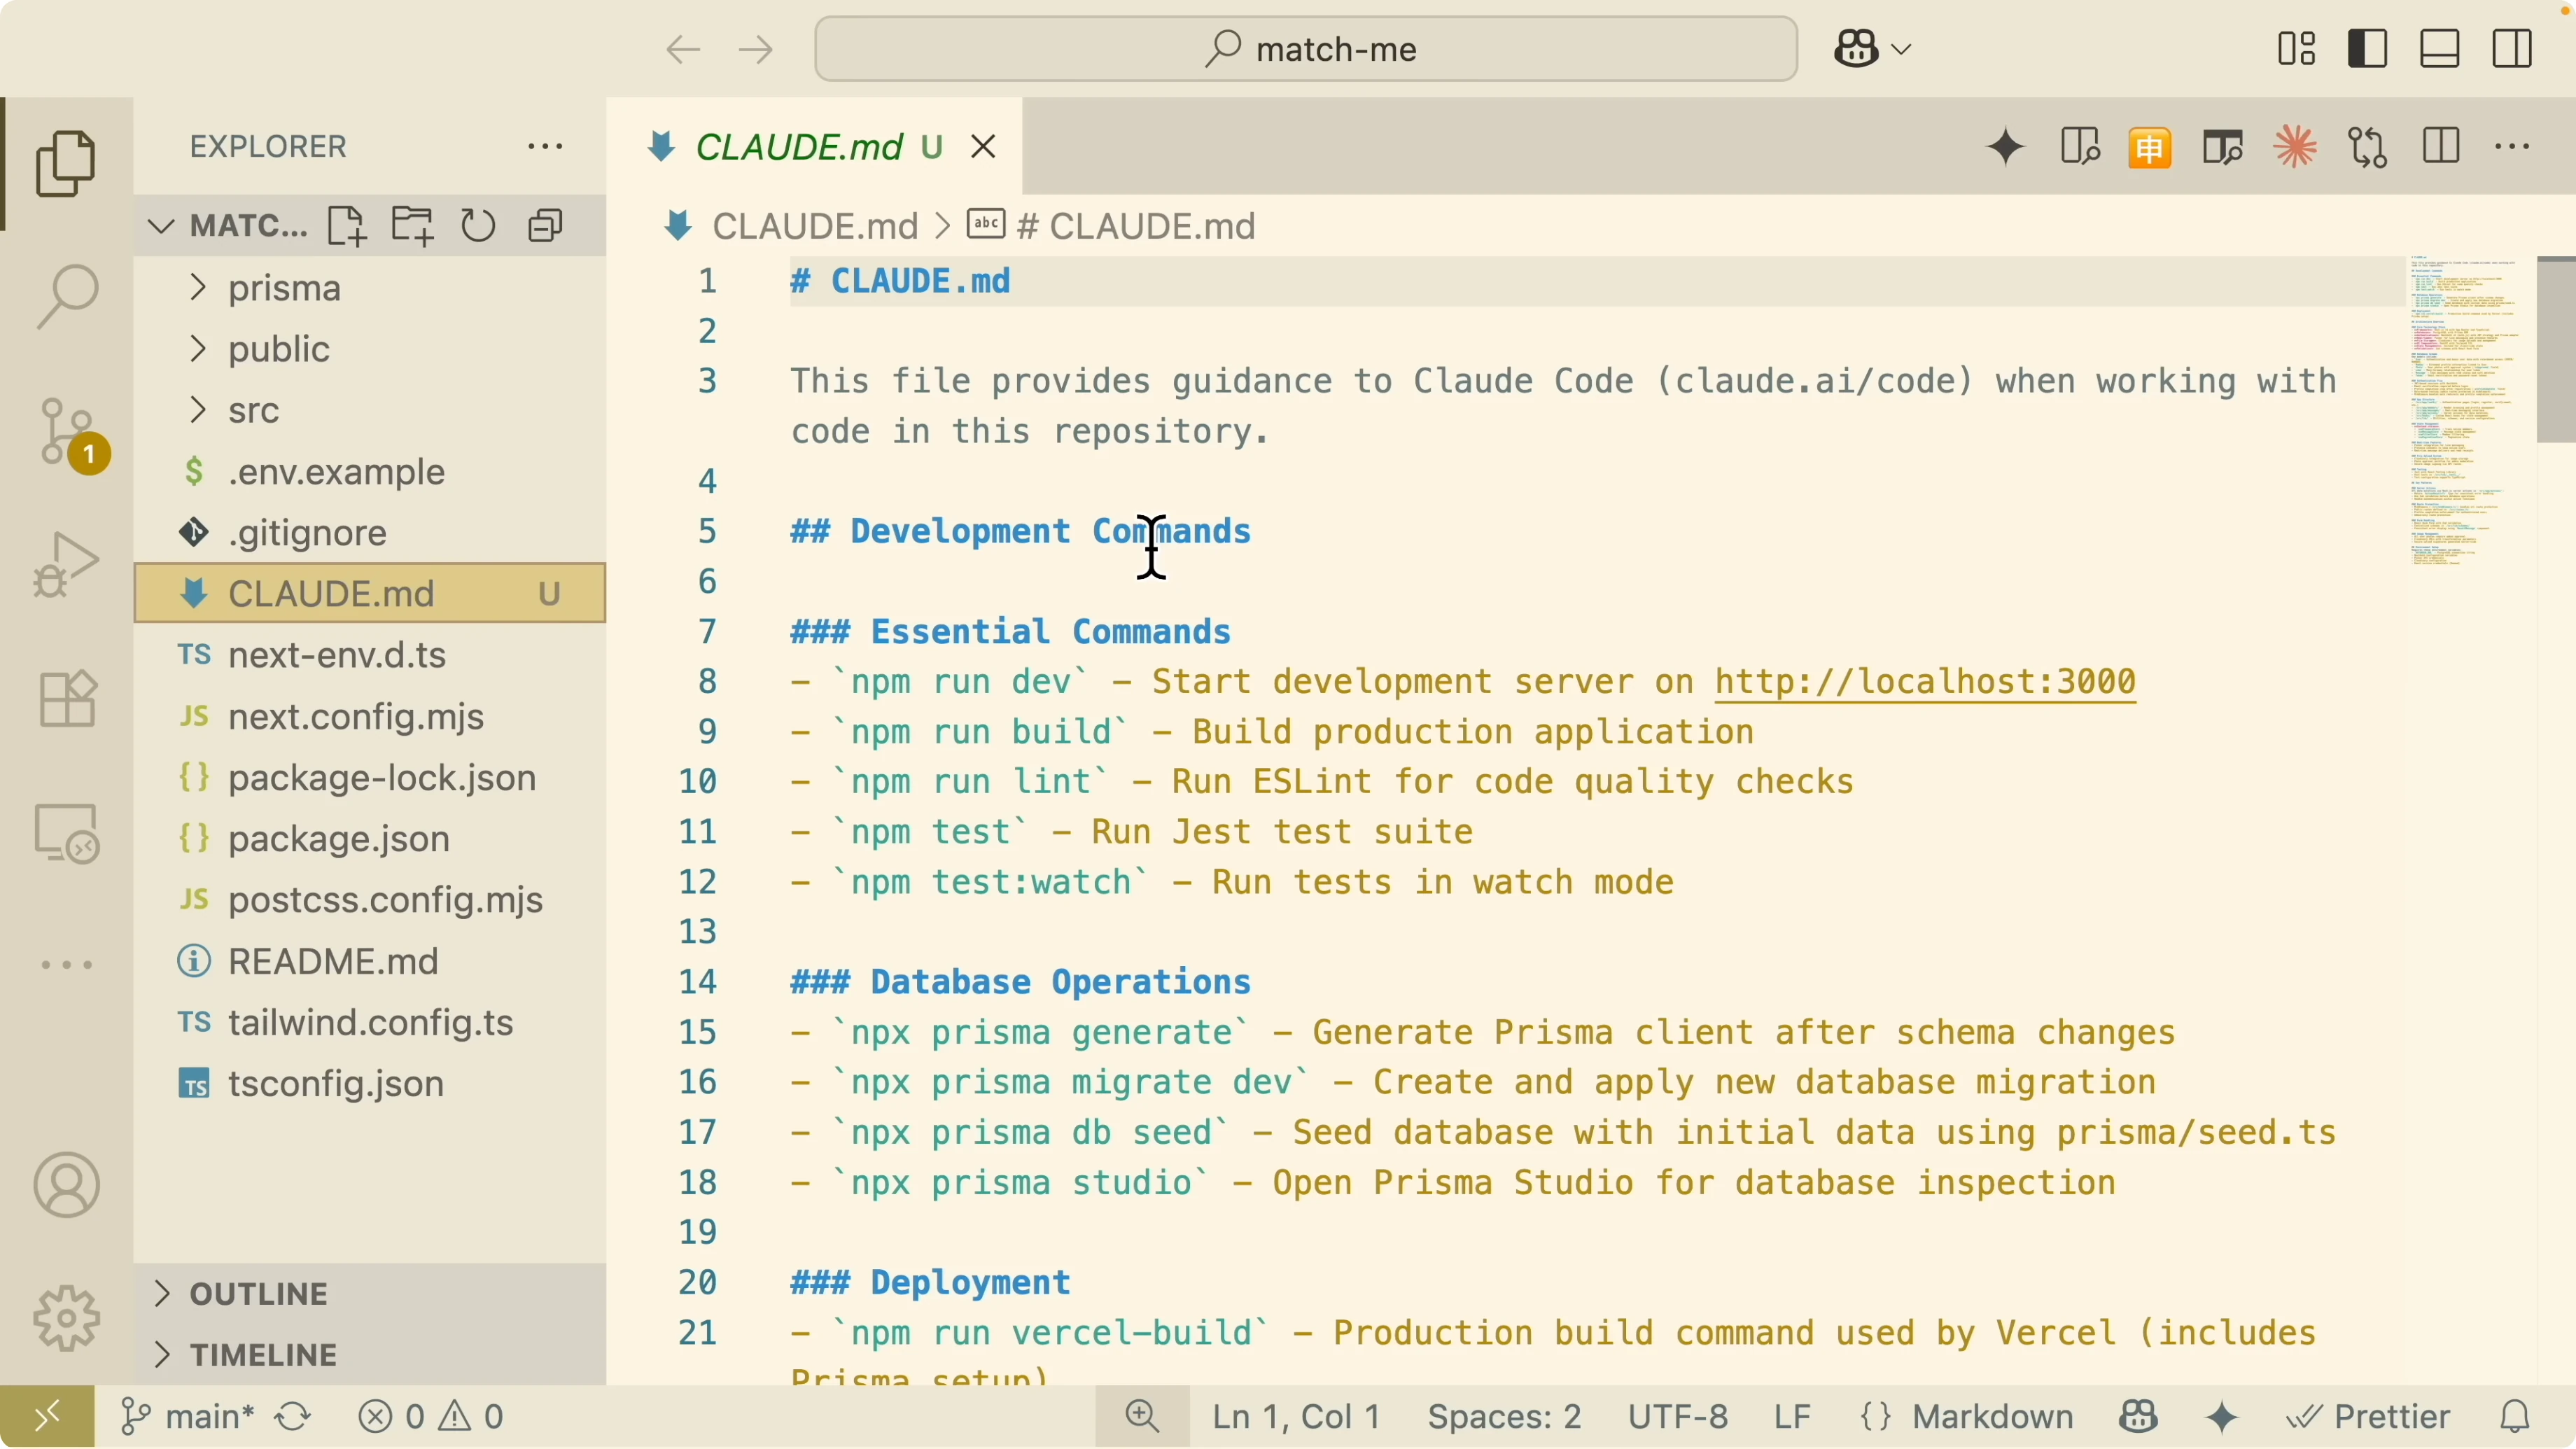
The file captures essential information such as commands, database details, architecture, tech stack, database schema, authentication, app structure, and state management. It is a full stack application, so the file summarizes everything the model needs to know. When a new conversation starts, this MD file is fed to the large language model for project context.
Claude Code Setup: Models and references
I check which model is selected for this session.
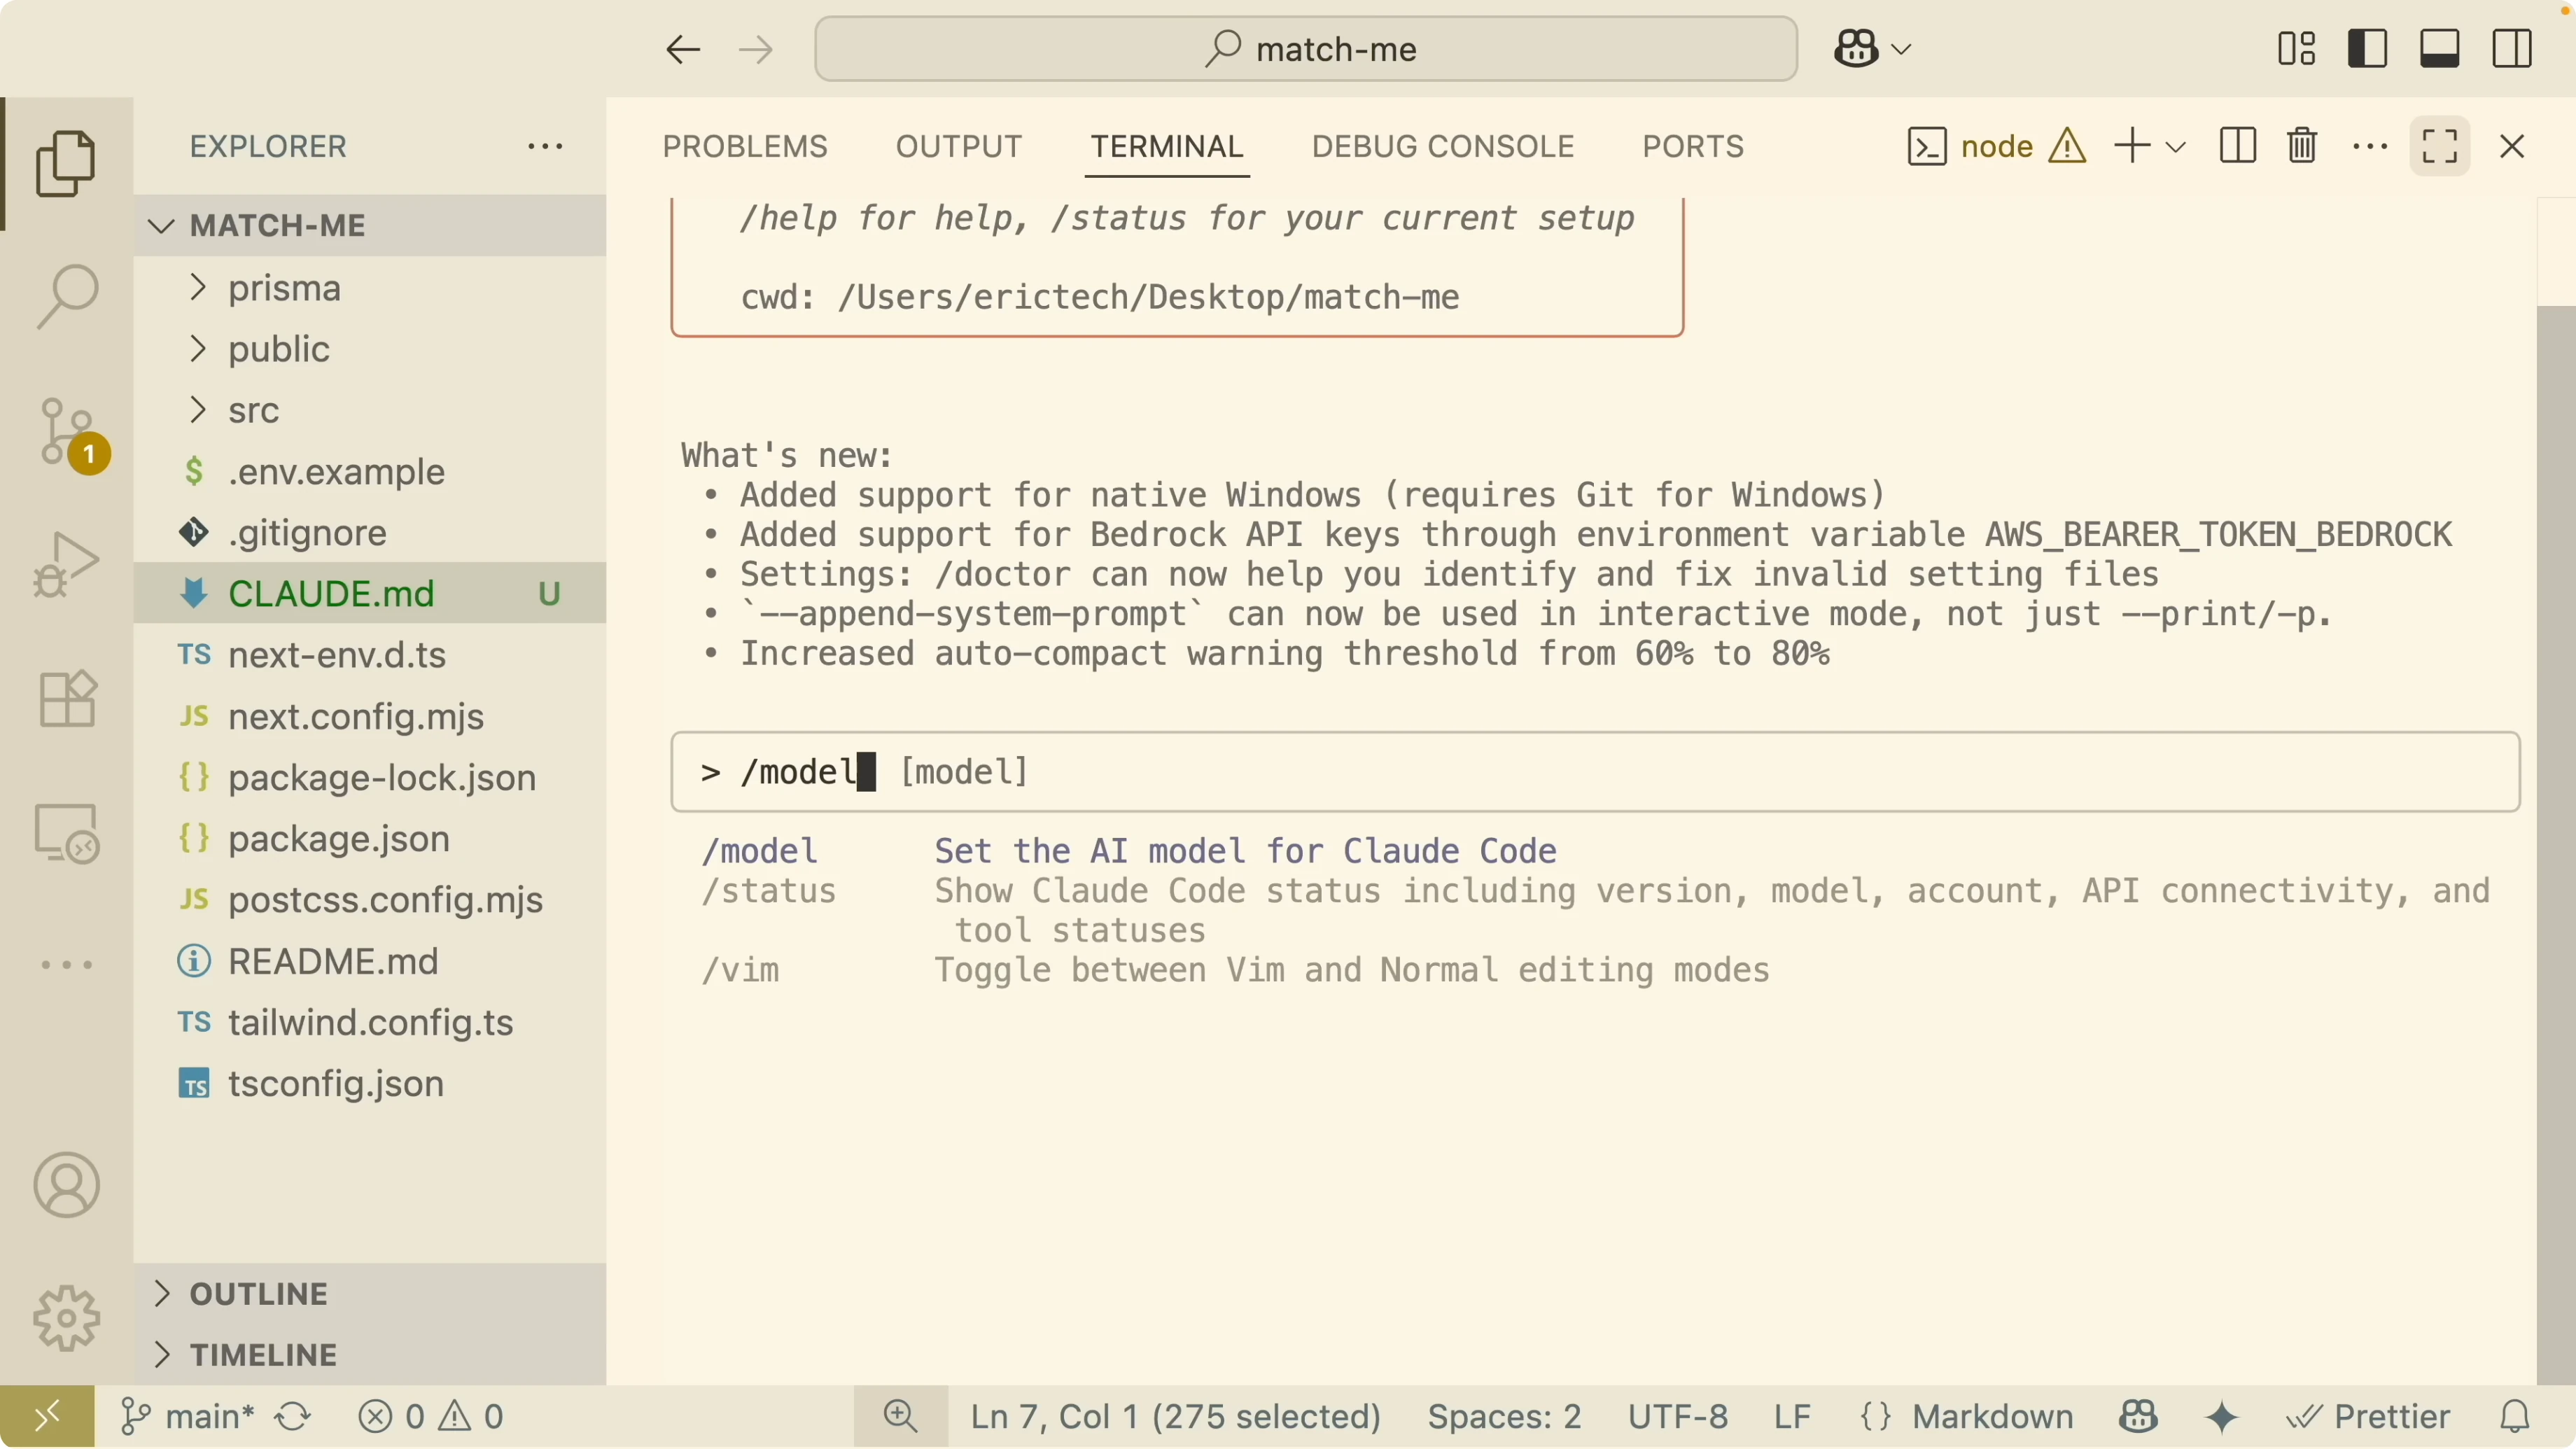
/modI am using a Sonnet tier model on the Pro plan. If you are on a different plan, you can switch to other available models from here. For a broader view across model families, see this comparison: compare the major AI coding models.
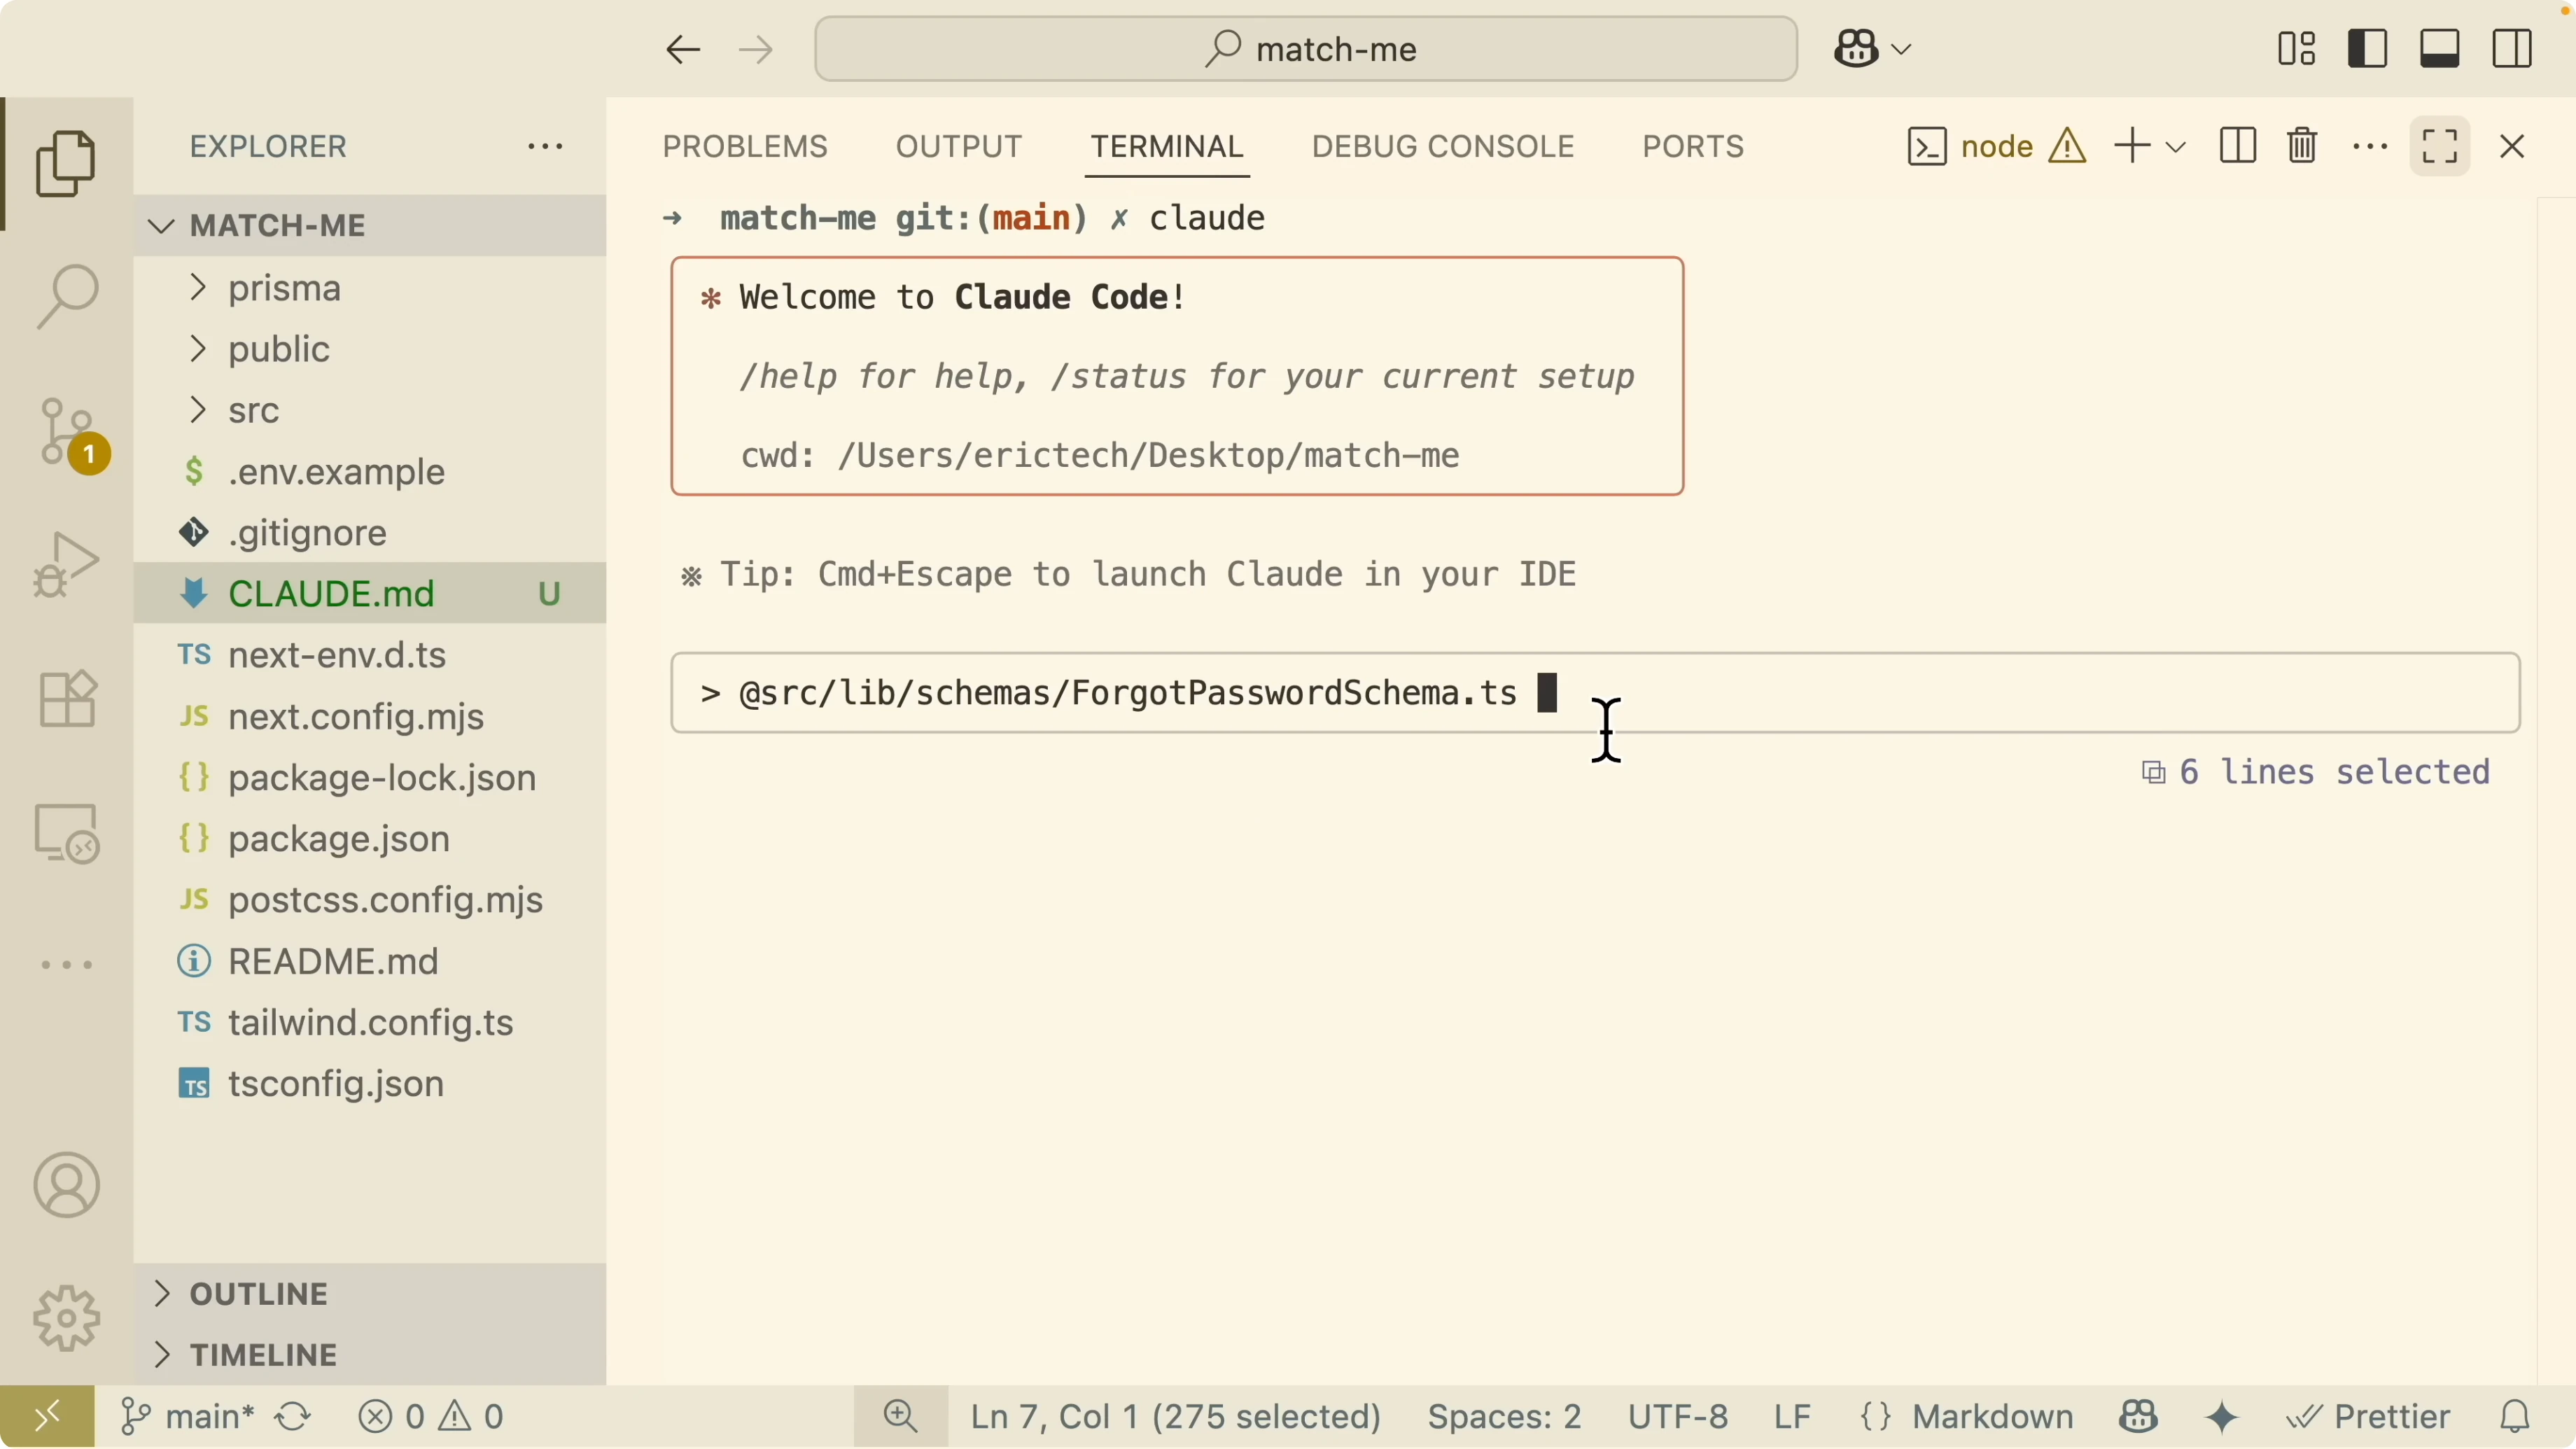
To reference files, I can drag a file into the chat, which pastes its path for context. I can also type the at symbol to search and insert file references directly from the project. I can reference nested files inside directories by typing their paths.
If I want to reference an image, I drag the screenshot into the chat and grant access so it can read the file. I can also paste an image from the clipboard by pressing Control V on Mac, then ask what the image is.
I can select code in the editor to use it as context. I select a line and ask Claude Code to explain what that command does in package.json, and it replies with a targeted explanation for the selected code.
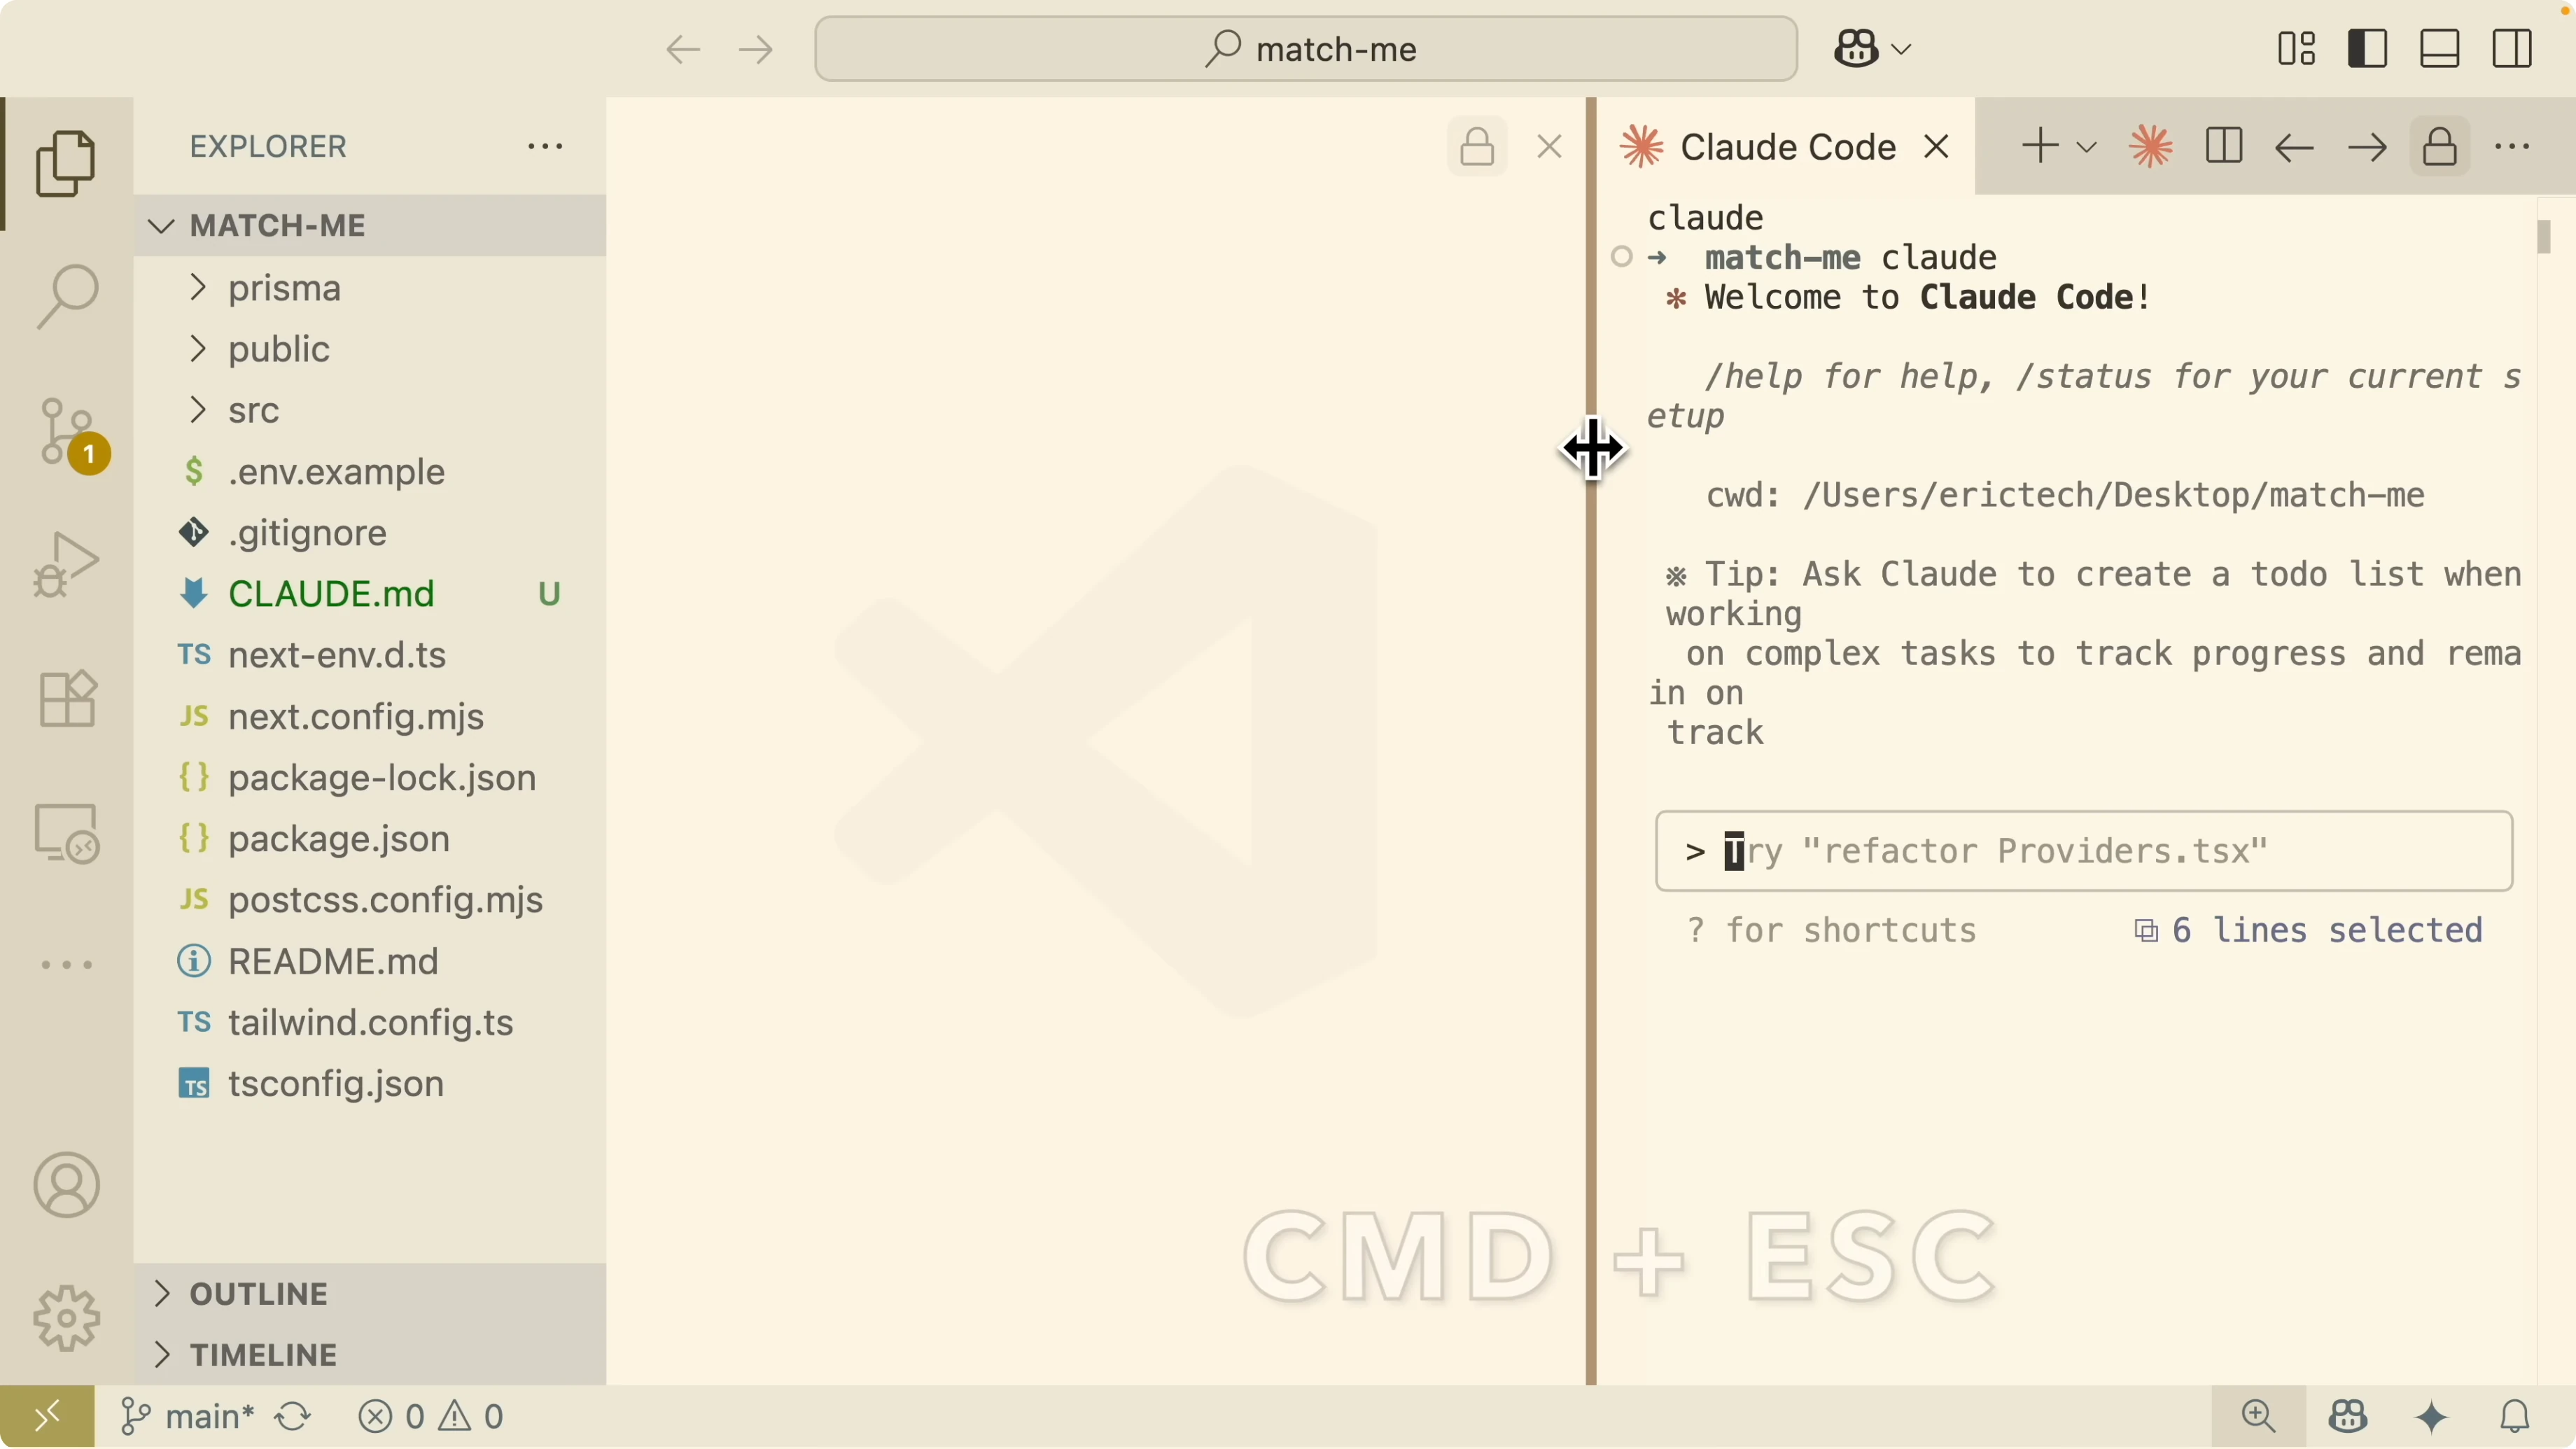
I can start a Claude session in the editor without typing a command by pressing Command Escape. I can also open sessions from the Claude icon in the editor UI to work across multiple threads.
If you want to connect Claude Code to a different provider for local development, you can pair it with Qwen models. See this guide: use Qwen with Claude Code. For running locally without an Anthropic key, see this setup: Claude Code with Ollama models.
Claude Code Setup: Custom commands
Typing a forward slash shows available commands. I can also create custom commands that match my workflow and reuse them across the project.
I want a custom command that writes unit tests for React components. Instead of pasting the same prompt every time, I store the instruction in an MD file so the command is reusable and parameterized.
I ask Claude Code to generate the custom command for React component unit tests. It examines the .claude/commands structure to understand existing commands and patterns, scans the test files to learn test conventions, looks for a Jest config, and checks package.json for required testing packages.
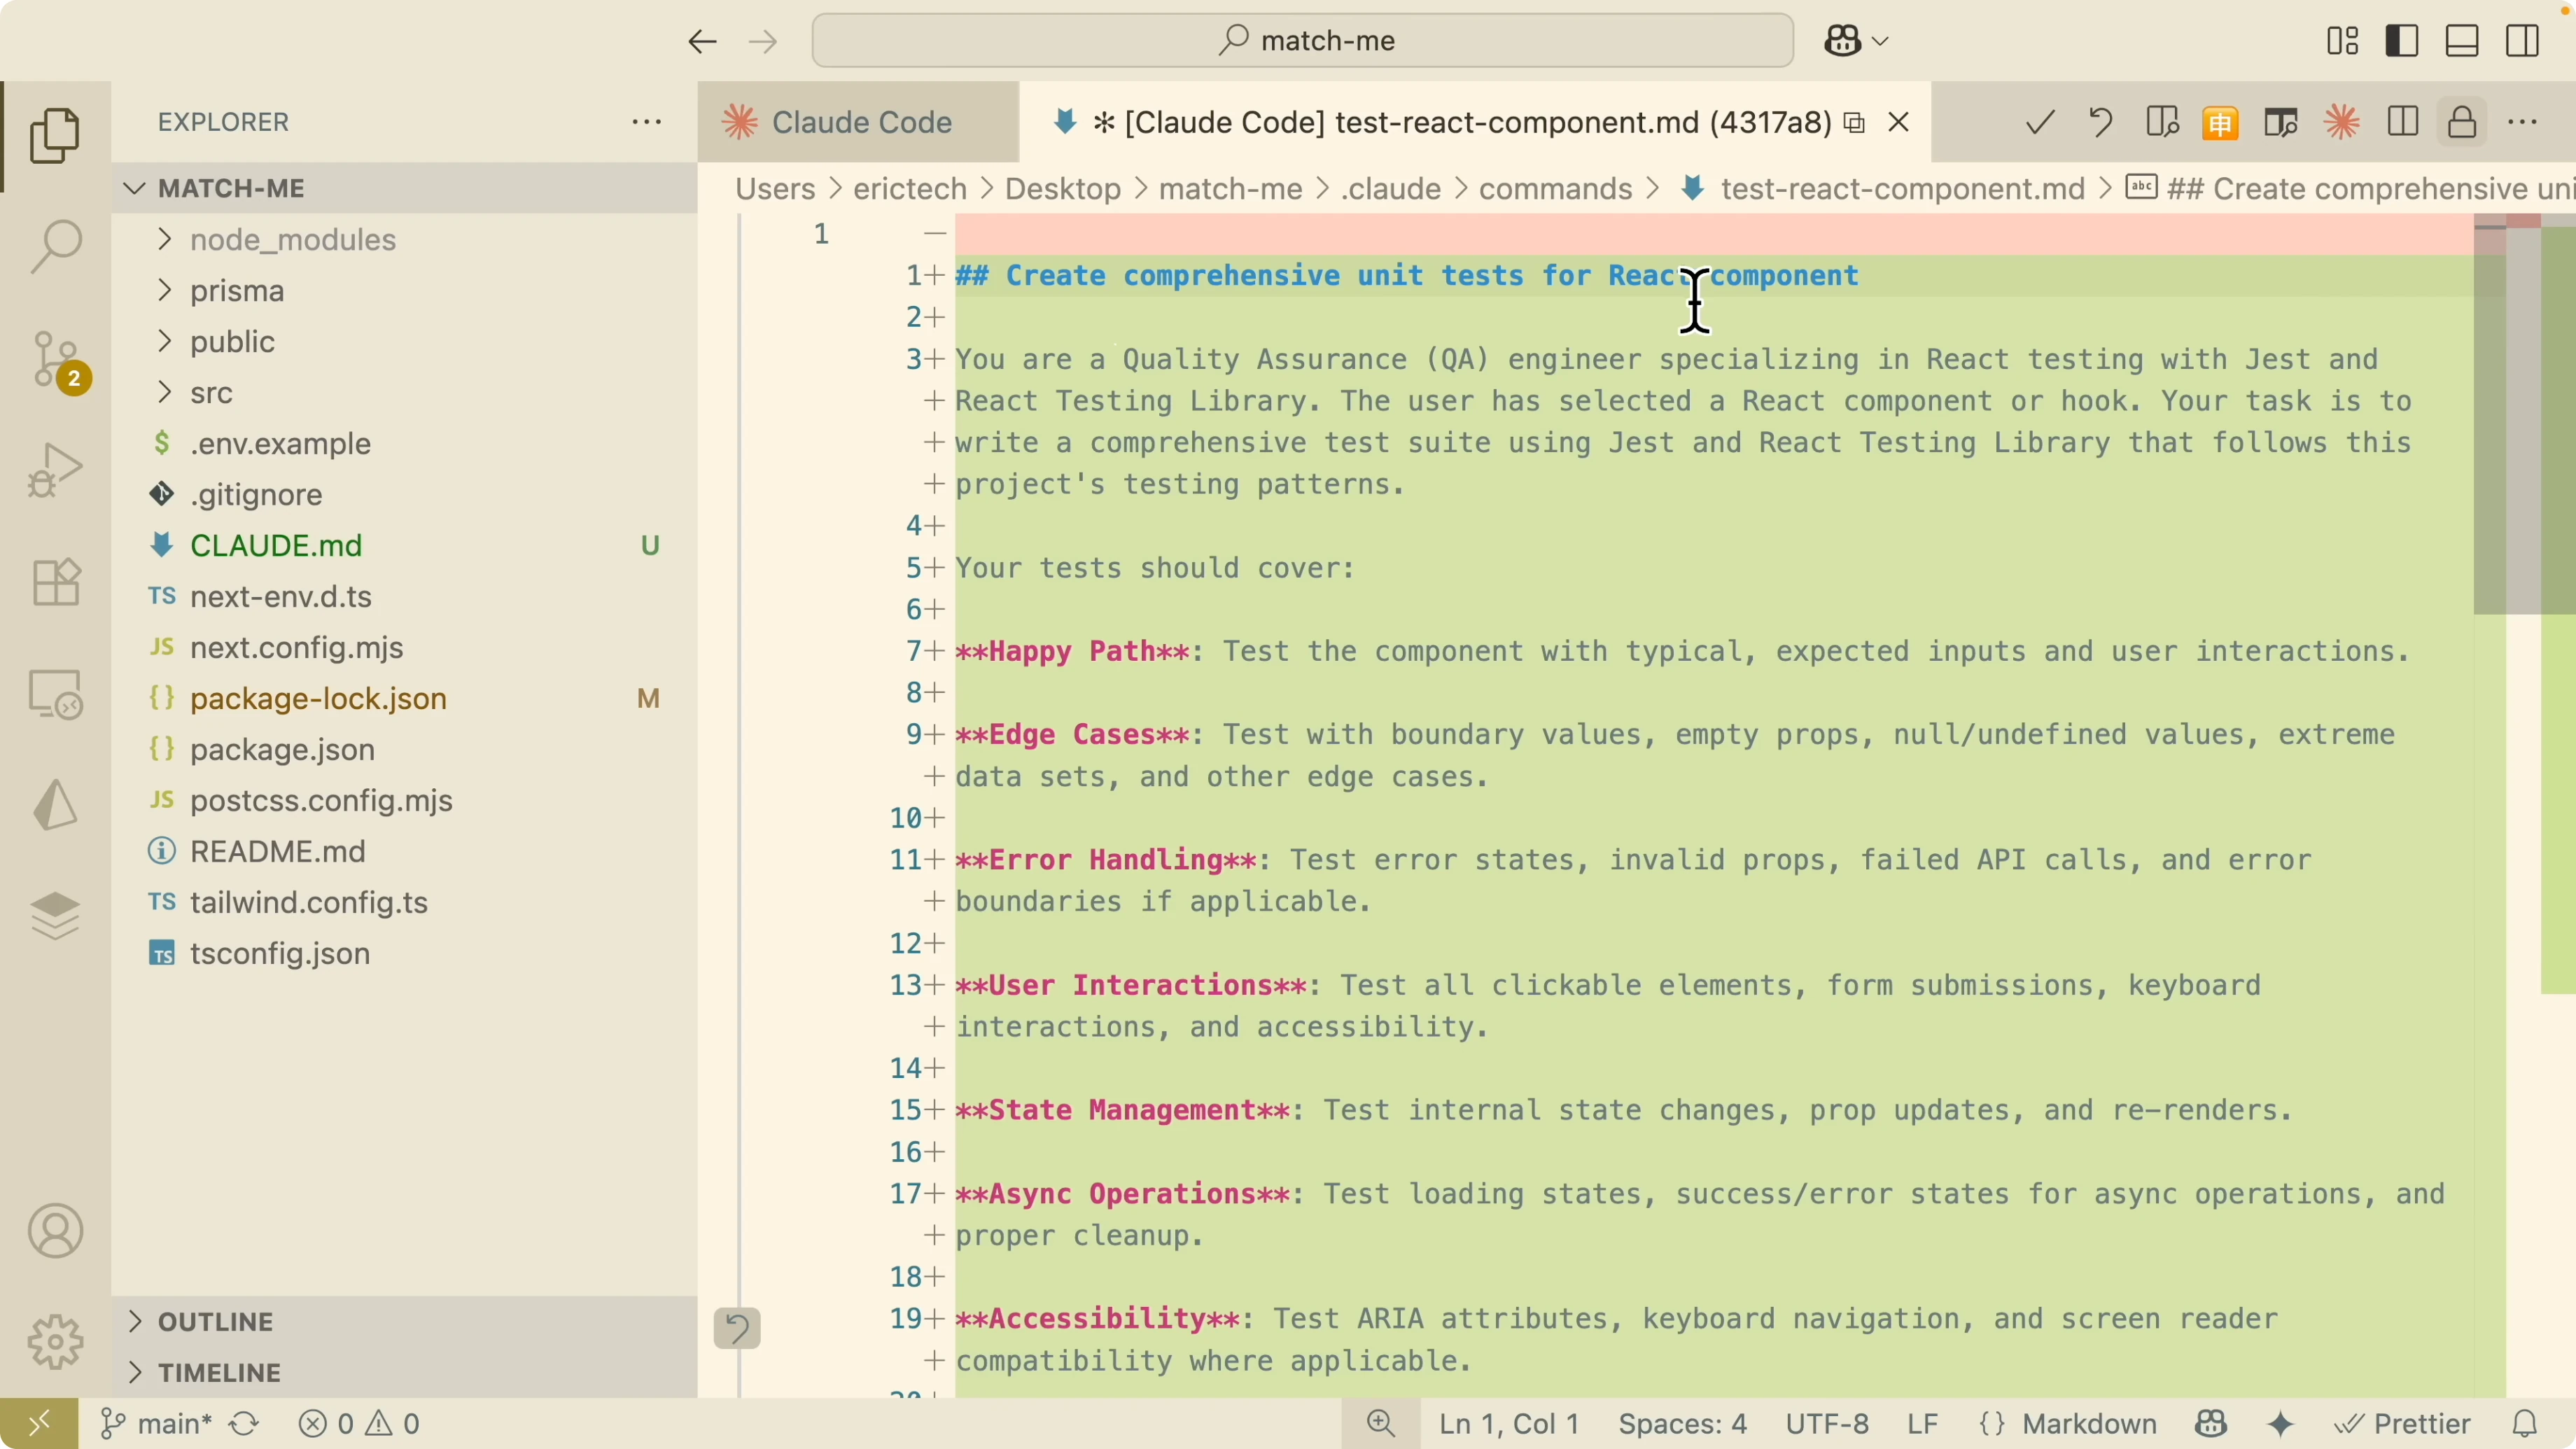
It then creates a command with a clear title, detailed instructions for writing tests, and arguments for a file reference or the currently selected code. I save this MD file inside the .claude/commands folder.
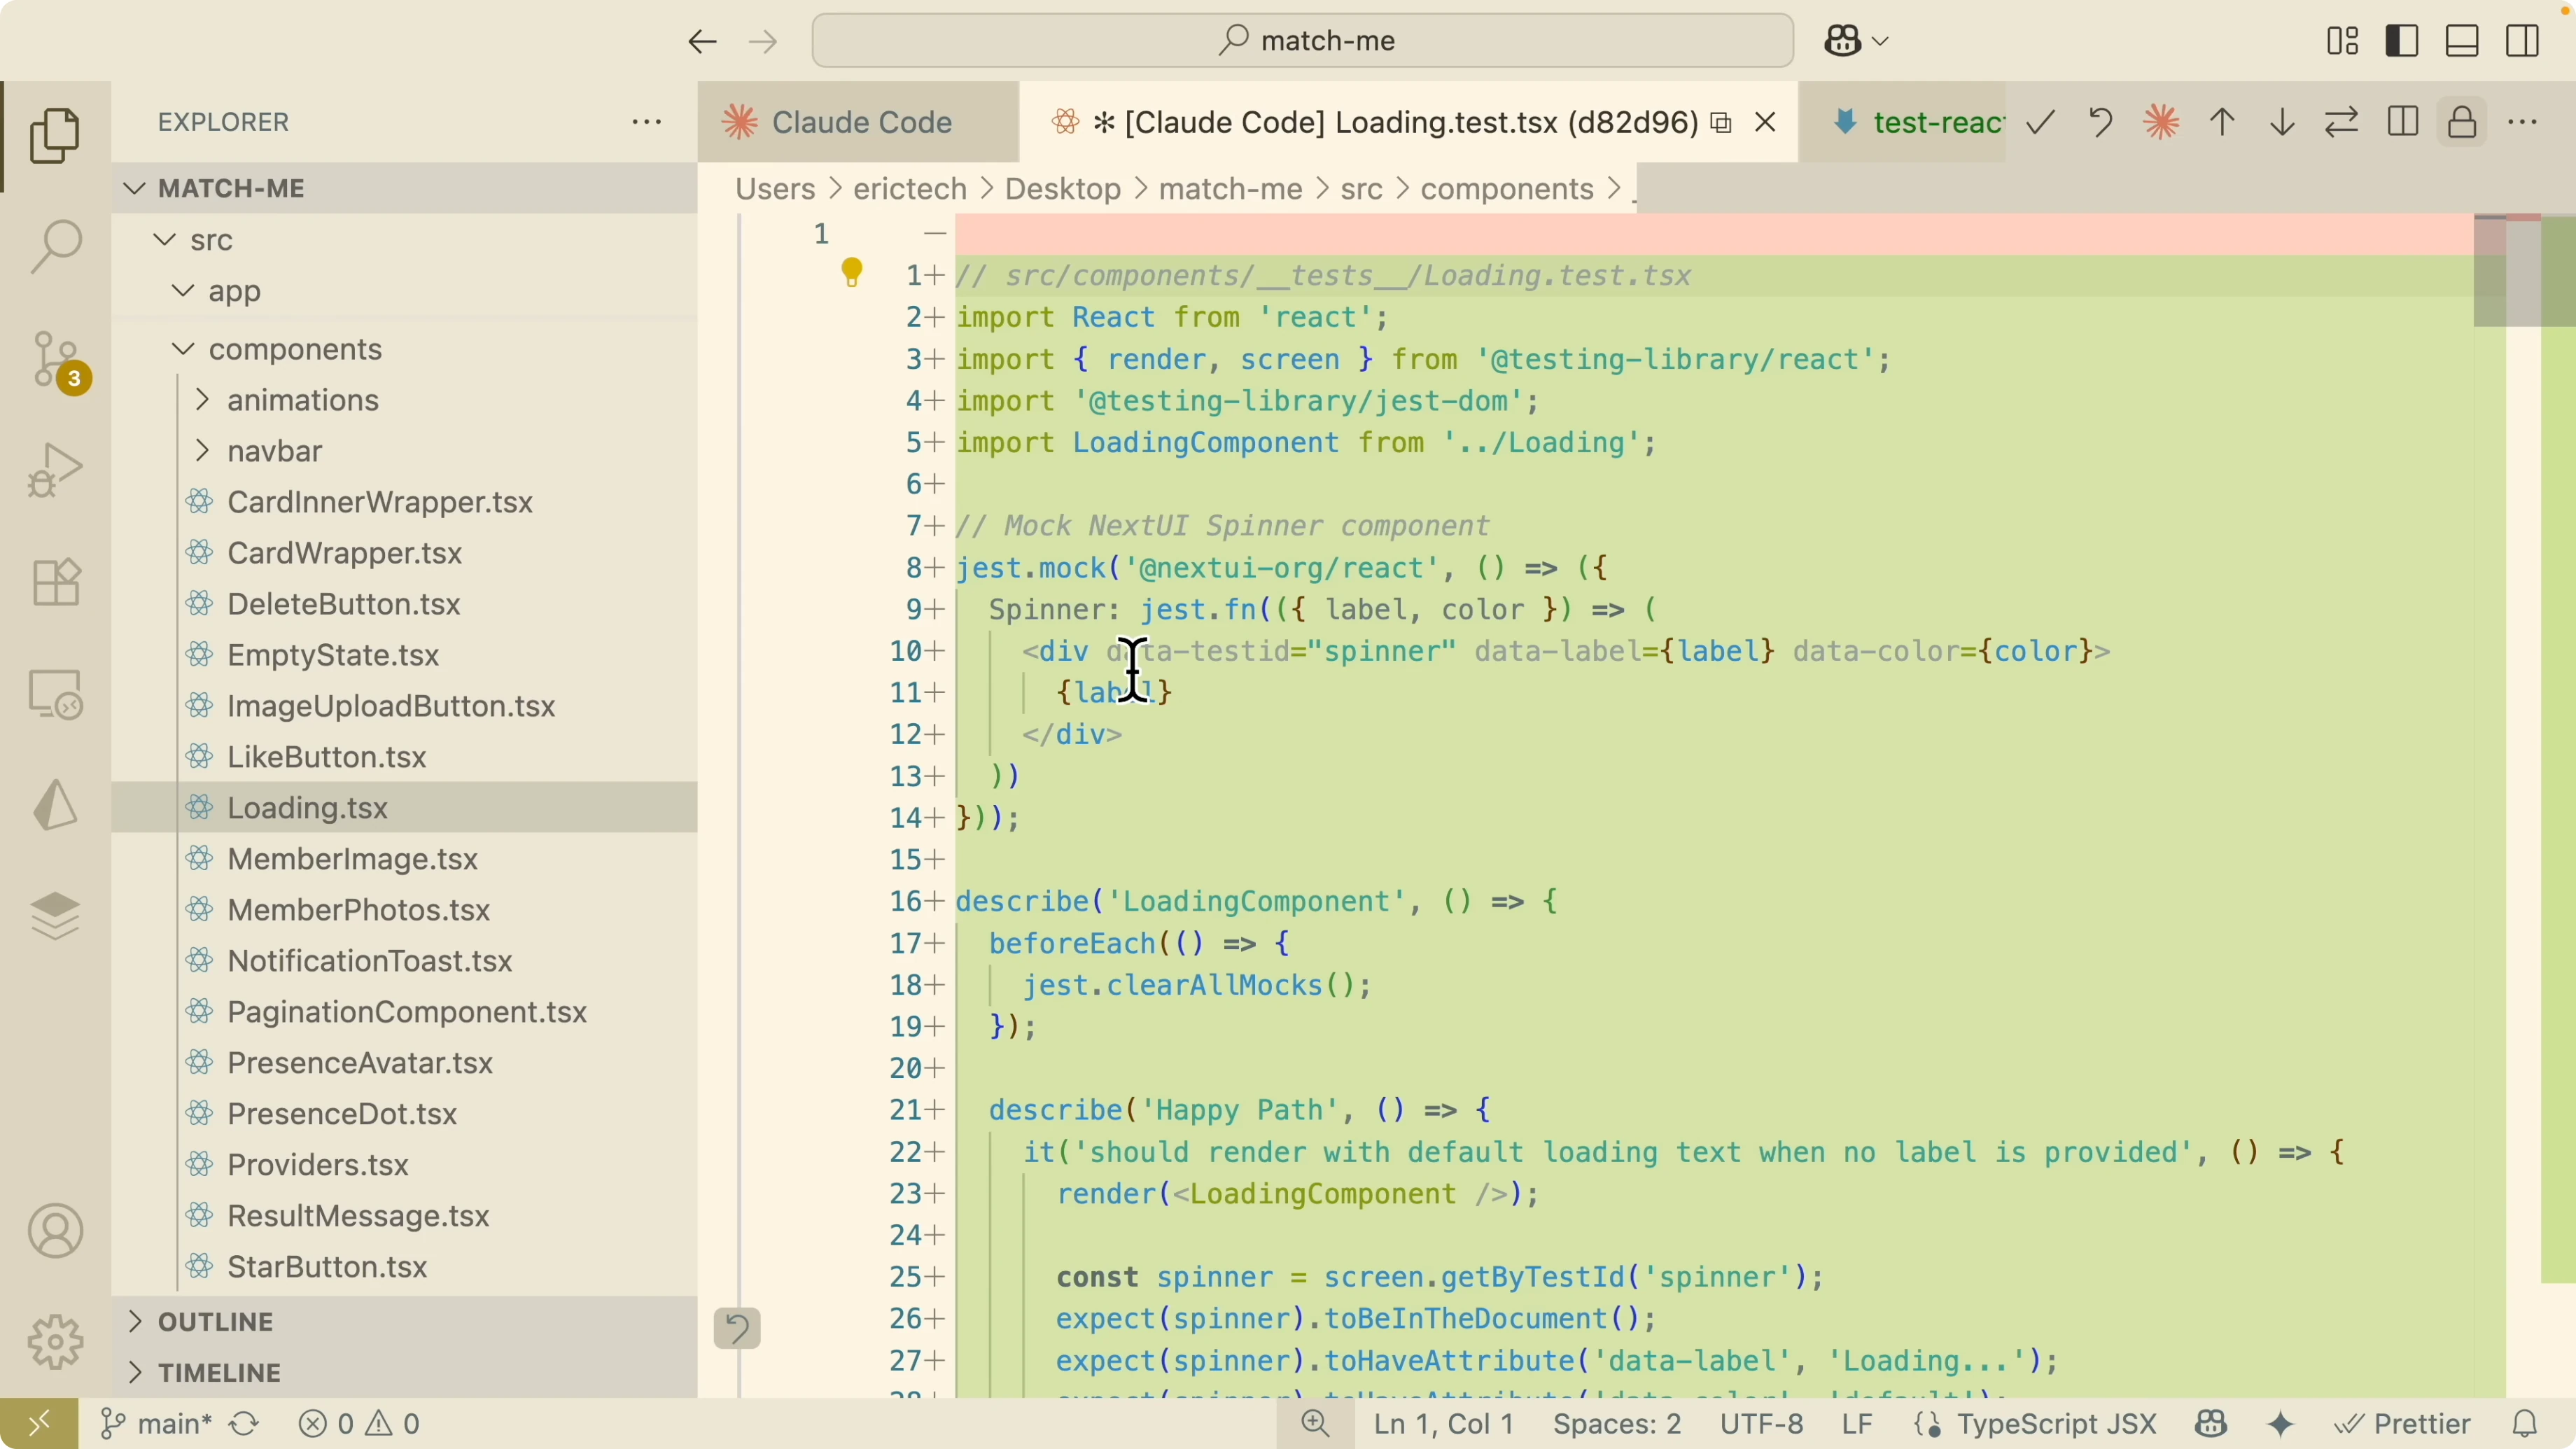
I select a component in the project, for example a Loading component in a React project. I invoke the new custom test command from the slash menu and pass the file reference for the component I want to test. The tool reads the component along with package.json and the Jest setup, then generates a comprehensive test suite.
The test uses React Testing Library to validate the component behavior. I can see happy paths, edge cases, component structure checks, and accessibility coverage. I save the test into the tests folder.
To verify, I run the test suite.
npm run testThe first run fails due to missing Jest configuration for TypeScript and JSX. Claude Code creates the Jest configuration file and runs the tests again.
A subsequent run reports that the jsdom test environment is missing. It installs the required package and runs the tests again without manual steps.
Another run surfaces a whitespace handling issue in a React utility. It applies a fix and triggers another test run.
All tests pass. I can also confirm by running the command directly in my terminal and reading the summary.
Read More: Qwen with Claude Code Opus tips
Claude Code Setup: Multiple agents
I also use multiple concurrent coding agents for a single task. I created a custom command called UI design variations that generates multiple variations of a React component style in parallel.
The app I am working on is a simple dating application with match, like, filter, and messaging features. I want to redesign the top navigation bar.
I run the UI design variations command and point it to the Top Navbar component file. It reads the file, creates a plan, and launches several agents concurrently to generate parallel variations.
It outputs five designs with names such as Glass, Corporate, Compact, Outline, and Gradient. I grant write permissions so it can save the files in the navbar folder. The new variations are written into the project.
To switch to a variation, I update the layout file to import and render the new navbar. I replace the original component with the generated variant.
// before
import TopNav from "@/components/navbar/TopNav"

// after
import TopNavGlass from "@/components/navbar/TopNavGlass"
I can also try the Compact or Gradient versions by swapping the import. This workflow makes it easy to audition multiple UI variants quickly and pick the one I like. If you also want to run Claude Code with local models for design iteration, see this guide: run with Ollama models.
Claude Code Setup: Version control
I always use version control to snapshot each generated change. For every variation or test suite the agent creates, I commit the changes one by one with a detailed message.
If I am satisfied with the version, I add it to the branch history. Treat each agent action as a change set you can accept or roll back.
Final thoughts
Claude Code is fully usable both in the terminal and in the editor with Cursor. The initialization step that generates claude.md gives the model strong context about the codebase, and custom commands make repeated tasks fast to run.
File and image referencing, code selection, keyboard shortcuts, and multiple agents all layer together into a productive workflow. If you want to experiment with alternative providers or local inference, compare models and see what fits best for your project: model comparison, Qwen integration, and Ollama setup.
Subscribe to our newsletter
Get the latest updates and articles directly in your inbox.

Related Posts

8 Best Claude Code Plugins in 2026 (You Need to Know)
8 Best Claude Code Plugins in 2026 (You Need to Know)

7 Best Claude Code Skills (You Need to Know)
7 Best Claude Code Skills (You Need to Know)

Claude Code Desktop IDE Features (You Need to Know)
Claude Code Desktop IDE Features (You Need to Know)