
Table Of Content
- Why enable Qwen 3.5 and OpenClaw Vision?
- Install to enable Qwen 3.5 and OpenClaw Vision?
- Configure to enable Qwen 3.5 and OpenClaw Vision?
- Get the API key for Qwen 3.5 Plus
- Create the Telegram bot
- Restart and verify
- Pairing in Telegram
- Test vision on Telegram
- Final thoughts on enable Qwen 3.5 and OpenClaw Vision?

How to enable Qwen 3.5 and OpenClaw Vision?
OpenClaw Error Fixer
Paste any OpenClaw error and get the exact fix instantly — cause, steps, copy-ready commands, and related guides.
Table Of Content
- Why enable Qwen 3.5 and OpenClaw Vision?
- Install to enable Qwen 3.5 and OpenClaw Vision?
- Configure to enable Qwen 3.5 and OpenClaw Vision?
- Get the API key for Qwen 3.5 Plus
- Create the Telegram bot
- Restart and verify
- Pairing in Telegram
- Test vision on Telegram
- Final thoughts on enable Qwen 3.5 and OpenClaw Vision?
I’m integrating the new Qwen 3.5 Plus model with OpenClaw to unlock native vision capabilities over Telegram.
By combining these tools, I can send an image through Telegram and get detailed, intelligent descriptions from a model that understands both text and vision at a foundational level. It works in 2011 languages.
Qwen 3.5 isn’t just another incremental update. It is a unified vision language model with early fusion multimodal training and reinforcement learning scaled across million agent environments.
That is what powers the image understanding you will see below.
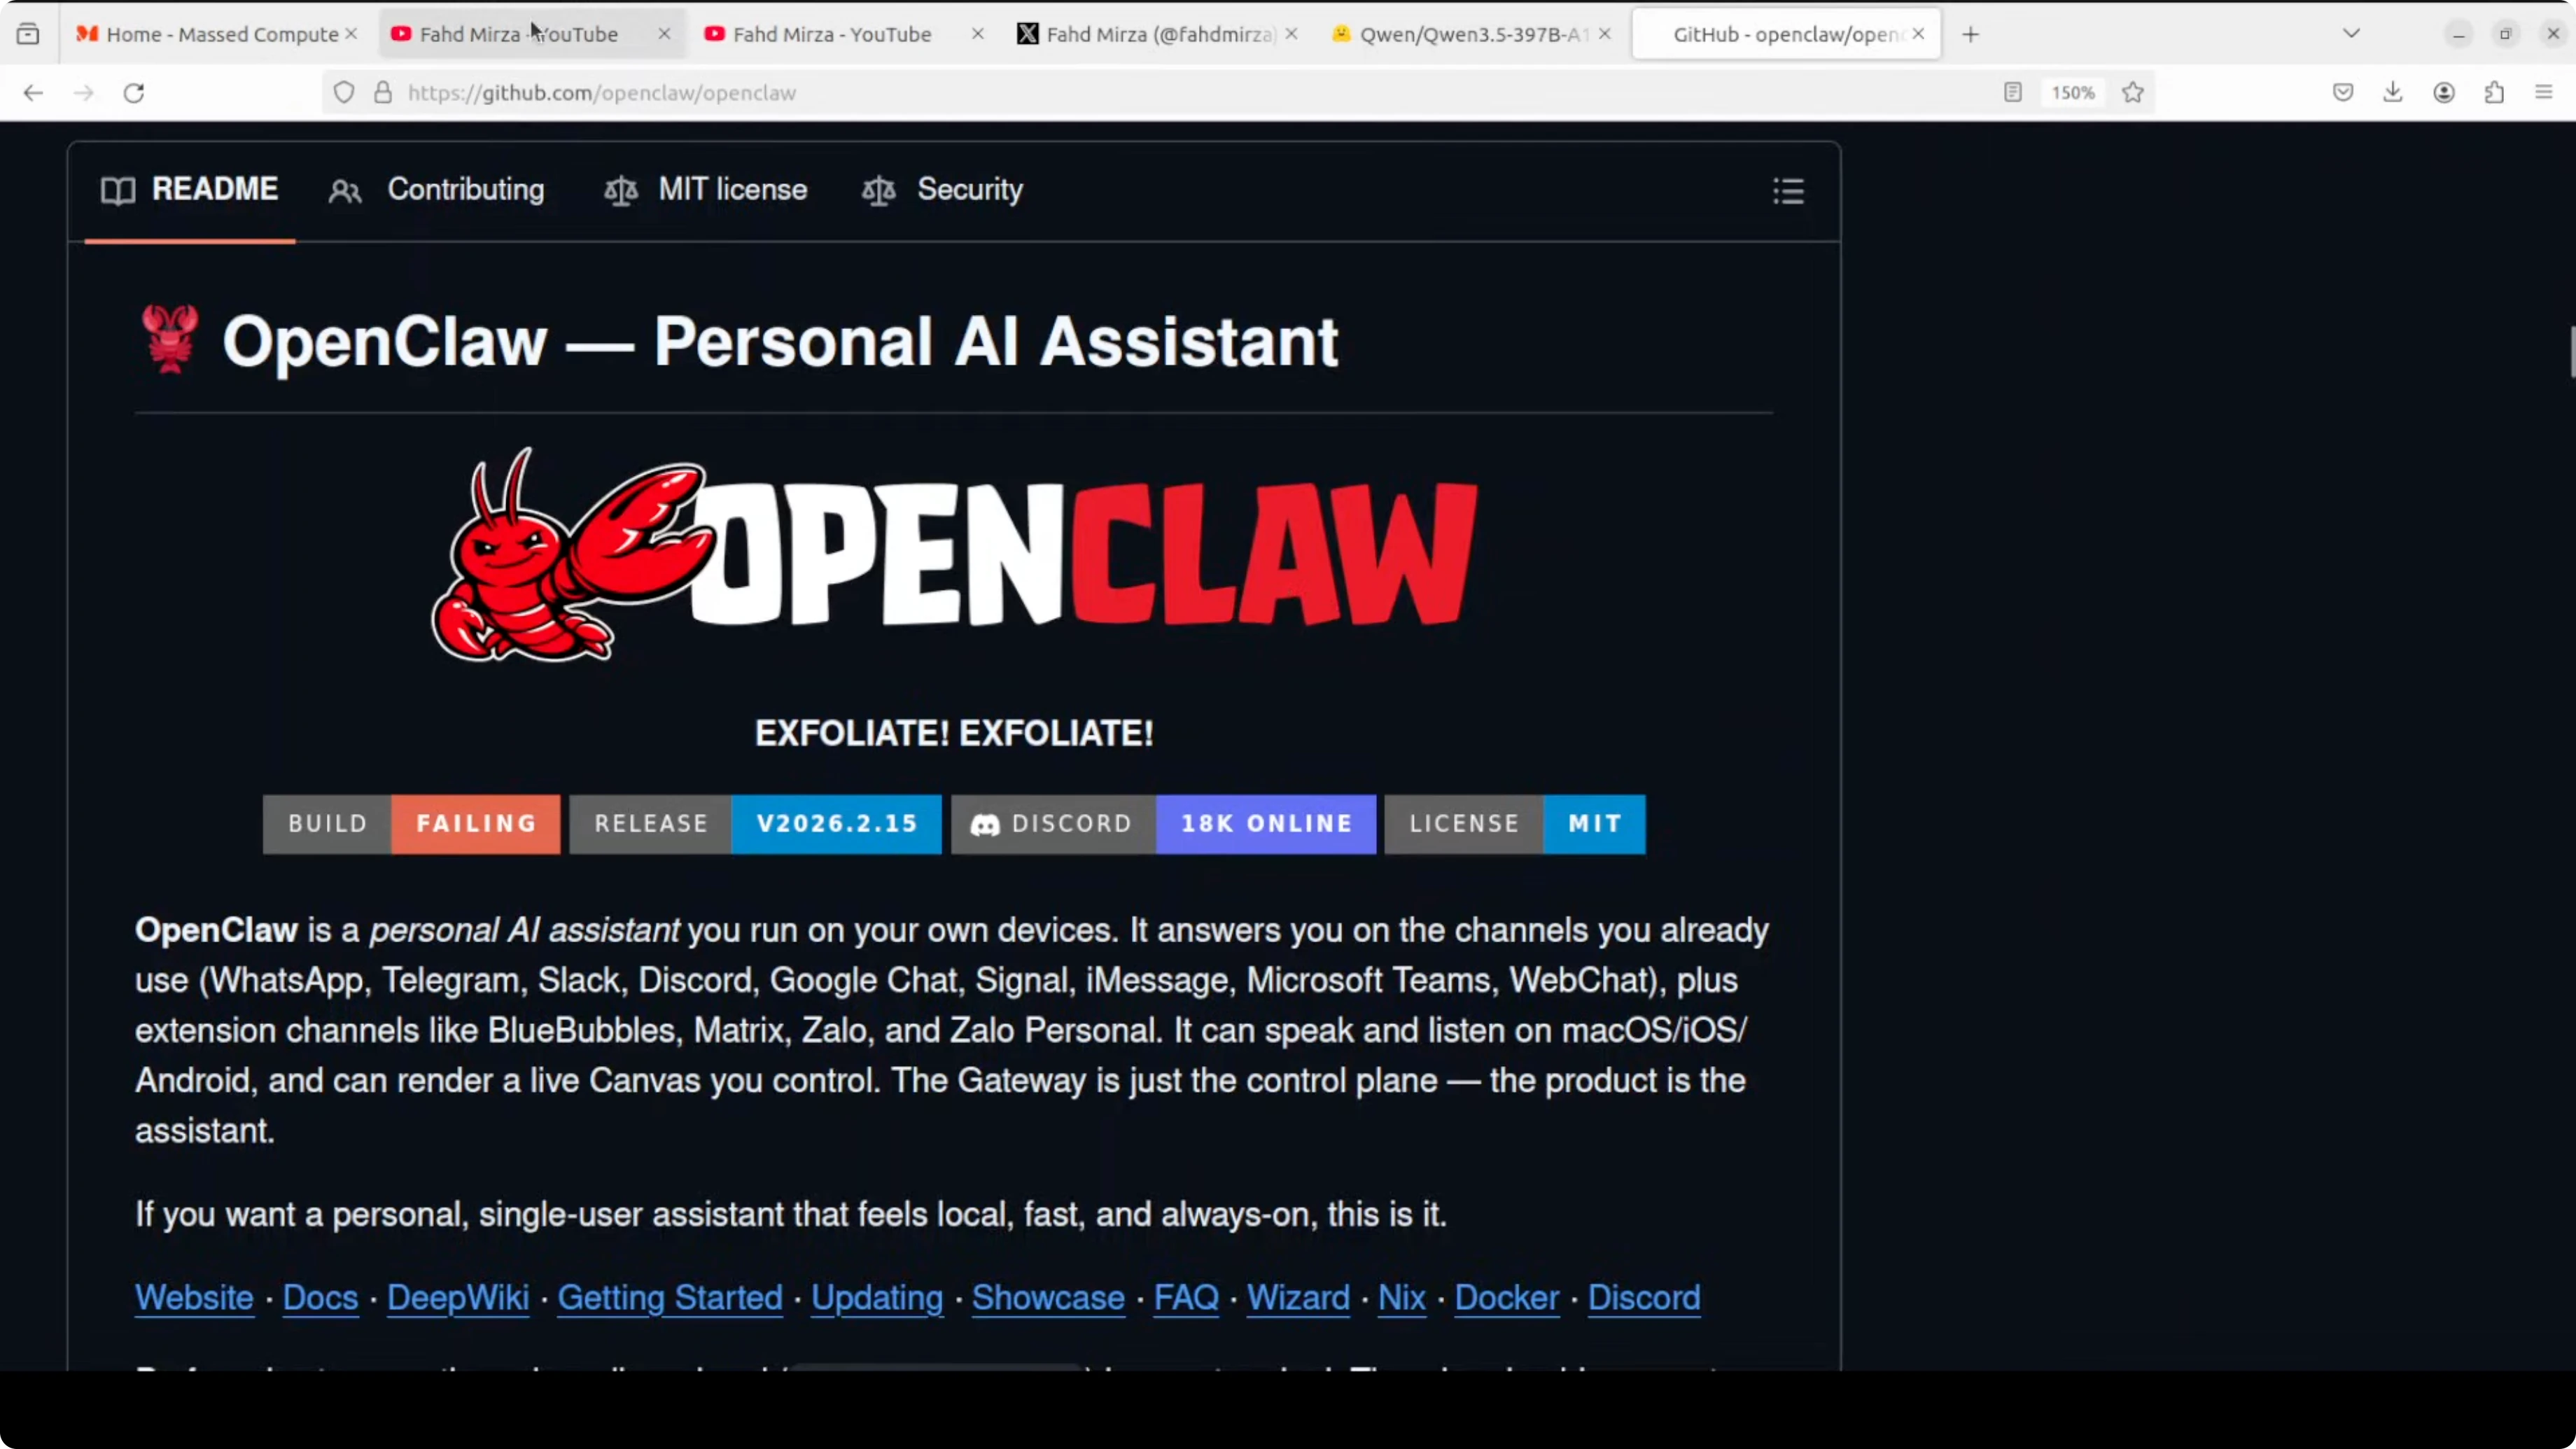
The claw ecosystem is sweeping through AI right now. We have OpenClaw for enterprise workflows, Nanobot for Python simplicity, and PicoClaw running on $10 hardware. I’m adding Qwen 3.5’s vision superpowers to this setup on Ubuntu.
Why enable Qwen 3.5 and OpenClaw Vision?
You get a single assistant that can see images and chat intelligently in Telegram. It can recognize places, discuss what’s in the photo, and follow up with practical guidance in natural language.
The claws are out and they are grabbing every capability they can get.
Install to enable Qwen 3.5 and OpenClaw Vision?
I installed OpenClaw with a curl-based onboarding script. The wizard asks a few quick-start questions, and I accepted defaults where possible. It installs a gateway service that bridges core OpenClaw with communication channels.
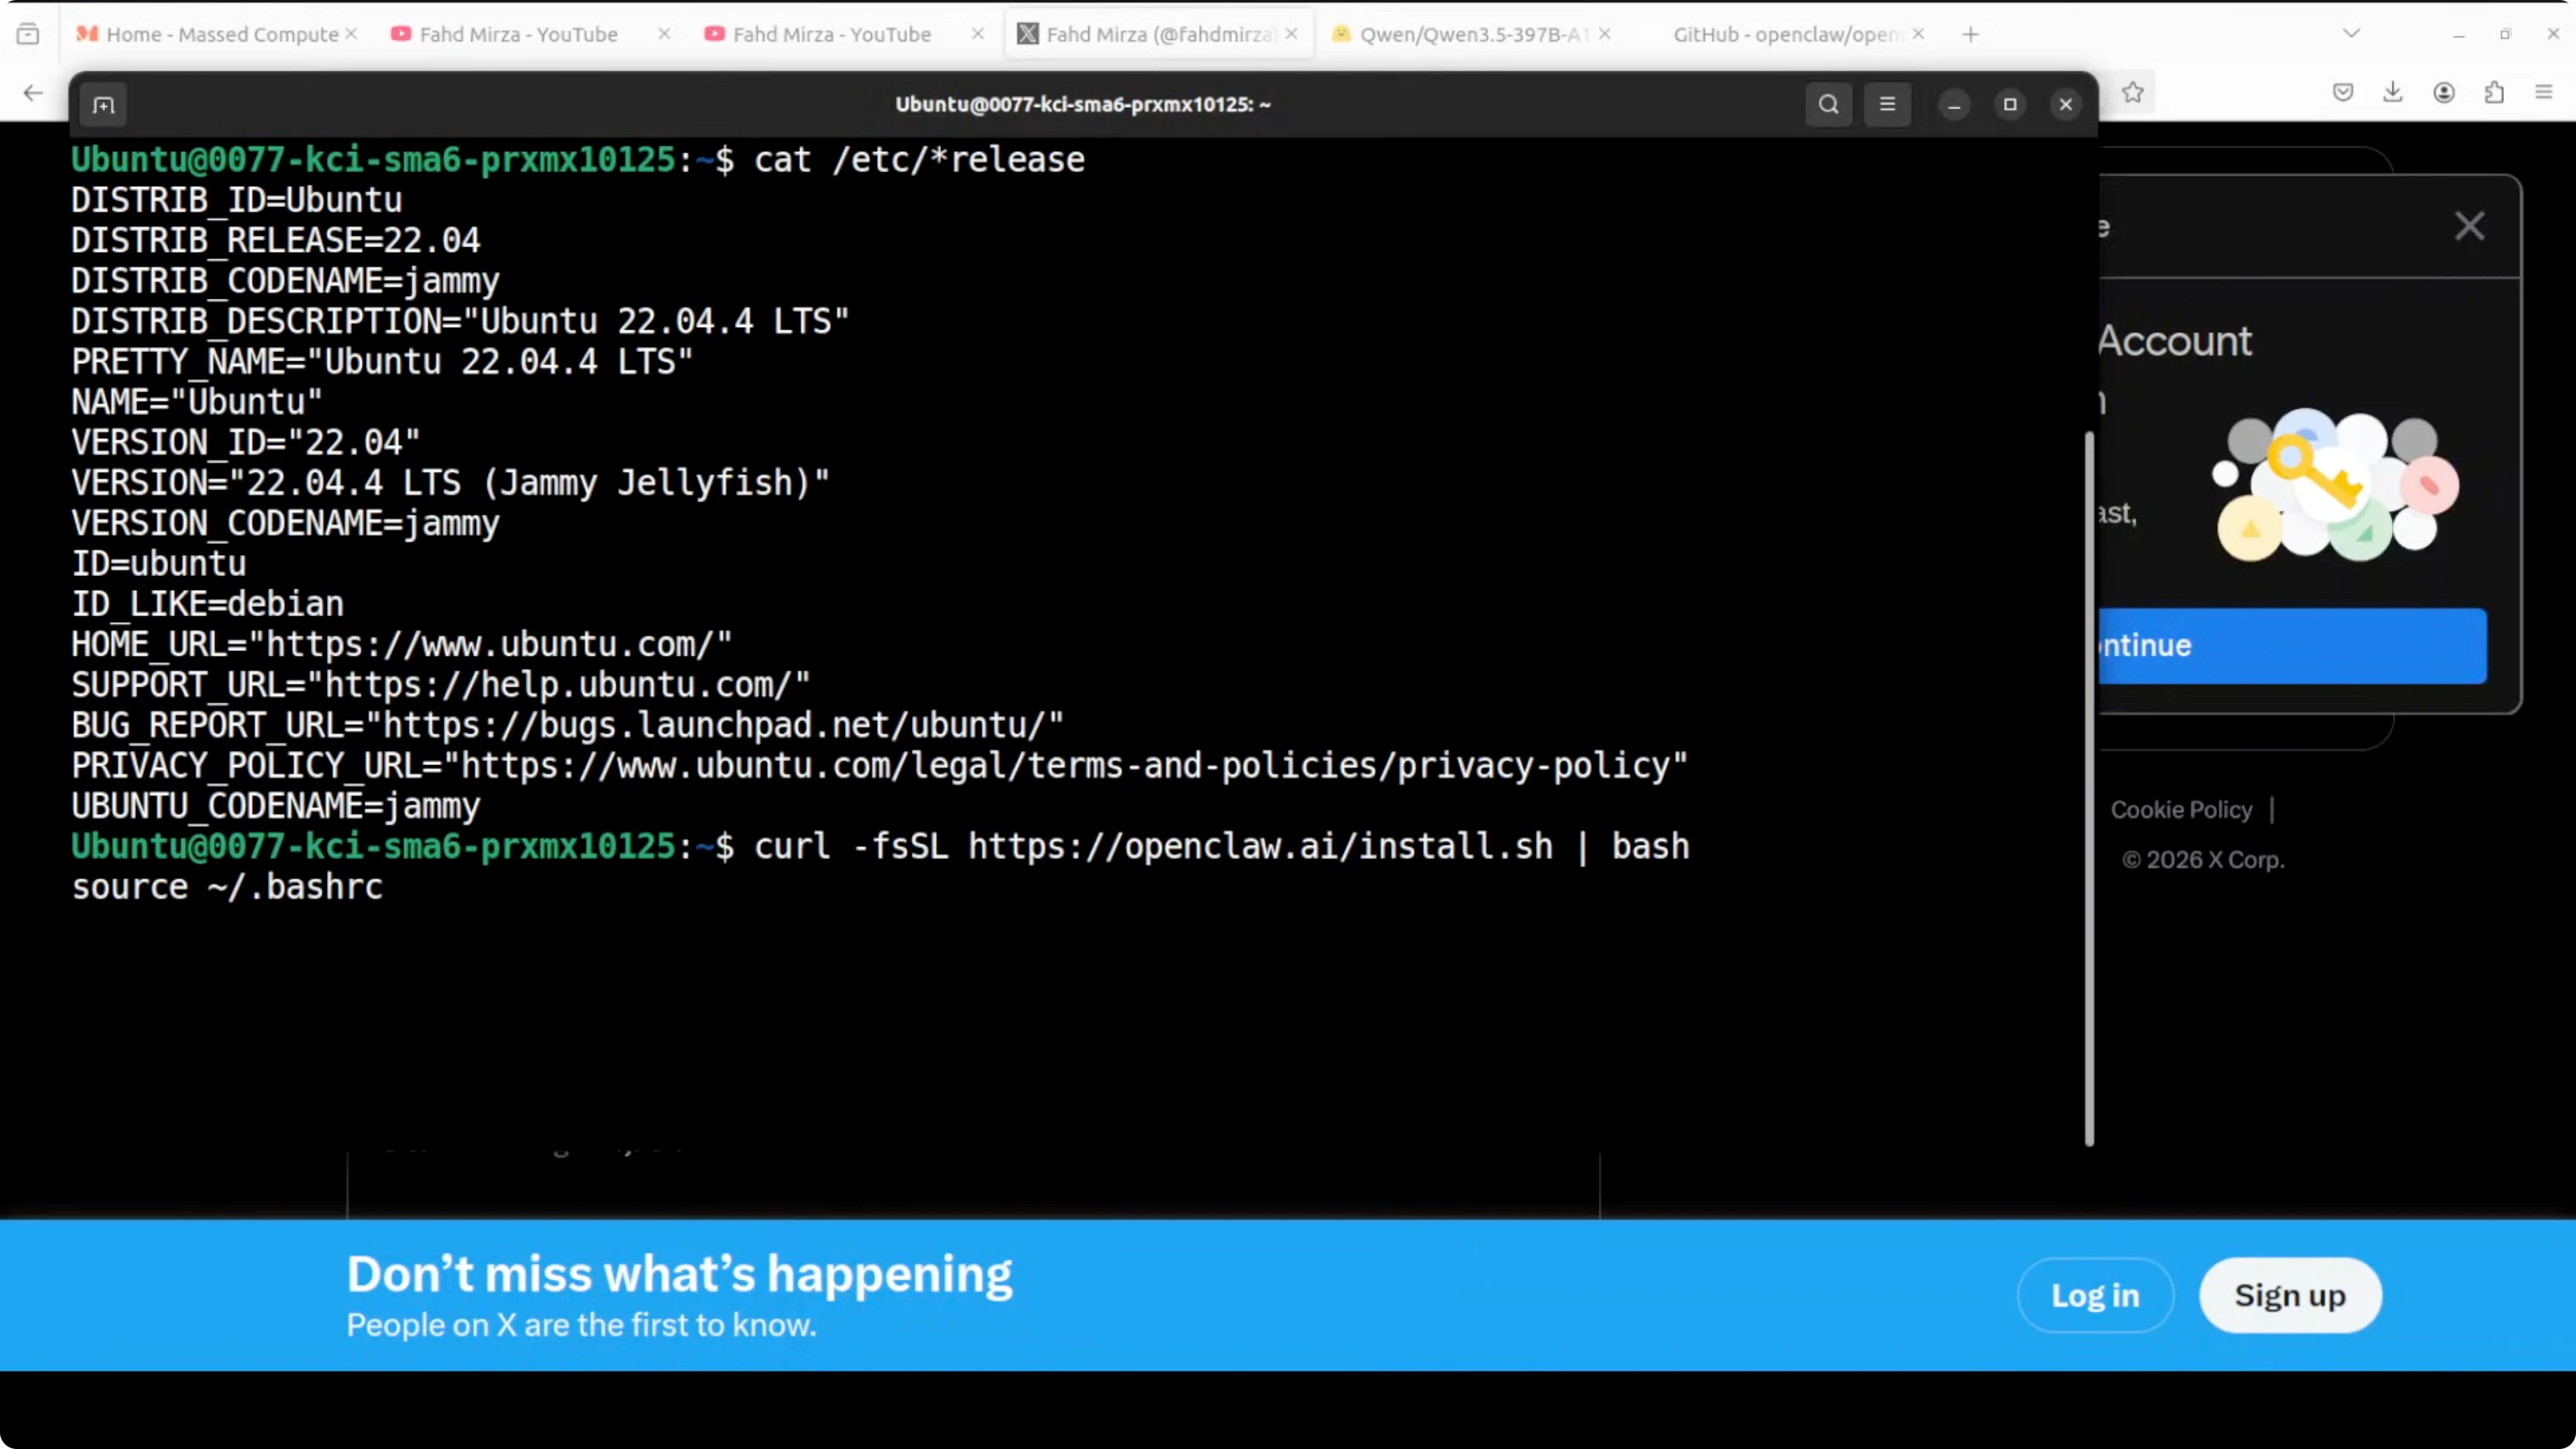
I skipped picking a provider in the wizard and planned to add everything in the config file. I also skipped Telegram setup and hooks there so I could configure them cleanly in the file. Onboarding completes and the service restarts.
Configure to enable Qwen 3.5 and OpenClaw Vision?
I opened the main configuration file in VS Code and replaced the vanilla content with my working configuration.
You only need to paste your API key from Alibaba’s Model Studio, set the OpenAI-compatible endpoint, and set the Qwen 3.5 Plus model name. The rest can stay as is, and we will add the Telegram bot token after we create it.
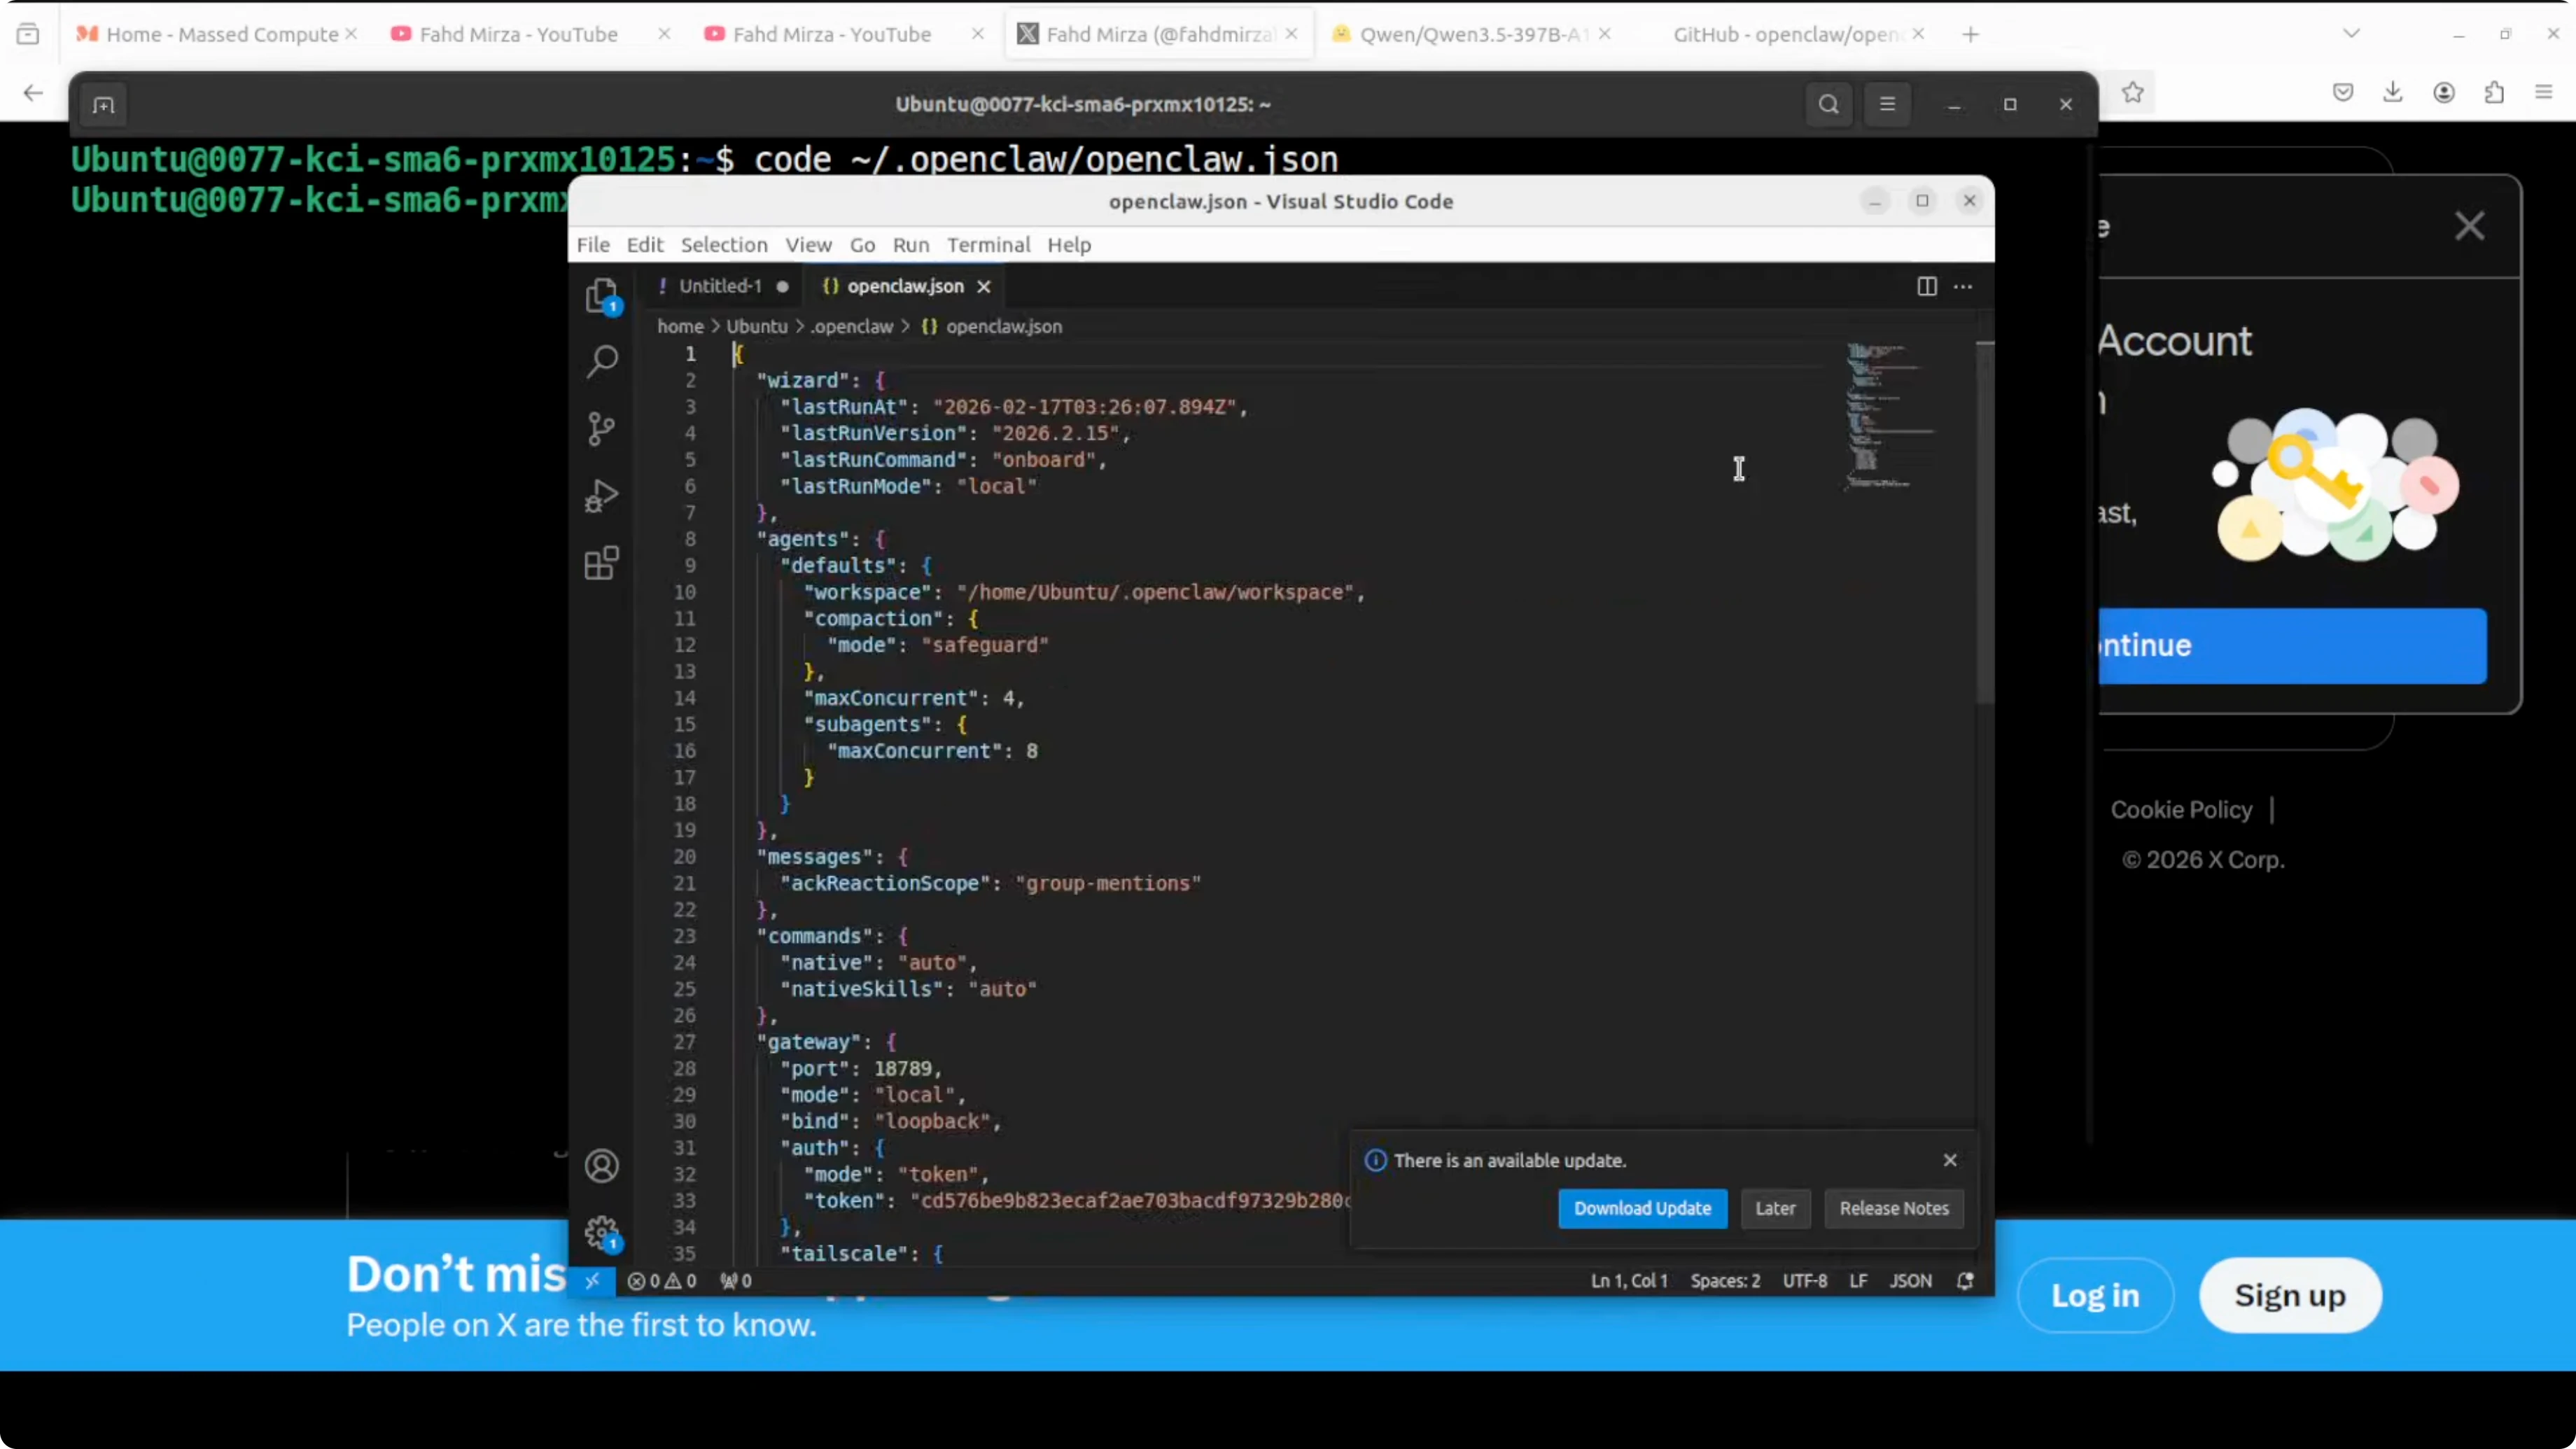
Here is a minimal example of how that configuration can look:

providers:
  - name: alibaba-dashscope
    type: openai-compatible
    base_url: https://dashscope.aliyuncs.com/compatible-mode/v1
    api_key: sk-your-dashscope-key

models:
  chat:
    default: qwen-3.5-plus

agents:
  - name: default-assistant
    provider: alibaba-dashscope
    model: qwen-3.5-plus

channels:
  telegram:
    bot_token: 123456789:ABC_your_telegram_bot_token
Get the API key for Qwen 3.5 Plus
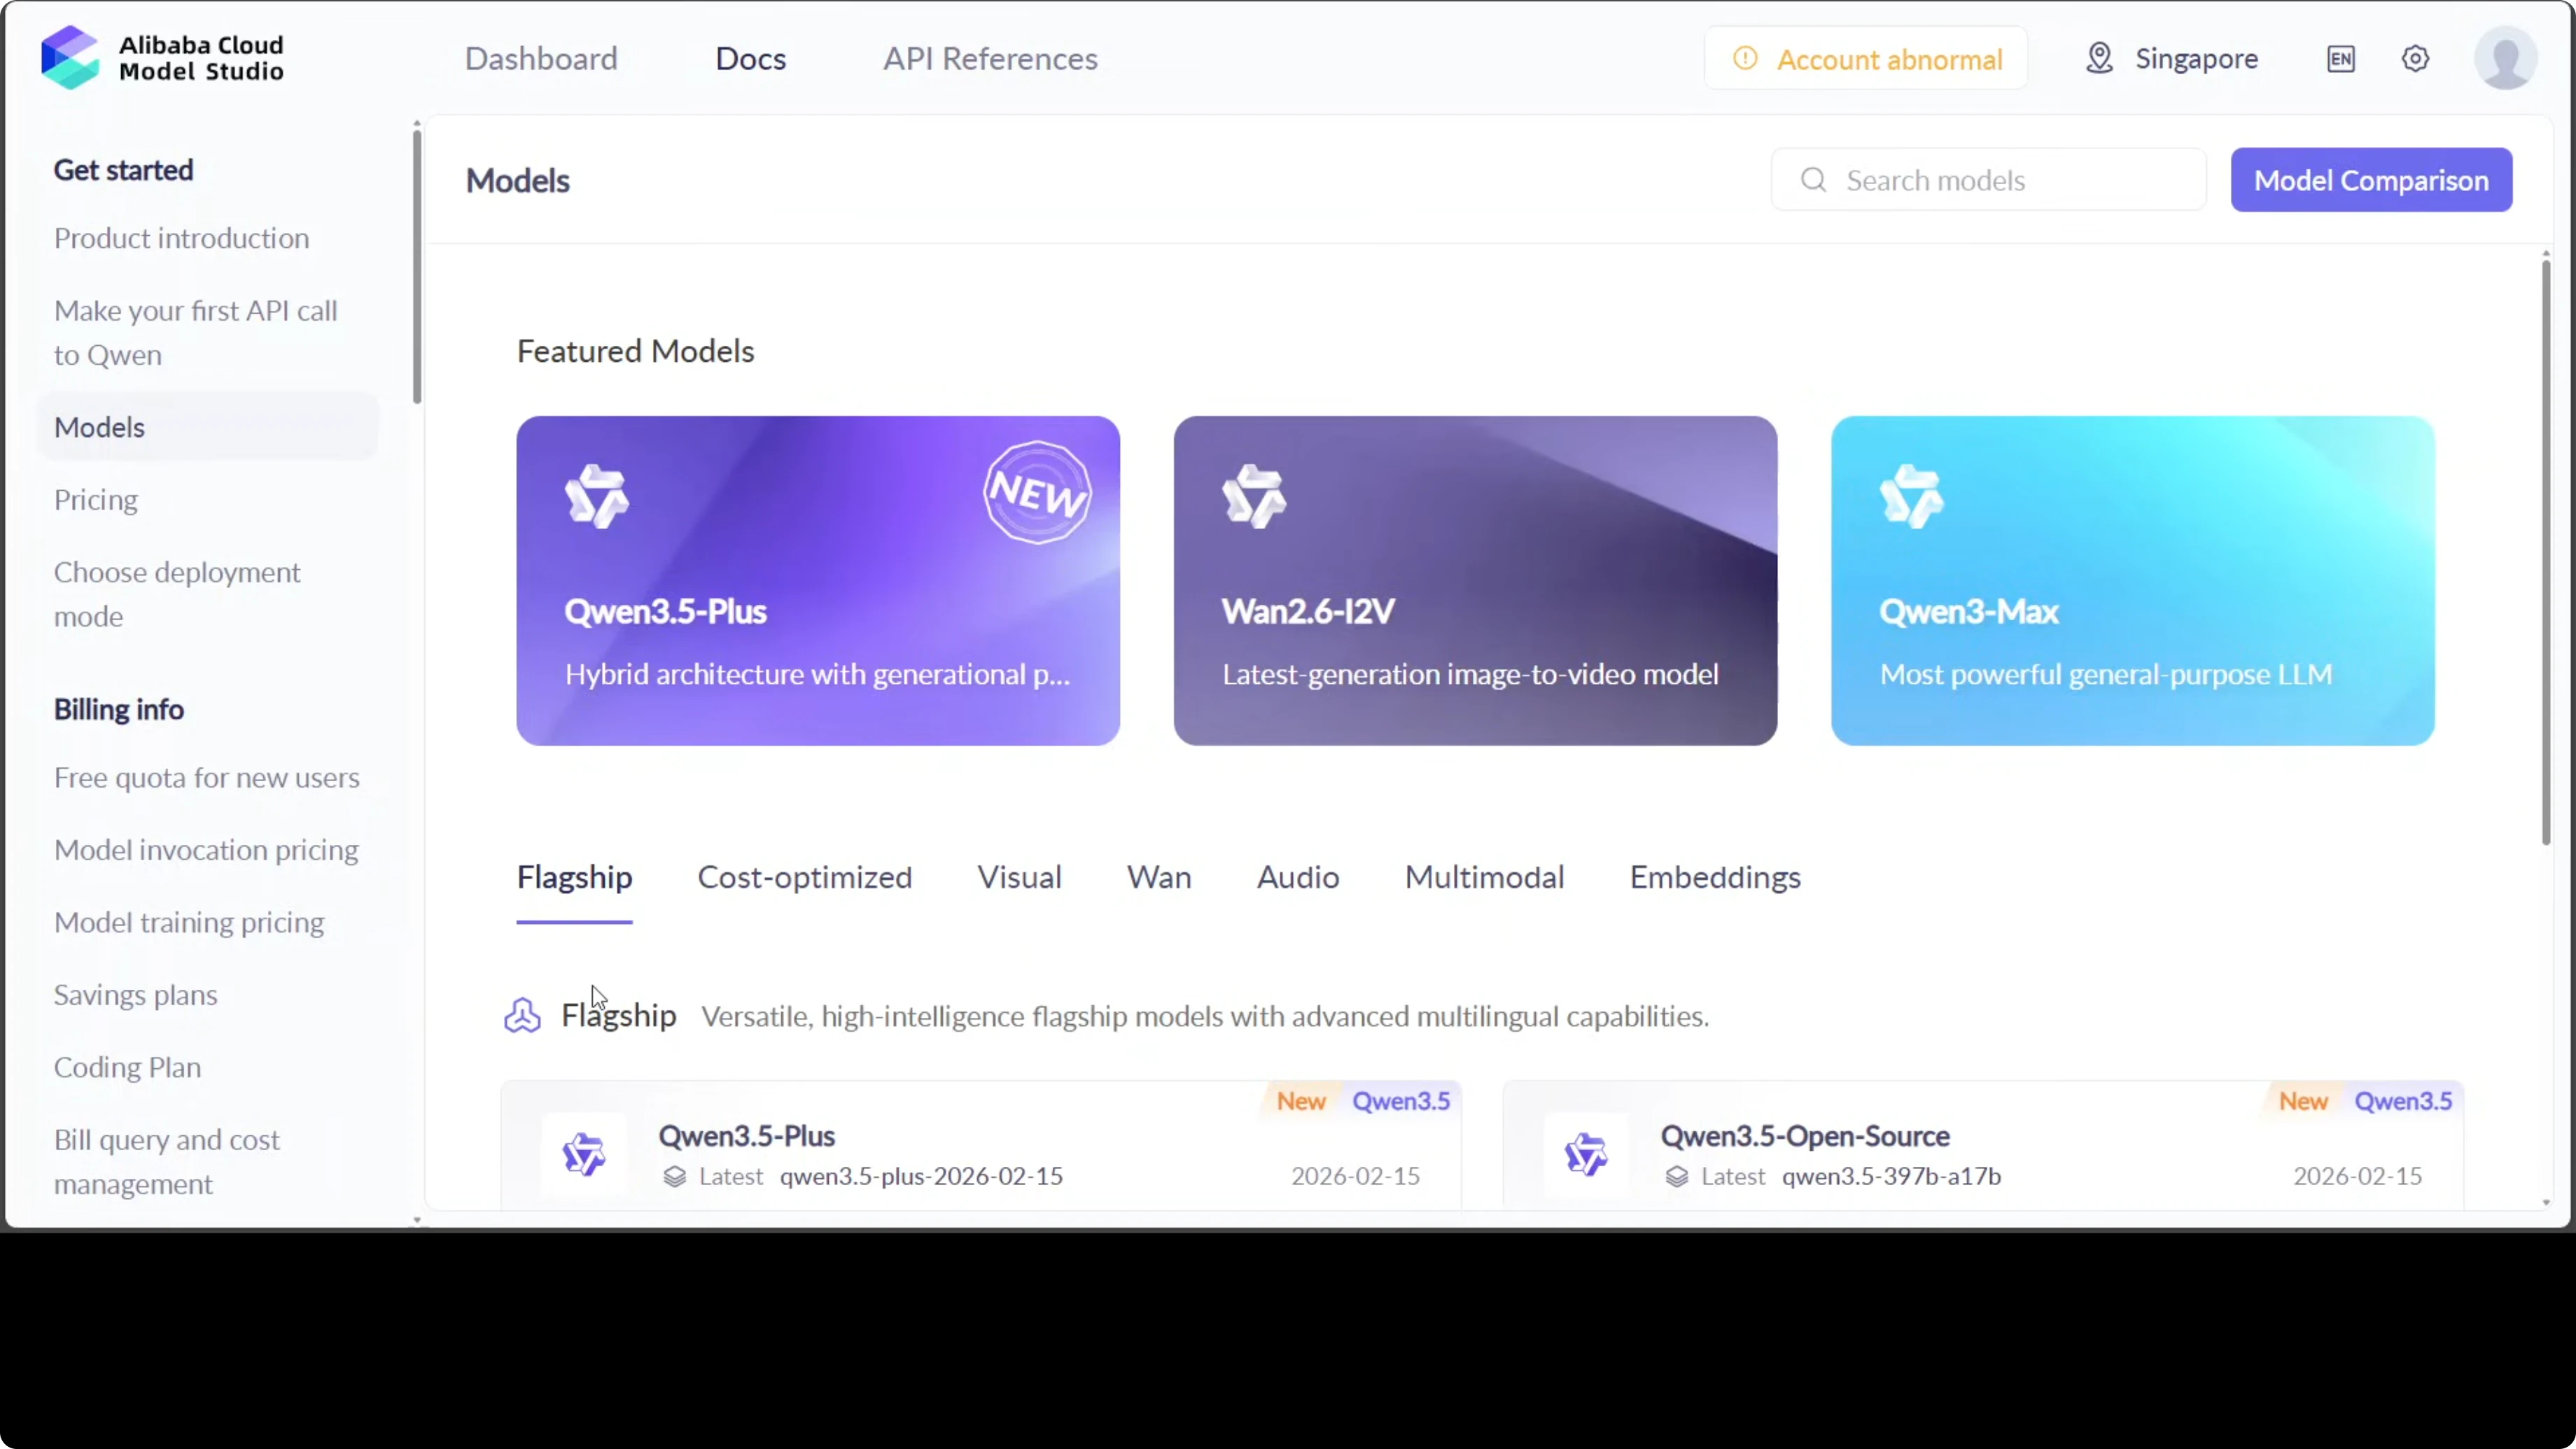
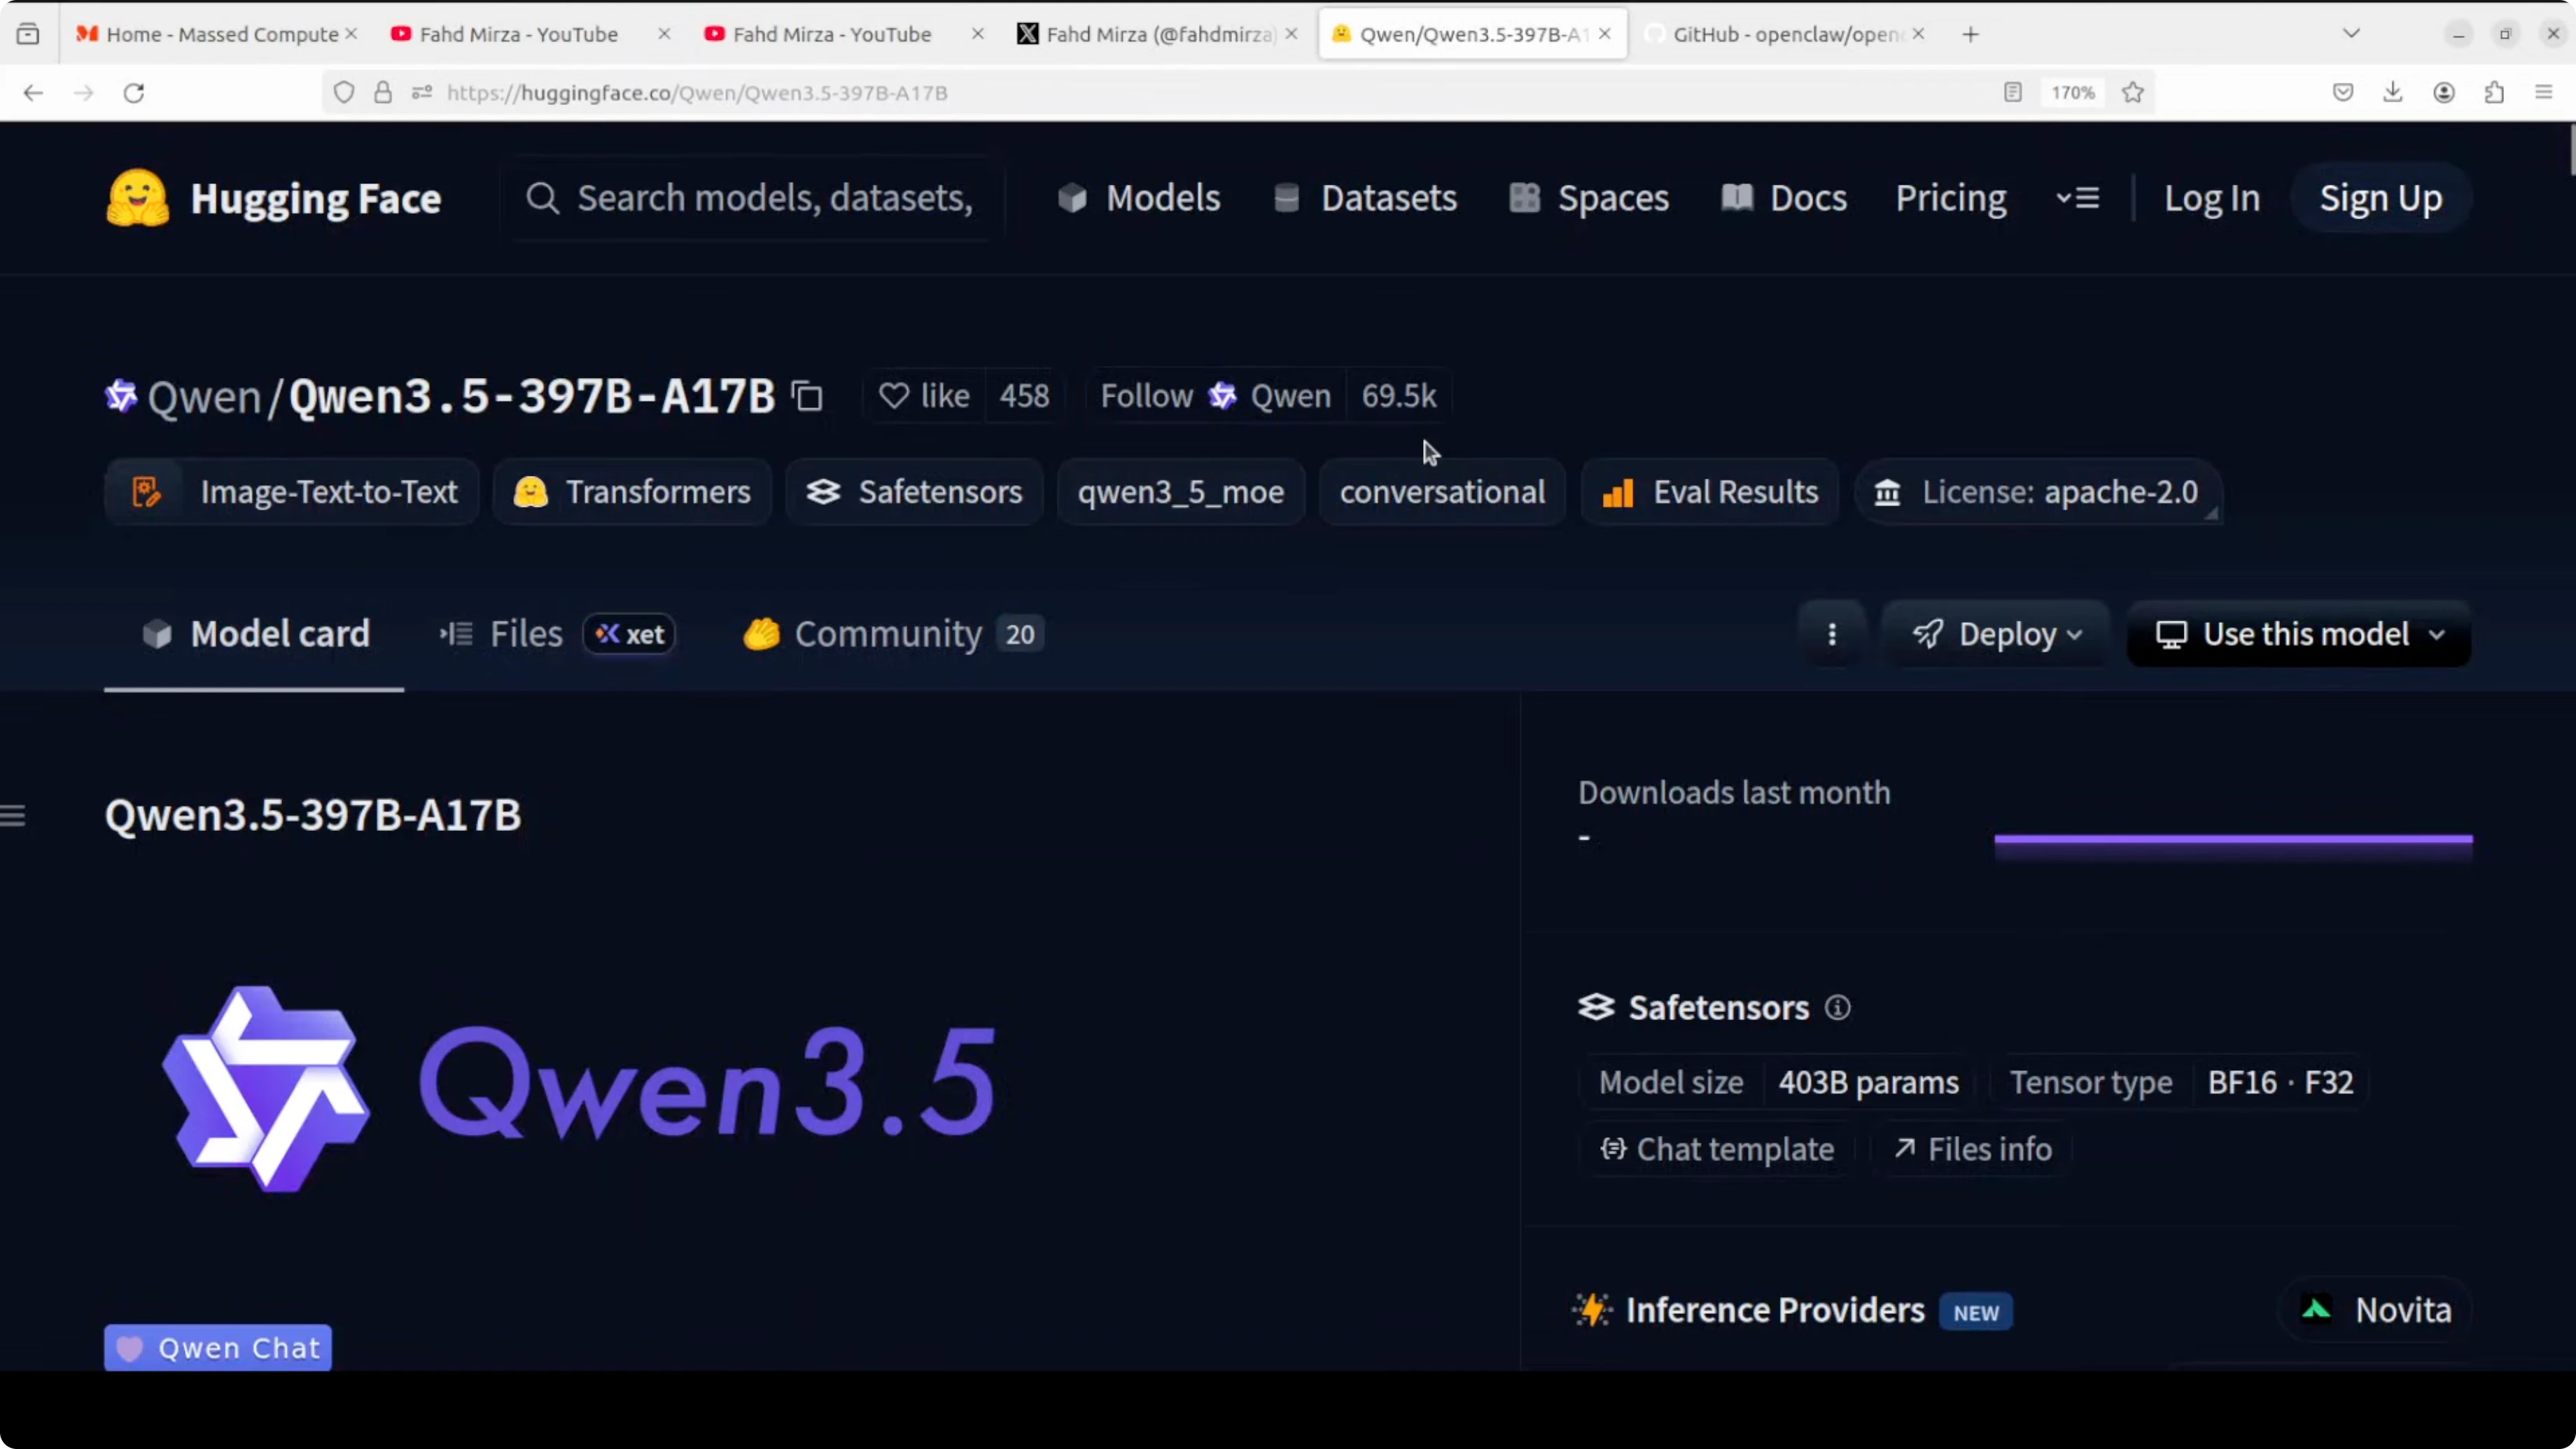
Go to Alibaba Model Studio in the cloud and create an account. You get lot of free credits. Click Qwen 3.5 Plus or use the “make your first API call to Qwen” option and copy your API key.
Paste the key in the config file where indicated. Save and close the file. We will add the Telegram token next.
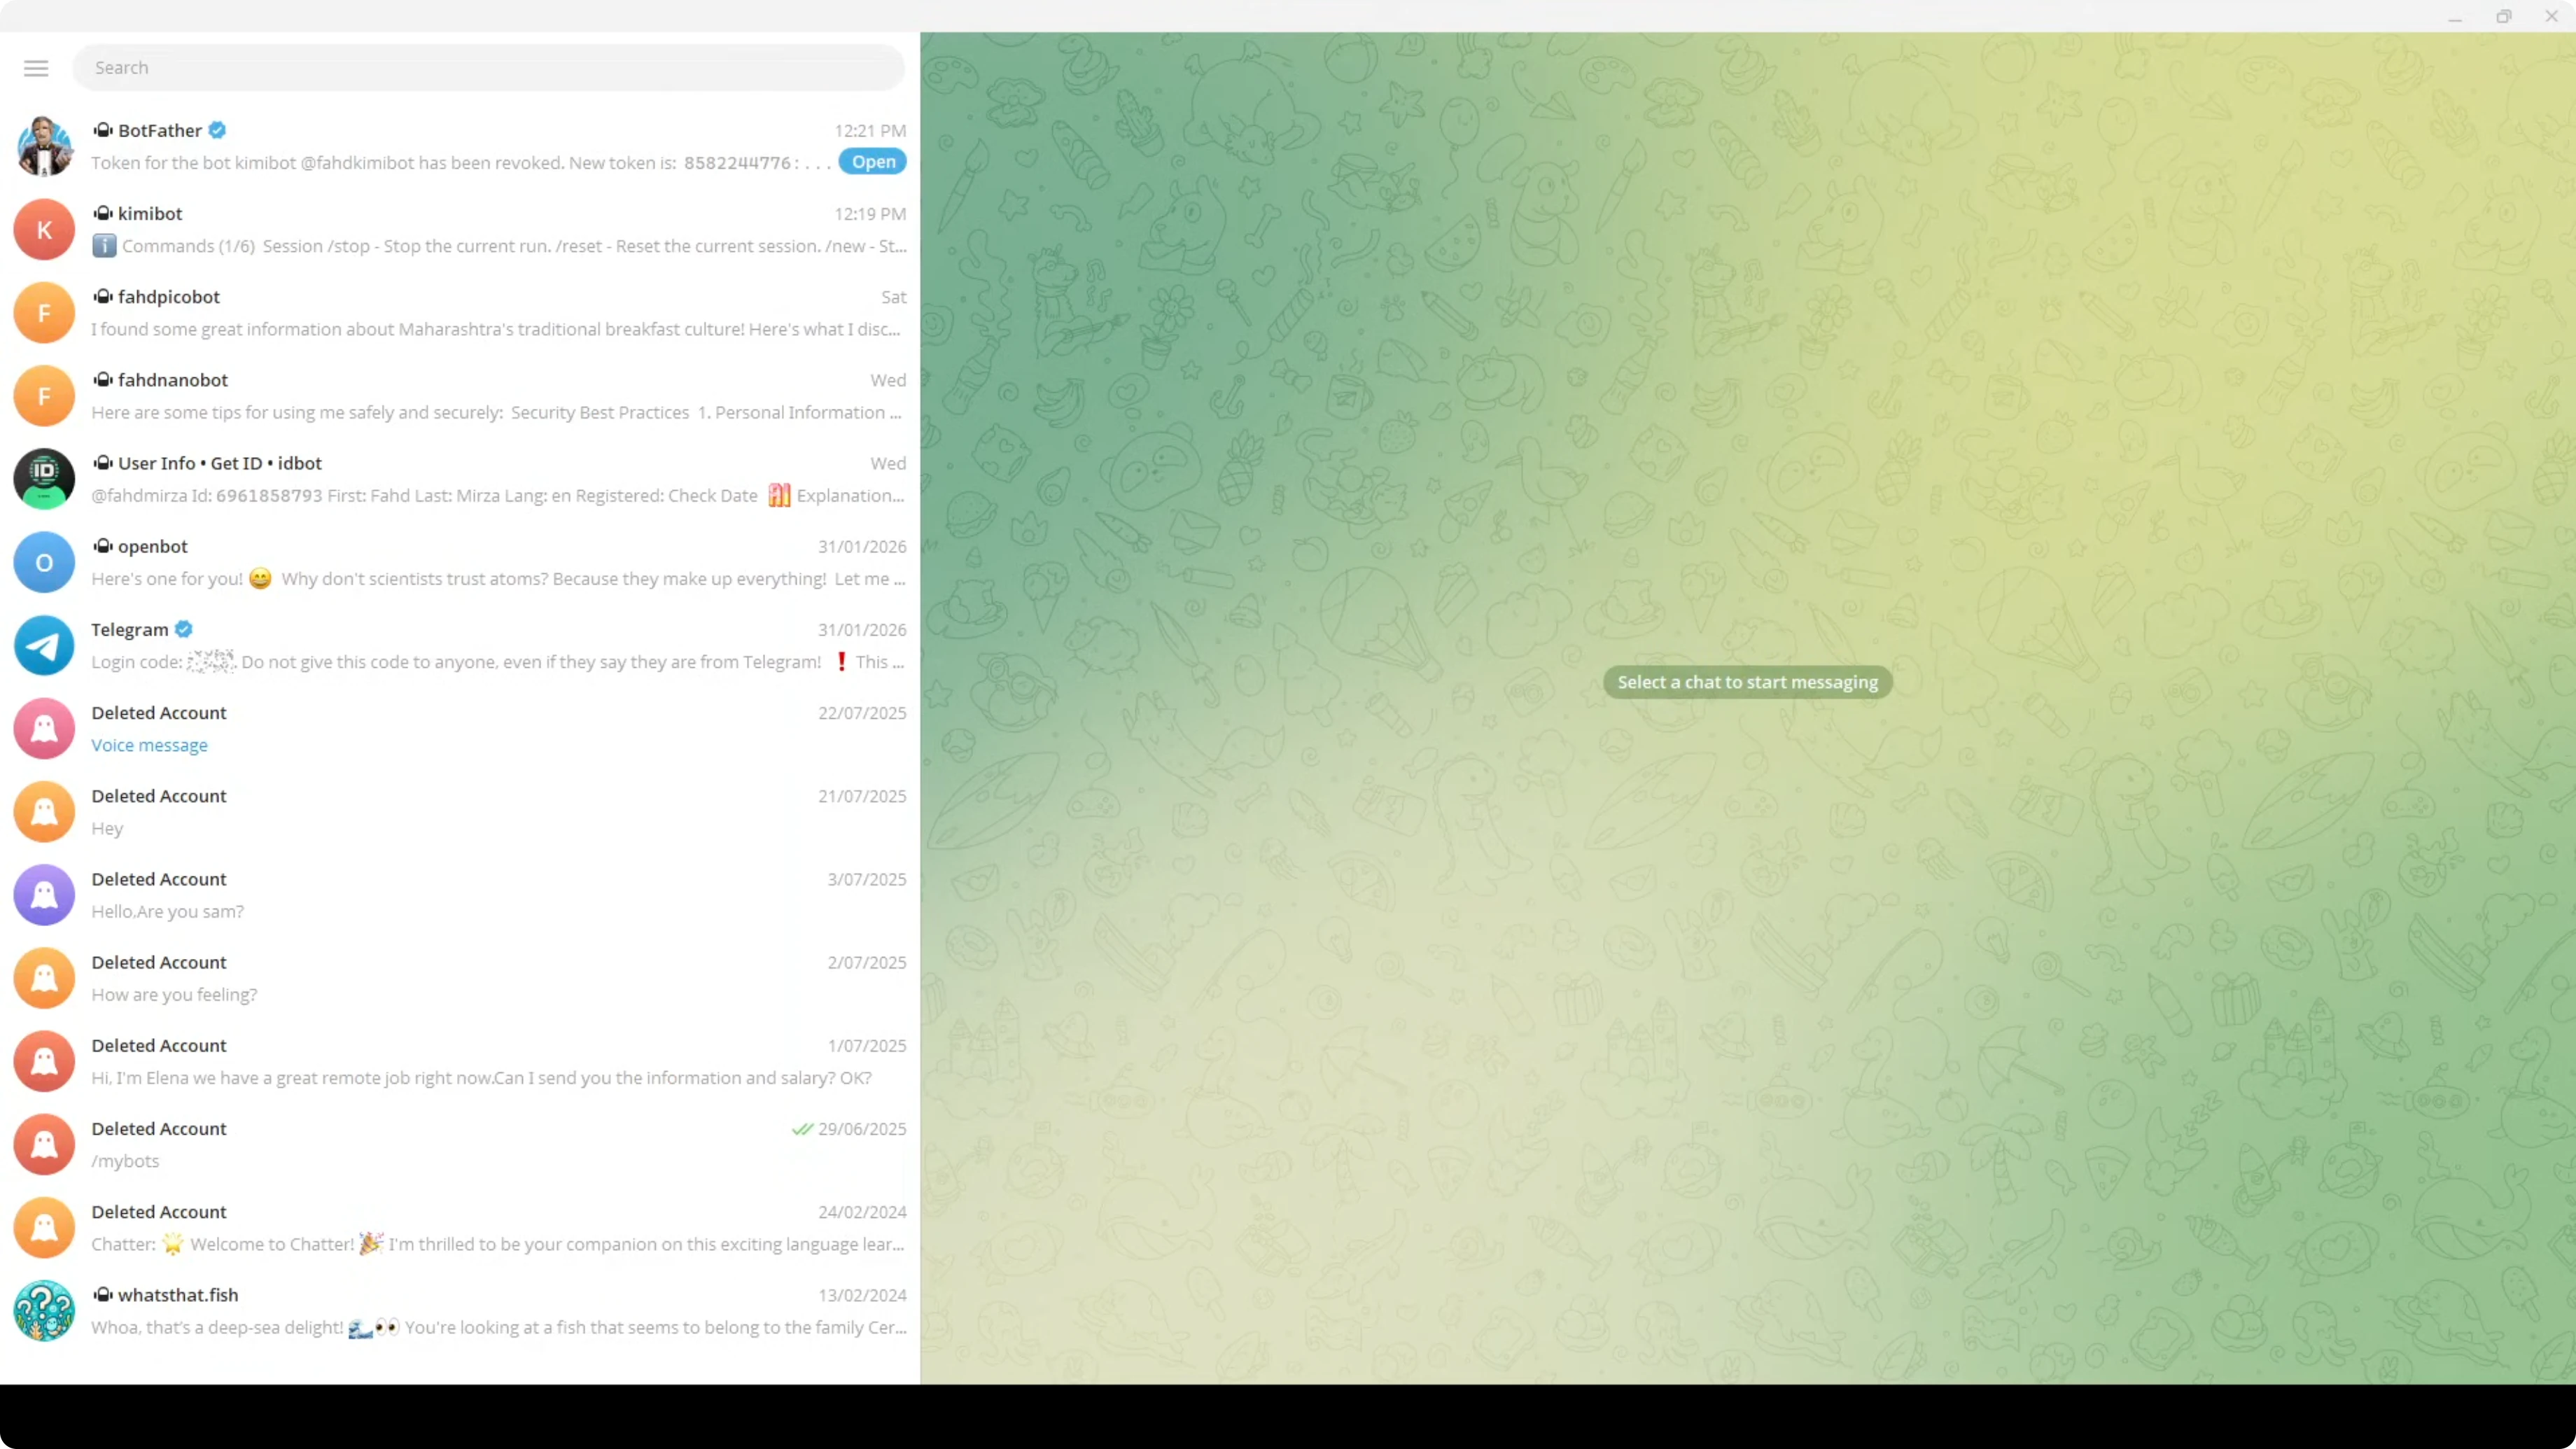
Create the Telegram bot
In Telegram, open BotFather. Create a new bot and set its name and username. Copy the bot token.
Paste the Telegram bot token into the same config file under the Telegram channel. Save and close the file. Keep your keys private.
Restart and verify
After any config change, restart the OpenClaw gateway. If there is a configuration issue, the gateway reports an error. To verify everything is right, run the status command.
You should see Qwen 3.5 Plus listed with its context window enabled. Telegram should also show as configured. If you are running this in production, make sure you address any security warnings.

Pairing in Telegram
Open your new Telegram bot and press Start. It will prompt you to pair. Copy the pairing code.
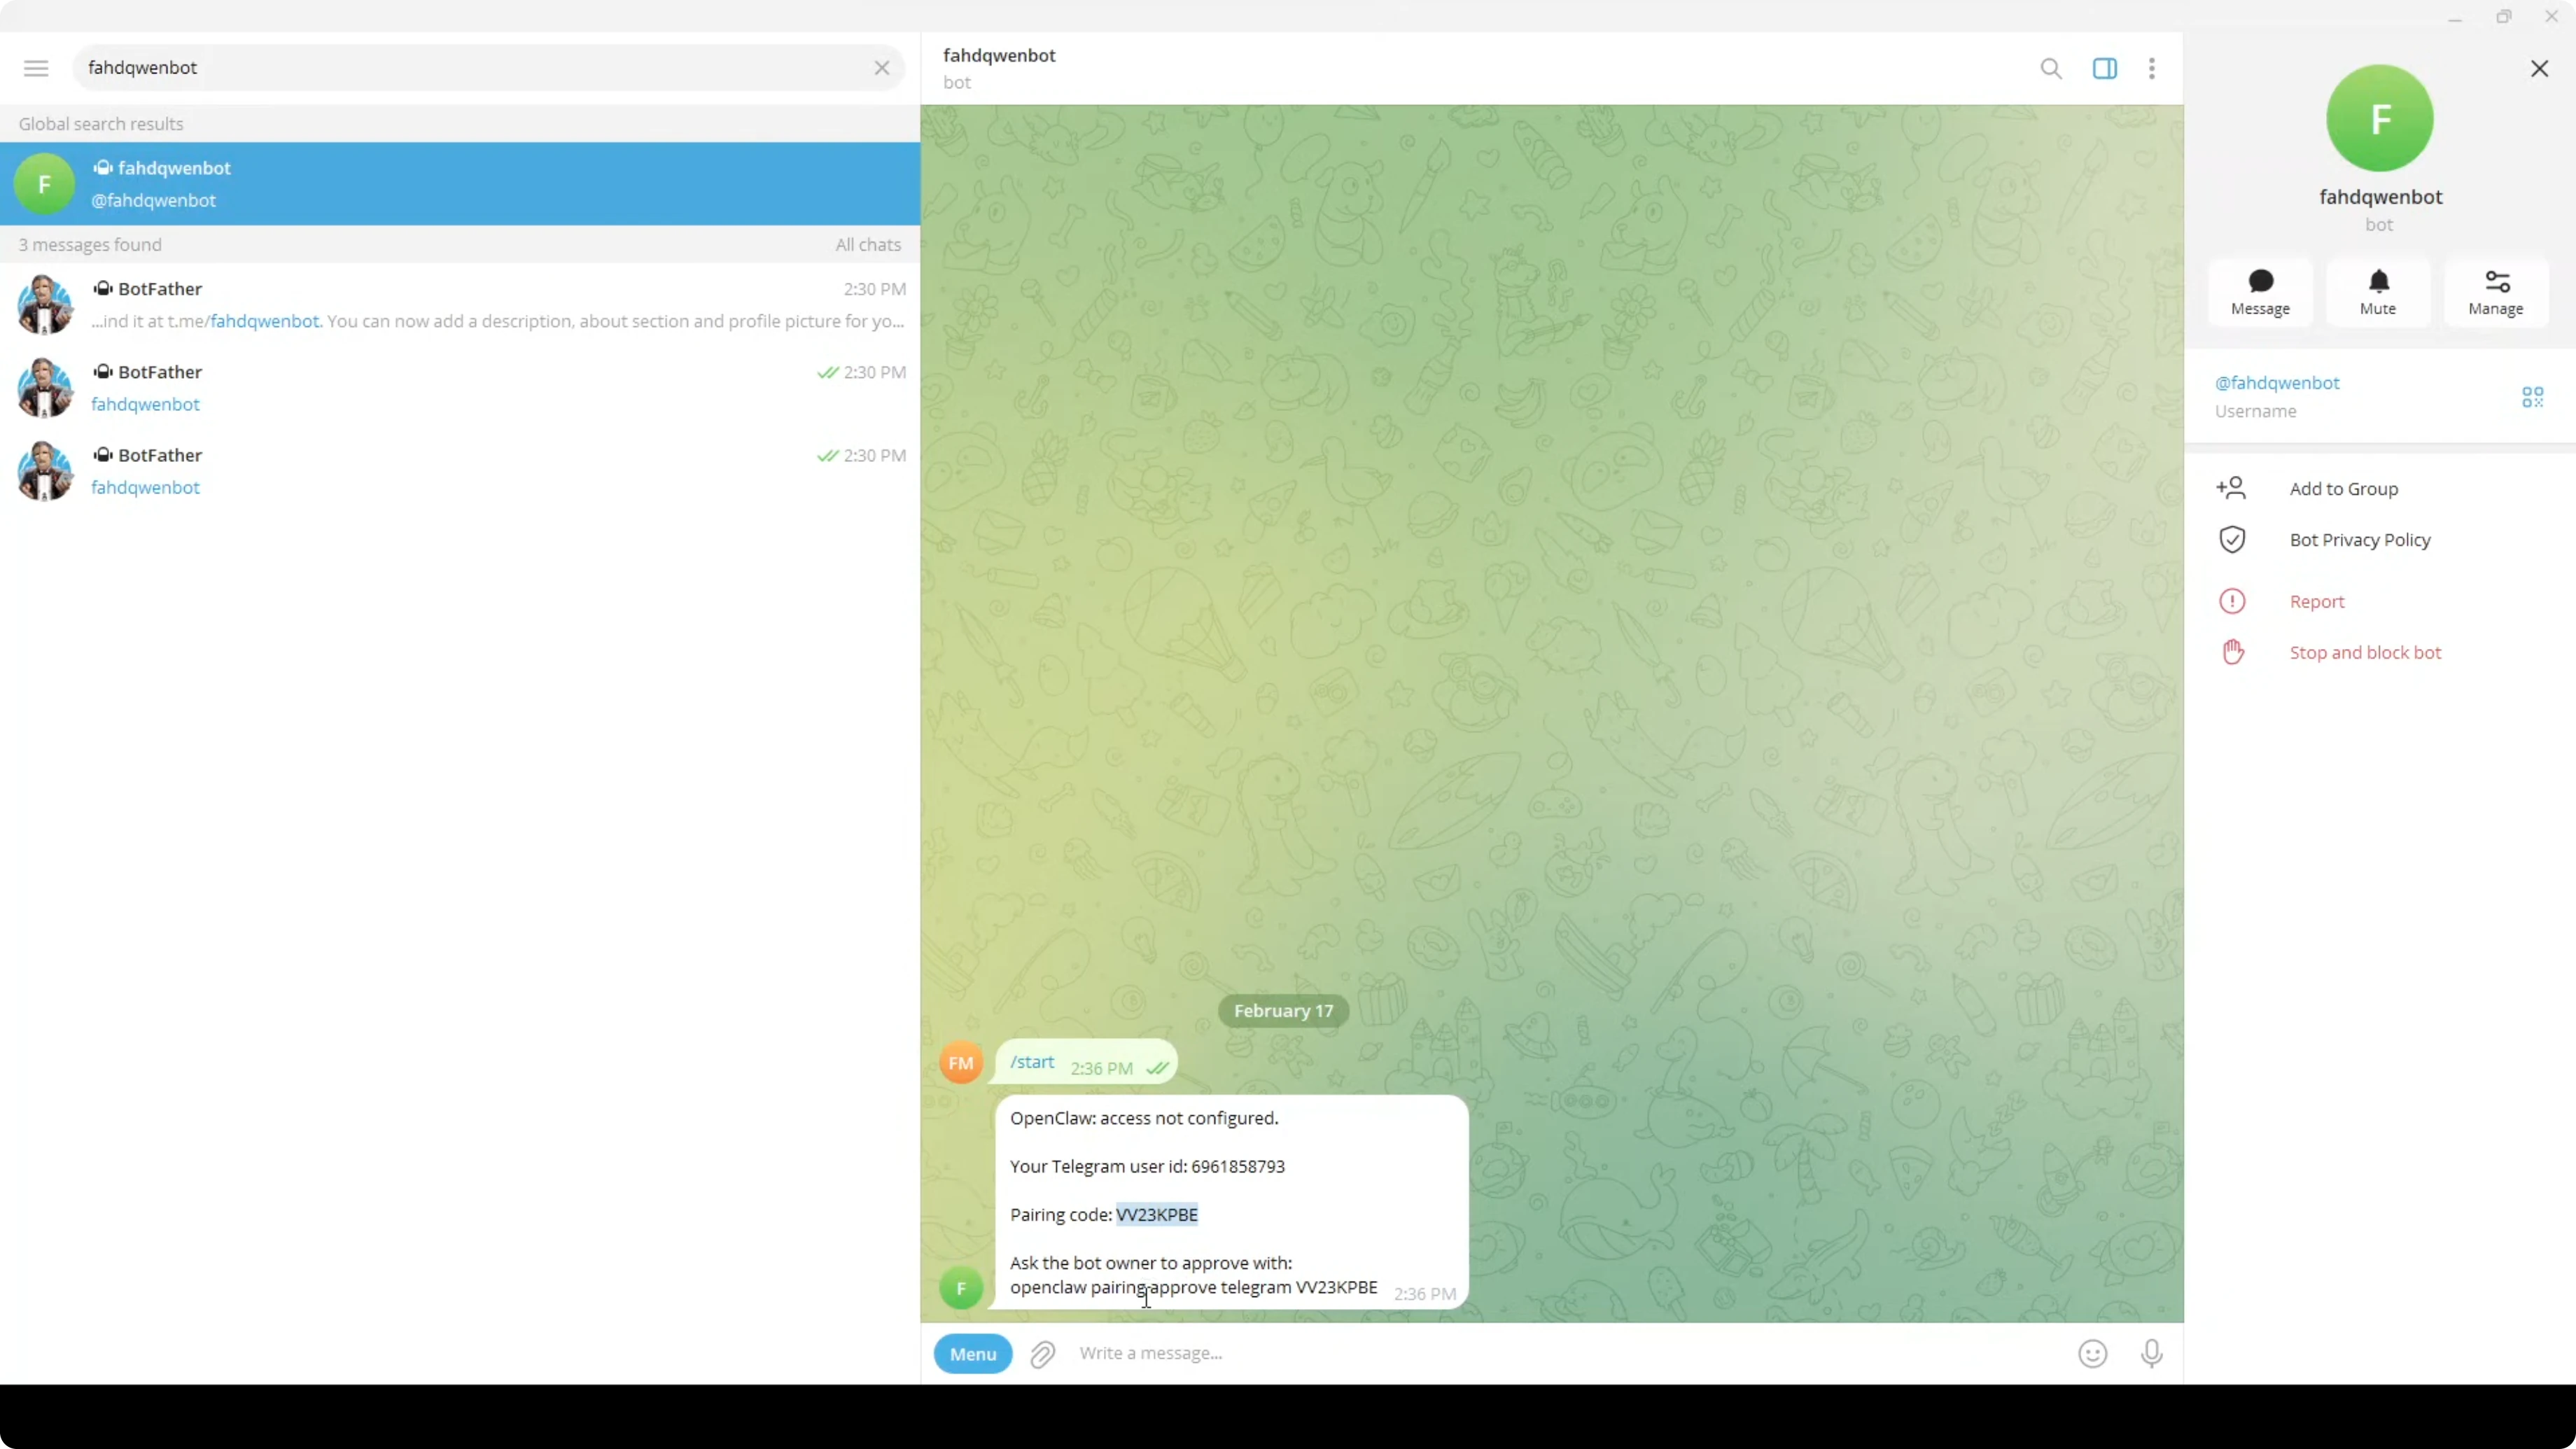
Approve the pairing in your terminal as instructed by the service. The terminal logs confirm that pairing is approved.
Return to Telegram and send a quick hello to confirm the assistant is responding.
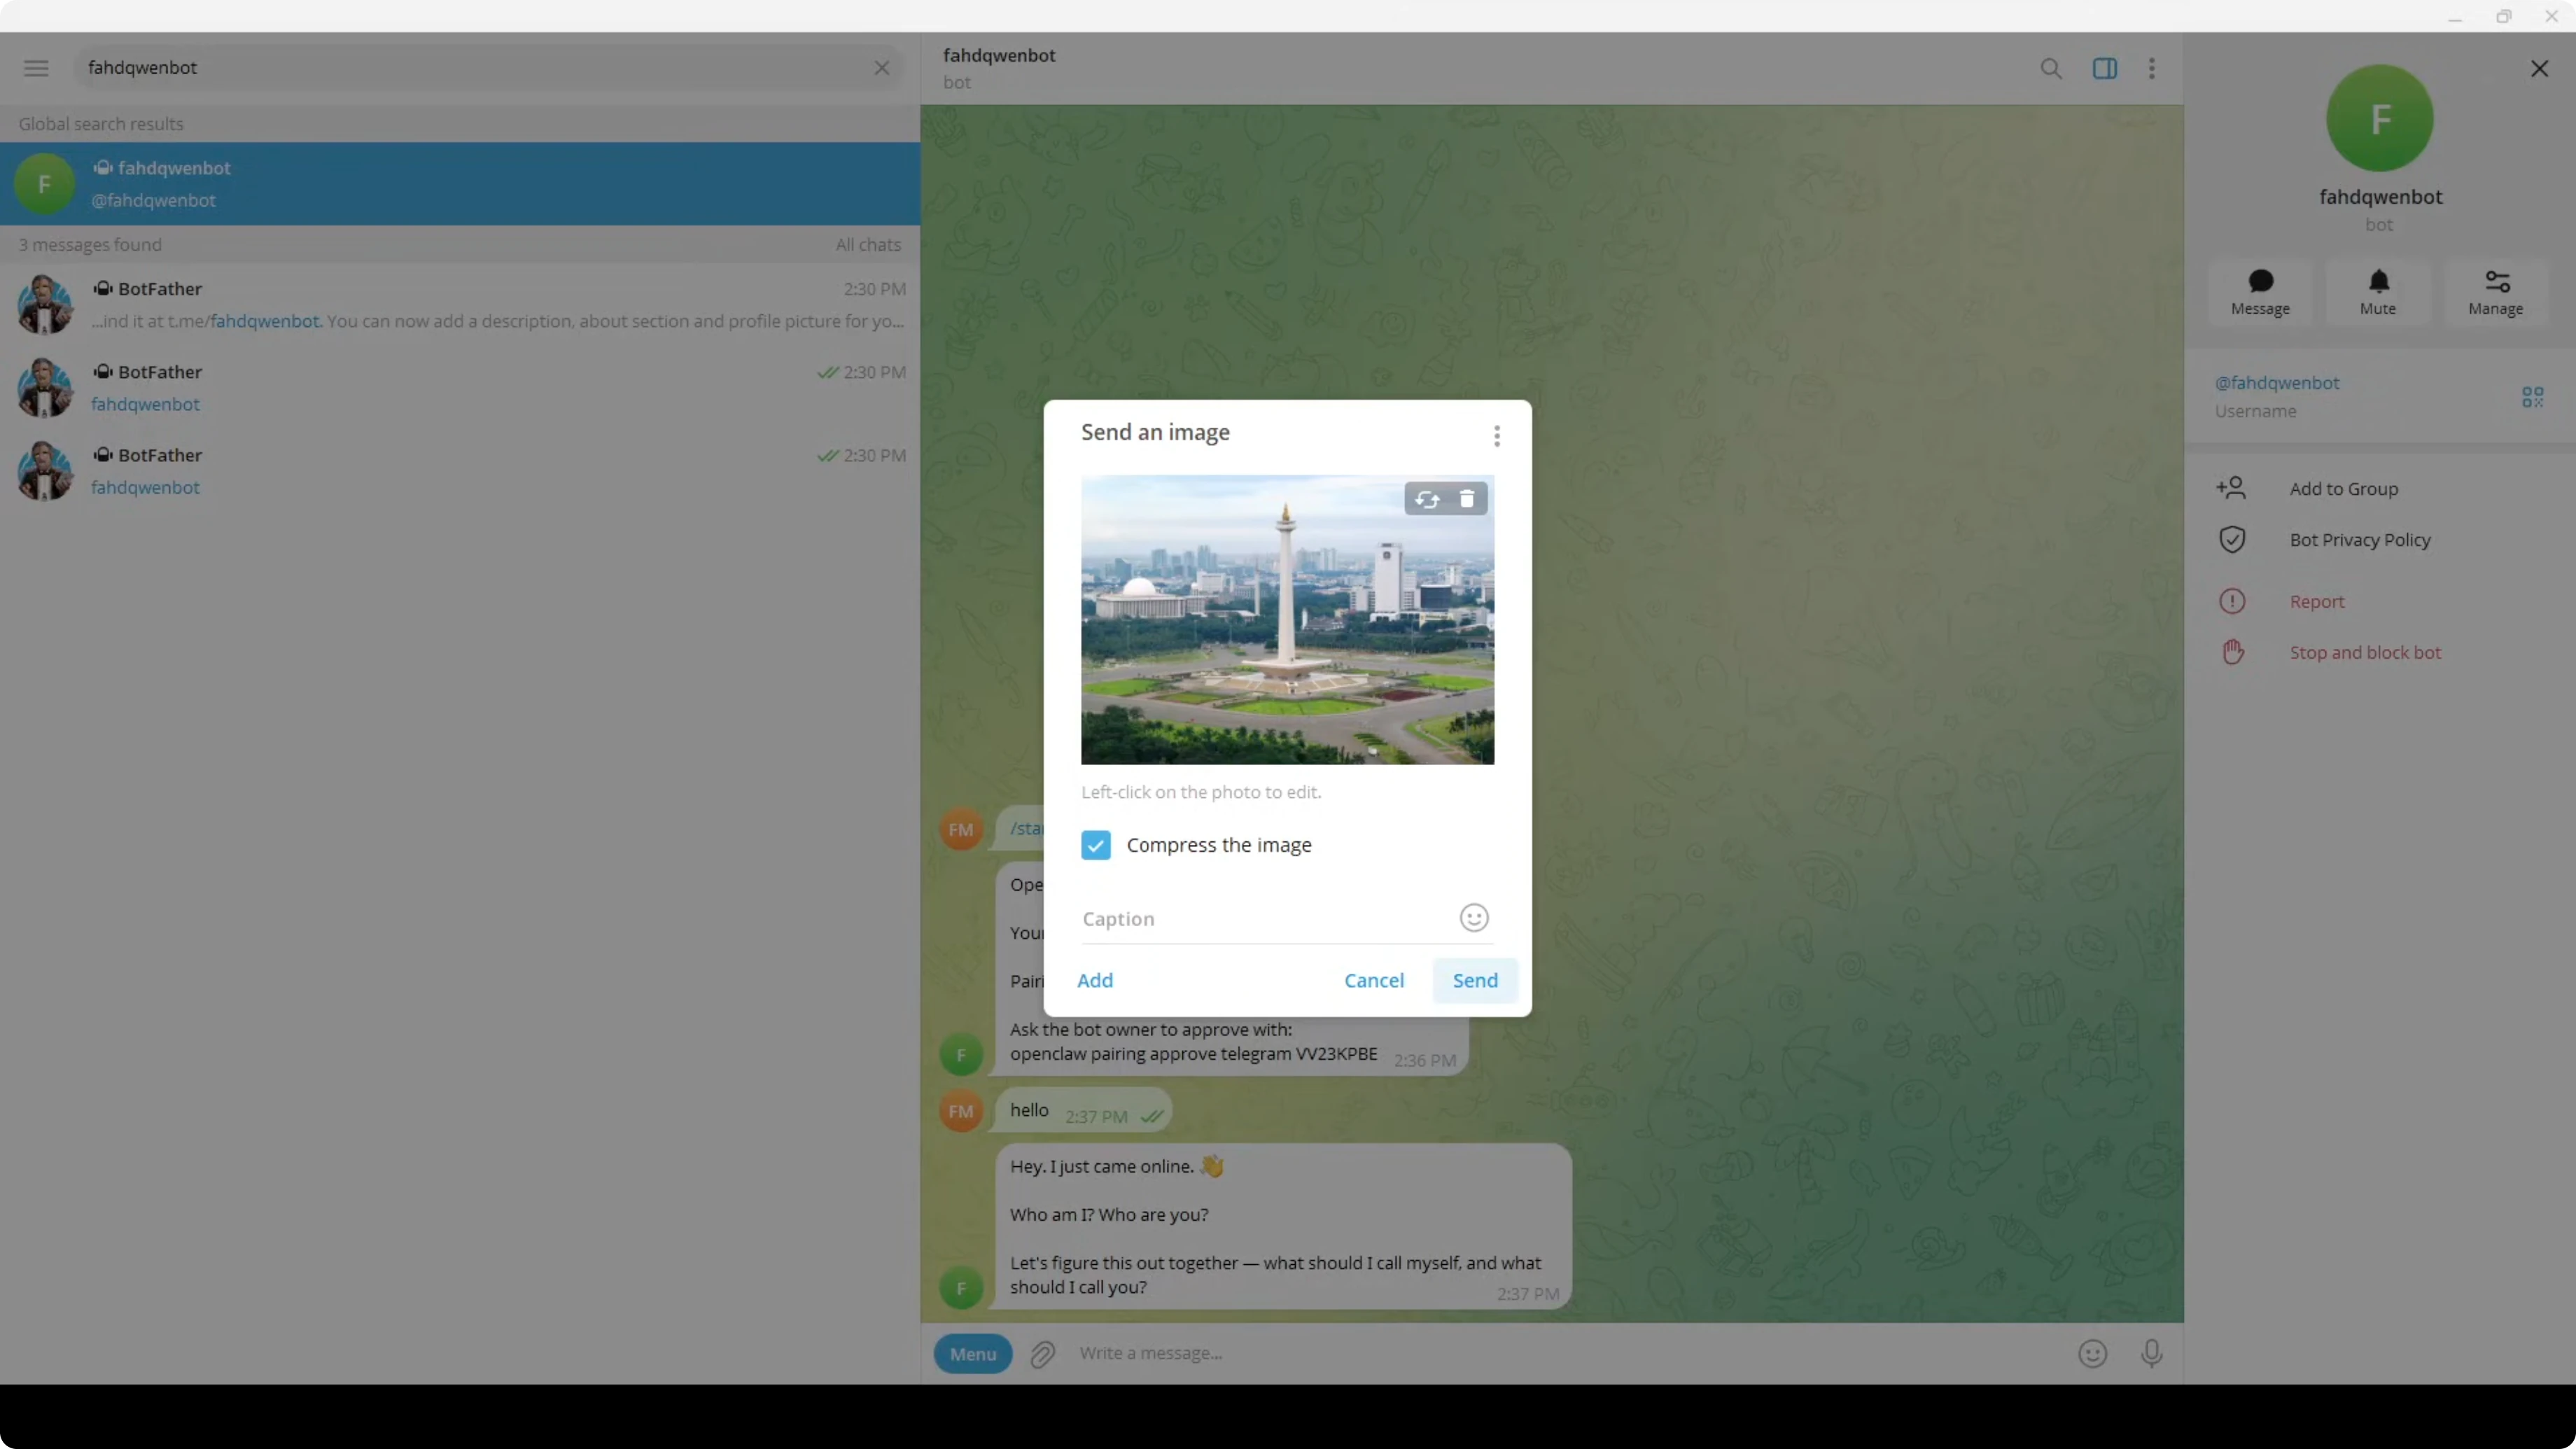
Test vision on Telegram
I uploaded a photo of Monas in Jakarta from my local system. The assistant recognized it as the National Monument in Jakarta and noted the golden flame at the top. It then asked if I was in Jakarta or planning a trip.
I asked for directions to the airport from that location. It replied with travel options, rough times, and cost notes, including Bluebird taxi, Grab, and Gojek. This is where the remote OpenClaw plus model setup shines, because you can send images and keep chatting with your AI assistant naturally.
I tested again with an image of a crowded Mexican metro station. The assistant noticed the jump from Jakarta and asked if I was world traveling or playing a guessing game. It identified CDMX metro and followed the context.
I asked it to tell me which station I was at according to the image and how to get to Tipek from there, including which line to take. It told me I was at Aubai station and that I was already on Line 1, then listed what I needed to do. If you are a Mexico City native, you can confirm, but this is quite good.
Final thoughts on enable Qwen 3.5 and OpenClaw Vision?
Qwen 3.5 Plus with OpenClaw turns Telegram into a capable visual assistant that can see and reason about your images. Setup is straightforward once you place your DashScope API key, point to the OpenAI-compatible endpoint, and add the Telegram bot token. With pairing done, you can send images from anywhere and get context-aware help in natural language.
Subscribe to our newsletter
Get the latest updates and articles directly in your inbox.

Related Posts

8 Best Claude Code Plugins in 2026 (You Need to Know)
8 Best Claude Code Plugins in 2026 (You Need to Know)

7 Best Claude Code Skills (You Need to Know)
7 Best Claude Code Skills (You Need to Know)

Claude Code Desktop IDE Features (You Need to Know)
Claude Code Desktop IDE Features (You Need to Know)