

How Nanbeige4.1-3B Outsmarts Larger 32B Models Locally?
I took Nanbeige4.1-3B for a local test and it surprised me. I know I am a bit late on this model, but I wanted to run it properly and look closely at what it does. Here is what it is, how I set it up, and why it punches above its weight.
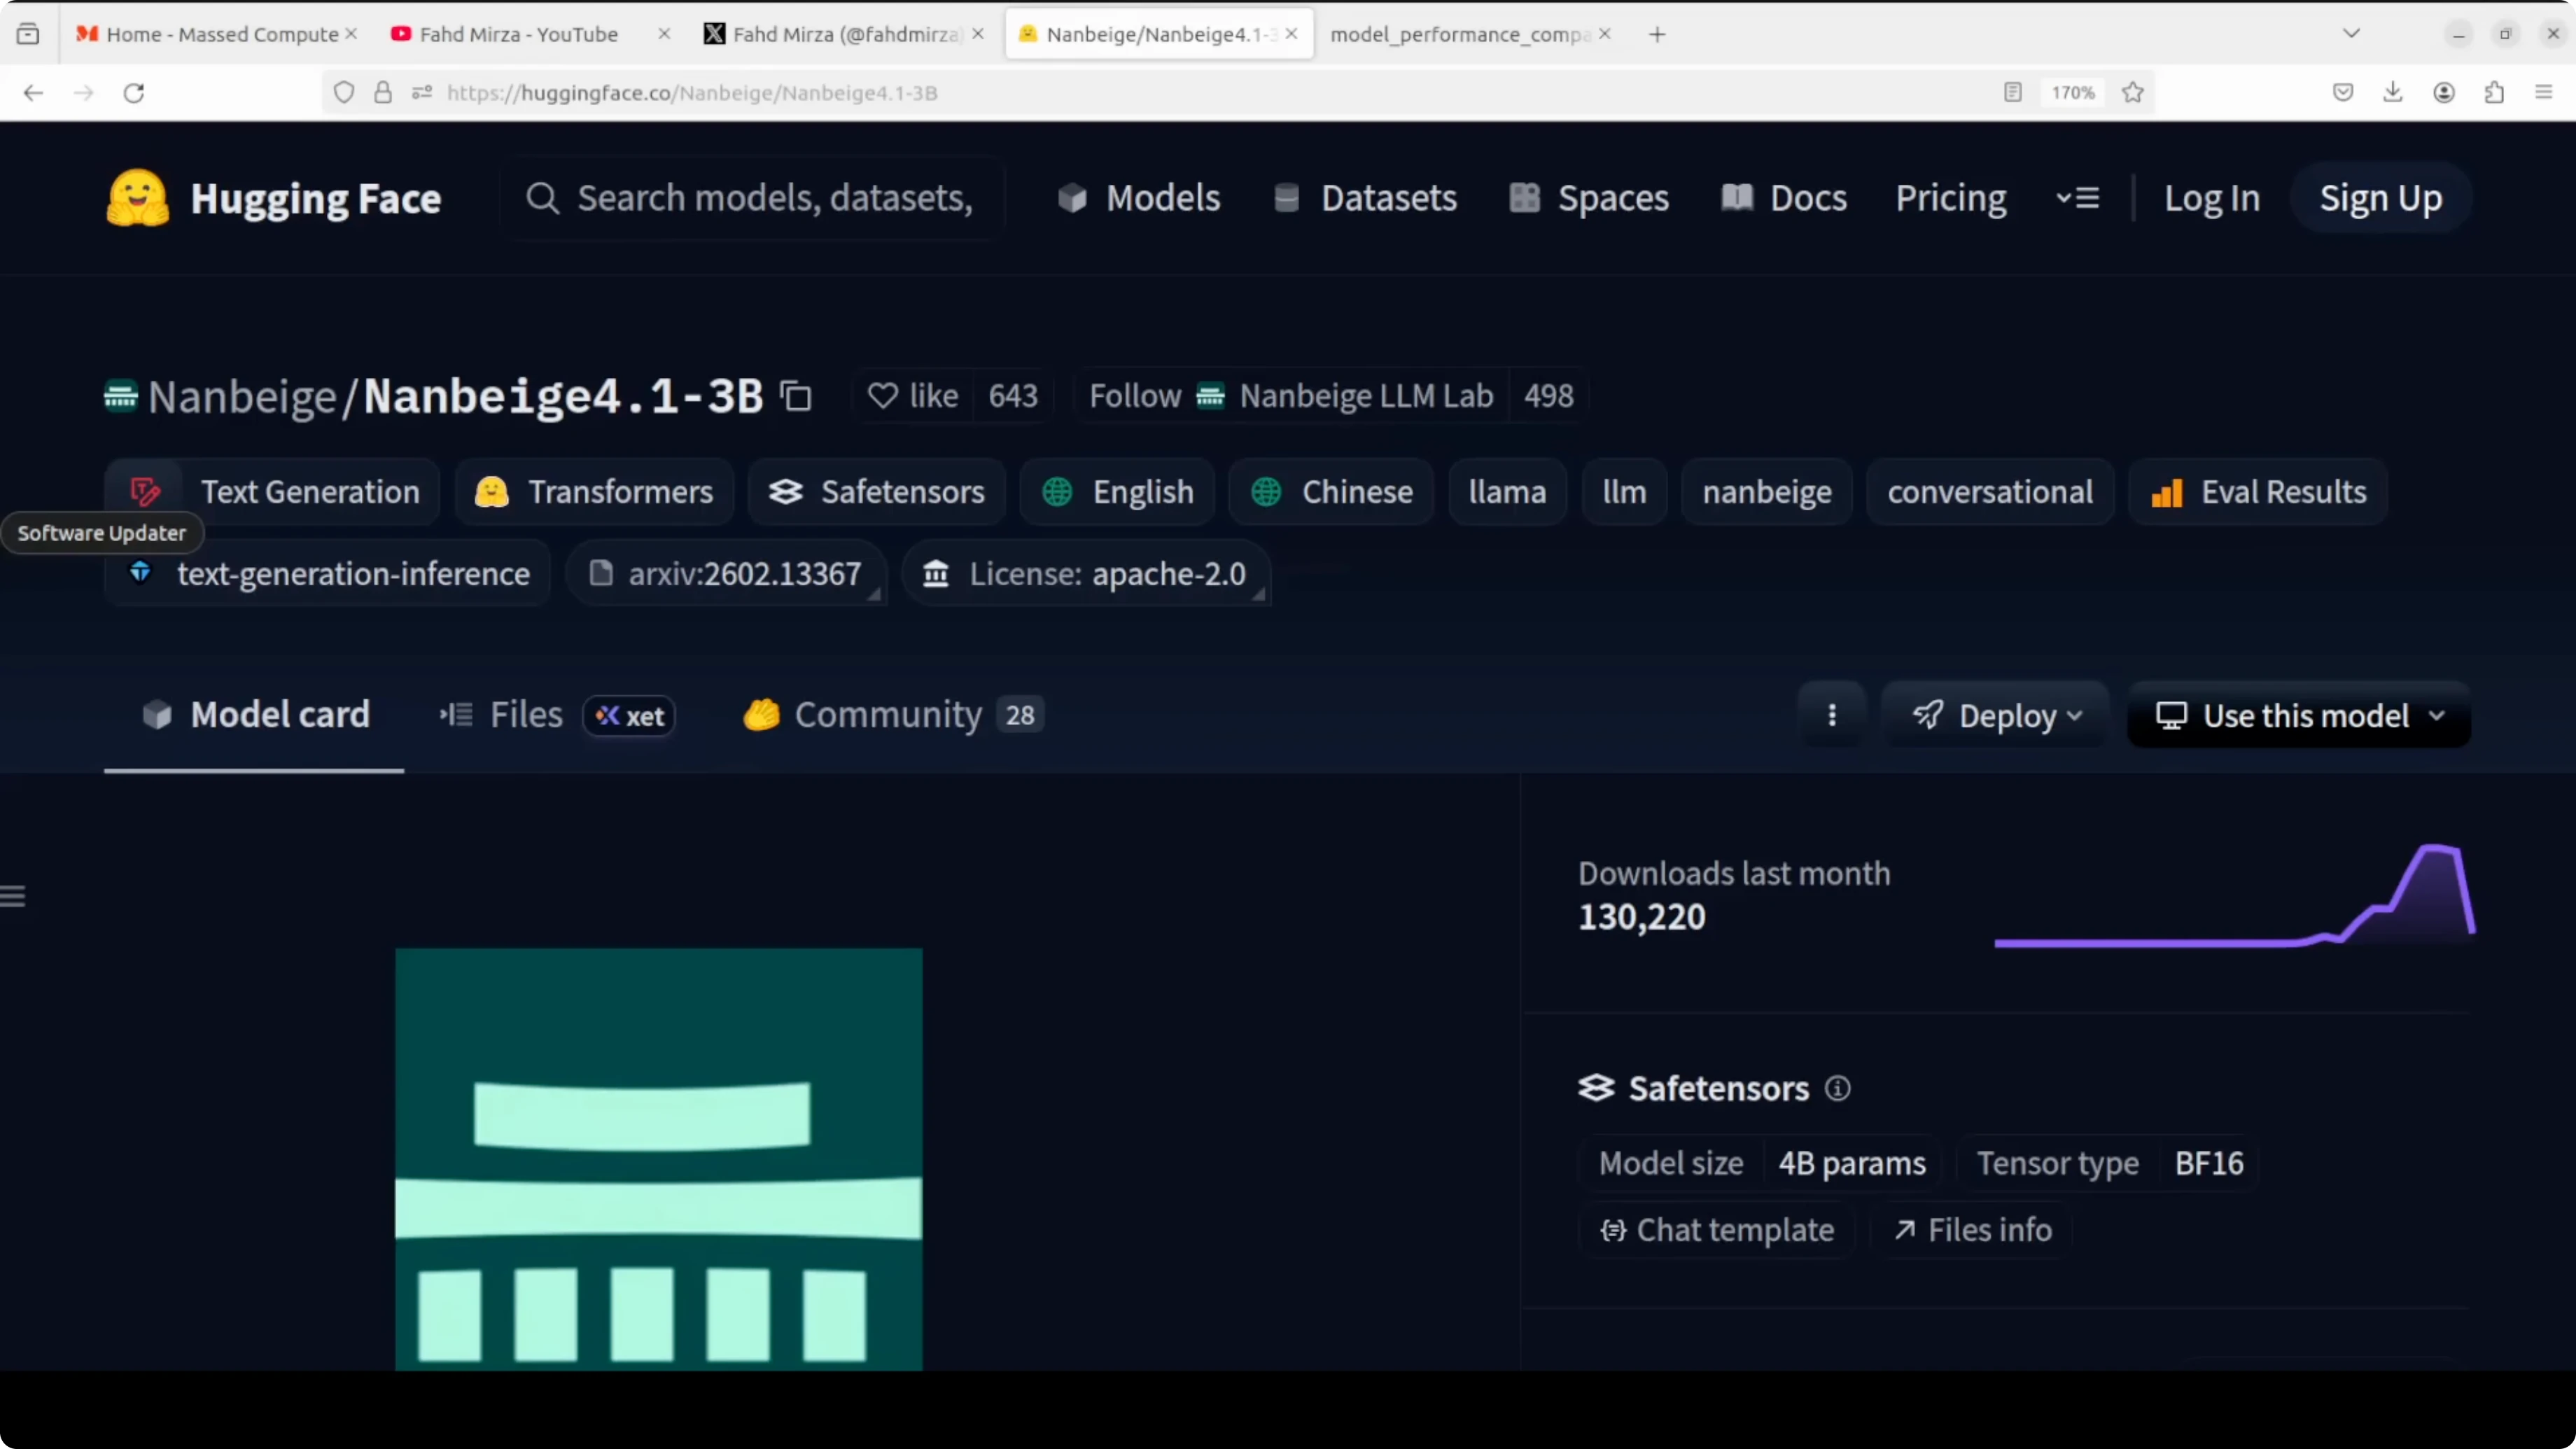
The model comes from a Chinese AI team often translated as North South Pavilion, a name that evokes a scholarly space. It is based on a 3 billion parameter Nanbeige 4.1 base, trained with supervised fine-tuning followed by reinforcement learning. You can find the model on Hugging Face.
How Nanbeige4.1-3B Outsmarts Larger 32B Models Locally?
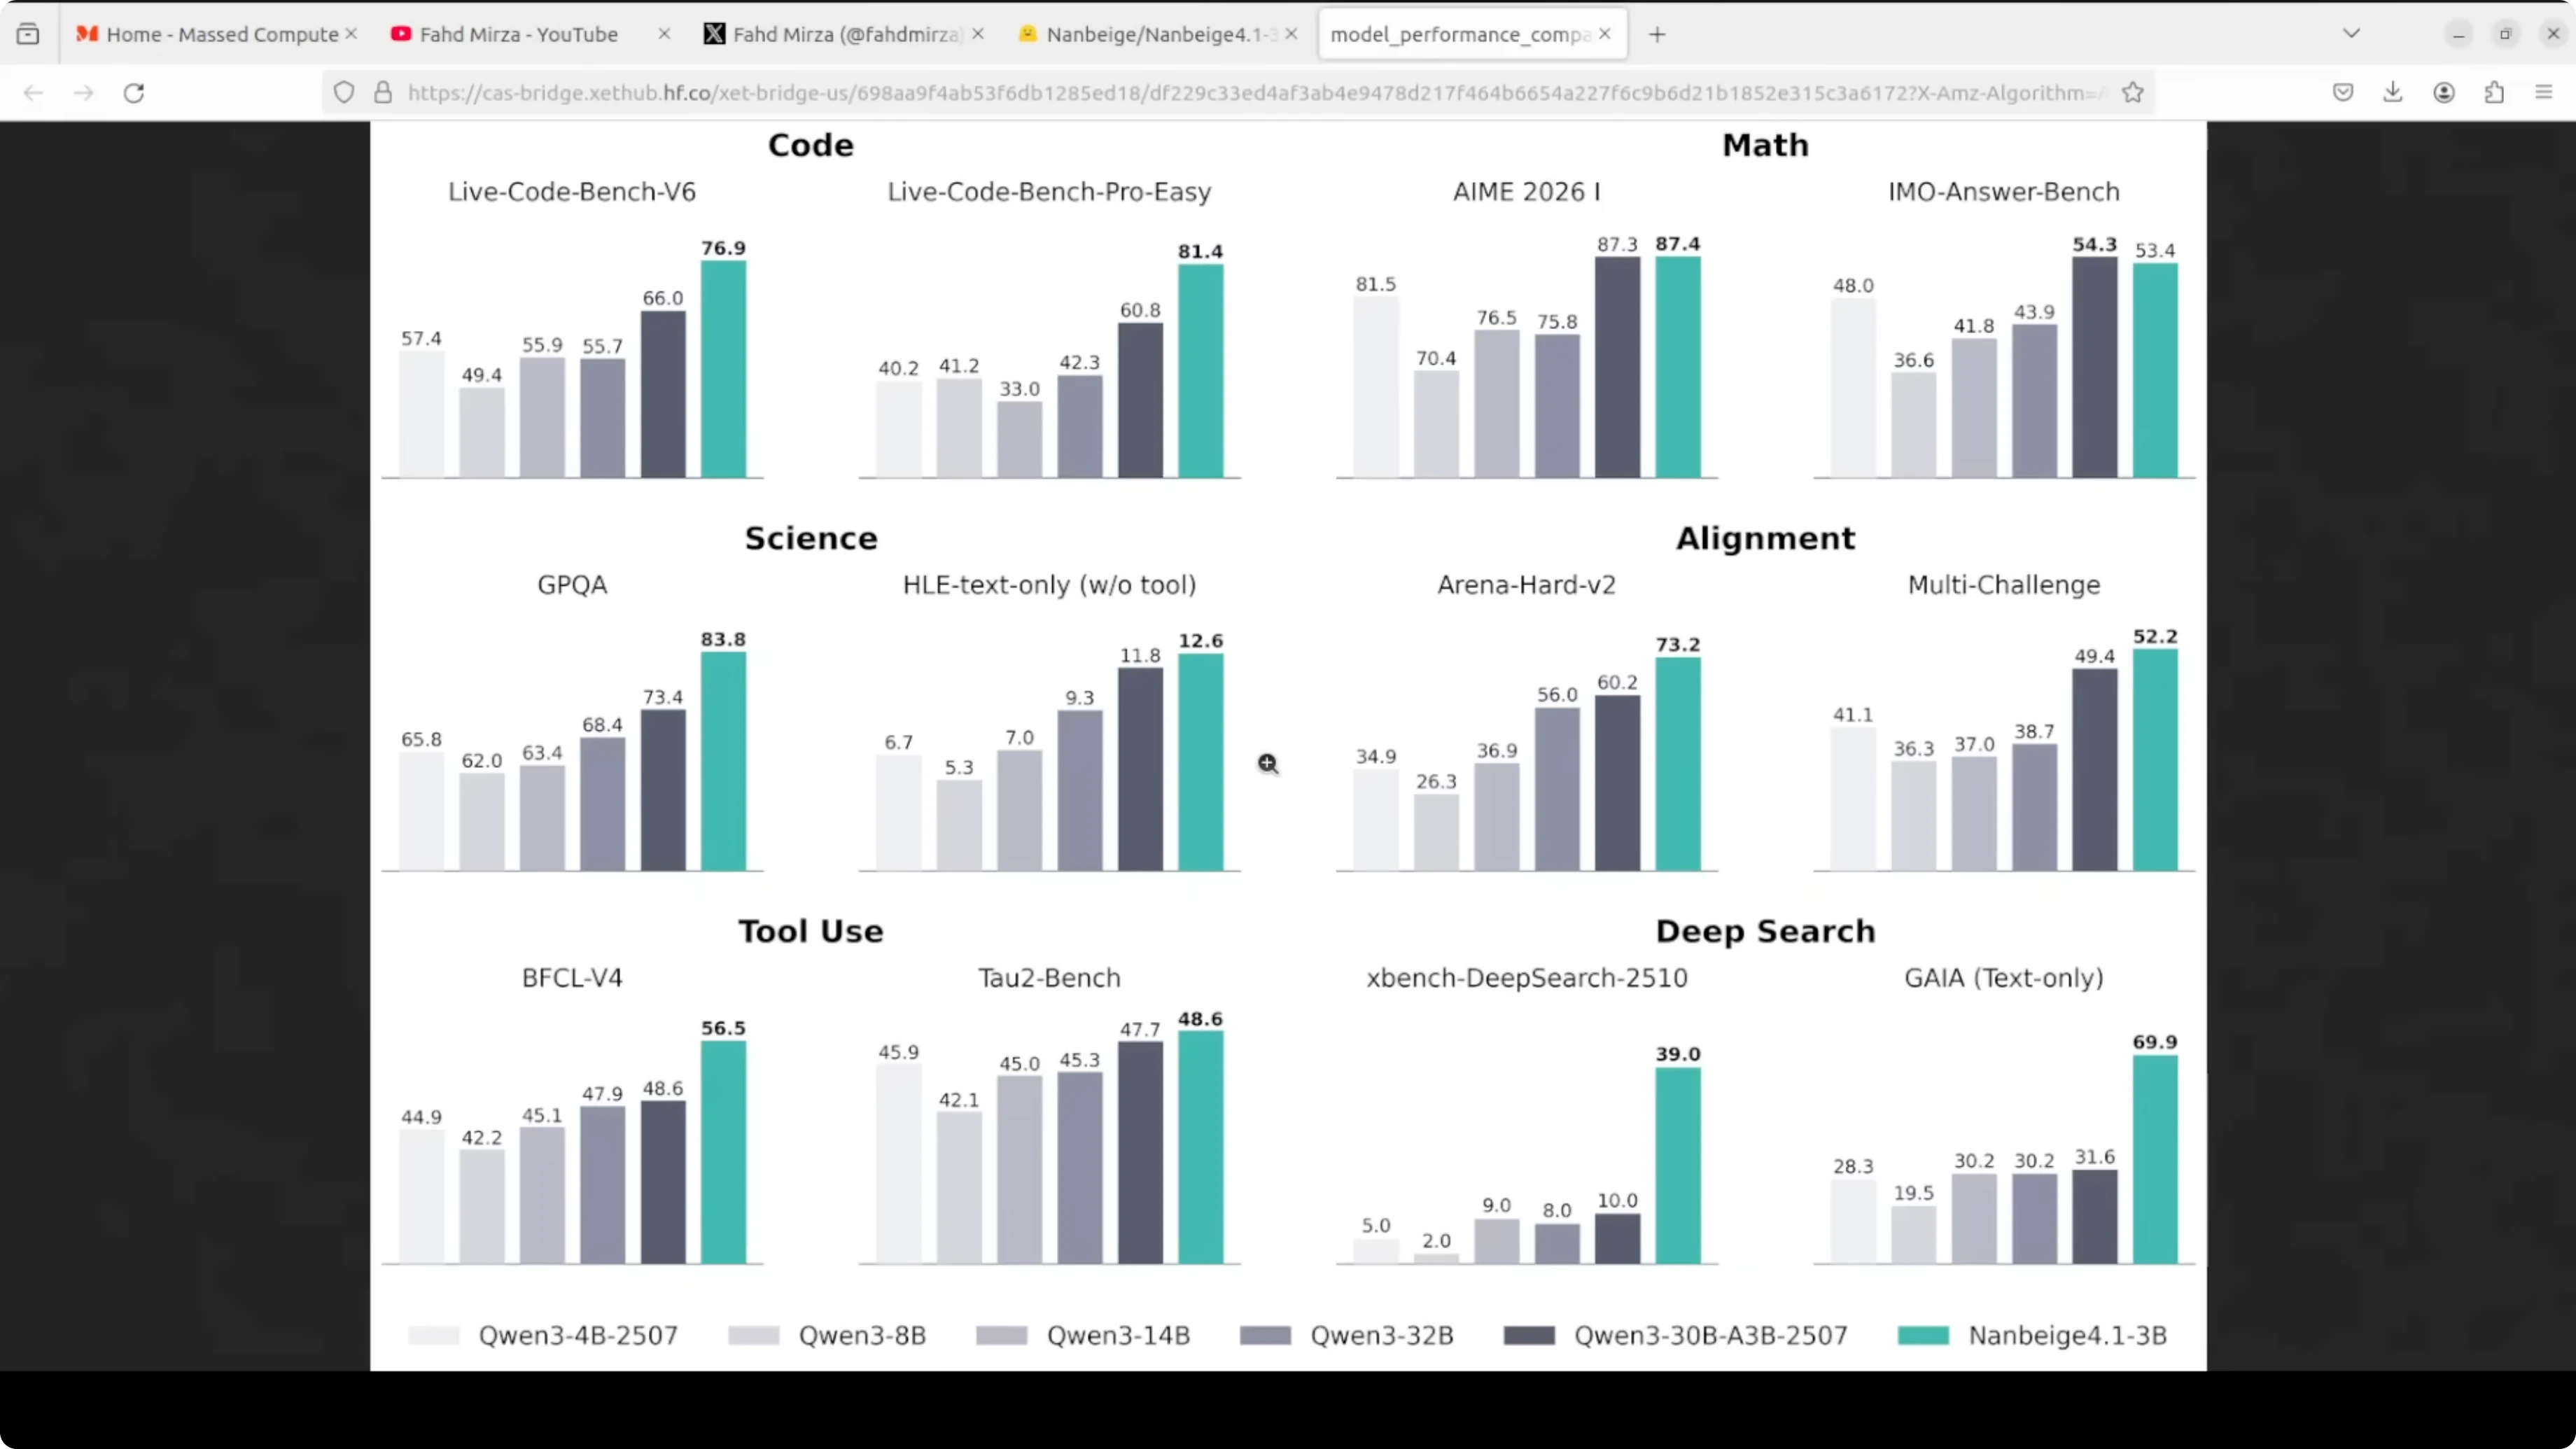
The position is clear: compact but capable, and the benchmark numbers back that up. It has outperformed much larger 32 billion parameter models on alignment tasks and beats specialized 8 billion agentic models on deep search benchmarks. That is genuinely surprising for its size.

What sets it apart is that it targets three things at once. It shows strong multi-step reasoning across math, code, and science, solid preference alignment with human instructions, and agentic capability with long tool-calling workflows that can run 500 or more sequential tool invocations. Most small models are optimized for one or two of these, not all three.
It supports a 131k token context window. It uses a standard dense transformer decoder architecture with no mixture-of-experts complexity, which keeps inference simple and hardware requirements modest. If you want to try local coding workflows with small models, see Claude code.
Setup on Ubuntu
I used an Ubuntu box with an Nvidia RTX 6000 and 48 GB of VRAM. The model itself needs just over 8 GB of VRAM once loaded, so you can fit it on an 8 GB GPU and even run it with WebGPU.

Environment
Create a Python virtual environment.
python3 -m venv .venvActivate the environment.
source .venv/bin/activateInstall packages
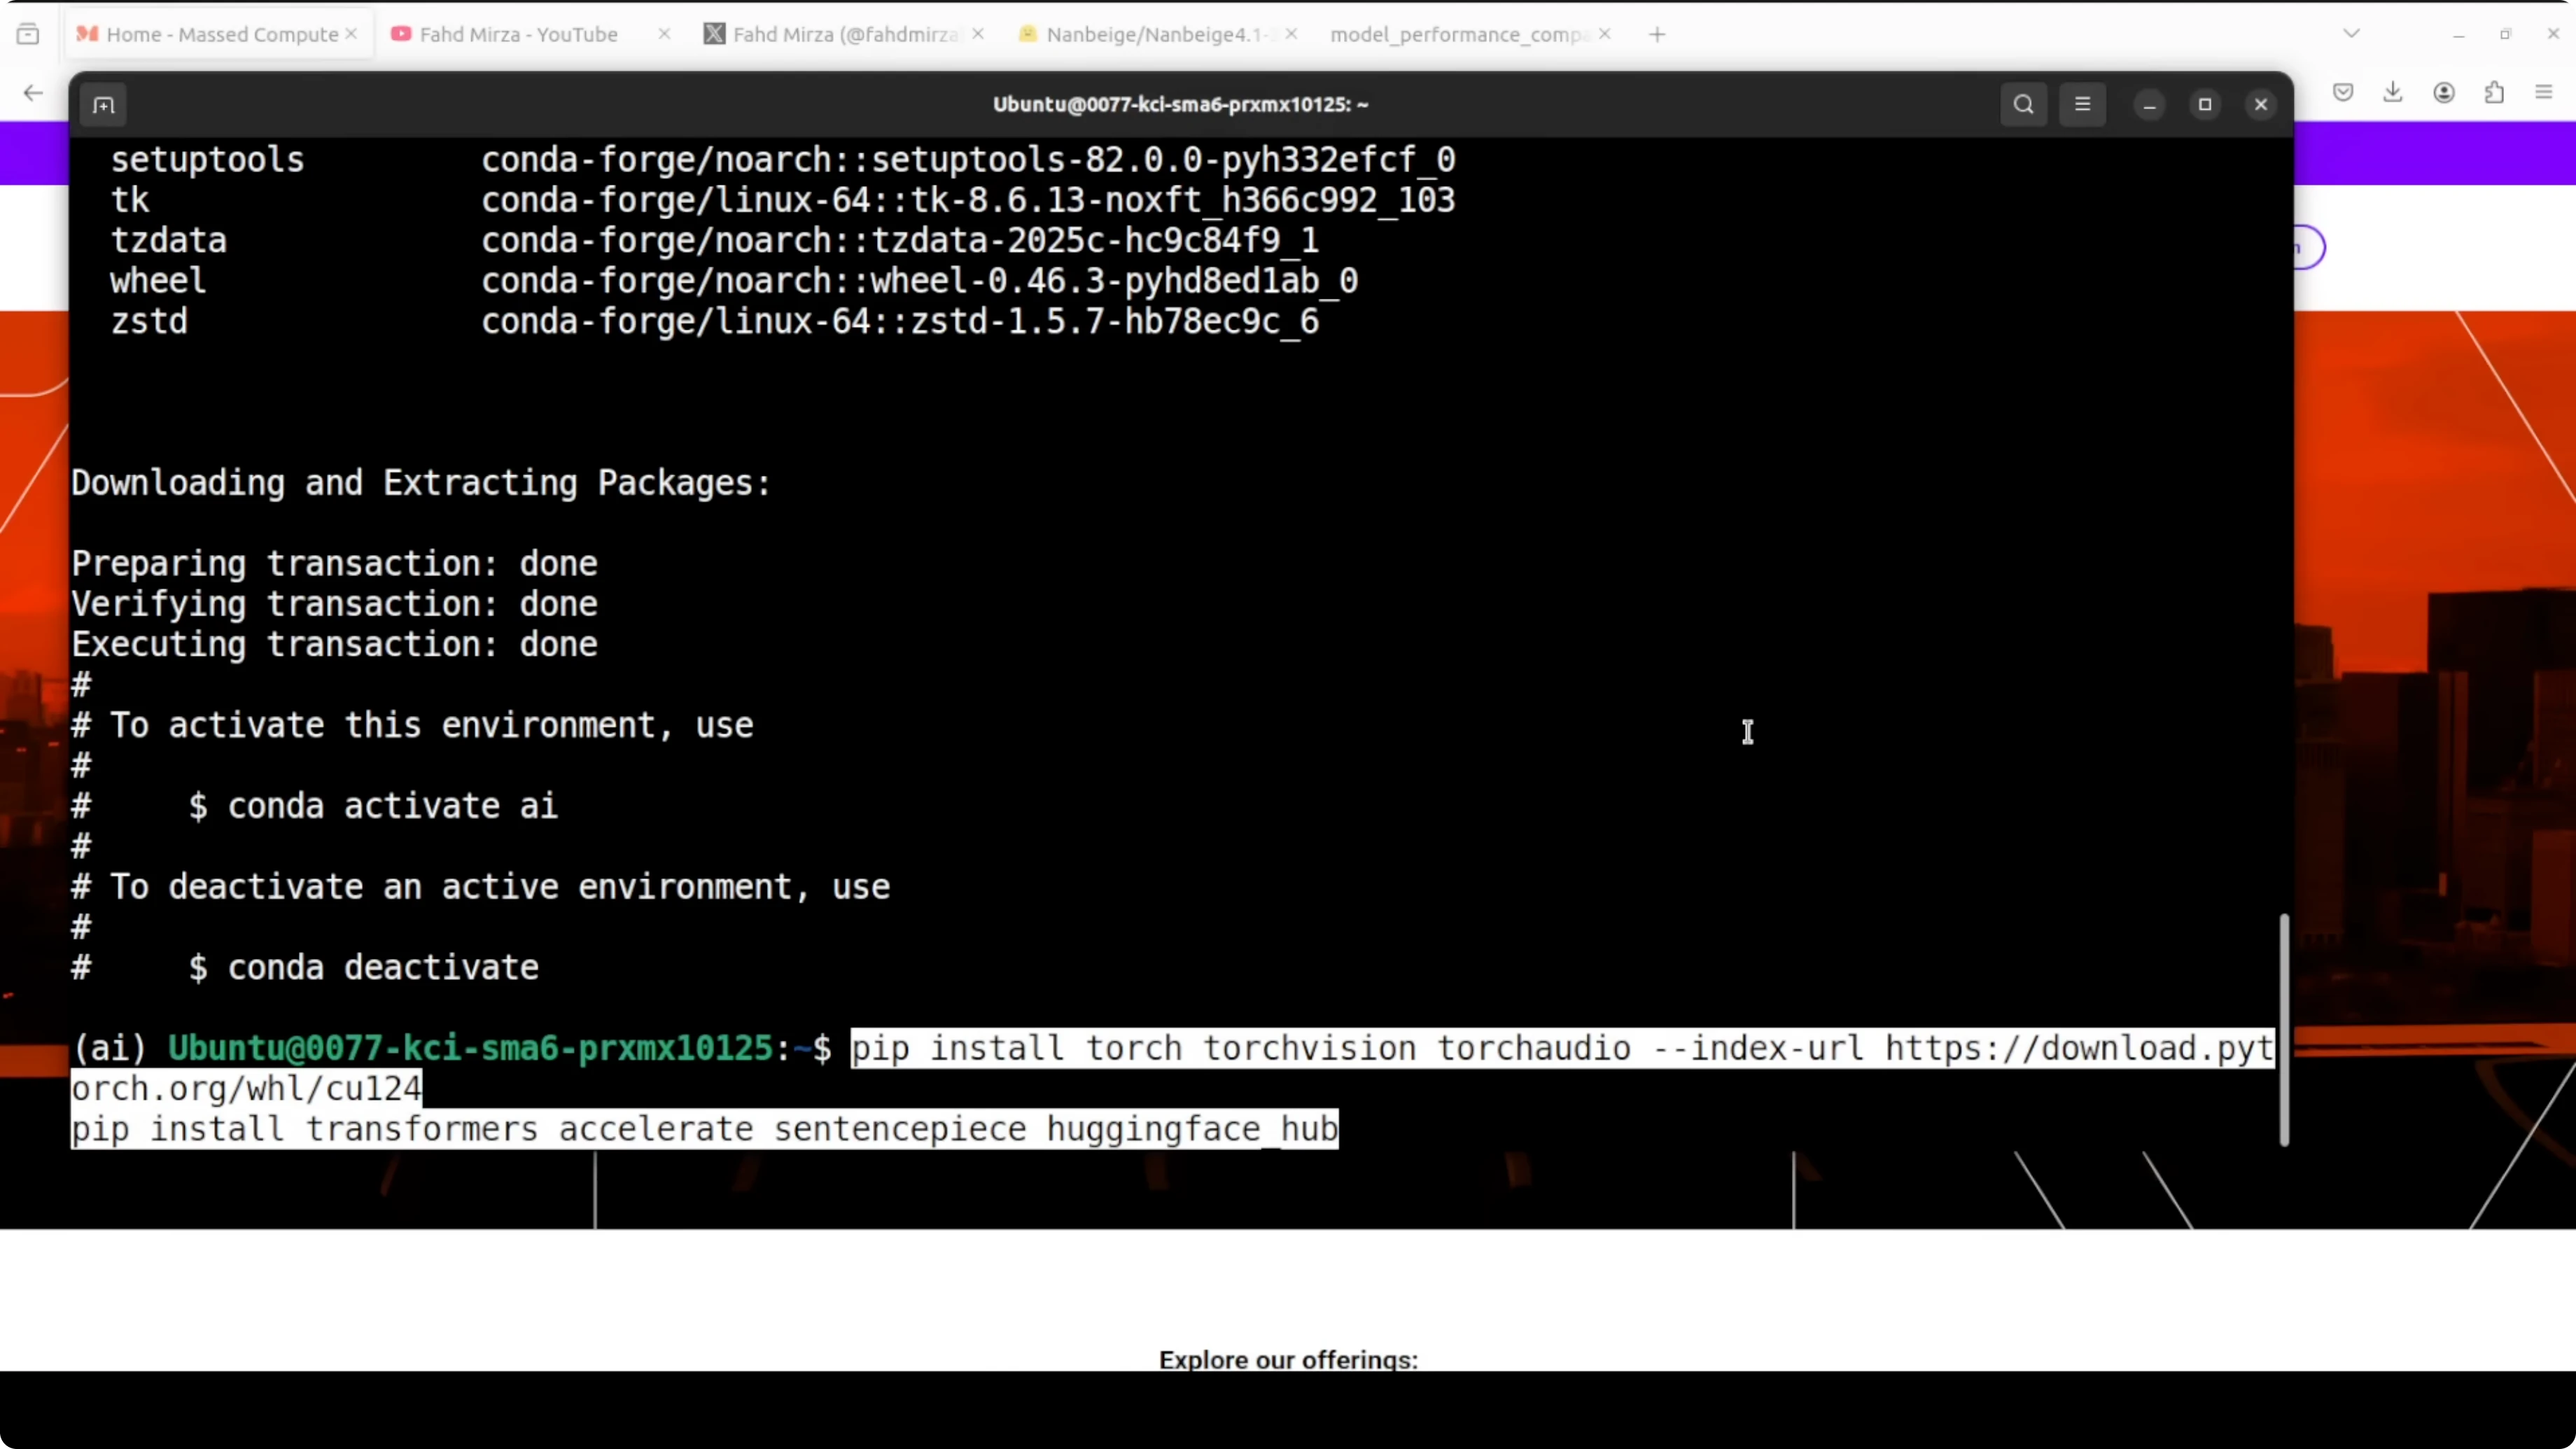
Install the latest PyTorch and Transformers.
pip install --upgrade pip
pip install torch transformers
Load the model
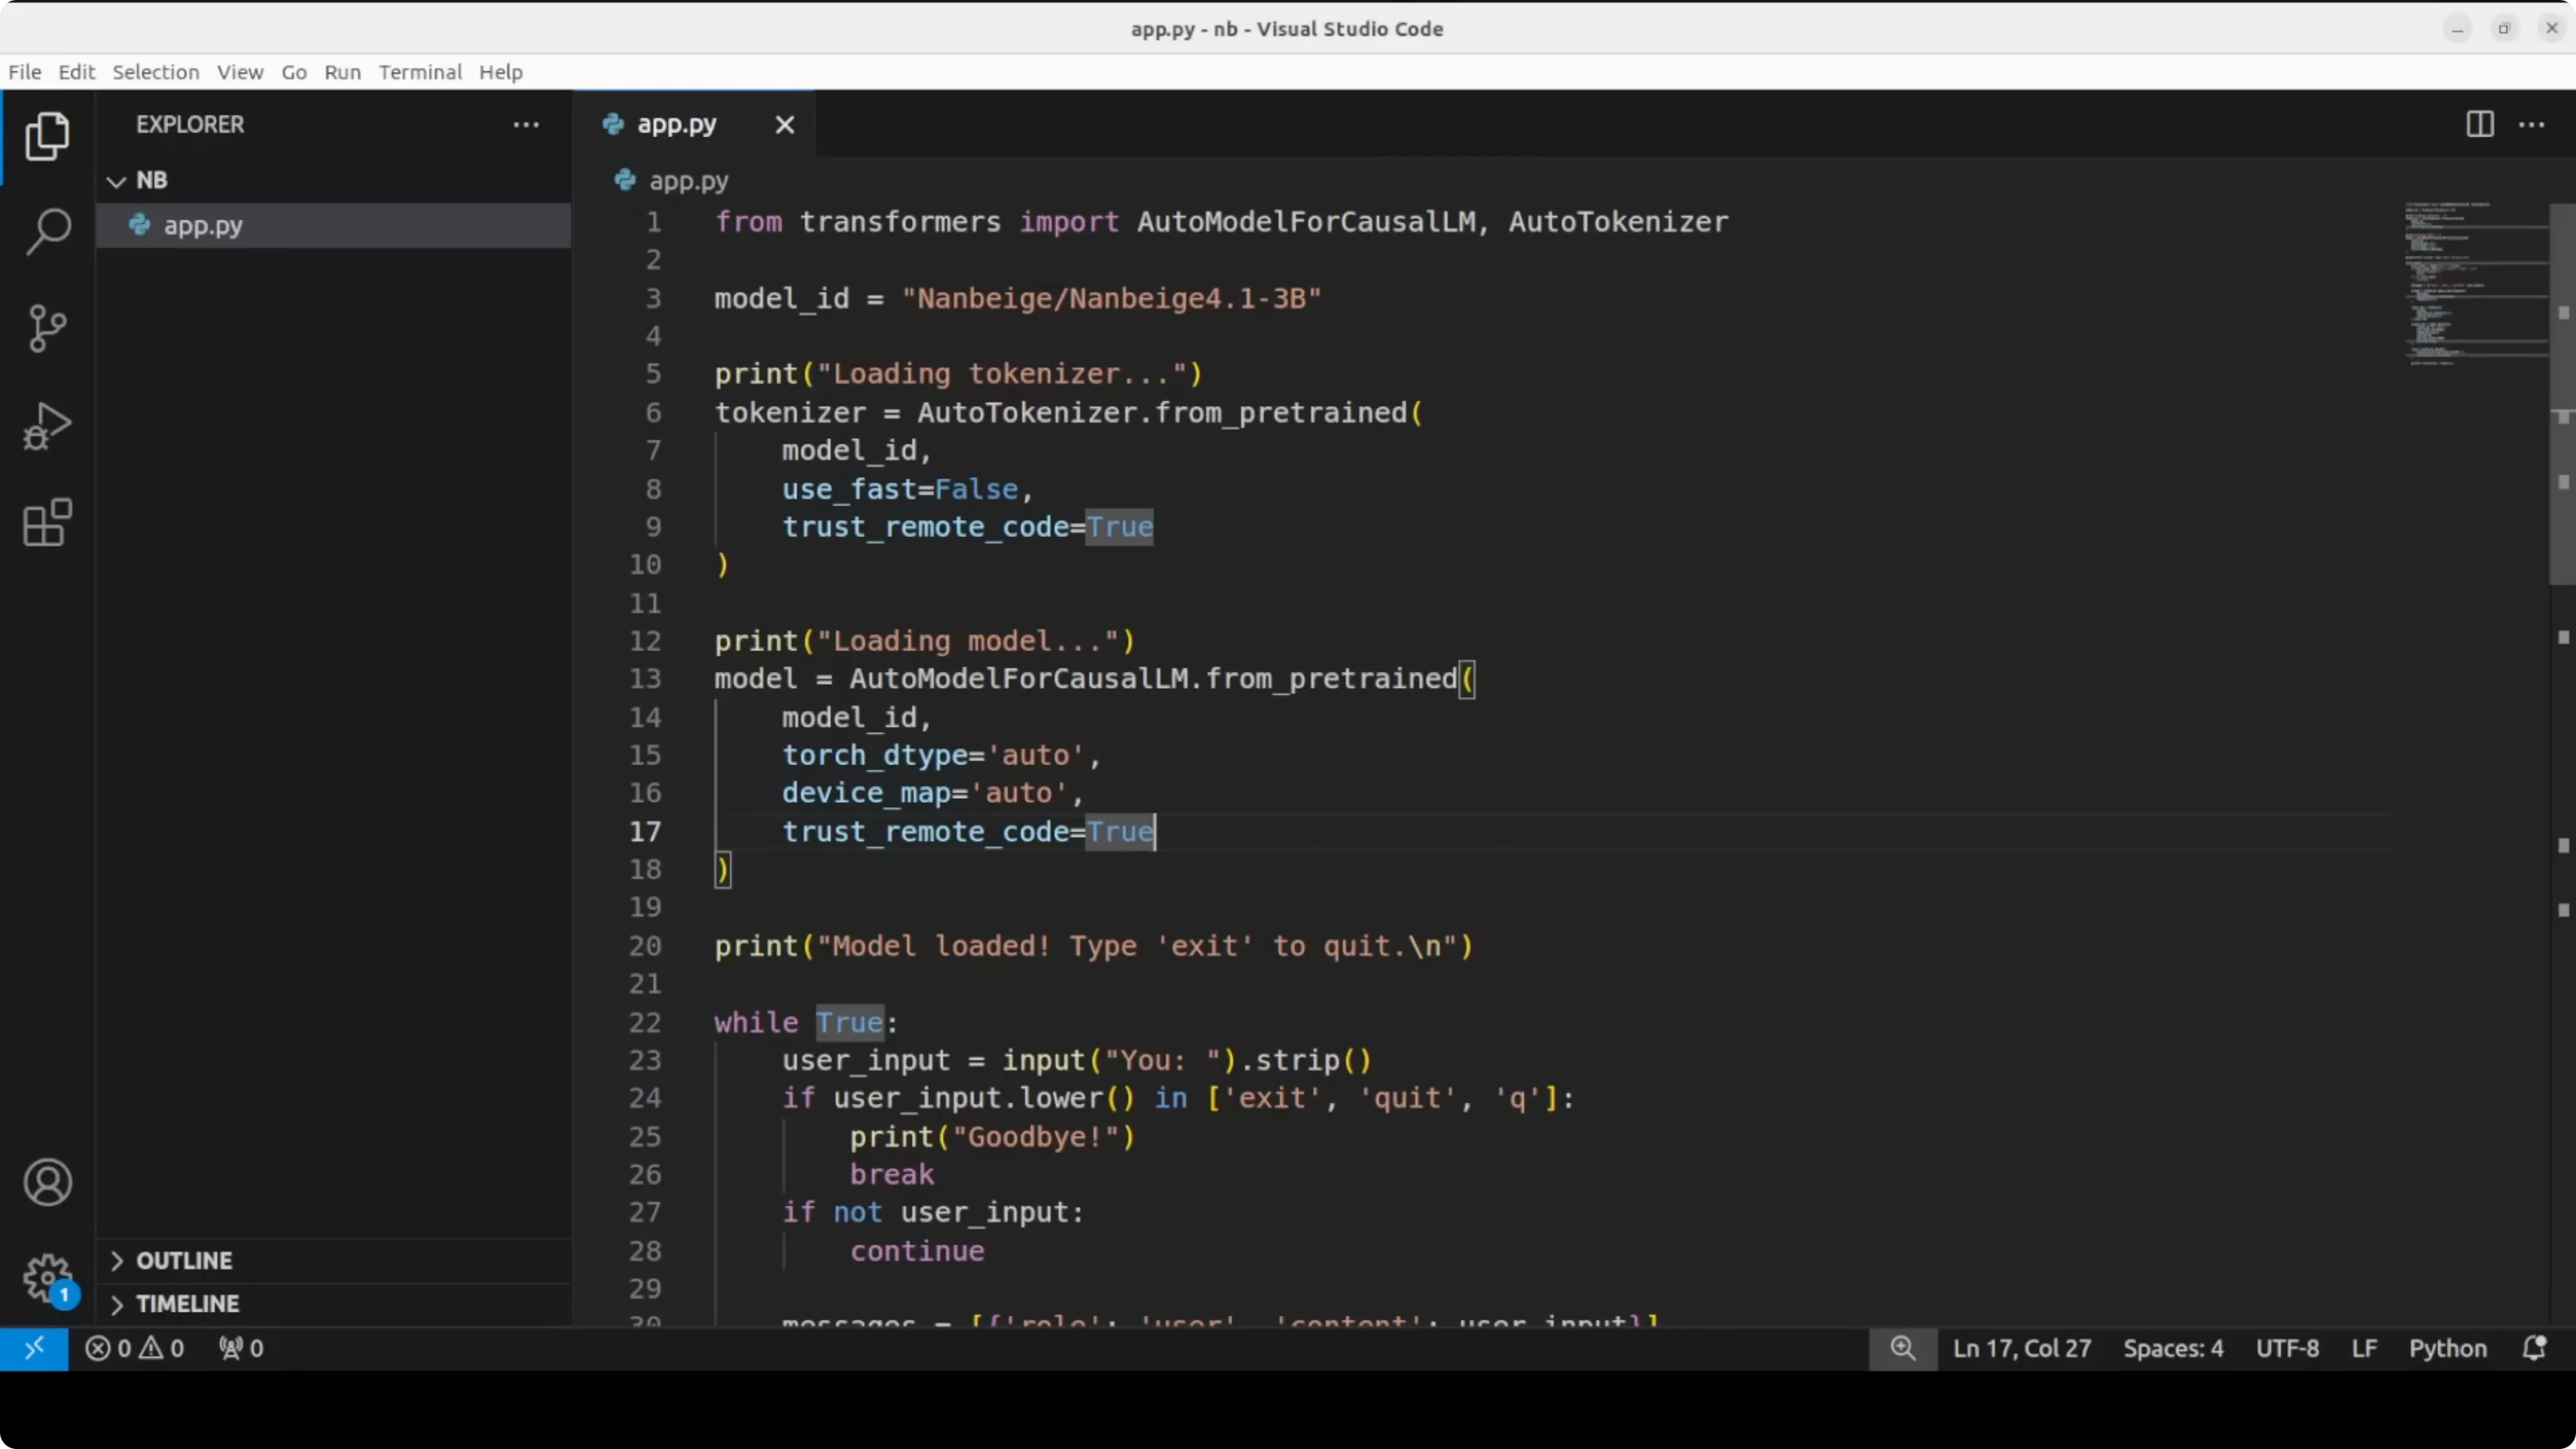
Here is a minimal Transformers script I used to download the tokenizer and model, then generate text from prompts.
import torch
from transformers import AutoTokenizer, AutoModelForCausalLM
model_id = "Nanbeige/Nanbeige4.1-3B"
tokenizer = AutoTokenizer.from_pretrained(model_id, use_fast=True)
model = AutoModelForCausalLM.from_pretrained(
model_id,
torch_dtype=torch.float16,
device_map="auto"
)
def chat(prompt, max_new_tokens=256, temperature=0.7):
inputs = tokenizer(prompt, return_tensors="pt").to(model.device)
outputs = model.generate(
**inputs,
max_new_tokens=max_new_tokens,
temperature=temperature,
do_sample=True,
pad_token_id=tokenizer.eos_token_id
)
return tokenizer.decode(outputs[0], skip_special_tokens=True)
print(chat("Hello"))If you prefer to explore video generation models next, here is a quick pointer: Read More: HunyuanVideo 1.5.
First look at reasoning
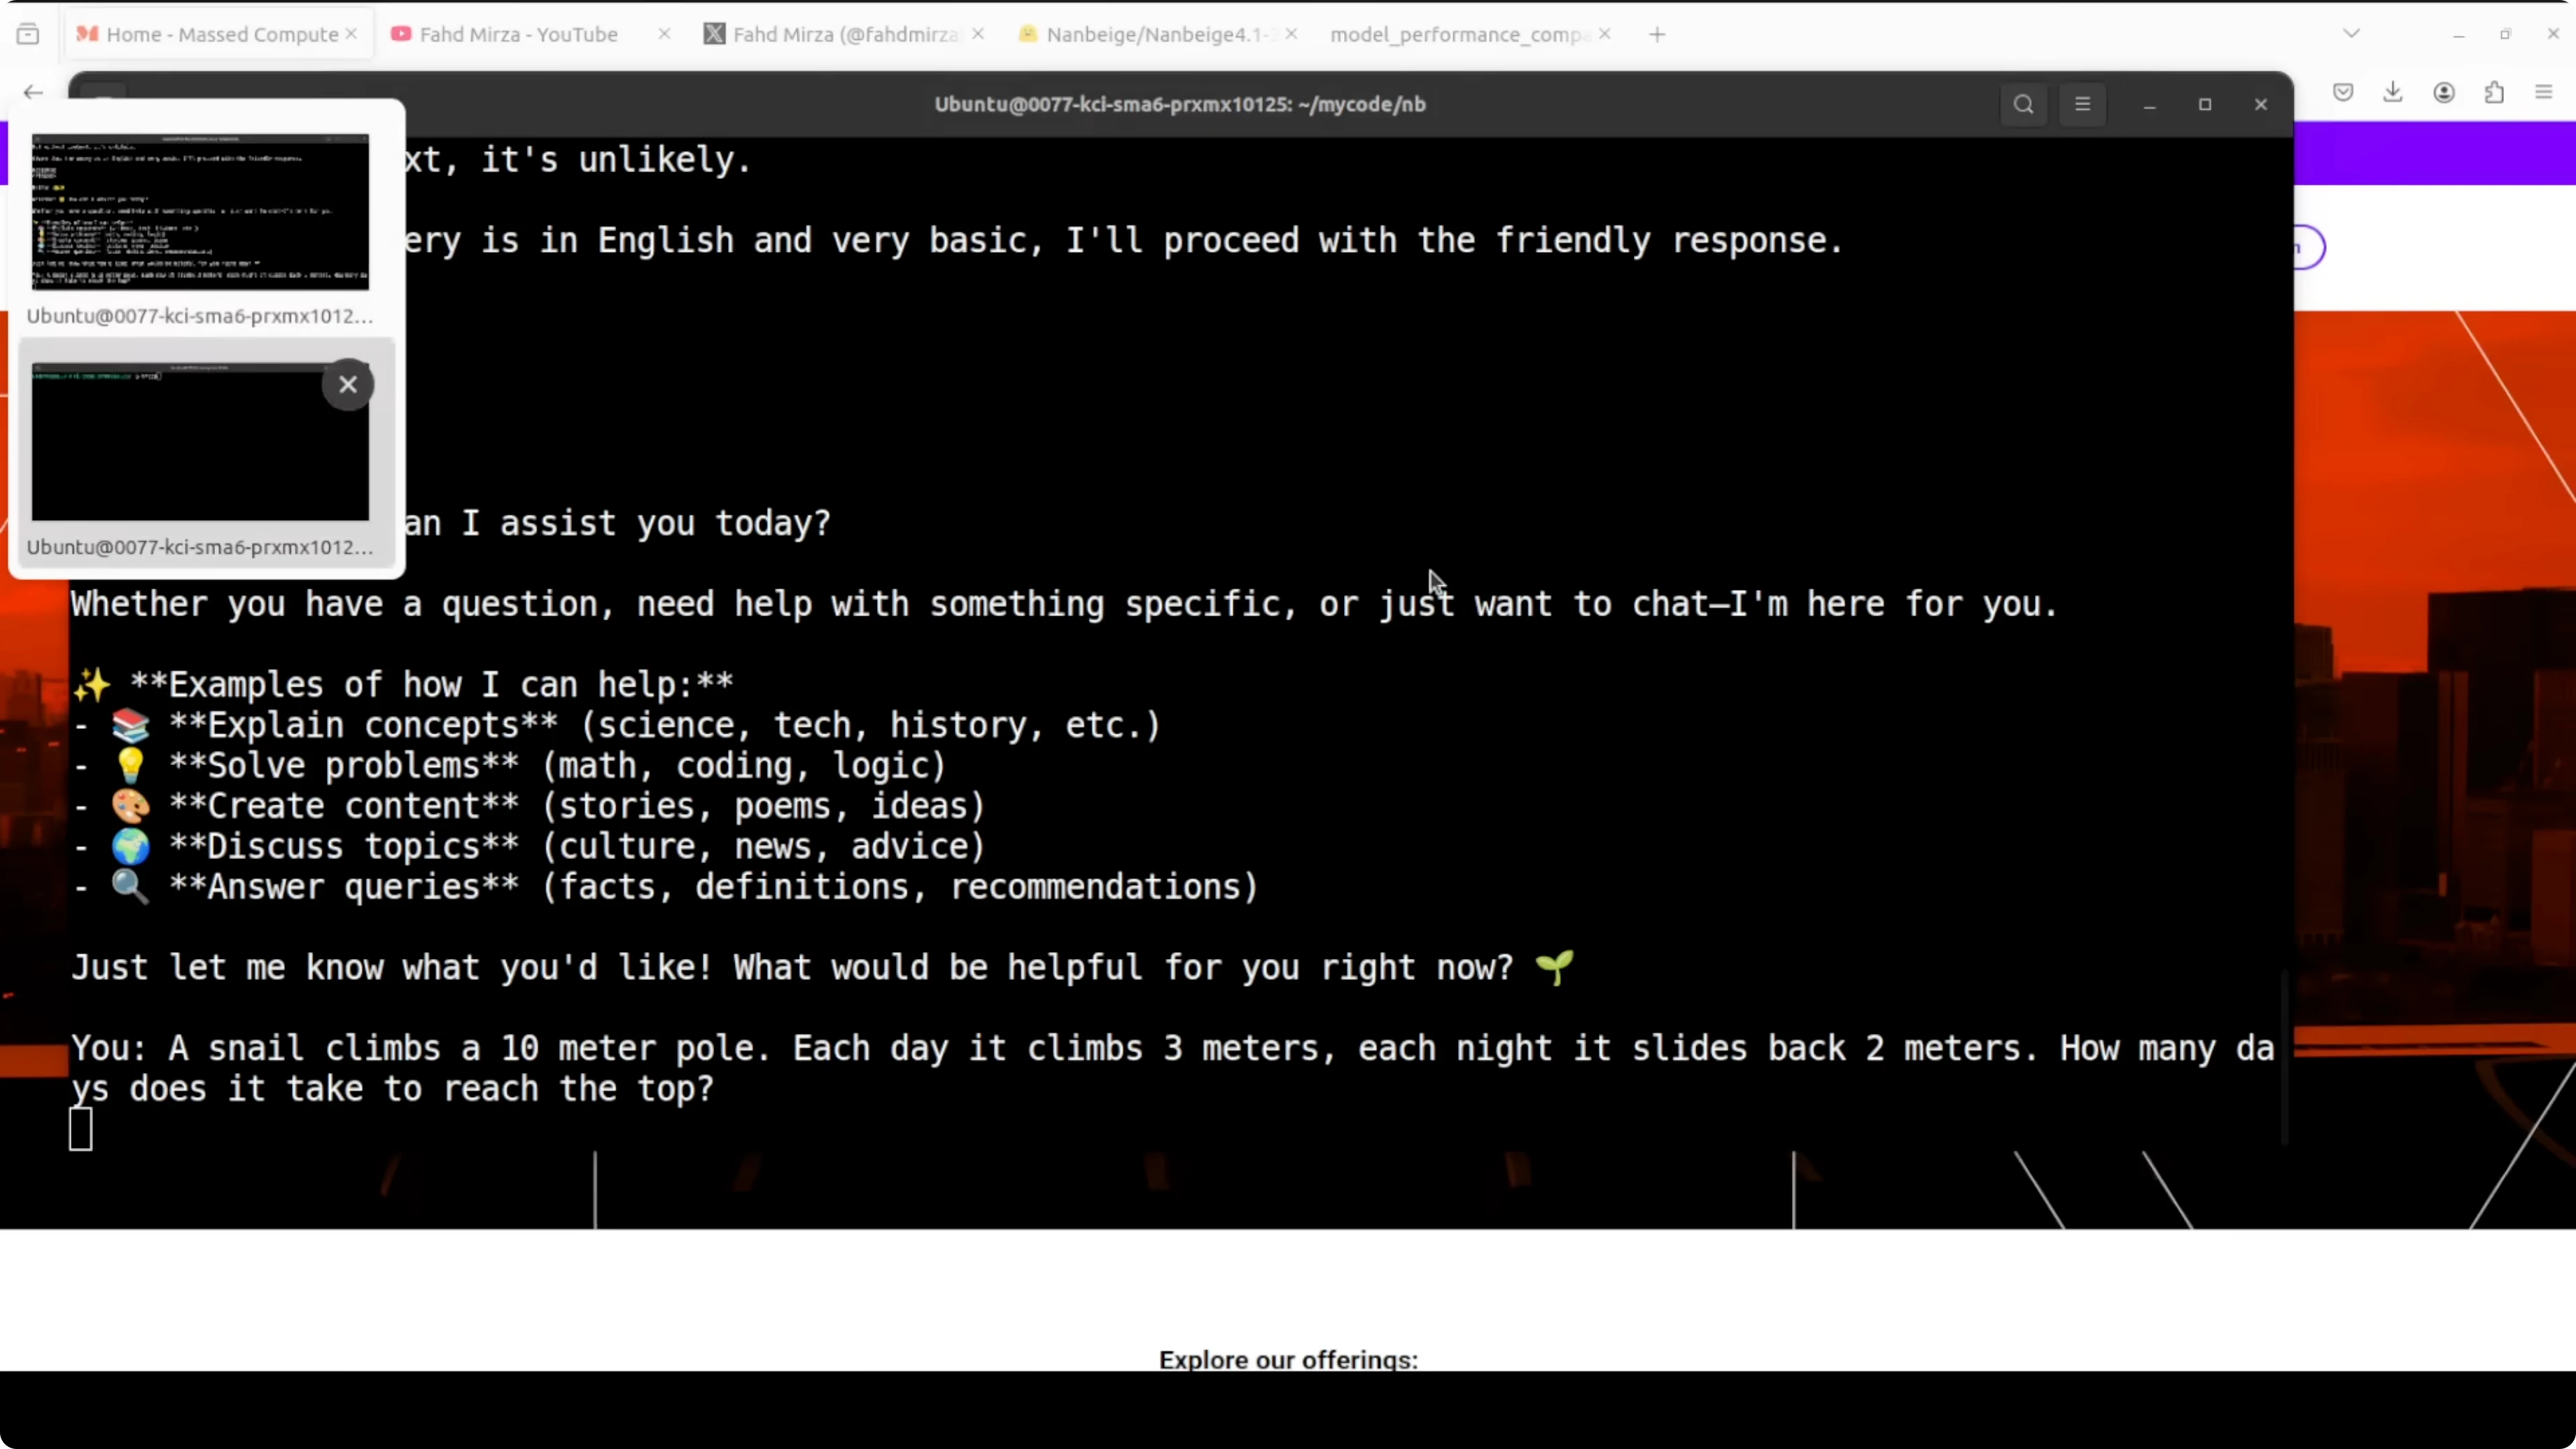
Hello test
The first prompt was a simple hello. The model behaved like a thinking model and broke it down, which is more contemplation than needed for a greeting, but the answer was clean and coherent.
The thinking trace felt unusually thorough for a 3B model. You can control verbosity as needed, because a short greeting does not need deep thought.
Snail puzzle
I asked a classic: a snail climbs a 10 m pole, each day it climbs 3 m and each night it slides back 2 m. It identified this as an 8 day problem and worked through it with rigor.
It even caught itself mid calculation, cross checked against the classical 100 meter variant, and validated the answer with multiple methods. That showed genuine multi-step reasoning rather than pattern matching to a memorized answer.
Latency and VRAM
VRAM sat just over 8 GB after load, which makes this easy to run on consumer cards. On my setup, it took 5 to 6 minutes of thinking time for each prompt, which is expected for a reasoning-oriented setup.
If latency matters a lot for your application, this verbosity can be a factor. For many reasoning tasks, I found the quality worth the extra seconds.
Coding test
I asked it to create a single self-contained HTML file that renders an animated aquarium screensaver. I wanted corals, different fish, some fluid animation, vibrant colors, rising bubbles, and simple rays.
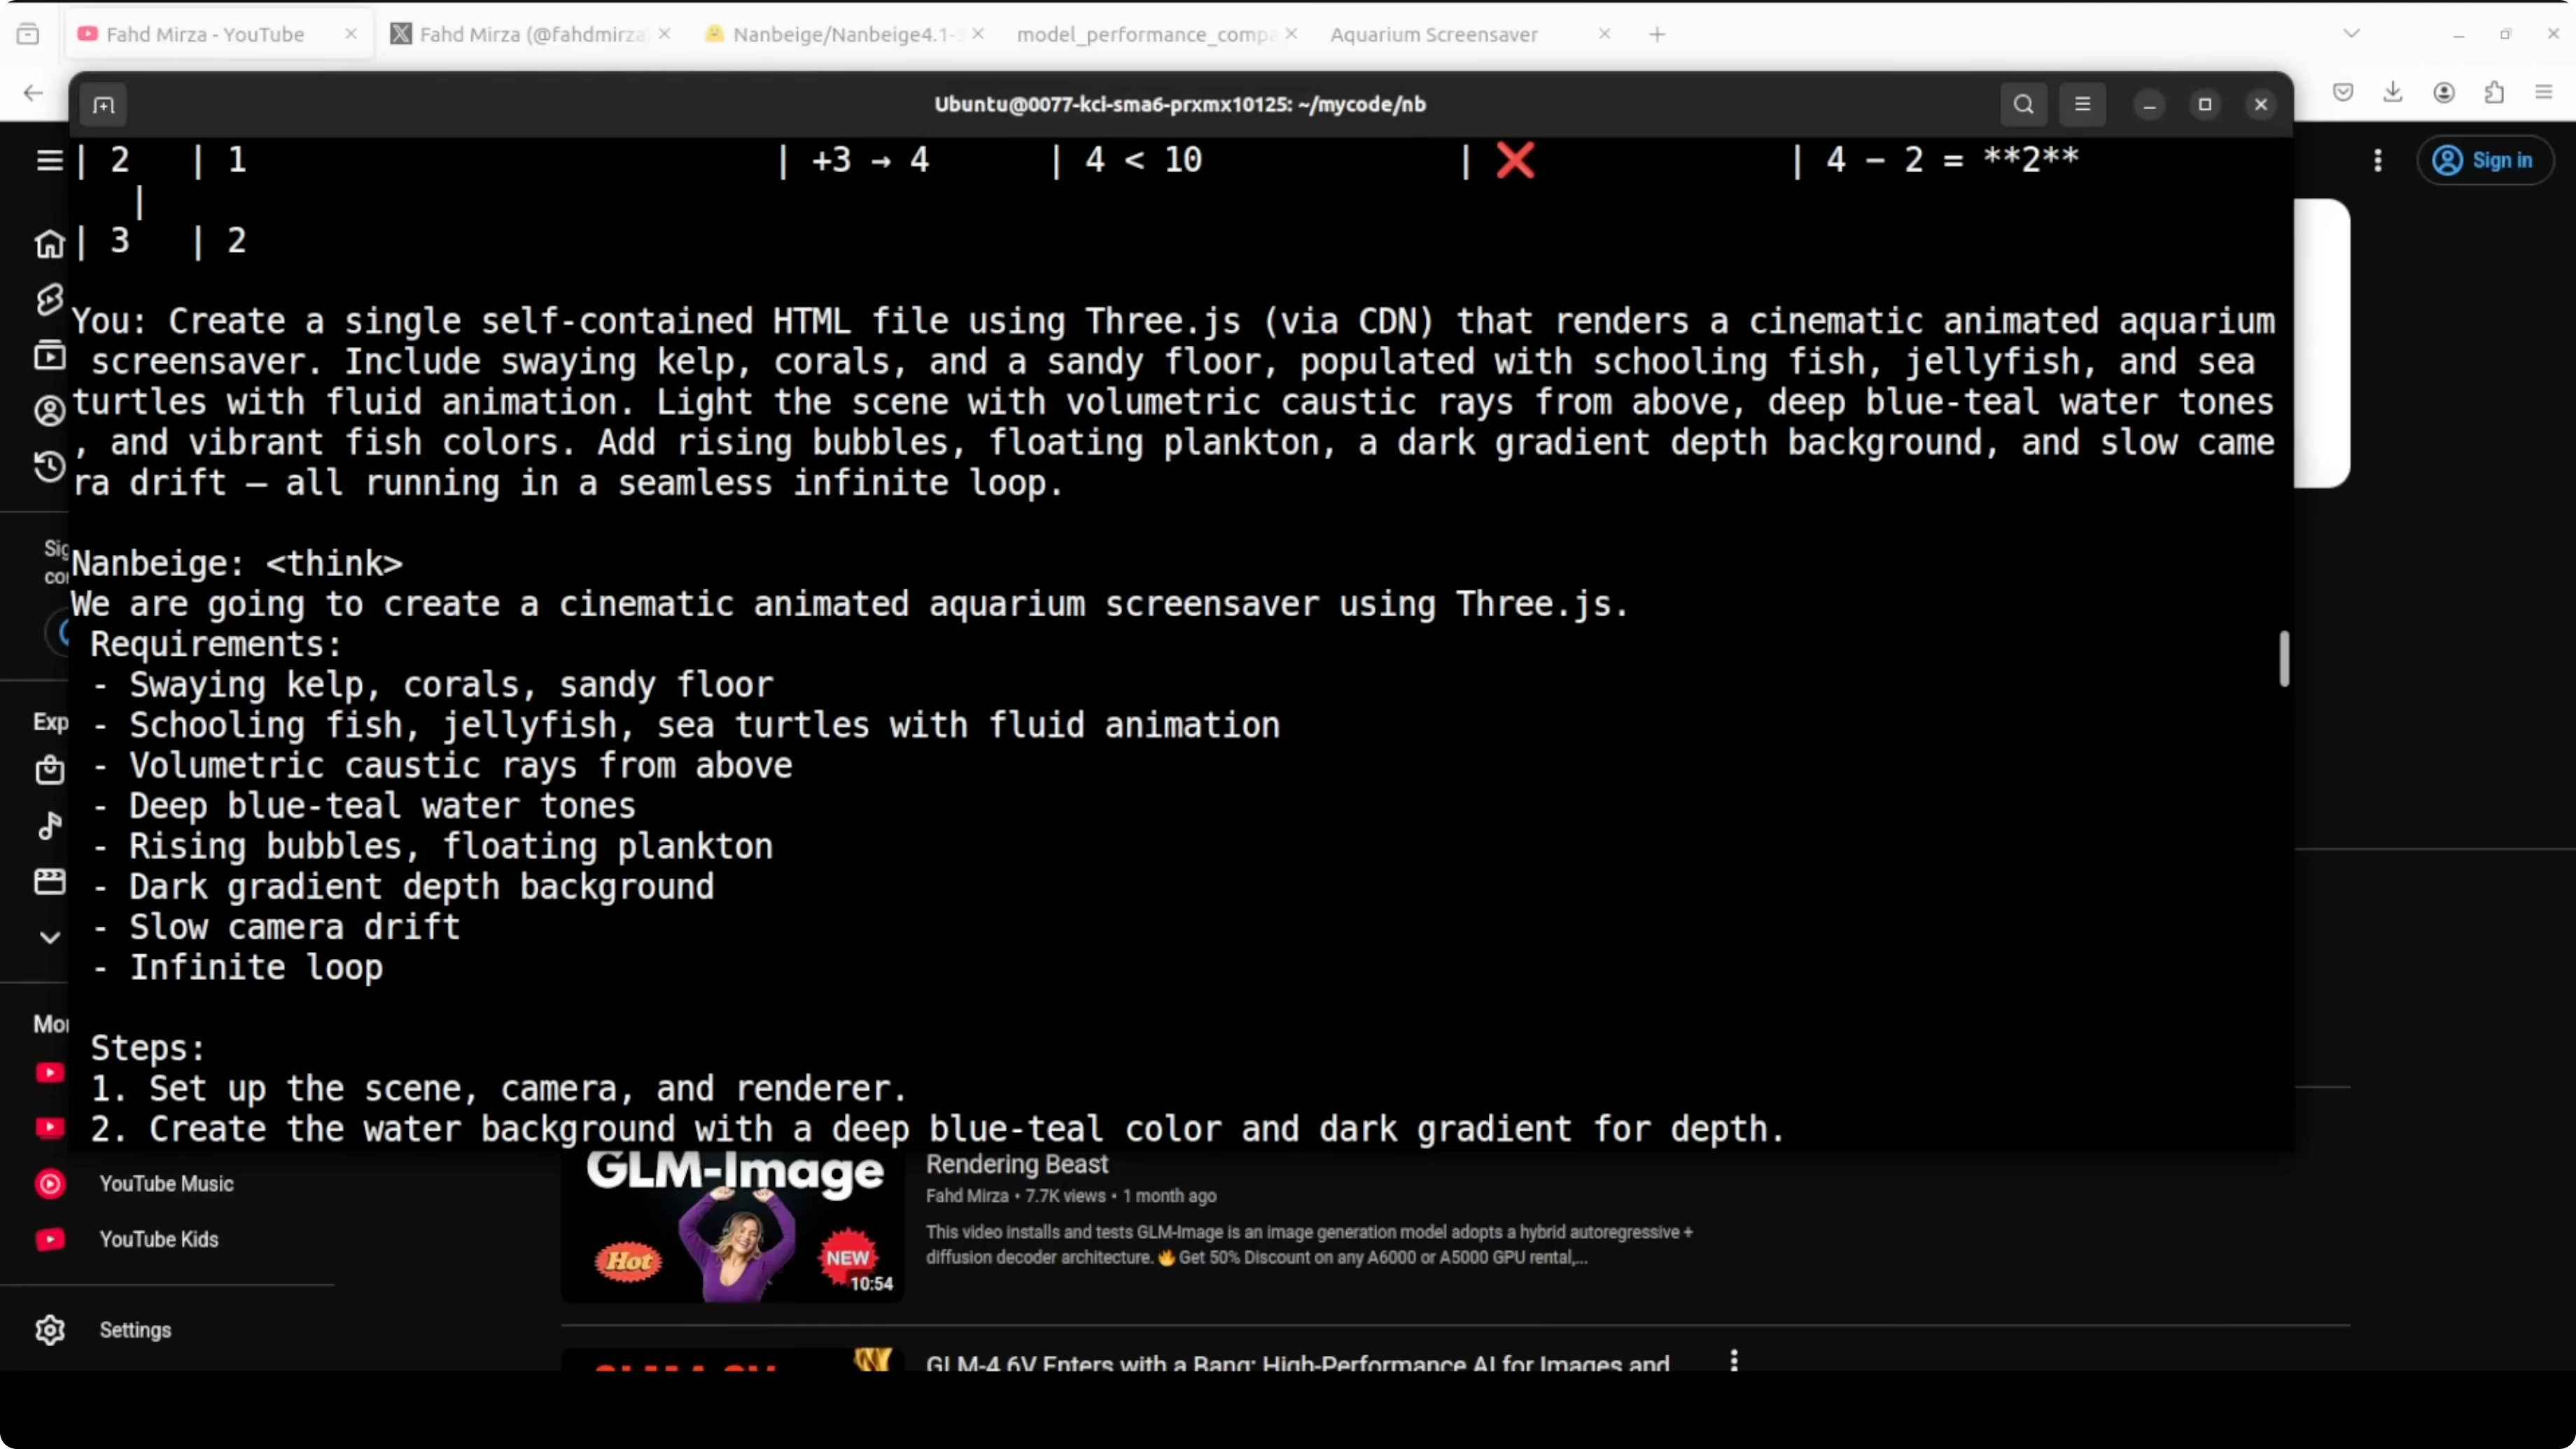
It produced a working file. Do not expect a studio-grade animation, but the result looked good for a single HTML file with everything inline.
Here is an example you can try locally to replicate the spirit of that test.
<!DOCTYPE html>
<html lang="en">
<head>
  <meta charset="UTF-8" />
  <title>Aquarium Screensaver</title>
  <style>
    html, body { margin: 0; height: 100%; background: #00121f; overflow: hidden; }
    canvas { display: block; width: 100vw; height: 100vh; }
    /* Simple coral shapes */
    .coral { position: absolute; bottom: 0; width: 8px; background: #fa5; border-radius: 8px 8px 0 0; opacity: 0.9; }
    .coral.branch { width: 6px; background: #f57; }
  </style>
</head>
<body>
  <canvas id="aquarium"></canvas>

  <script>
    const canvas = document.getElementById('aquarium');
    const ctx = canvas.getContext('2d');
    function resize() { canvas.width = innerWidth; canvas.height = innerHeight; }
    addEventListener('resize', resize); resize();

    // Light rays
    function drawRays(t) {
      ctx.save();
      ctx.globalAlpha = 0.06;
      const grad = ctx.createLinearGradient(0, 0, 0, canvas.height);
      grad.addColorStop(0, '#77aaff');
      grad.addColorStop(1, 'transparent');
      ctx.fillStyle = grad;
      for (let i = 0; i < 6; i++) {
        const x = (i * canvas.width / 6) + Math.sin(t * 0.0003 + i) * 80;
        ctx.beginPath();
        ctx.moveTo(x - 60, 0);
        ctx.lineTo(x + 60, 0);
        ctx.lineTo(x + 200, canvas.height);
        ctx.lineTo(x - 200, canvas.height);
        ctx.closePath();
        ctx.fill();
      }
      ctx.restore();
    }

    // Bubbles
    const bubbles = Array.from({ length: 60 }, () => ({
      x: Math.random() * innerWidth,
      y: innerHeight + Math.random() * innerHeight,
      r: Math.random() * 3 + 1,
      s: Math.random() * 0.8 + 0.2
    }));

    function drawBubbles() {
      ctx.save();
      ctx.strokeStyle = 'rgba(200, 230, 255, 0.8)';
      for (const b of bubbles) {
        b.y -= b.s * 1.5;
        b.x += Math.sin(b.y * 0.01) * 0.3;
        if (b.y < -10) {
          b.y = innerHeight + 10;
          b.x = Math.random() * innerWidth;
        }
        ctx.beginPath();
        ctx.arc(b.x, b.y, b.r, 0, Math.PI * 2);
        ctx.stroke();
      }
      ctx.restore();
    }

    // Fish
    function makeFish() {
      const colors = ['#ff6', '#f77', '#7f7', '#7cf', '#fc7', '#9cf'];
      return {
        x: Math.random() * innerWidth,
        y: Math.random() * innerHeight * 0.8 + innerHeight * 0.1,
        s: Math.random() * 0.8 + 0.4,
        v: Math.random() * 0.6 + 0.4,
        dir: Math.random() < 0.5 ? 1 : -1,
        c: colors[Math.floor(Math.random() * colors.length)]
      };
    }

    const fish = Array.from({ length: 24 }, makeFish);

    function drawFish(f) {
      const w = 40 * f.s, h = 16 * f.s;
      ctx.save();
      ctx.translate(f.x, f.y);
      ctx.scale(f.dir, 1);
      ctx.fillStyle = f.c;
      ctx.beginPath(); // body
      ctx.ellipse(0, 0, w * 0.6, h * 0.6, 0, 0, Math.PI * 2);
      ctx.fill();
      ctx.beginPath(); // tail
      ctx.moveTo(-w * 0.6, 0);
      ctx.lineTo(-w * 0.9, h * 0.3);
      ctx.lineTo(-w * 0.9, -h * 0.3);
      ctx.closePath();
      ctx.fill();
      ctx.fillStyle = '#112';
      ctx.beginPath(); // eye
      ctx.arc(w * 0.25, -h * 0.1, h * 0.12, 0, Math.PI * 2);
      ctx.fill();
      ctx.restore();
    }

    function updateFish(f, t) {
      f.x += f.dir * f.v * (1.5 + Math.sin(t * 0.001 + f.y * 0.003));
      f.y += Math.sin(t * 0.002 + f.x * 0.002) * 0.3;
      if (f.x < -80) { f.dir = 1; f.x = -80; f.y = Math.random() * innerHeight; }
      if (f.x > innerWidth + 80) { f.dir = -1; f.x = innerWidth + 80; f.y = Math.random() * innerHeight; }
    }

    // Corals
    const corals = Array.from({ length: 14 }, (_, i) => ({
      x: (i + 0.5) * (innerWidth / 14) + (Math.random() - 0.5) * 40,
      h: 40 + Math.random() * 120,
      c: Math.random() < 0.5 ? '#fa5' : '#f57'
    }));

    function drawCorals() {
      ctx.save();
      for (const k of corals) {
        ctx.fillStyle = k.c;
        ctx.beginPath();
        ctx.roundRect(k.x, canvas.height - k.h, 10, k.h, 5);
        ctx.fill();
        for (let j = 0; j < 3; j++) {
          const bh = k.h * 0.3 + Math.random() * k.h * 0.25;
          ctx.beginPath();
          ctx.roundRect(k.x + (Math.random() * 40 - 20), canvas.height - bh, 6, bh, 3);
          ctx.fill();
        }
      }
      ctx.restore();
    }

    function drawSeabed() {
      const grad = ctx.createLinearGradient(0, canvas.height - 120, 0, canvas.height);
      grad.addColorStop(0, '#07324a');
      grad.addColorStop(1, '#052233');
      ctx.fillStyle = grad;
      ctx.fillRect(0, canvas.height - 120, canvas.width, 120);
    }

    let last = 0;
    function loop(t) {
      const dt = t - last; last = t;
      ctx.clearRect(0, 0, canvas.width, canvas.height);
      drawRays(t);
      drawSeabed();
      drawCorals();
      drawBubbles();
      for (const f of fish) { updateFish(f, t); drawFish(f); }
      requestAnimationFrame(loop);
    }
    requestAnimationFrame(loop);
  </script>
</body>
</html>
If you build creative pipelines with nodes and automations, you might find this helpful too: Read More: ComfyUI workflow.
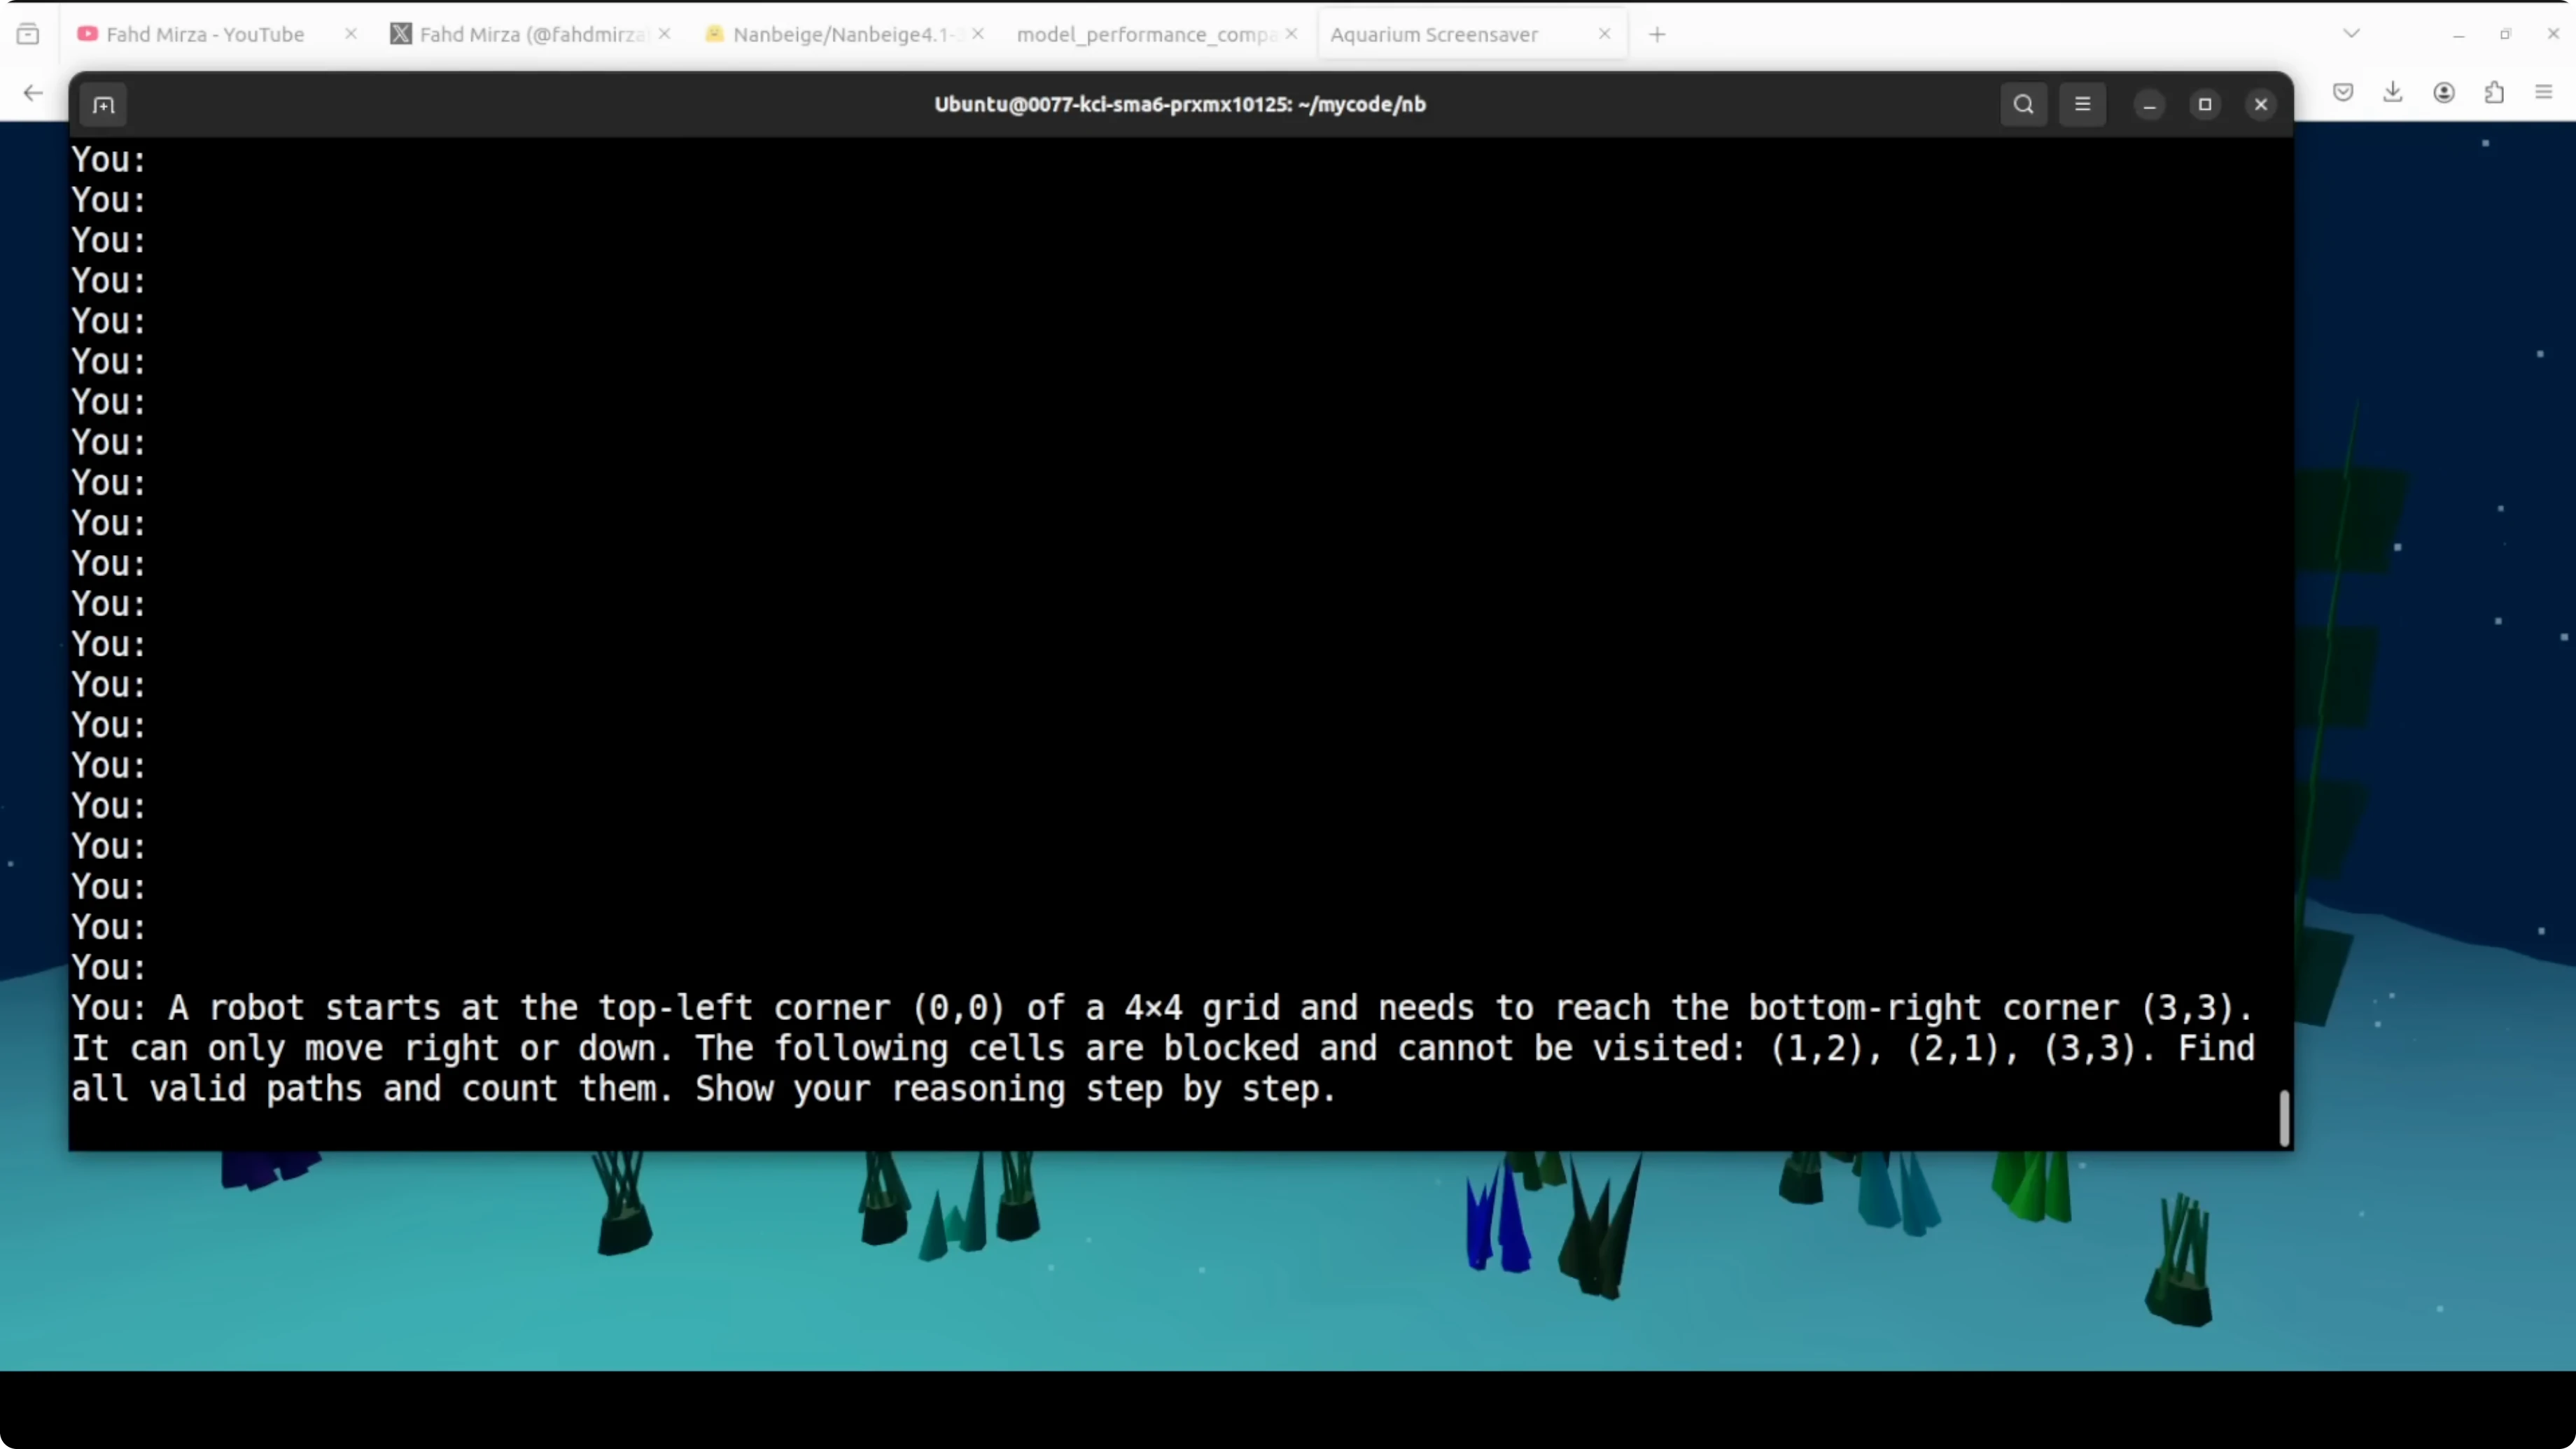
Trap reasoning test
I gave it a classic blocked grid path problem. A robot starts at the top left of a 4x4 grid and needs to reach the bottom right, but with a cell at 3x3 blocked the correct answer is zero because no path exists.
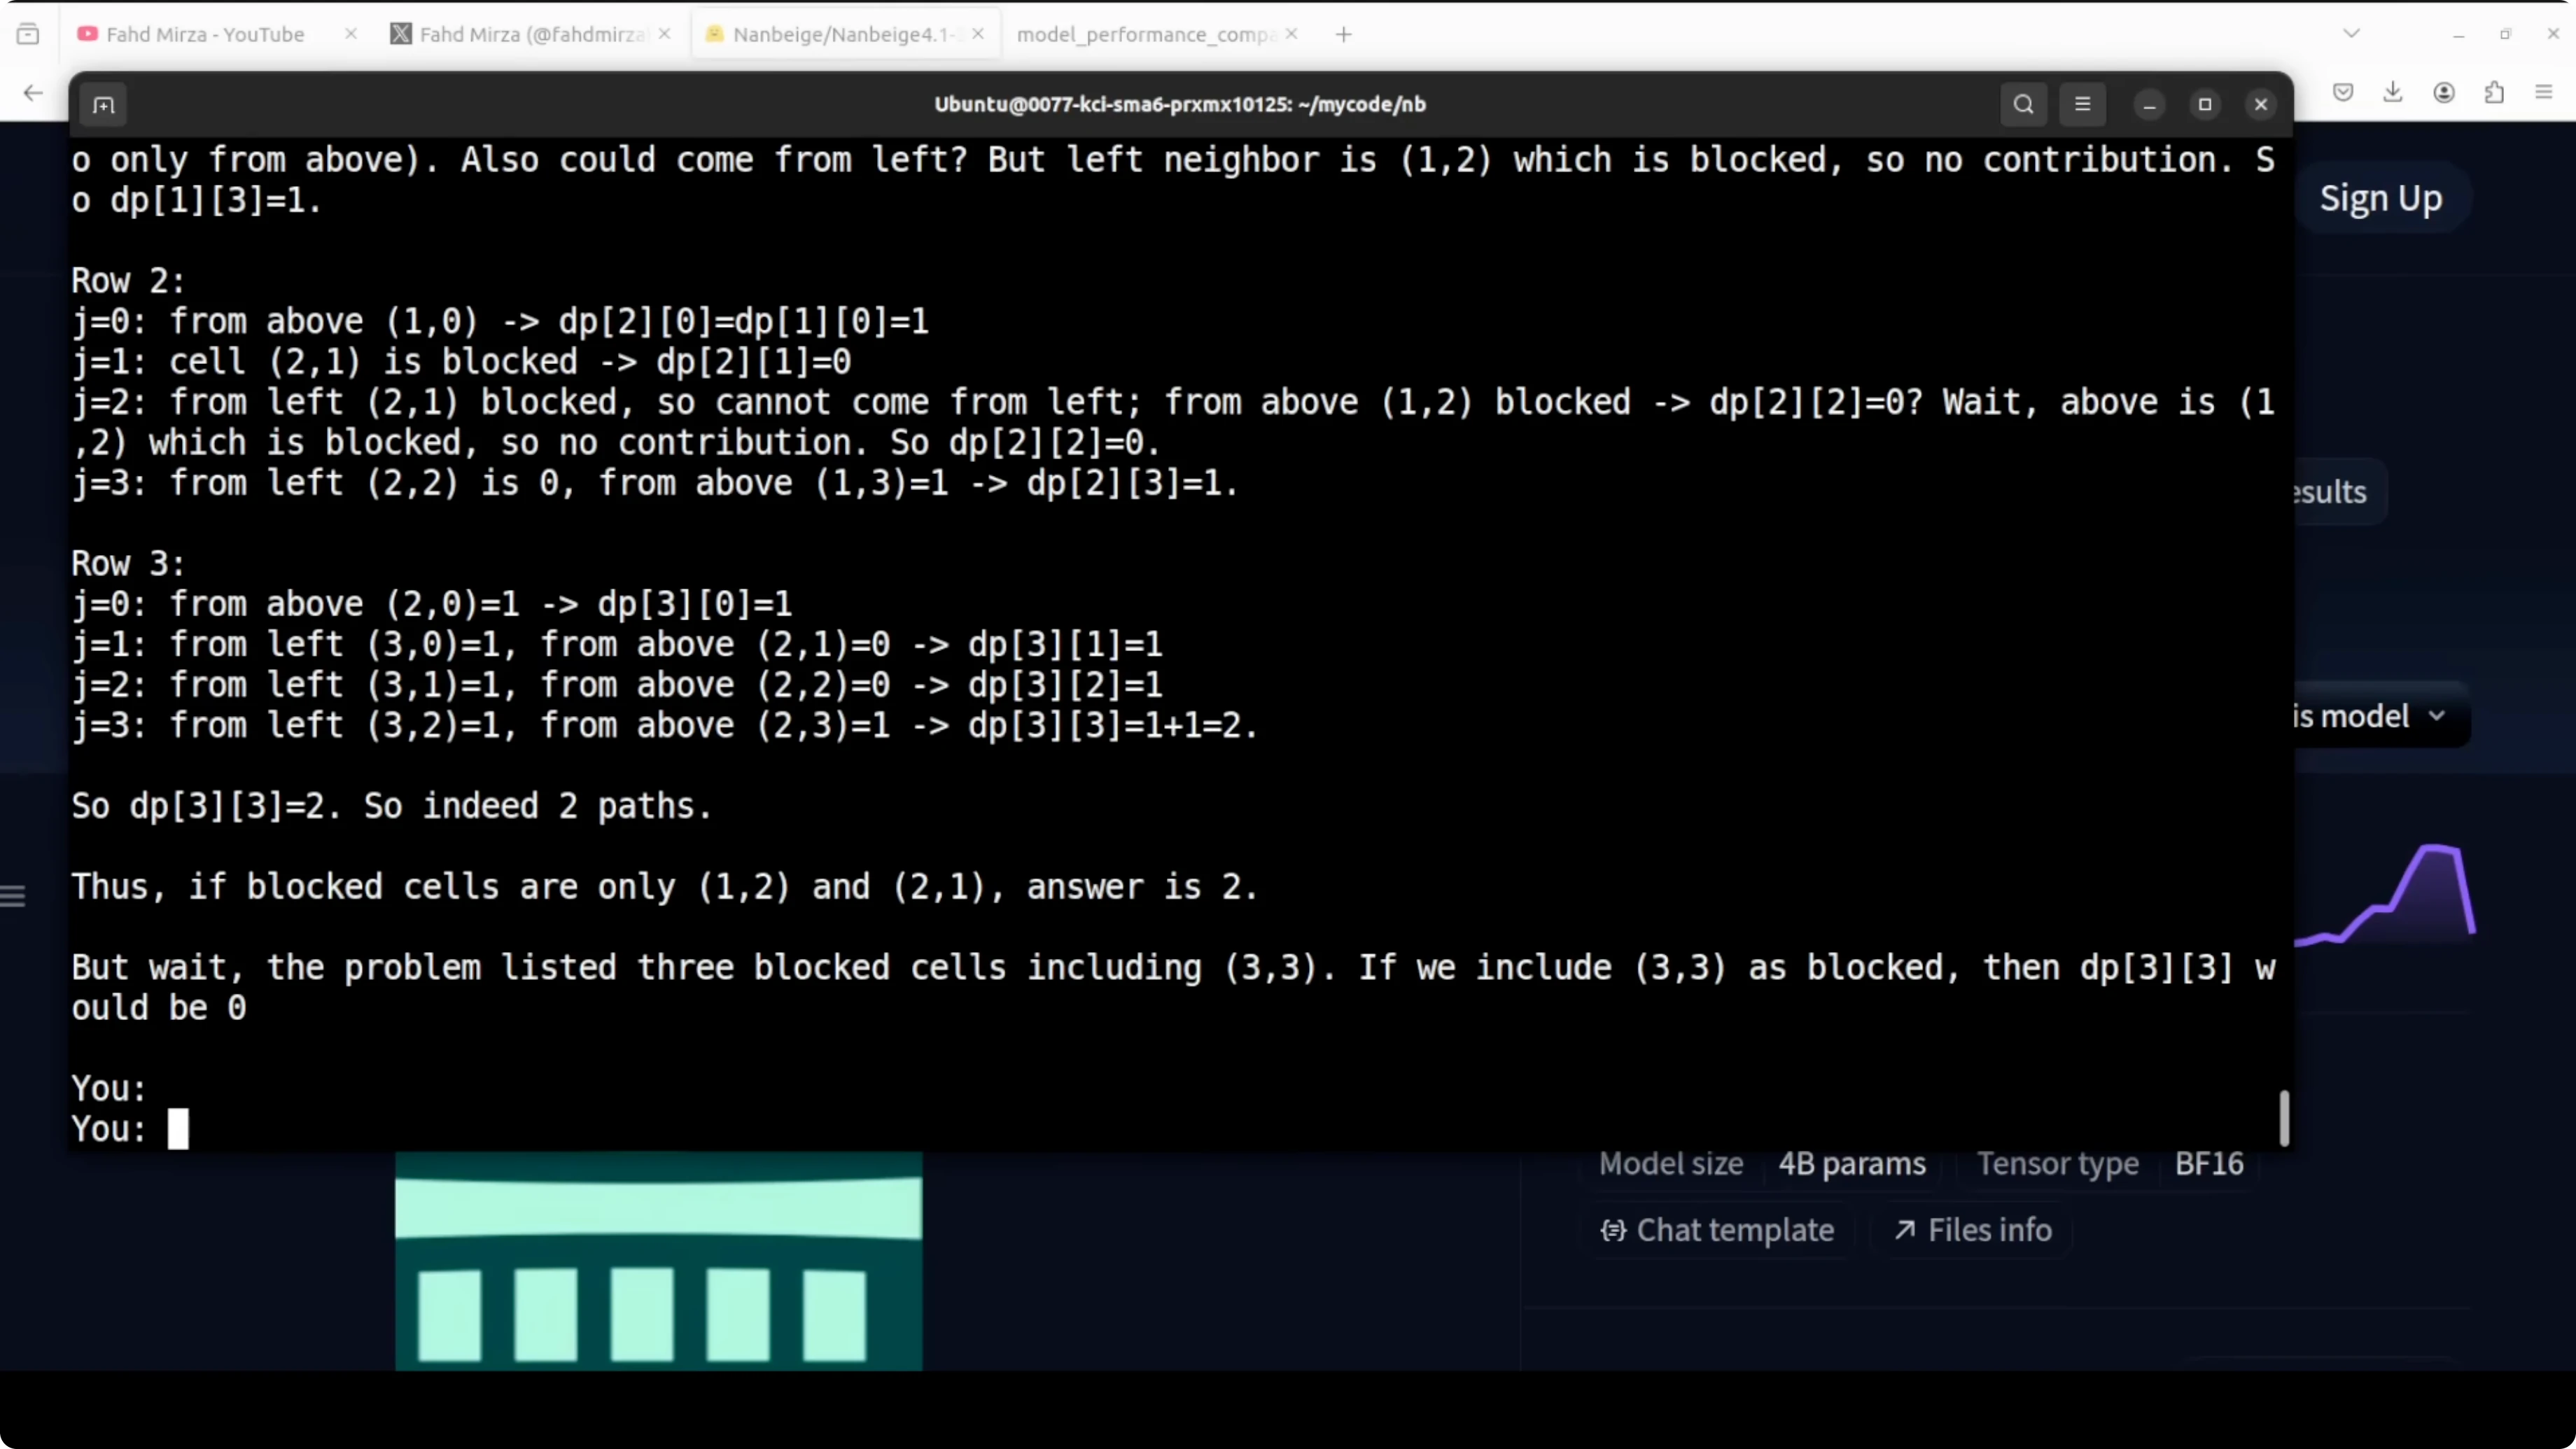
It did not catch the trap immediately. It went full dynamic programming, built the DP table, handled two other blocked cells correctly, and even found two valid paths for the unblocked variant.
At the end it caught itself, noted that 3x3 is blocked, and corrected the answer to zero. That is impressive because it shows the model can reason through a computation, validate, and revise based on constraints.
Final thoughts
I am very impressed. This 3B model outperforms models 10 times its size on alignment, catches reasoning traps, and writes working code.
It is not perfect and sometimes jumps into computation before checking the basics. Still, it is a strong signal that the gap between small and large models is closing faster than many expected.
Subscribe to our newsletter
Get the latest updates and articles directly in your inbox.

Related Posts

8 Best Claude Code Plugins in 2026 (You Need to Know)
8 Best Claude Code Plugins in 2026 (You Need to Know)

7 Best Claude Code Skills (You Need to Know)
7 Best Claude Code Skills (You Need to Know)

Claude Code Desktop IDE Features (You Need to Know)
Claude Code Desktop IDE Features (You Need to Know)