
Table Of Content
- Introduction
- What is WordPress AI?
- WordPress AI Overview
- Key Features of WordPress AI
- Step-by-Step: From Hosting to Live Site
- Choose Hosting and Plan
- Add a Website in the Hostinger Dashboard
- Generate Your Site with AI
- Edit the Home Page in the Block Editor
- Manage Navigation, Global Styles, and Pages
- Work in the WordPress Dashboard
- Create Content with Hostinger’s AI Content Creator
- Themes: Pick, Preview, and Switch
- Plugins: Extend Features with Care
- Users and Roles
- Essential Settings
- Elementor Option
- When a Simpler Builder Makes Sense
- Step-by-Step Guide of WordPress using AI: Complete Workflow
- 1) Hosting and Installation
- 2) AI Site Generation
- 3) Home Page Editing
- 4) Navigation, Pages, and Styles
- 5) AI Content Creator
- 6) Themes and Plugins
- 7) Users and Settings
- Tips for a Smooth Build
- Frequently Used Areas in the WordPress Dashboard
- Final Thoughts
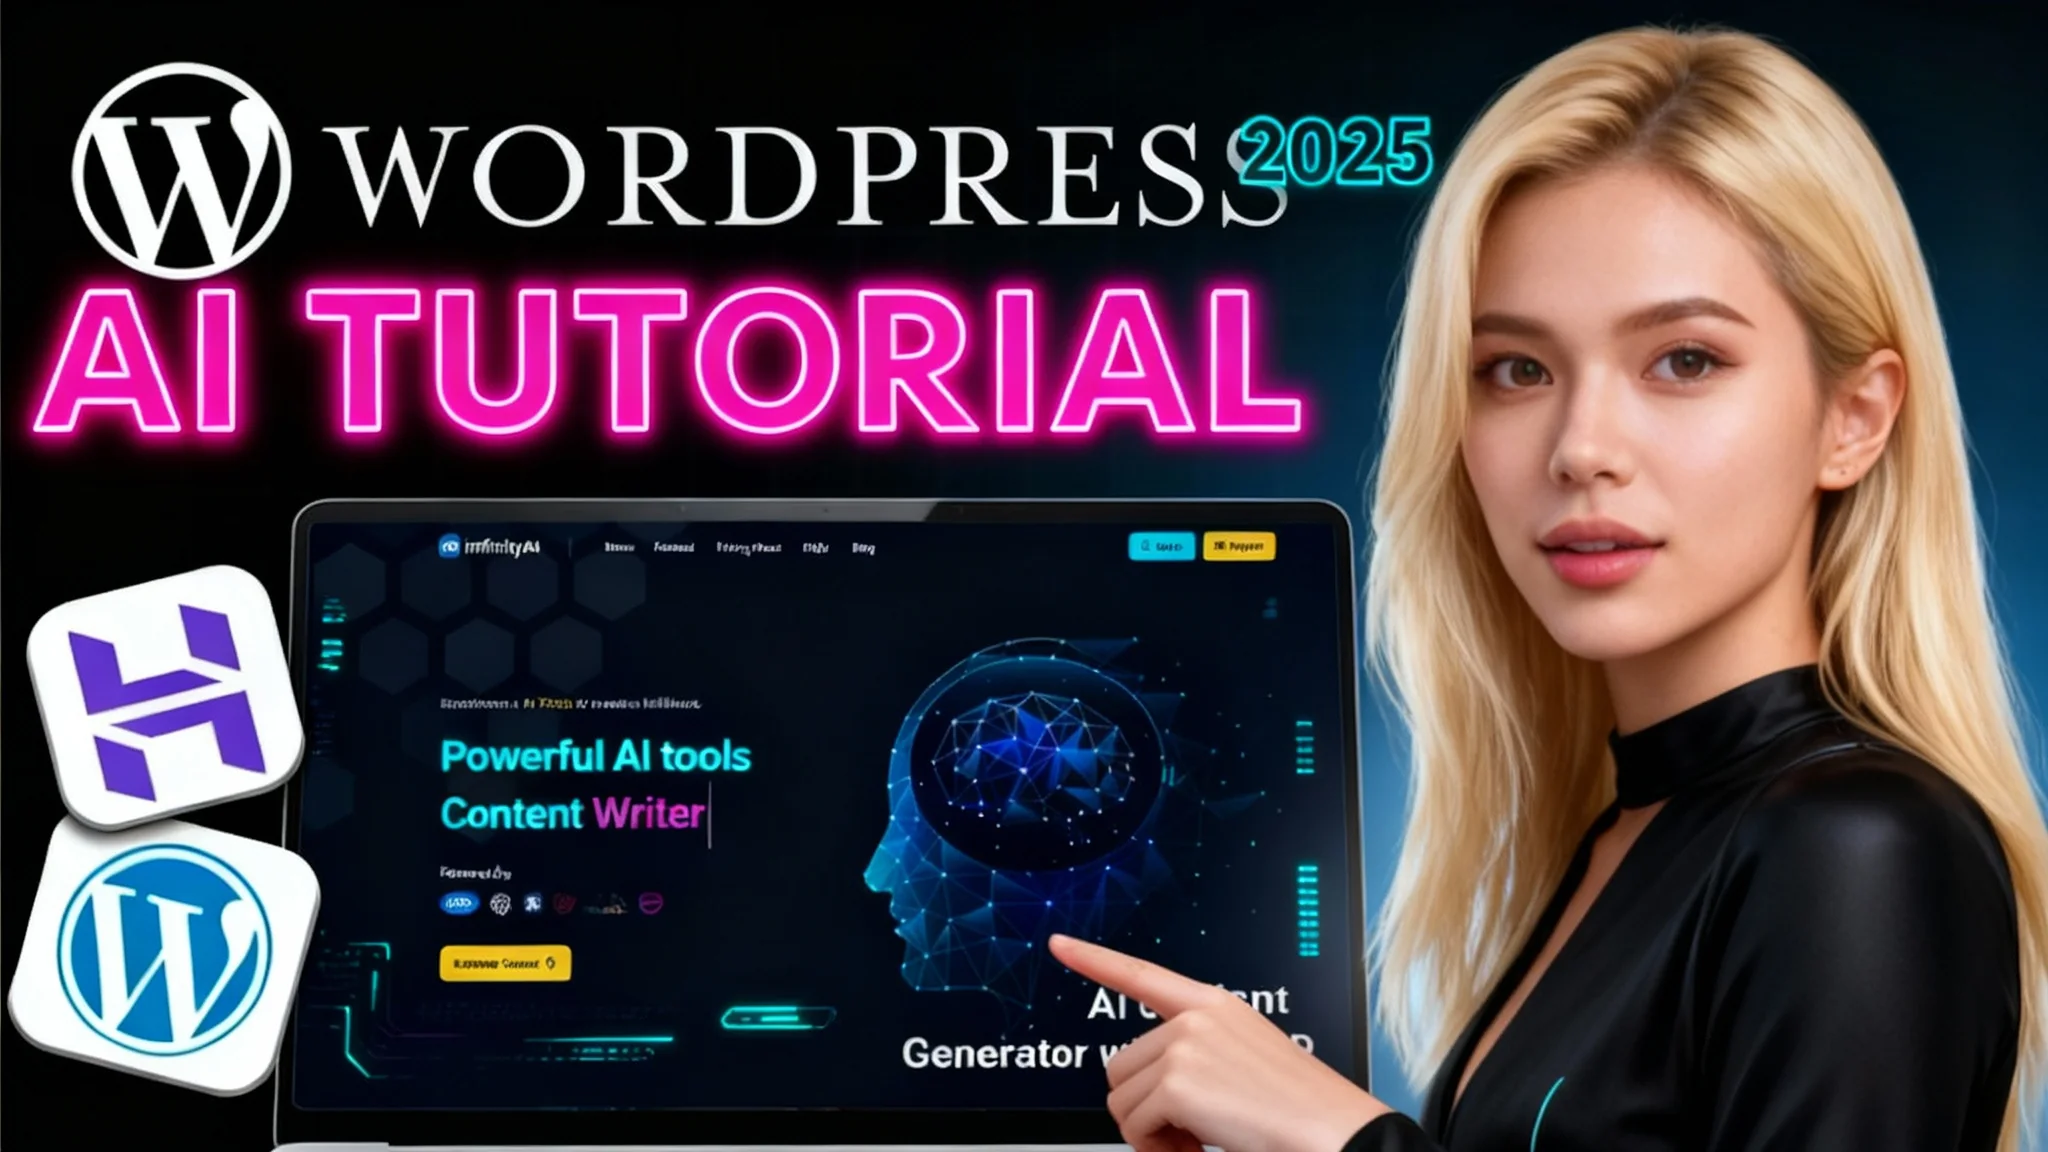
WordPress AI 2025: Build Pro Website
Table Of Content
- Introduction
- What is WordPress AI?
- WordPress AI Overview
- Key Features of WordPress AI
- Step-by-Step: From Hosting to Live Site
- Choose Hosting and Plan
- Add a Website in the Hostinger Dashboard
- Generate Your Site with AI
- Edit the Home Page in the Block Editor
- Manage Navigation, Global Styles, and Pages
- Work in the WordPress Dashboard
- Create Content with Hostinger’s AI Content Creator
- Themes: Pick, Preview, and Switch
- Plugins: Extend Features with Care
- Users and Roles
- Essential Settings
- Elementor Option
- When a Simpler Builder Makes Sense
- Step-by-Step Guide of WordPress using AI: Complete Workflow
- 1) Hosting and Installation
- 2) AI Site Generation
- 3) Home Page Editing
- 4) Navigation, Pages, and Styles
- 5) AI Content Creator
- 6) Themes and Plugins
- 7) Users and Settings
- Tips for a Smooth Build
- Frequently Used Areas in the WordPress Dashboard
- Final Thoughts
Introduction
Building a professional WordPress website is faster than ever in 2025. With new AI features integrated into WordPress hosting, you can go from idea to a polished site in about 15 minutes. You don’t need to code, and you can keep the process simple while still getting a site that looks and performs well.
In this guide, I’ll walk you through the exact steps I use: picking hosting, generating a site with AI, editing pages in the WordPress block editor, customizing global styles, working with themes and plugins, and fine-tuning key settings. I’ll also show you how to create content using an AI assistant inside your hosting dashboard.
WordPress remains one of the most capable website platforms. It powers a large portion of the web and can handle almost any type of site—business, portfolio, blog, or service. With AI helping you set things up, what used to take many hours now takes a fraction of the time.
What is WordPress AI?
This tutorial covers how to build a professional WordPress website using host-provided AI tools and the native WordPress block editor. I’ll demonstrate the full process on Hostinger, including AI site generation, page editing, global styling, themes, plugins, users, settings, and an optional page builder.
The goal is to help you set up a complete website quickly without sacrificing quality. You’ll see how to start with an AI-made foundation, then edit and expand it within WordPress to fit your brand and content.
WordPress AI Overview
| Phase | Tool/Area | What You Do | Outcome | Time |
|---|---|---|---|---|
| Hosting setup | Hostinger | Choose a plan, create account | Ready to install WordPress | 5–10 min |
| Add website | Hostinger dashboard | Add WordPress site, set login | WordPress installed | 3–5 min |
| AI site generation | Hostinger AI for WordPress | Enter brand, site type, description | Home + key pages created | 2–4 min |
| Editor choice | Block editor (or Elementor) | Select your preferred editor | Editing environment set | 1 min |
| Home page edits | WordPress block editor | Edit text, images, layout, colors | Branded home page | 10–20 min |
| Navigation & pages | Site navigation + Pages | Add/edit About, Portfolio, Contact | Core pages in place | 10–20 min |
| AI content creation | Hostinger AI content creator | Generate page/post content | Draft content to refine | 5–10 min |
| Themes | Appearance > Themes | Preview, install, activate themes | New design framework | 5–10 min |
| Plugins | Plugins | Add anti-spam, SEO, essentials | Extra features | 5–10 min |
| Settings | Settings | Title, tagline, timezone, permalinks | Clean URLs and basics set | 2–5 min |
Key Features of WordPress AI
- AI WordPress site generator that builds a starting layout with multiple pages.
- WordPress block editor for direct, visual editing of text, images, sections, and embeds.
- Global styling for colors and typography applied across the site.
- AI content creator that drafts posts and pages with headings, keywords, and meta data.
- Theme library with free, professional designs; easy previews and one-click activation.
- Plugins for SEO, anti-spam, and other features—used selectively for speed.
- User roles for collaborators, authors, and editors.
- Essential settings, including clean permalinks and site metadata.
- Optional Elementor builder for more design control if you prefer it.
Step-by-Step: From Hosting to Live Site
Choose Hosting and Plan
I recommend Hostinger for WordPress because it’s fast, affordable, and includes helpful AI tools. You’ll see three plans: Premium, Business, and Cloud Startup. For most use cases, the Business plan is the best pick because it includes the AI WordPress tools that speed up the build.
Select your subscription length. Longer terms lock in a lower monthly rate. Create your account, complete payment, and you’re ready to add your first website.
Add a Website in the Hostinger Dashboard
In your Hostinger dashboard, go to Websites > Website list, then click Add website. Choose WordPress as your platform. There’s also a Hostinger website builder, which is the simplest option for absolute beginners, but WordPress offers more functionality long term.
Create your WordPress login details and continue. You’ll have the option to connect a domain. The Business plan includes a free domain for the first year, so pick a name that fits your brand. If you’re not ready, you can use a temporary domain now and connect your custom domain later.
Generate Your Site with AI
You’ll see options to create a site with AI, use a pre-built theme, or start from a blank site. I recommend the AI option because it saves significant time. Provide your brand name, select your website type (Business and Services, Portfolio, Blog, etc.), and write a clear description of your site. The more detail you give, the better the starting layout and content.
Choose your editor. You can pick the native block editor or Elementor. I’ll use the block editor because it’s simpler to learn. Click Create and wait for the AI to generate your site. It will produce a layout with pages such as About, Portfolio, and Contact. If the result is missing key pages or looks off, you can regenerate. Keep in mind regenerating replaces the previous draft. If you like the foundation, click Edit site to import it into the WordPress editor.
Edit the Home Page in the Block Editor
The block editor is straightforward. Click any text to edit it. On the right, open the block settings panel if it’s hidden, then adjust typography, font size, spacing, and borders. Update your headings and body copy to match your brand and services.
Each section is a block that can contain other blocks, such as text, images, and buttons. To replace images, click the image block and upload your own file. You can drag and reposition blocks to adjust layout. If a photo crops awkwardly, try a different image or recrop it before uploading.
To restyle a section background color, select the group/block that wraps the section, open Styles, and choose Background. Testimonials are often included by the AI; keep them if you have real quotes or replace them with accurate social proof later.
To add new content, hover until you see the plus icon to add a block or click Browse all. You can insert buttons, columns, widgets, and embeds. To embed a YouTube video, choose the YouTube embed block, paste the video URL, and click Embed. Adjust alignment and sizing as needed.
Click Save when you finish a section. Saving frequently helps you keep track of changes and avoid losing work.
Manage Navigation, Global Styles, and Pages
Open the navigation panel to adjust menus and site-wide styles. Global colors and typography set here apply across your entire site, so finalize your brand palette and font choices early.
Go to Pages to edit existing pages or add new ones. Open the About page and replace placeholder content with accurate information. If there’s a block you don’t need, select it, click the three dots, and choose Delete. Build out your Portfolio and Contact pages, and add any other pages you want (e.g., Services, FAQ, Rates).
Work in the WordPress Dashboard
Use the WordPress dashboard for deeper control. From the editor, click the dashboard icon or link to enter the backend. In Hostinger’s section of the dashboard, you’ll see onboarding steps and resources to help you finish setup, including connecting your domain.
Explore the documentation and tutorials if you want extra guidance. The tools are intuitive, and the visual editor makes it easy to move from layout to content.
Create Content with Hostinger’s AI Content Creator
Hostinger’s AI content creator can draft posts or pages for you. Choose the content type (Post or Page), select a tone of voice (e.g., friendly, neutral), and pick a content length. Describe the topic clearly and add a focus keyword if you have one.
Click Create content to generate a draft. You’ll get headings, a meta description, keyword ideas, and sometimes an AI-generated image. Review the draft, edit for accuracy and brand voice, then click Publish. Use it as a starting point and refine it with your own details and expertise.
Themes: Pick, Preview, and Switch
Go to Appearance > Themes to manage your site’s design framework. If you built the site with Hostinger’s AI, you’ll see the Hostinger AI theme active. Click Add theme to browse free themes from the WordPress directory.
Preview themes to see how they look with sample content. Astra is a popular, high-quality base theme that works well for many sites. If you find a theme you like, click Install, then Activate. You can switch between themes at any time. Some layouts and elements might not transfer perfectly when switching, so check your pages after a change. If needed, go back to the previous theme and re-activate it.
Plugins: Extend Features with Care
Plugins add extra features to your WordPress site. Open Plugins to see what’s installed. Click Add Plugin to find more. At minimum, consider anti-spam and SEO plugins. Yoast SEO is a reliable option that helps with titles, descriptions, and indexing.
Avoid installing too many plugins. Extra plugins can slow your site and make maintenance harder. WordPress already includes a lot of built-in features, and your theme might cover more than you expect. Keep your setup focused and efficient.
Users and Roles
Under Users, you can add team members and assign roles. Contributors can write posts but not publish. Authors can write and publish. Editors manage content site-wide. Administrators can change everything, including themes, plugins, and settings. Assign the lowest role necessary for each person.
Essential Settings
Open Settings to adjust your site title, tagline, timezone, and other basics. Then go to Permalinks and choose Post name. This setting creates clean, readable URLs that are better for users and search engines.
Review other settings as needed, but keep your initial configuration simple. You can always revisit this area as your site grows.
Elementor Option
If you prefer more granular design control, you can install Elementor from Plugins and use it as your page builder. It offers more design widgets and layout control, though it takes a bit longer to learn. The block editor is simpler and plenty capable for most sites, so pick the editor that matches your comfort level.
When a Simpler Builder Makes Sense
If WordPress still feels complex after trying the AI workflow and the block editor, consider the Hostinger website builder included with your plan. It’s a quick way to produce a clean site without learning WordPress. For absolute beginners who want the fastest path to a finished site, it’s a solid choice.
If you need more flexibility later, you can always return to WordPress for its plugins, themes, and deeper control.
Step-by-Step Guide of WordPress using AI: Complete Workflow
1) Hosting and Installation
- Pick the Business plan on Hostinger for AI WordPress tools.
- Create your account and complete checkout.
- In Websites > Website list, click Add website and choose WordPress.
- Set your WordPress login details.
- Connect your domain (or use a temporary domain).
2) AI Site Generation
- Choose Create with AI.
- Enter your brand name.
- Select your website type (e.g., Business and Services).
- Write a specific description of your site and services.
- Choose the block editor (or Elementor) and generate.
- If needed, regenerate to get a better starting point.
- Click Edit site to import the layout into the editor.
3) Home Page Editing
- Click text to edit copy and headings.
- Open the block settings panel to adjust typography and spacing.
- Replace images and reposition blocks as needed.
- Select section groups to change background colors.
- Add new blocks: buttons, columns, widgets, and embeds.
- Embed a YouTube video by pasting a URL into the YouTube block.
- Click Save to store changes.
4) Navigation, Pages, and Styles
- Open navigation to adjust menus and global styles.
- Set your brand colors and typography globally.
- Go to Pages to edit About, Portfolio, and Contact.
- Delete any blocks you don’t need via the three-dot menu.
- Add new pages for Services, FAQ, or Rates as needed.
5) AI Content Creator
- In the Hostinger section of the dashboard, open the AI content creator.
- Choose Post or Page, tone, and content length.
- Describe your topic and add a focus keyword if applicable.
- Generate content, review headings and meta description, and edit.
- Publish when the draft aligns with your brand.
6) Themes and Plugins
- Go to Appearance > Themes to preview and activate themes.
- Consider Astra as a versatile base theme.
- Add essential plugins: anti-spam and SEO (e.g., Yoast SEO).
- Keep your plugin list short for speed and reliability.
7) Users and Settings
- Add users and assign roles based on responsibilities.
- In Settings, set site title, tagline, and timezone.
- Set Permalinks to Post name for clean URLs.
- Review other settings and refine later as needed.
Tips for a Smooth Build
- Start with the AI-generated layout, then replace text and images with your content quickly. This gives you momentum and a working site fast.
- Set global colors and fonts early to keep your design consistent across pages.
- Save your work often and publish drafts as you go; small, frequent updates are easier to manage.
- Keep plugins to a minimum to maintain speed and reduce conflicts.
- If you want more design control later, try Elementor on select pages without switching your whole site at once.
Frequently Used Areas in the WordPress Dashboard
- Posts: For blog entries and articles.
- Pages: For static content like Home, About, Services, Portfolio, and Contact.
- Appearance > Themes: Activate or switch your theme; customize basic styles.
- Plugins: Install and manage site features.
- Users: Invite and manage collaborators with appropriate roles.
- Settings: Control site metadata, time, and permalinks.
Final Thoughts
WordPress remains one of the best ways to build a flexible, professional website. With AI tools from your hosting platform and the WordPress block editor, you can create a complete site quickly, then refine it with themes, plugins, and well-structured content.
If you want the simplest possible path, the included Hostinger website builder is an easy alternative. If you want the power and flexibility of WordPress, the steps above will help you build a polished site—fast—without getting bogged down.
Subscribe to our newsletter
Get the latest updates and articles directly in your inbox.

Related Posts

8 Best Claude Code Plugins in 2026 (You Need to Know)
8 Best Claude Code Plugins in 2026 (You Need to Know)

7 Best Claude Code Skills (You Need to Know)
7 Best Claude Code Skills (You Need to Know)

Claude Code Desktop IDE Features (You Need to Know)
Claude Code Desktop IDE Features (You Need to Know)