

How to setup NullClaw in Easy Steps?
NullClaw is the latest addition to the Claw family that started with OpenClaw. It is light, fast, built with Zig, and runs locally. I will set it up from scratch on Windows using WSL for a smoother experience.
I tried running it natively on Windows and ran into problems. To save time and avoid headaches, use WSL. On Ubuntu inside WSL we will install Zig, build NullClaw, and wire it to Telegram.
For a quick primer on the project itself, see about Nullclaw.
setup NullClaw in Easy Steps? - Windows via WSL
If you are on Windows, install Ubuntu in WSL.
Open PowerShell as Administrator.
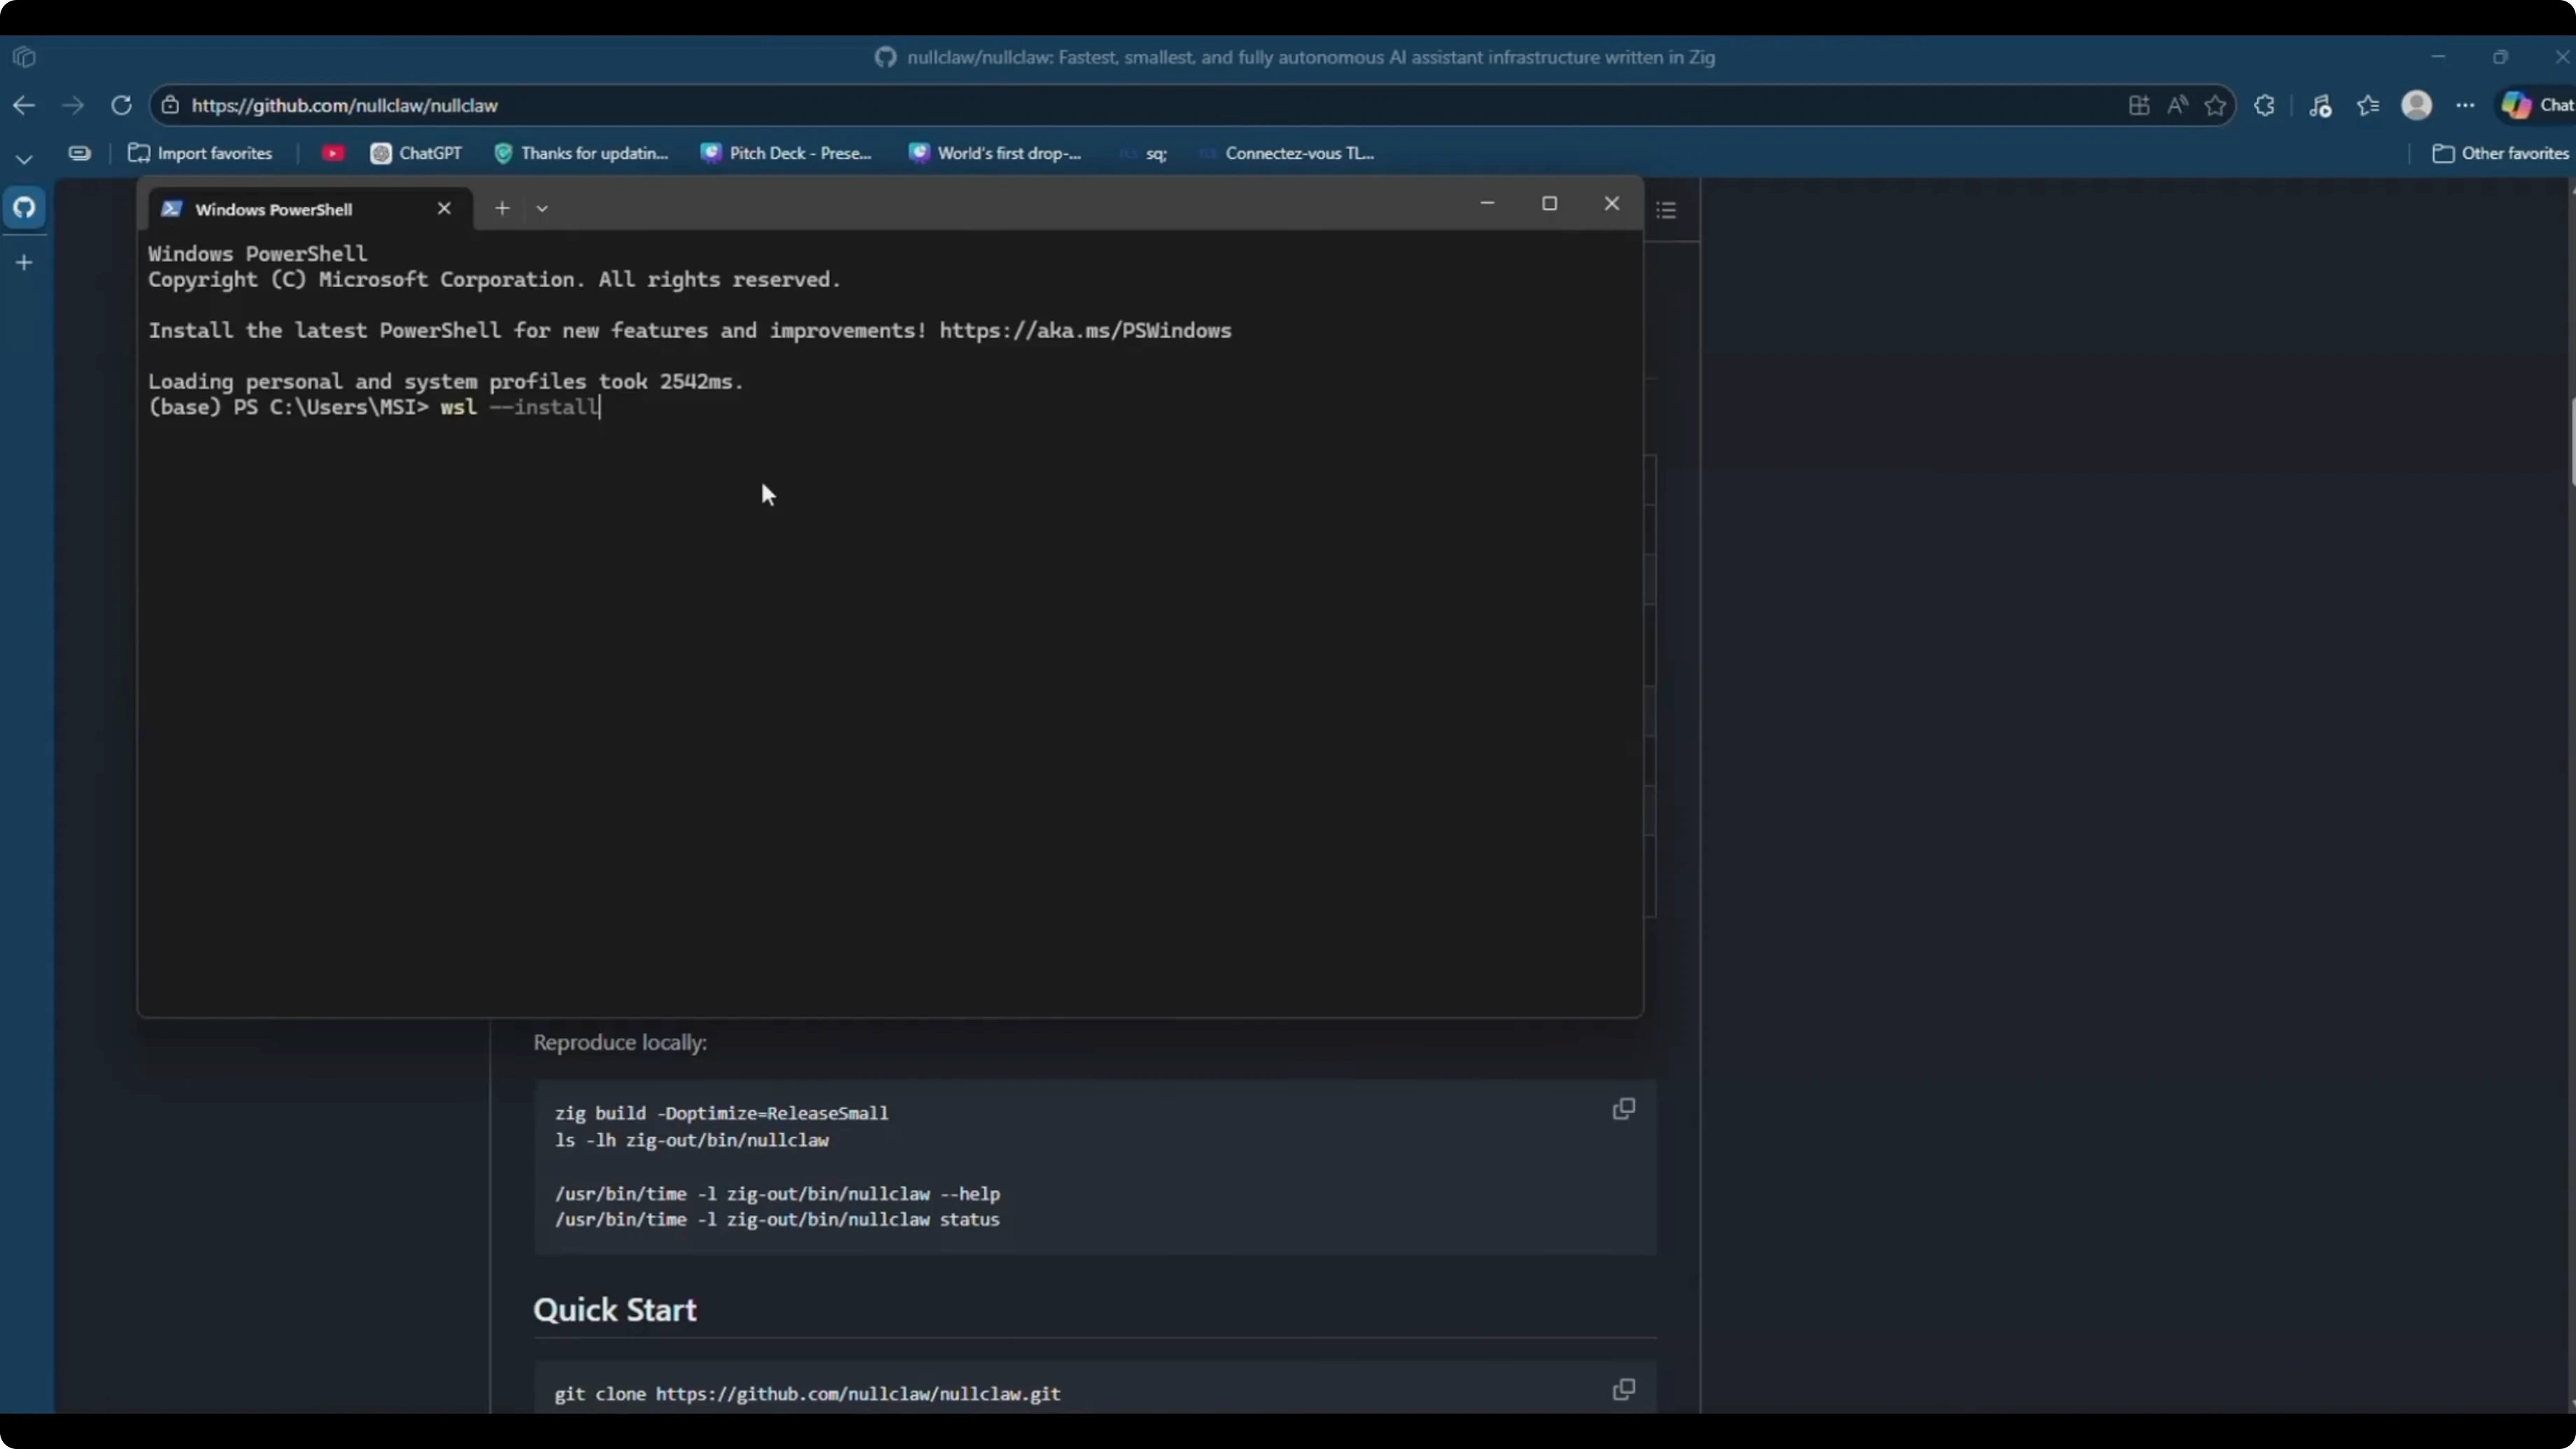
Run:
wsl --install -d Ubuntu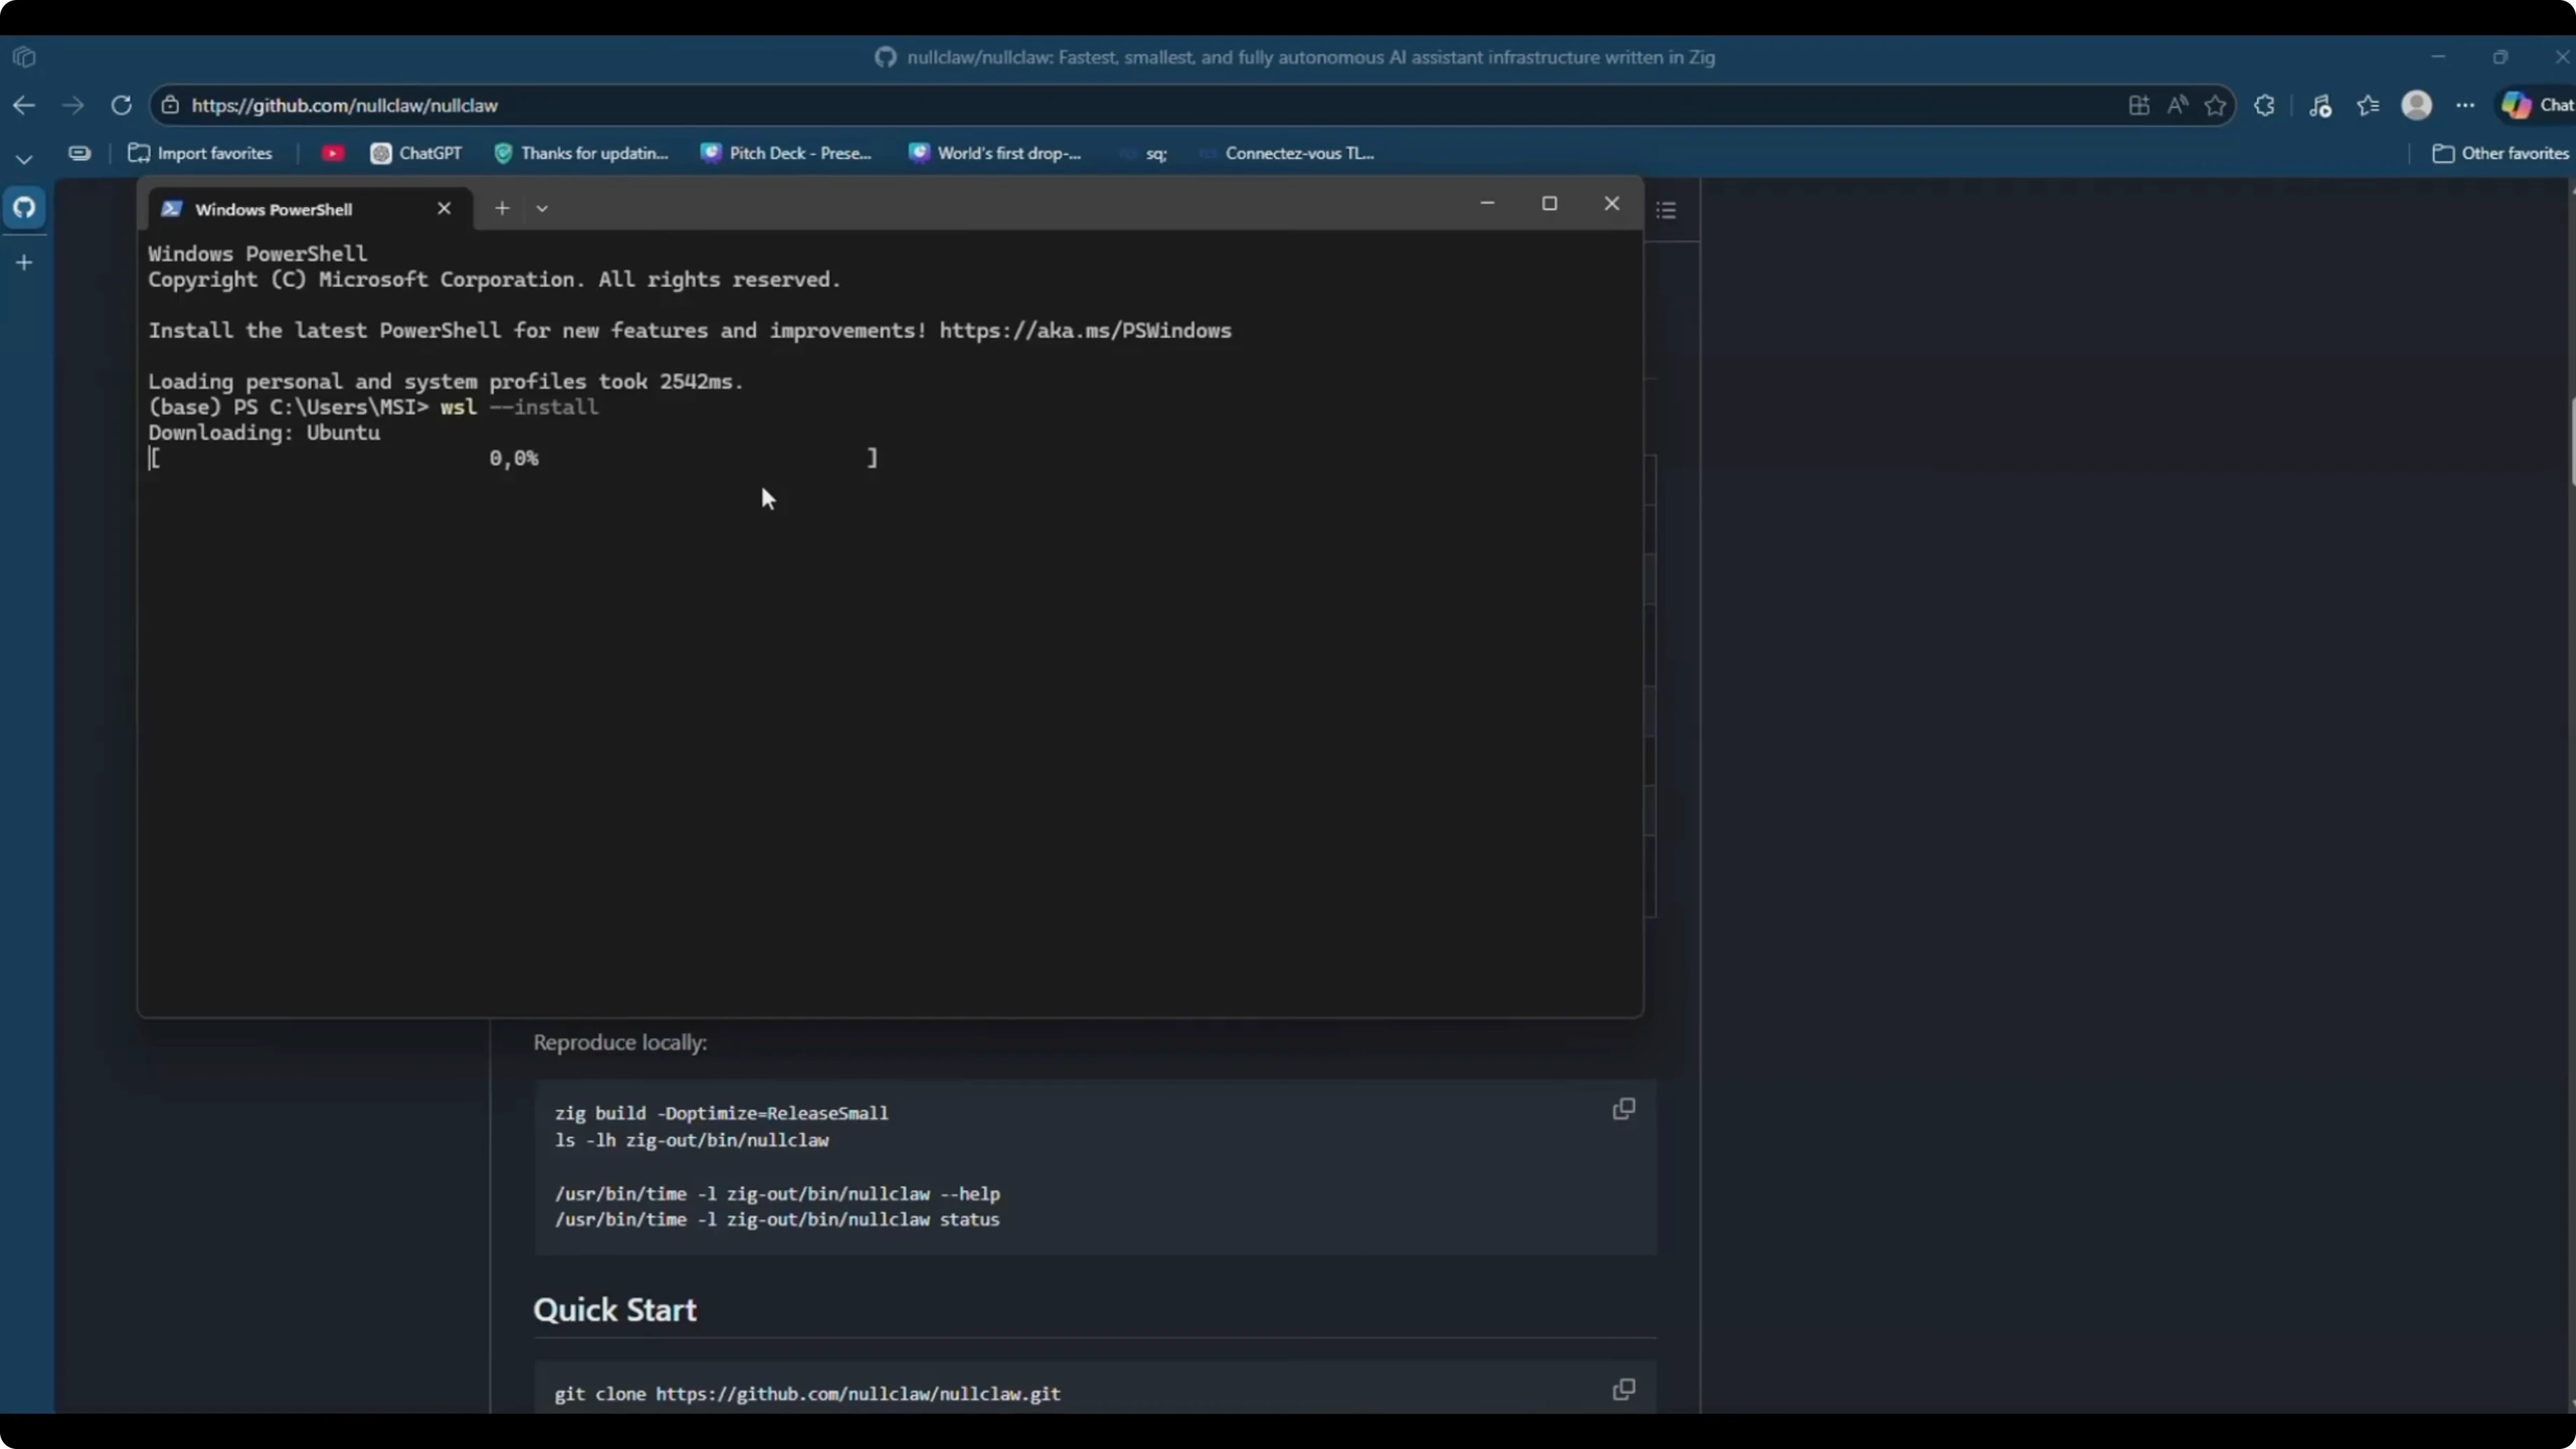
Reboot if prompted.
Launch Ubuntu from the Start menu, create a UNIX username, and set a password.
System update
Inside Ubuntu, update and upgrade the system.
Run:
sudo apt update && sudo apt upgrade -y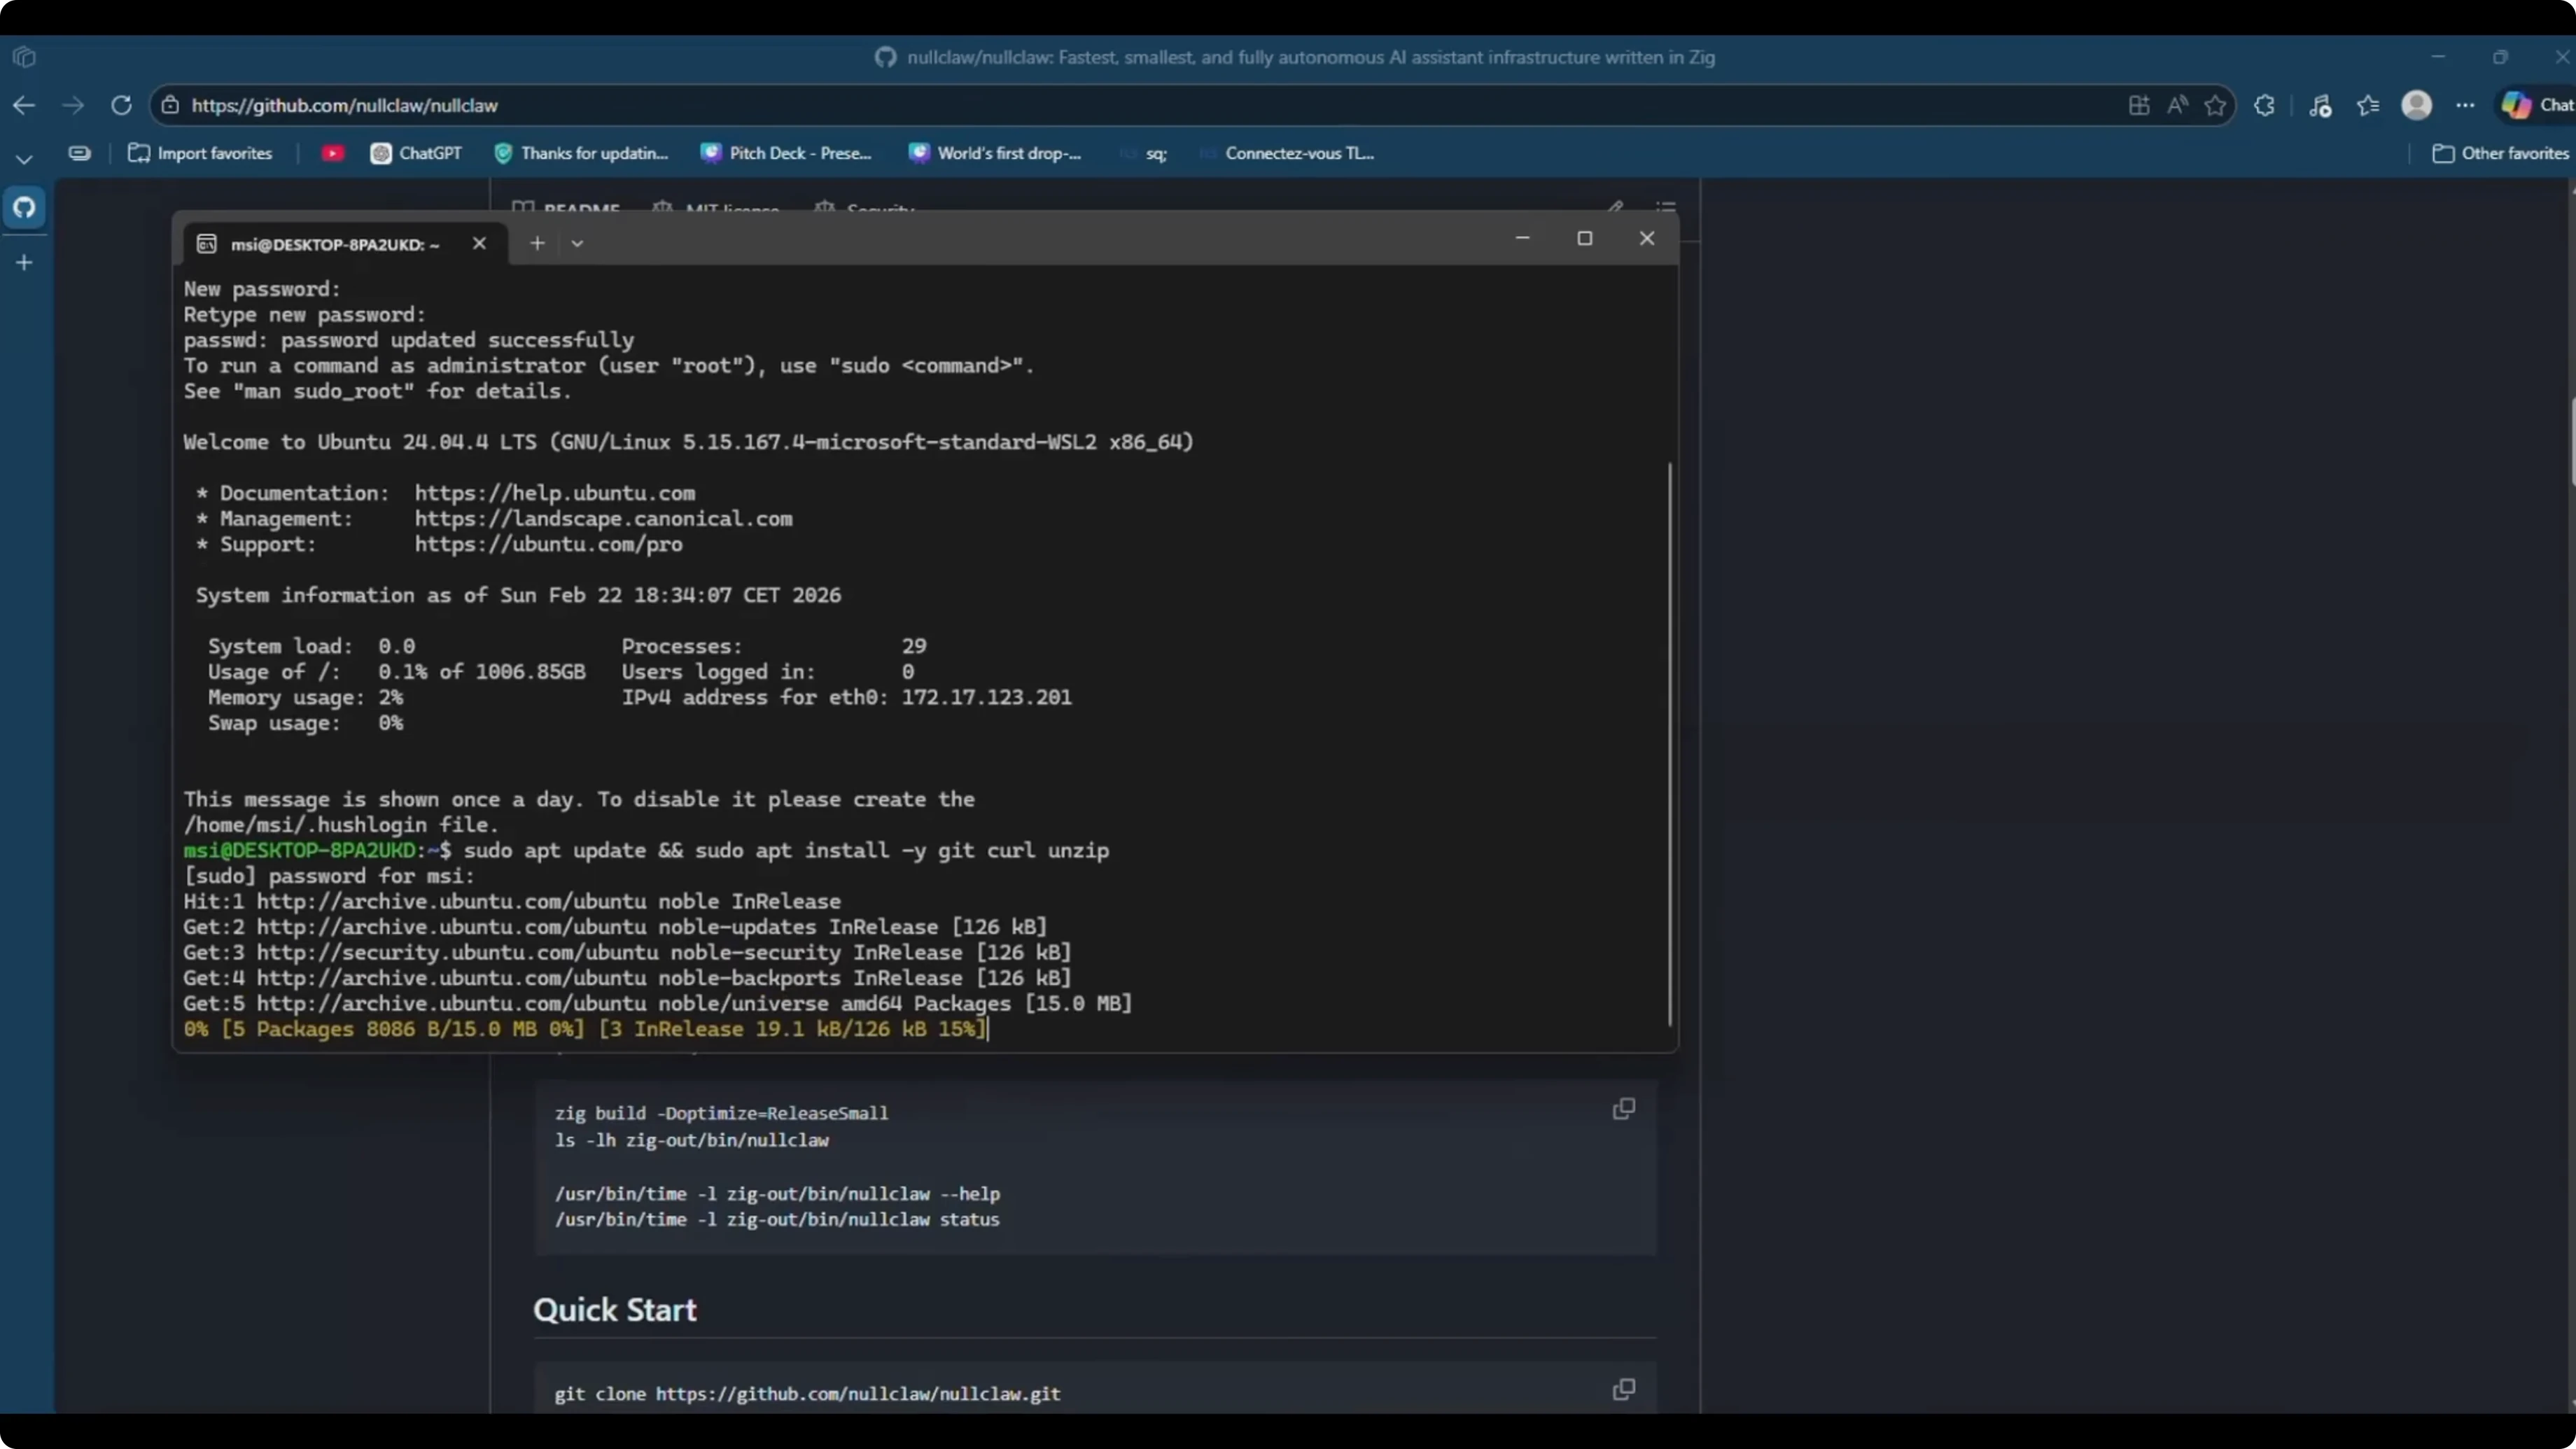
Install a few basics we will need.
Run:
sudo apt install -y curl git xz-utils build-essentialInstall Zig
We will install Zig via the official tarball and make it available system-wide.
Download and extract Zig.
curl -L https://ziglang.org/download/0.15.0/zig-linux-x86_64-0.15.0.tar.xz -o zig.tar.xz
tar -xf zig.tar.xz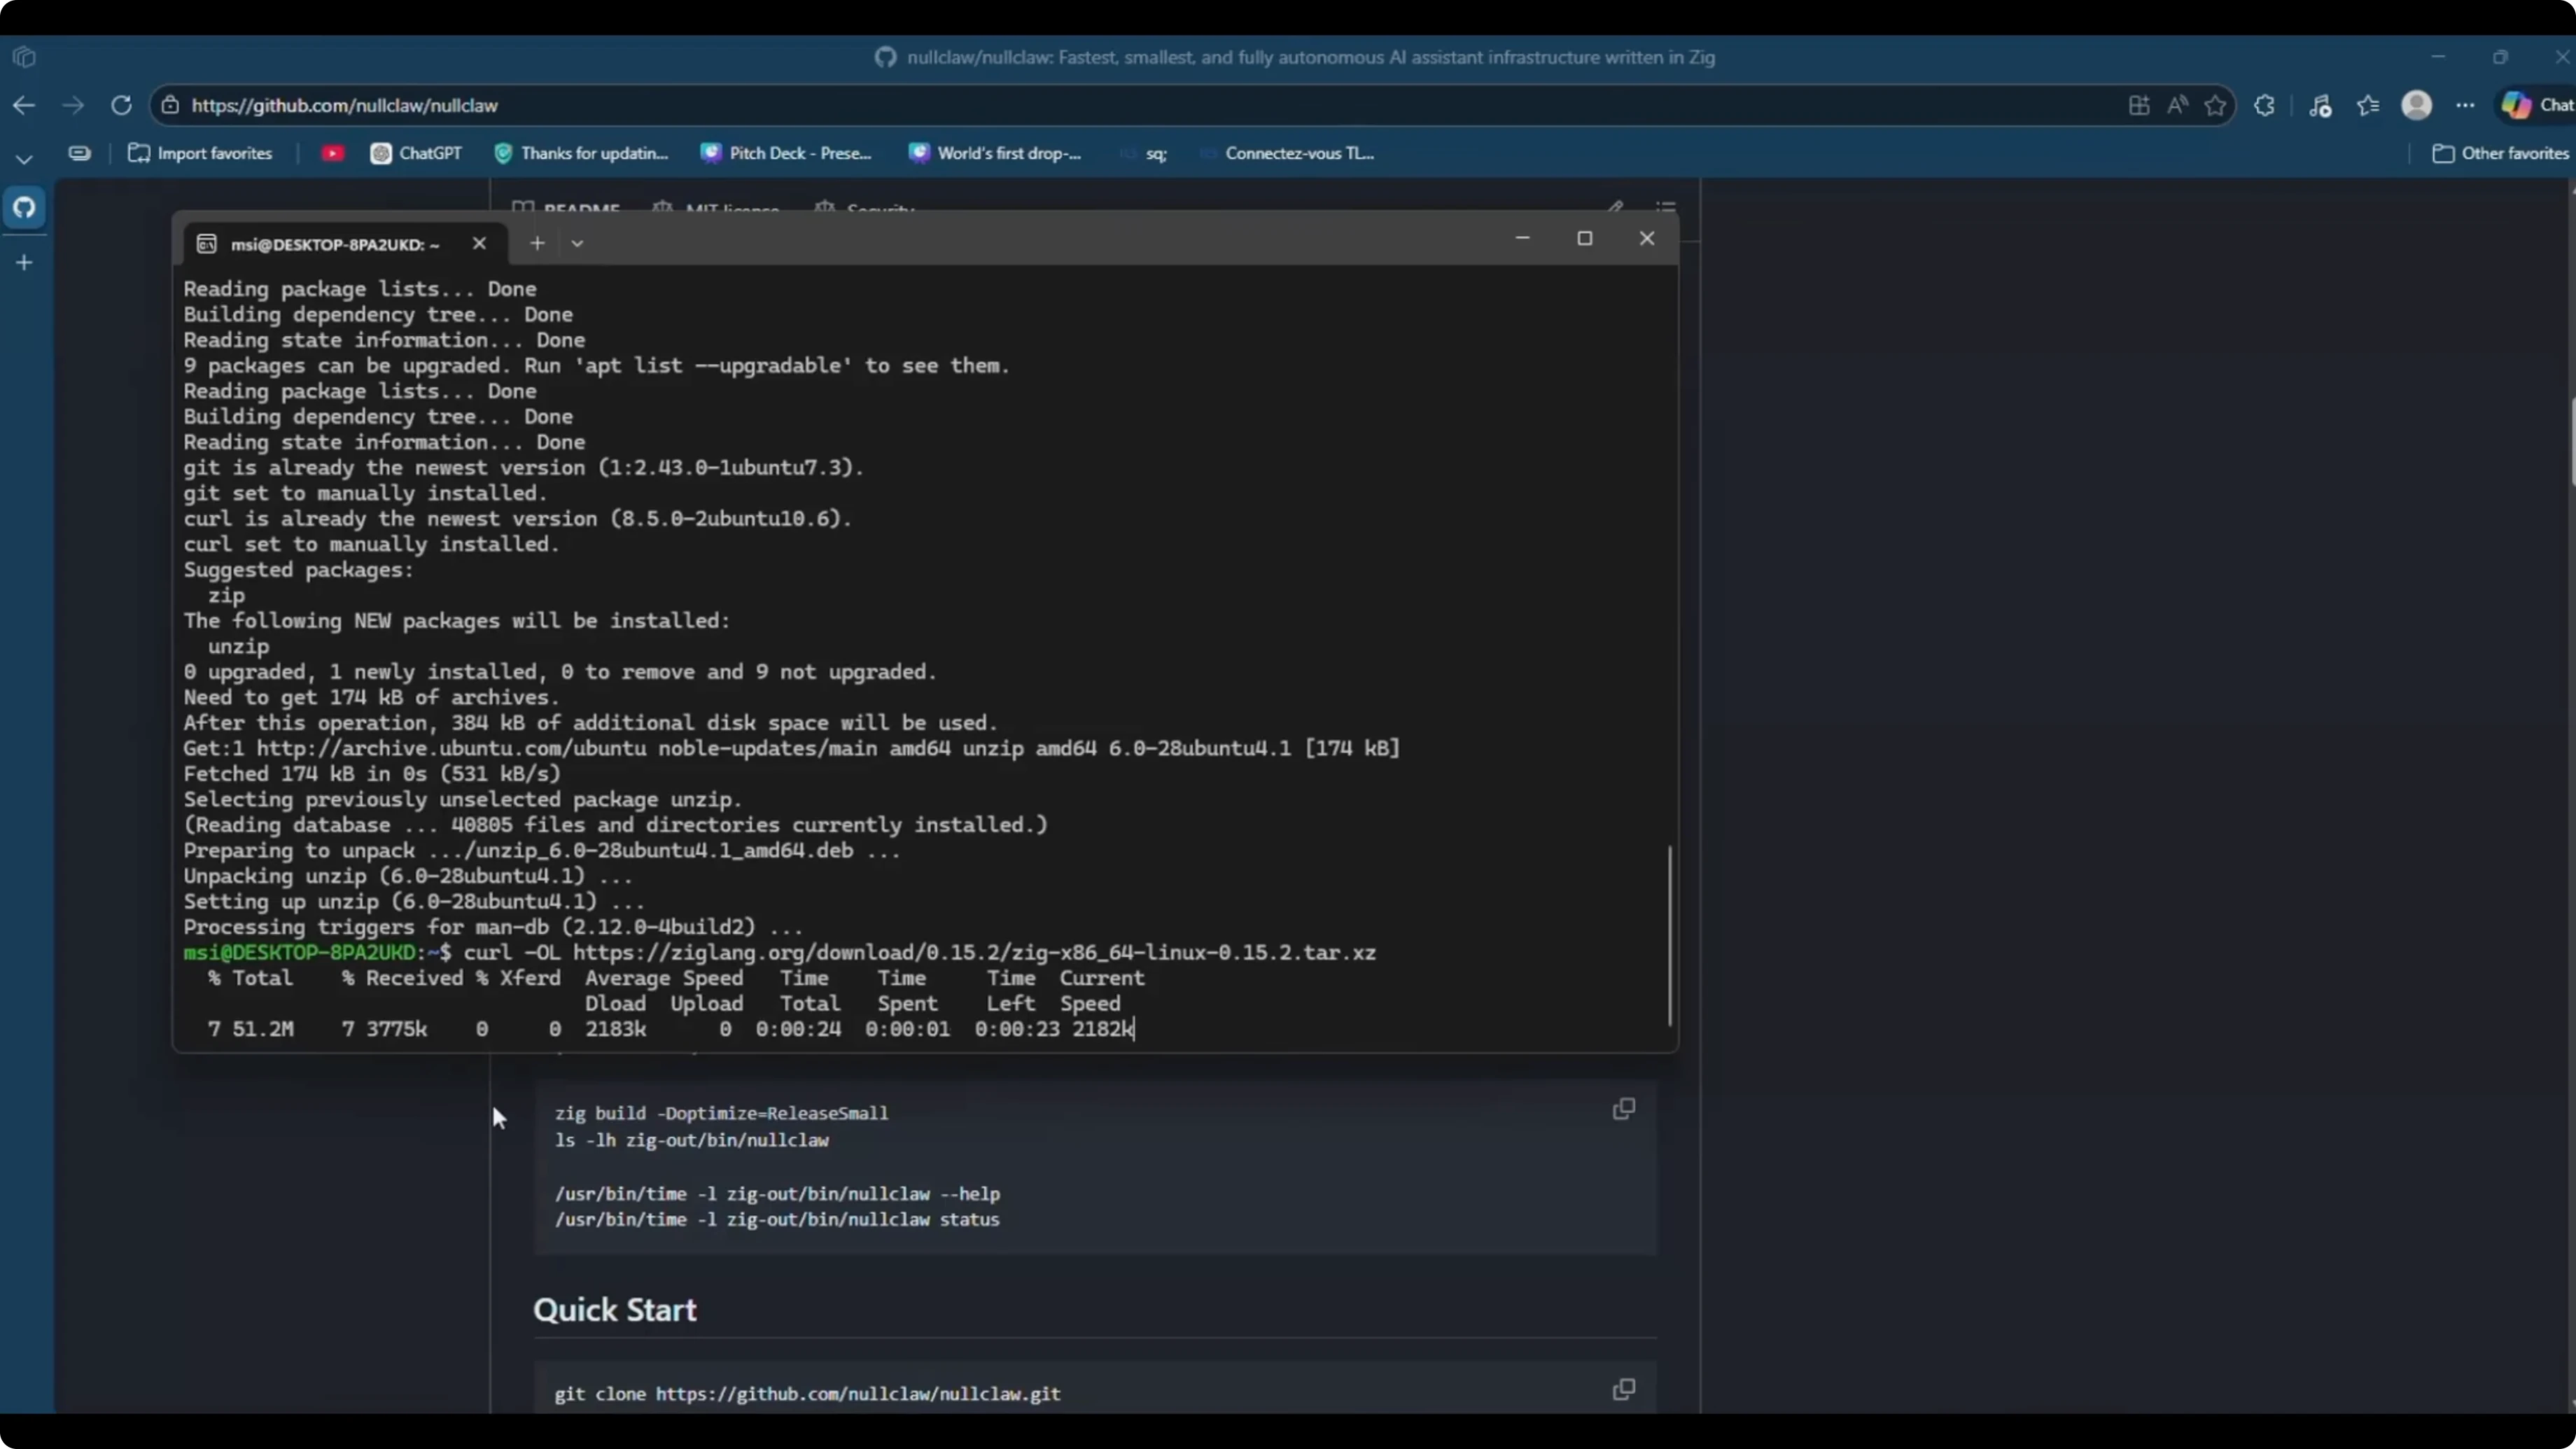
Move it to /usr/local and create a symlink.
sudo mv zig-linux-x86_64-0.15.0 /usr/local/zig
sudo ln -sf /usr/local/zig/zig /usr/local/bin/zig
Optionally add Zig’s folder to PATH as well, then reload your shell.
echo 'export PATH="/usr/local/zig:$PATH"' >> ~/.bashrc
source ~/.bashrc
Verify the install.
zig version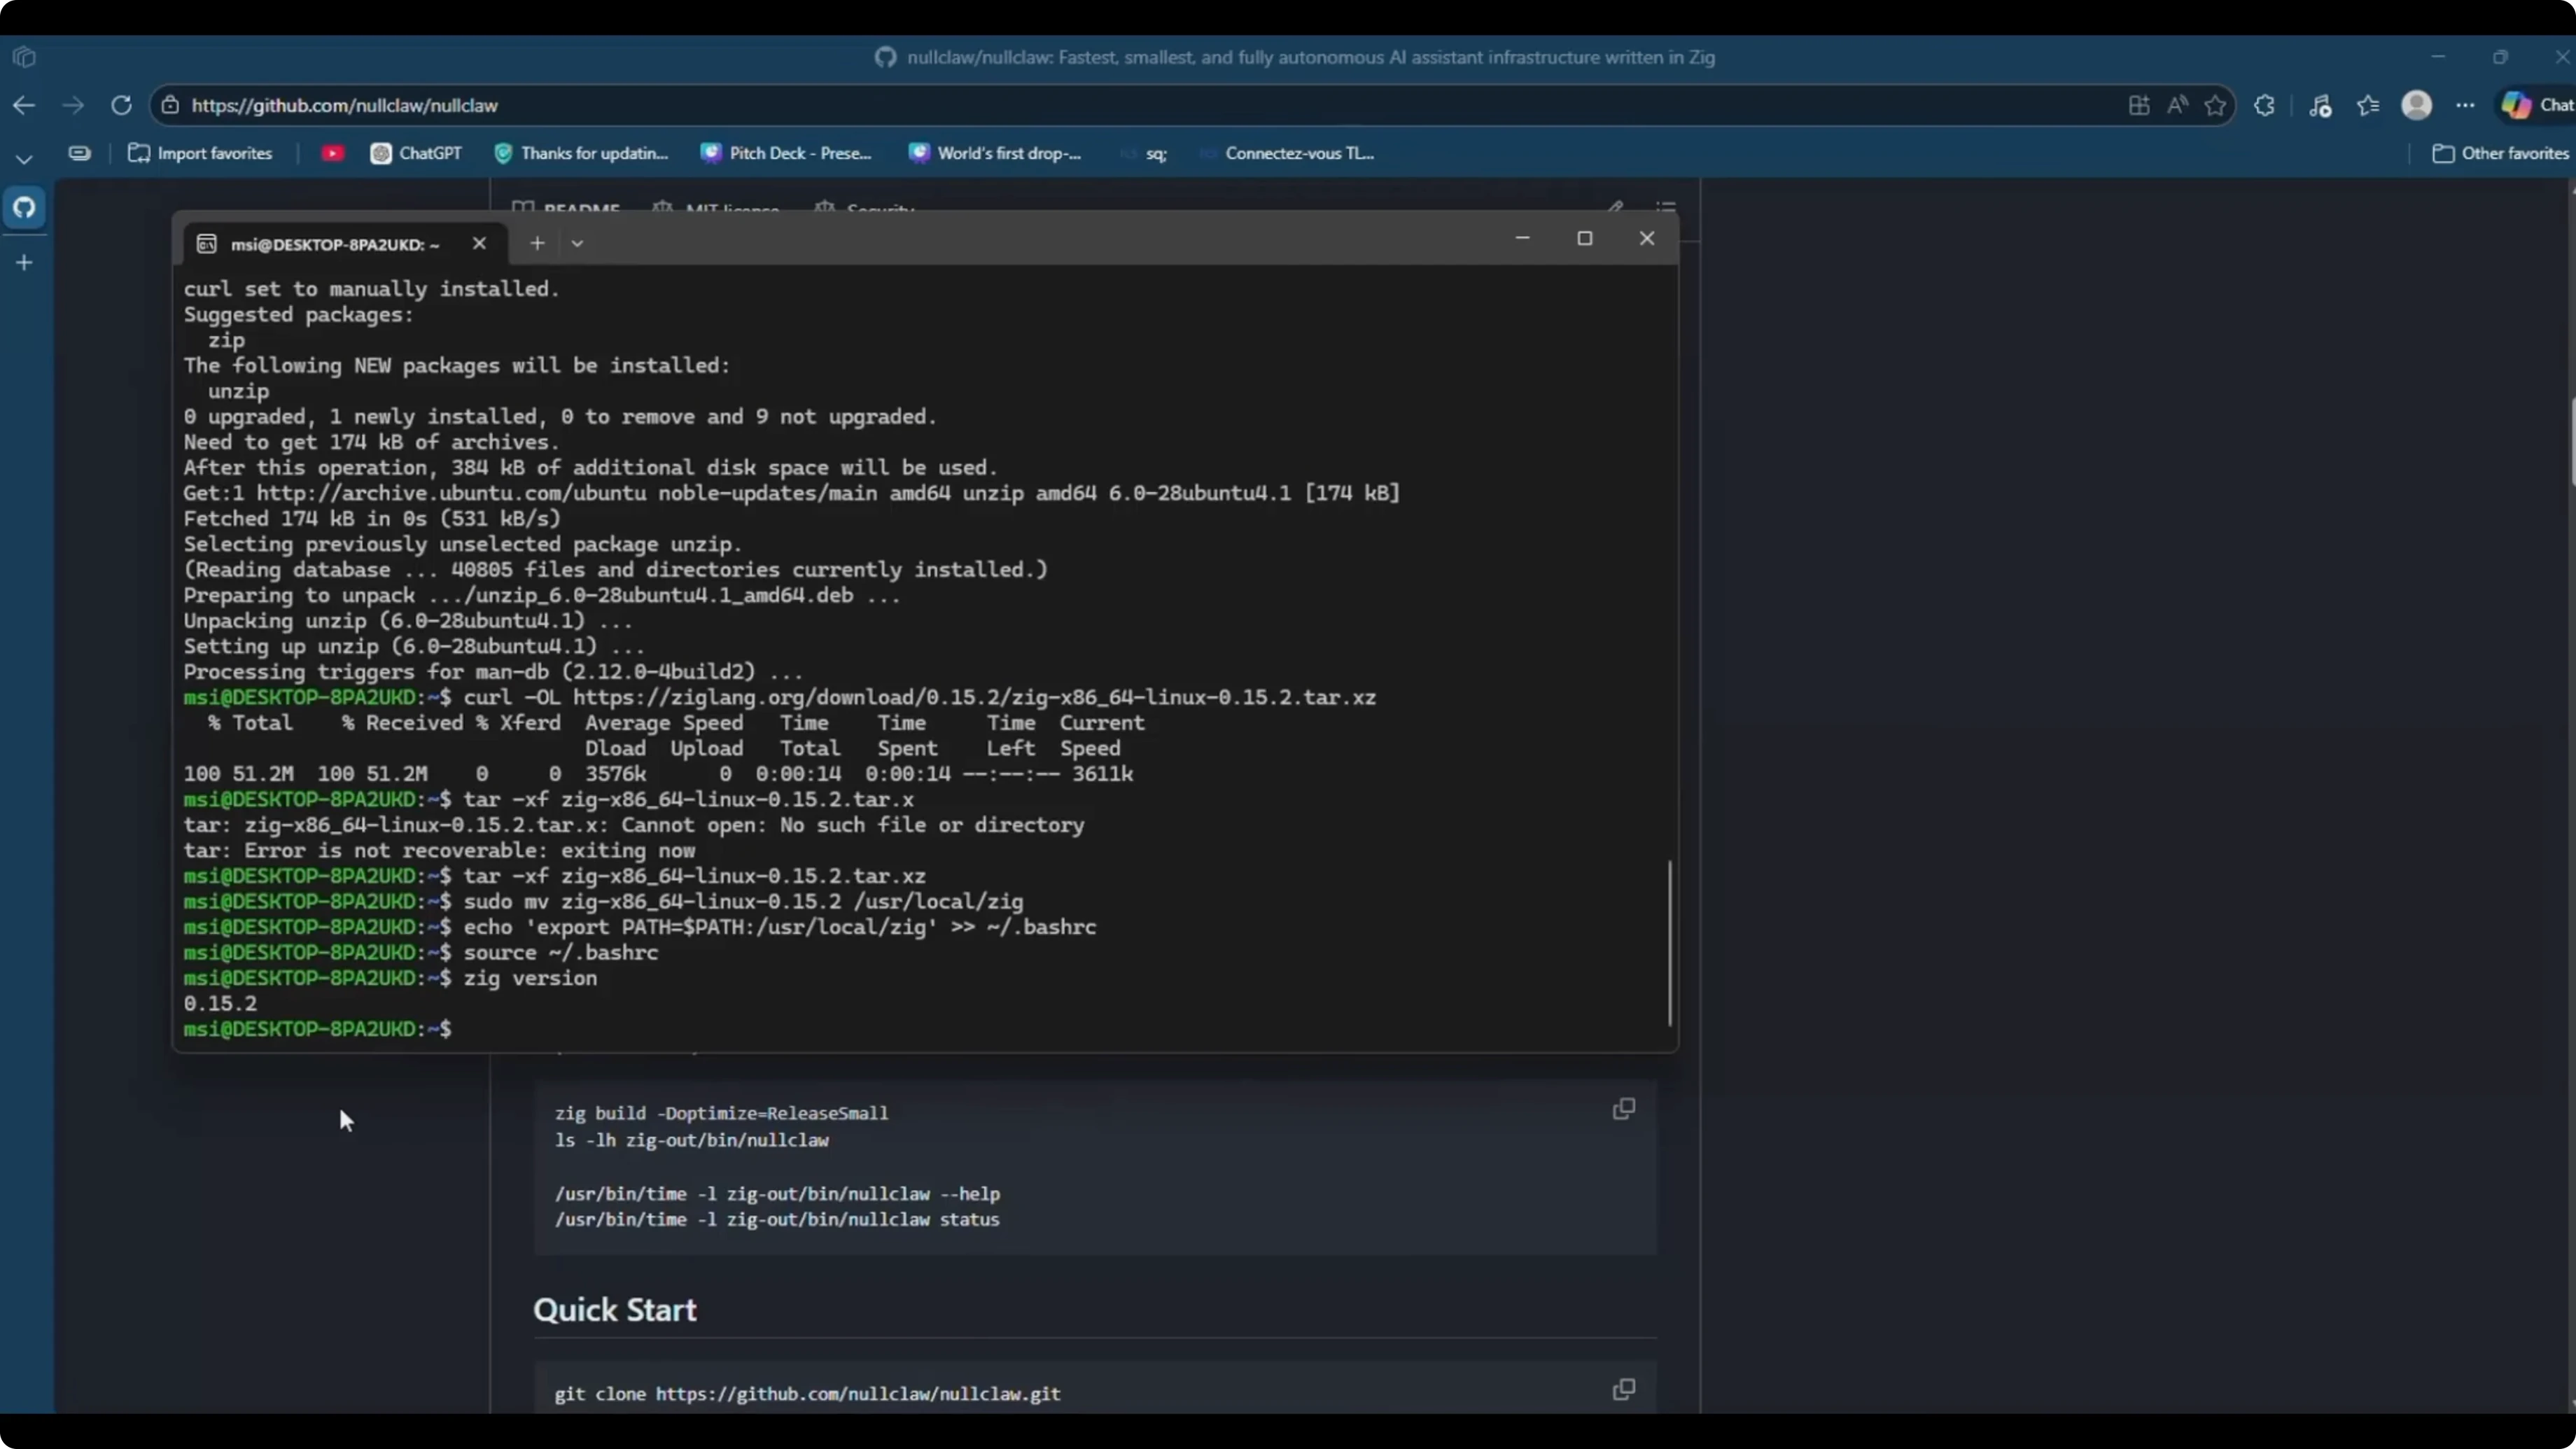
If you see 0.15.0 printed, you are set for Zig.
Get the NullClaw source
Clone the repository, change into it, and build.
Run:
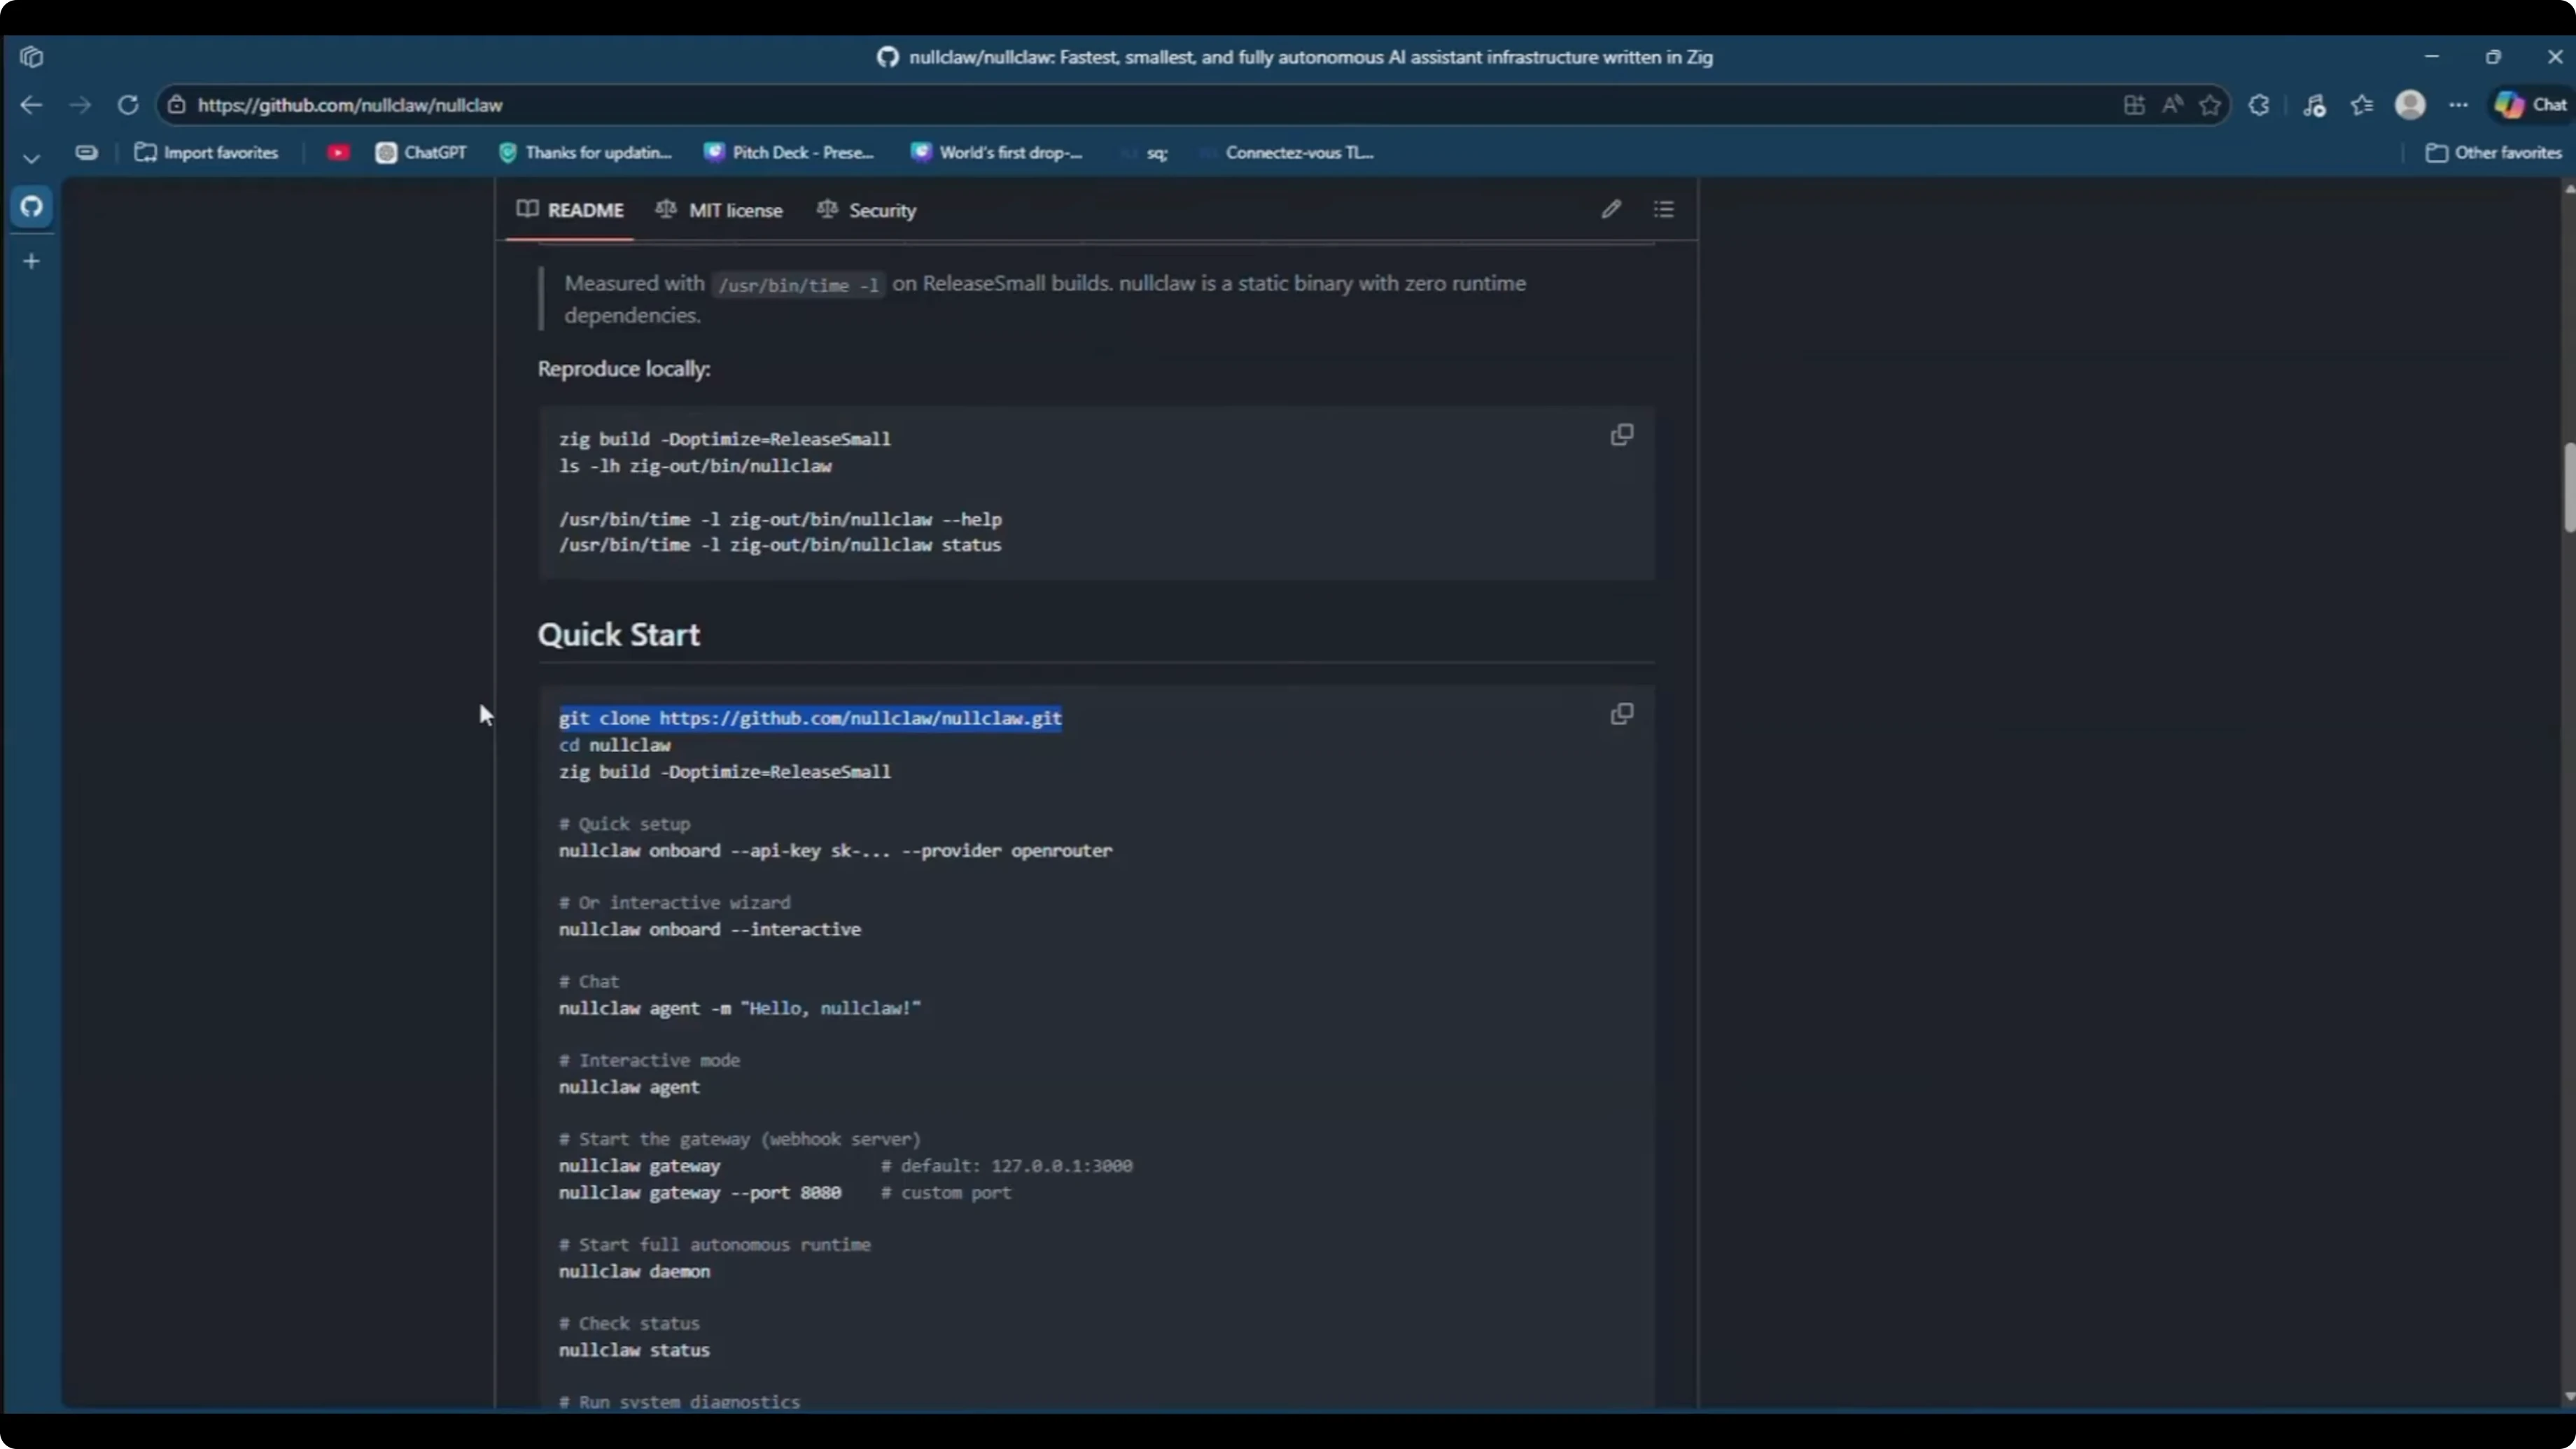
git clone https://github.com/<org-or-user>/nullclaw.git
cd nullclaw
zig build -Doptimize=ReleaseFast
Wait for the build to finish. The binary will be in zig-out/bin.
Make the binary global
If you try to run an onboard command directly from zig-out/bin, you might see command not found when calling it globally. The clean way is to add the build output to your PATH or copy the binary to a global location.
Add the build output to PATH for your user.
echo 'export PATH="'$PWD'/zig-out/bin:$PATH"' >> ~/.bashrc
source ~/.bashrc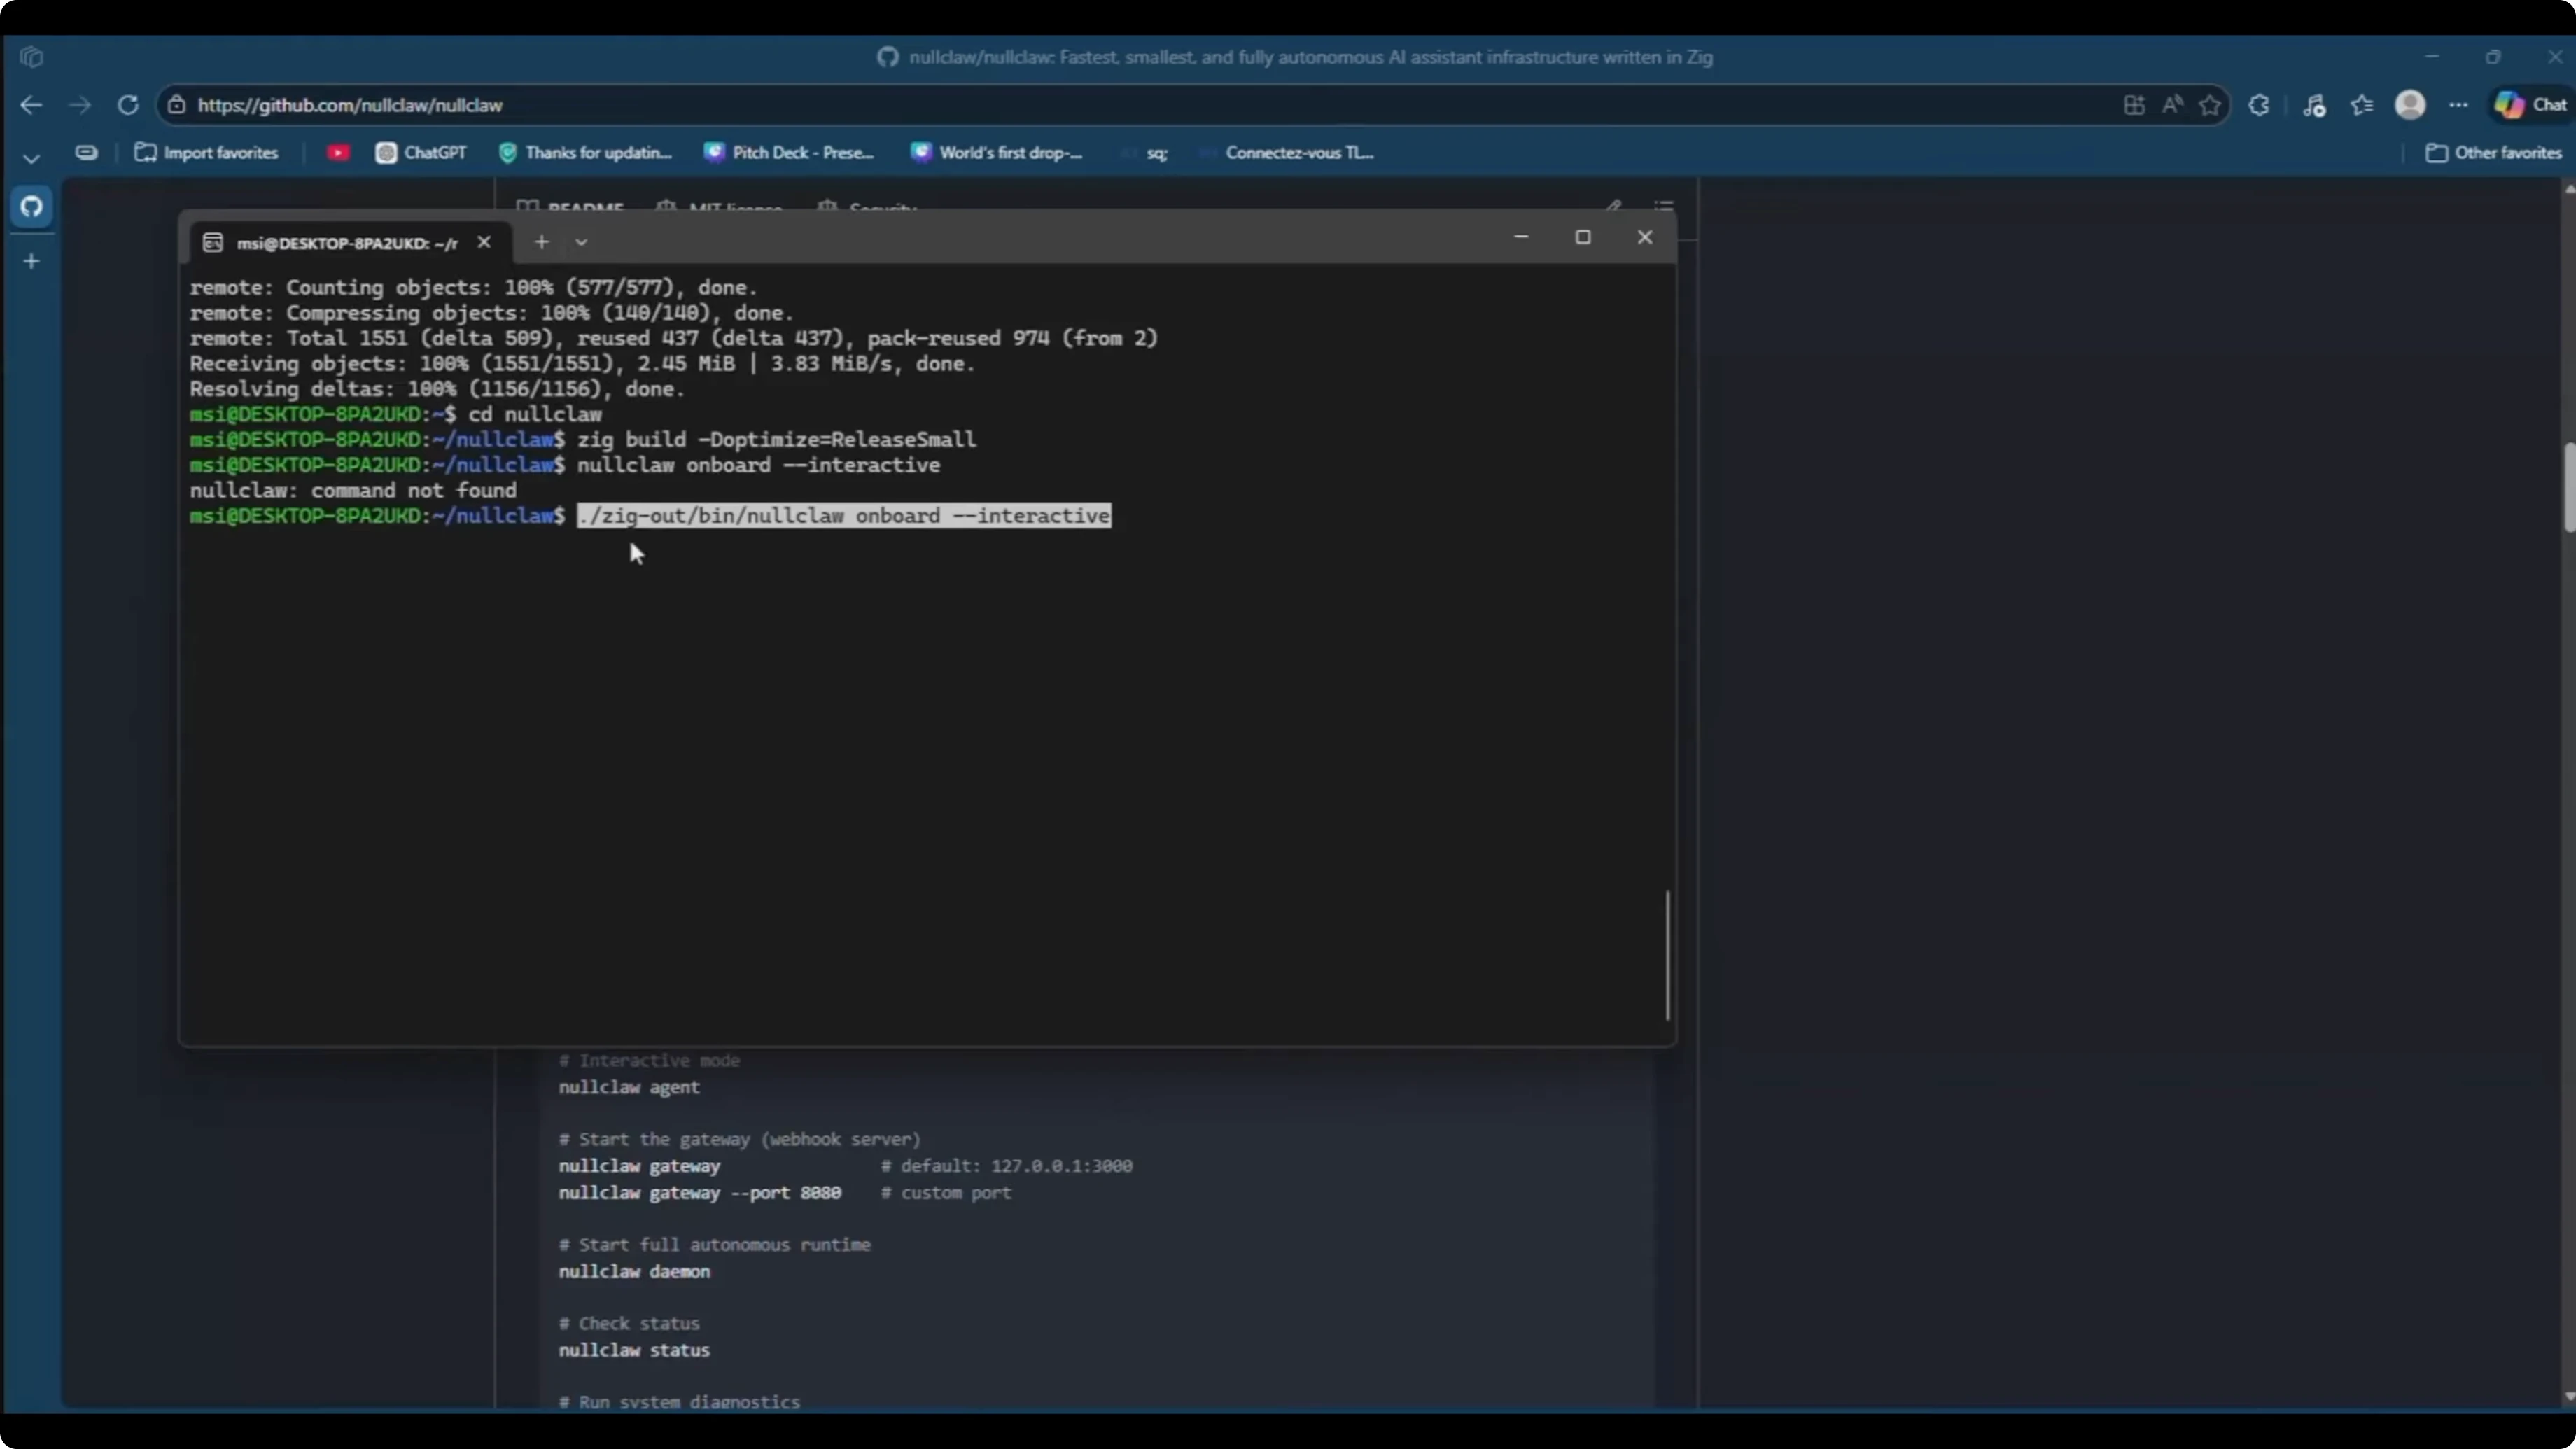
Alternatively copy the binary to /usr/local/bin.
sudo cp zig-out/bin/nullclaw /usr/local/bin/nullclawConfirm it runs from anywhere.
nullclaw --helpOnboard - setup NullClaw in Easy Steps?
Start the interactive onboarding to configure the provider, model, memory, tunnel, autonomy, and channel.
Run:
nullclaw onboard interactivePick a provider. I go with Gemini.
Enter your Gemini API key.
Choose a model. I select Gemini 2.5 Flash because it is cost friendly.
Choose memory. For this guide I select no persistent memory.
Select a tunnel. I leave this at none.
Set the autonomy level. Fully autonomous means it will execute commands without asking for confirmation.
Choose to configure a channel now. We will wire up Telegram.
Set the work base path. I keep the default path where I started NullClaw.
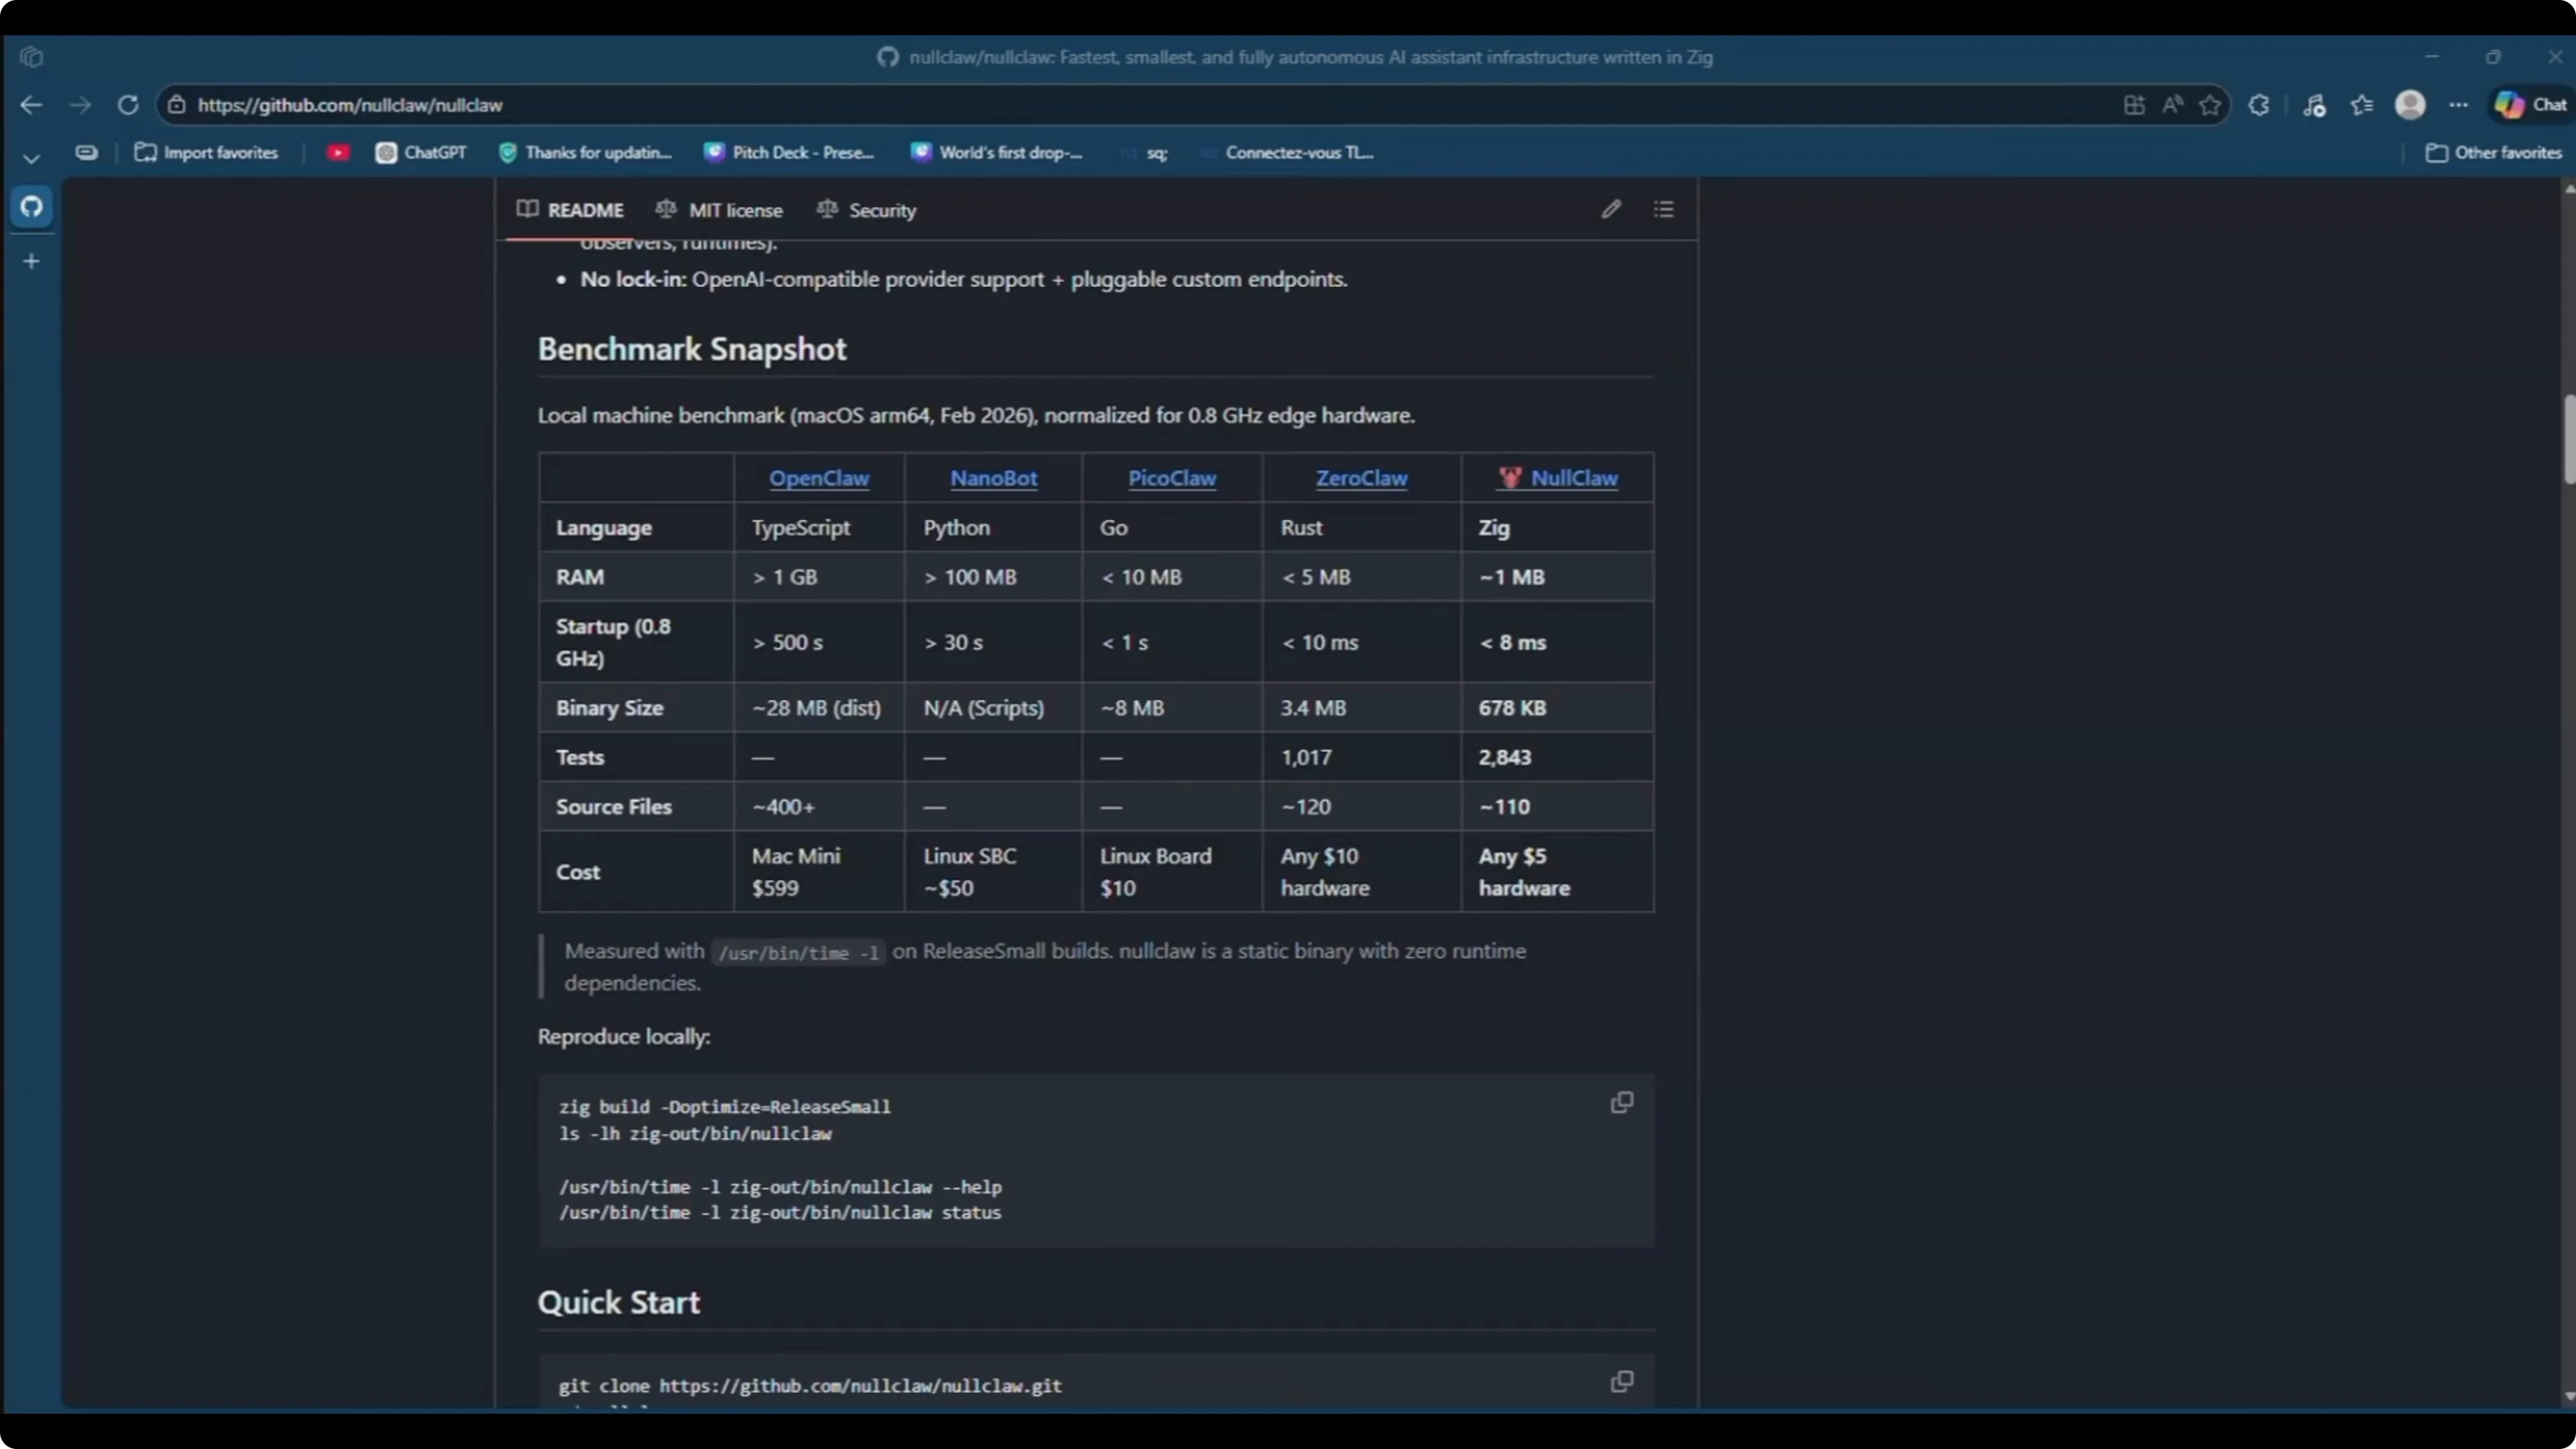
For quick comparisons within the Claw family, see compare claws.
Telegram config
Open the config file in the project root and add a Telegram channel block.
Run:
code config.jsonIf you do not use VS Code, use nano or vim.
nano config.jsonAdd or edit the channels section like this:
{
  "channels": {
    "telegram": {
      "bot_token": "123456:ABC-Your-Bot-Token",
      "allow_from": [123456789]
    }
  }
}
The bot_token is issued by BotFather. In Telegram, start a chat with BotFather, run /newbot, name your bot, and set a username that ends with bot.
Copy the token BotFather returns and paste it into bot_token.
The allow_from is your Telegram user ID. In Telegram, search for a user info bot, start it, and copy your numeric ID.
Paste that ID into allow_from. Save the file and exit your editor.
If you plan to run more local providers in the future, you might also like Minimax setup.
Start the daemon
Start NullClaw so it connects to Telegram and listens.
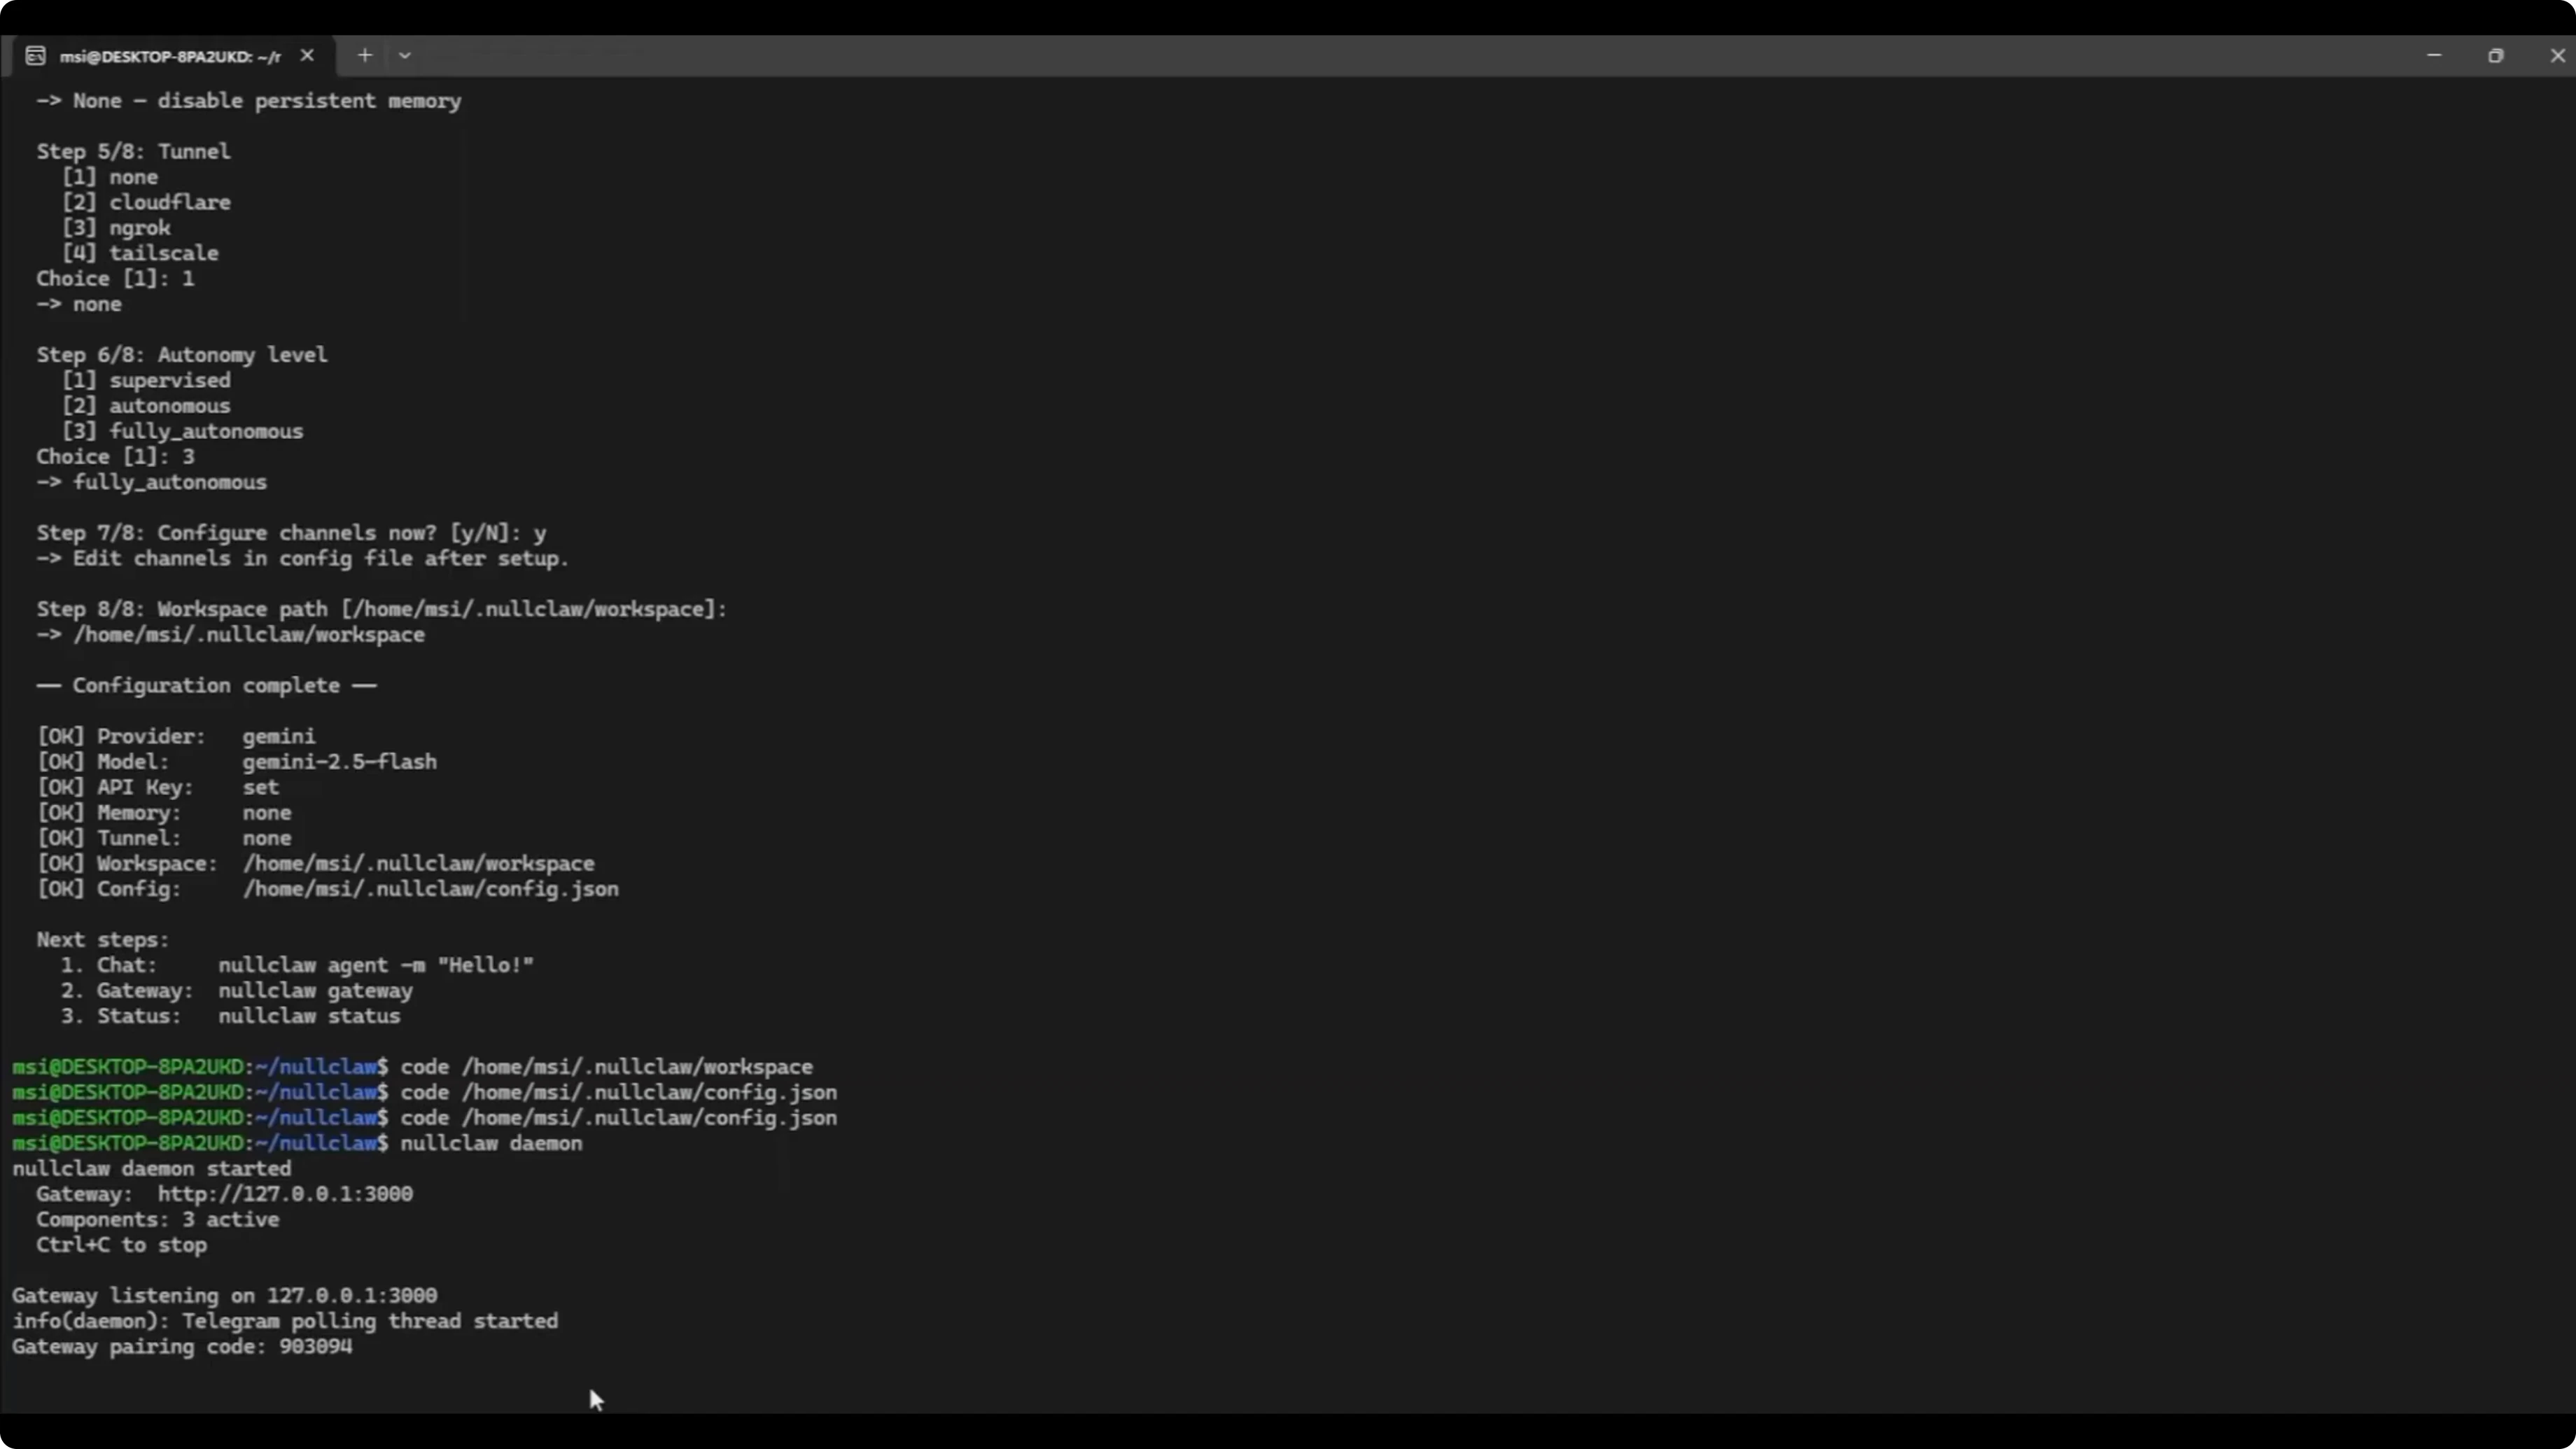
Run:
nullclaw daemonOpen Telegram, start your bot, and you should see a greeting with the selected model.
Ask a quick status question like where it is working. It will respond with the current workspace path.
Simple local test
Ask NullClaw to create a small text file in the workspace.
In Telegram, send:
Create a text file named sample.txt and write Hello from NullClaw.It will execute shell commands and respond when done.
Verify on Ubuntu.
Run:
cd <your-workspace-path>
ls
nano sample.txt
You should see the content you asked it to write.
Final thoughts
NullClaw runs well locally under WSL, and the Zig toolchain makes the build straightforward. The onboarding flow is quick, and the Telegram channel is easy to wire with a token and user ID. If you follow the steps above, you can go from a clean machine to a working agent in minutes.
Subscribe to our newsletter
Get the latest updates and articles directly in your inbox.

Related Posts

8 Best Claude Code Plugins in 2026 (You Need to Know)
8 Best Claude Code Plugins in 2026 (You Need to Know)

7 Best Claude Code Skills (You Need to Know)
7 Best Claude Code Skills (You Need to Know)

Claude Code Desktop IDE Features (You Need to Know)
Claude Code Desktop IDE Features (You Need to Know)