
Table Of Content
- AutoGLM Phone 9B: An AI Phone Agent for Android - Full Hands-on Demo
- What AutoGLM Phone 9B Is Designed To Do
- How AutoGLM Phone 9B Operates
- Test Environment And Setup For AutoGLM Phone 9B
- Architecture Notes And Model Family Context
- Model Download And Resource Footprint
- Quick Reference: AutoGLM Phone 9B Capabilities
- How AutoGLM Phone 9B Fits Into Your App
- Step-by-Step Integration Outline
- Hands-on Inference With AutoGLM Phone 9B
- Test 1 - Selecting An Option In A Food App
- What The Model Returned For Test 1
- Test 2 - Checking For New Email From The Home Screen
- What The Model Returned For Test 2
- Test 3 - Selecting A Date On A Matching Screen
- What The Model Returned For Test 3
- Building On Top Of AutoGLM Phone 9B
- Minimal Implementation Path
- Safety And Control
- Practical Tips From The Tests
- End-to-End Flow With AutoGLM Phone 9B
- Step 1 - Prepare The Environment
- Step 2 - Download The Model
- Step 3 - Provide Context And Prompt
- Step 4 - Run Inference And Inspect The Output
- Step 5 - Execute On Device
- Step 6 - Iterate For Multi-step Workflows
- Observations On Vision And Reasoning
- Frequently Noted Details From The Session
- Practical Outputs You Can Expect
- Notes On Developing With AutoGLM Phone 9B
- Summary Of The Hands-on
- Final Thoughts On AutoGLM Phone 9B

Turn Your Android into an AI Agent with AutoGLM Phone 9B
Table Of Content
- AutoGLM Phone 9B: An AI Phone Agent for Android - Full Hands-on Demo
- What AutoGLM Phone 9B Is Designed To Do
- How AutoGLM Phone 9B Operates
- Test Environment And Setup For AutoGLM Phone 9B
- Architecture Notes And Model Family Context
- Model Download And Resource Footprint
- Quick Reference: AutoGLM Phone 9B Capabilities
- How AutoGLM Phone 9B Fits Into Your App
- Step-by-Step Integration Outline
- Hands-on Inference With AutoGLM Phone 9B
- Test 1 - Selecting An Option In A Food App
- What The Model Returned For Test 1
- Test 2 - Checking For New Email From The Home Screen
- What The Model Returned For Test 2
- Test 3 - Selecting A Date On A Matching Screen
- What The Model Returned For Test 3
- Building On Top Of AutoGLM Phone 9B
- Minimal Implementation Path
- Safety And Control
- Practical Tips From The Tests
- End-to-End Flow With AutoGLM Phone 9B
- Step 1 - Prepare The Environment
- Step 2 - Download The Model
- Step 3 - Provide Context And Prompt
- Step 4 - Run Inference And Inspect The Output
- Step 5 - Execute On Device
- Step 6 - Iterate For Multi-step Workflows
- Observations On Vision And Reasoning
- Frequently Noted Details From The Session
- Practical Outputs You Can Expect
- Notes On Developing With AutoGLM Phone 9B
- Summary Of The Hands-on
- Final Thoughts On AutoGLM Phone 9B
AutoGLM Phone 9B: An AI Phone Agent for Android - Full Hands-on Demo
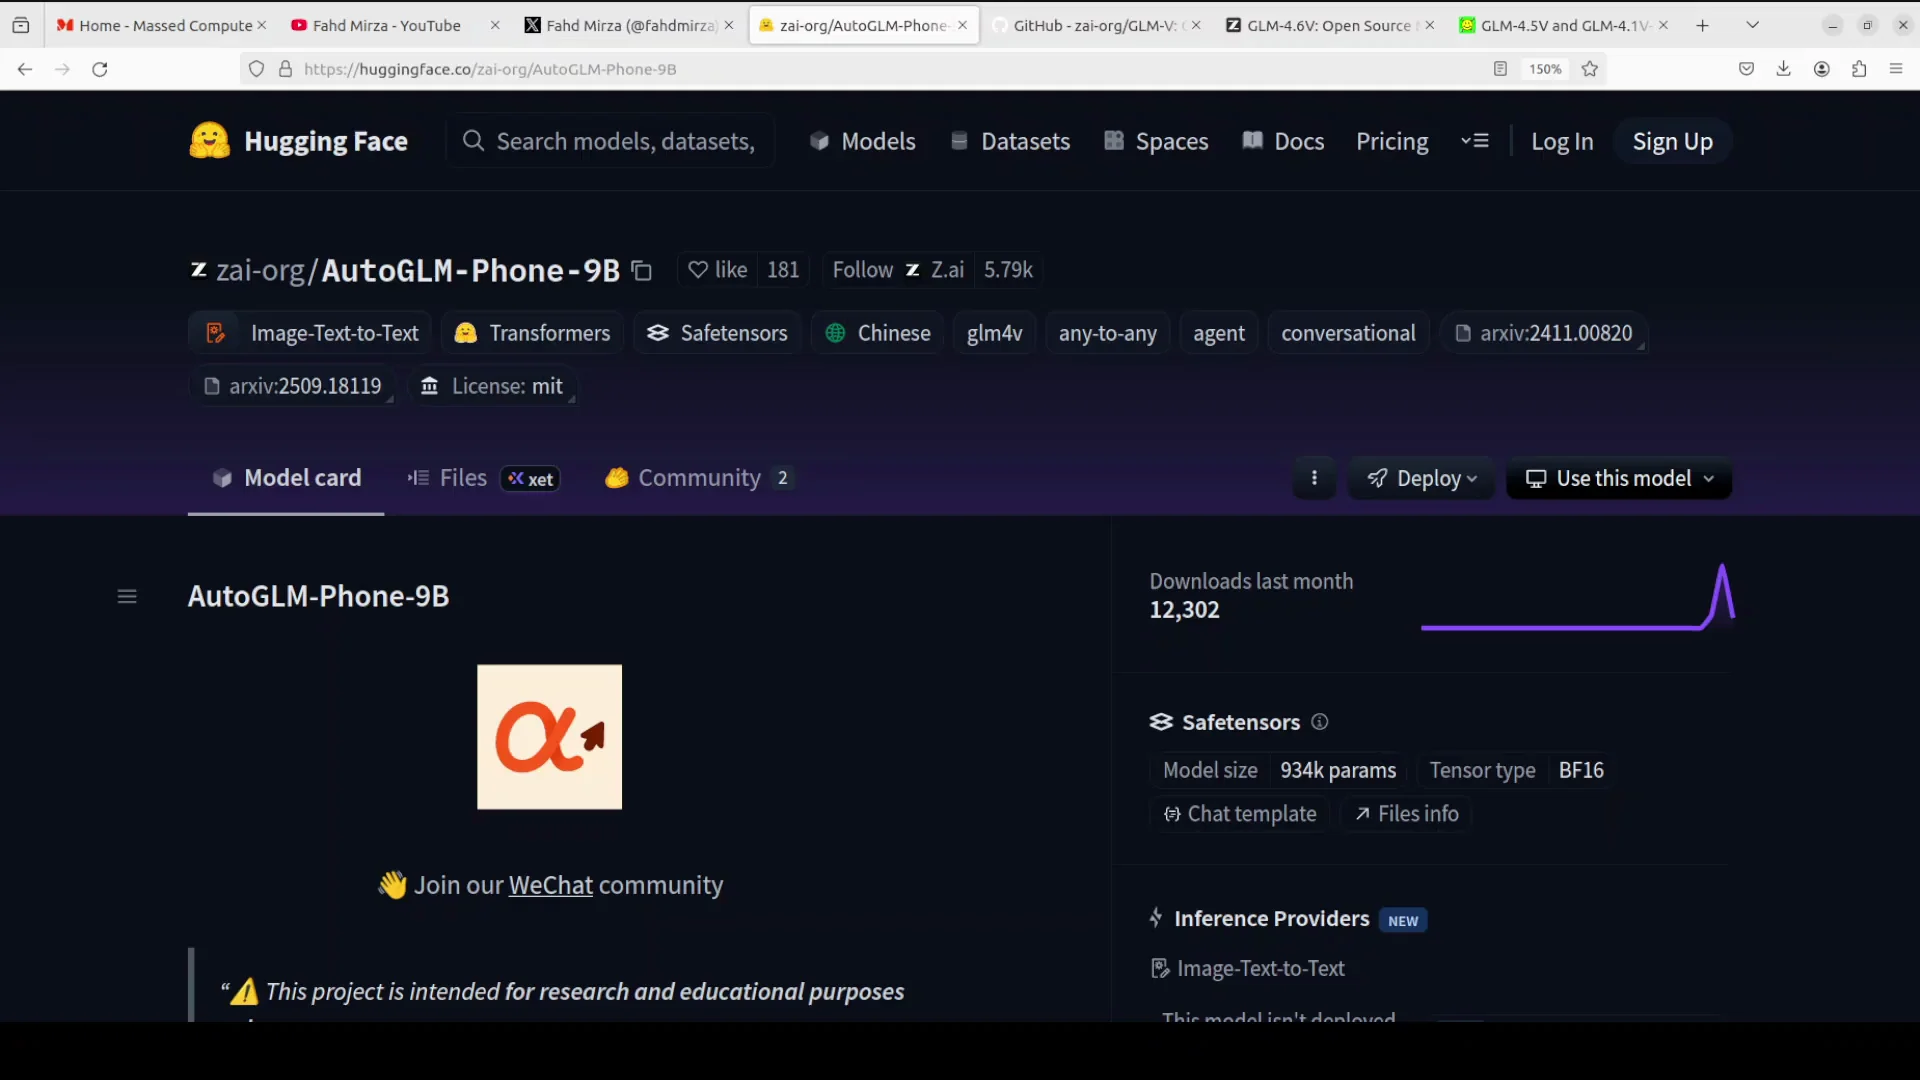
GLM is on fire. I have been covering models from this team from day one and I have never seen them so busy. We have been covering one model per day from them for the last one week almost. Today I am going to install and check out this new model, the AutoGLM project, which primarily enables you to create a phone agent on top of the Phone 9B model. It is an open-source mobile intelligent assistant framework that you can use to automate tasks on Android smartphones through natural language instructions.
What AutoGLM Phone 9B Is Designed To Do
Listen carefully, because this tends to create confusion. The purpose of this model is to be embedded into your own mobile applications. You give the model or your application an instruction in natural language to perform a task on your mobile screen. The model then translates the natural language instruction into the instruction for the mobile phone or your application in order to accomplish that task.
The model does not click your phone screen by itself. It primarily facilitates that interaction and produces the actions and coordinates you can call from your app. That is the intended design.
How AutoGLM Phone 9B Operates
One key aspect is that this model controls devices using ADB, the Android Debug Bridge. It also enables remote operations over Wi-Fi or a network and supports tasks such as opening apps, searching content, or completing multi-step workflows, for example opening a website and searching for food recommendations. You can build your application on top of it and create your own AI powered mobile application.
Another important point is safety. Key safety features include confirmation prompts for sensitive actions and human in the loop controls, along with other safeguards natively supported in the framework.
Test Environment And Setup For AutoGLM Phone 9B
I am using an Ubuntu system. I have one GPU card, an Nvidia RTX 6000 with 48 GB of VRAM. I am going to install all the prerequisites.
While the installation runs, it is useful to understand the model family and why this specific setup matters. The team has done strong work with their vision family of models, and that context helps when you build on top of Phone 9B.
Architecture Notes And Model Family Context
If you look at its architecture, it is quite interesting. It is similar to what they produced in GLM 4.1v 9B Thinking, which I have already covered. It uses chain of thought reasoning and reinforcement learning to enhance multimodal understanding, decision making, and interpretability.
This enables the AutoGLM agent, or phone agent, to perceive and reason about dynamic UI elements effectively. It has outperformed larger models in various benchmarks for GUI tasks. You can check those benchmarks on their project page and on their Hugging Face model card.
Model Download And Resource Footprint
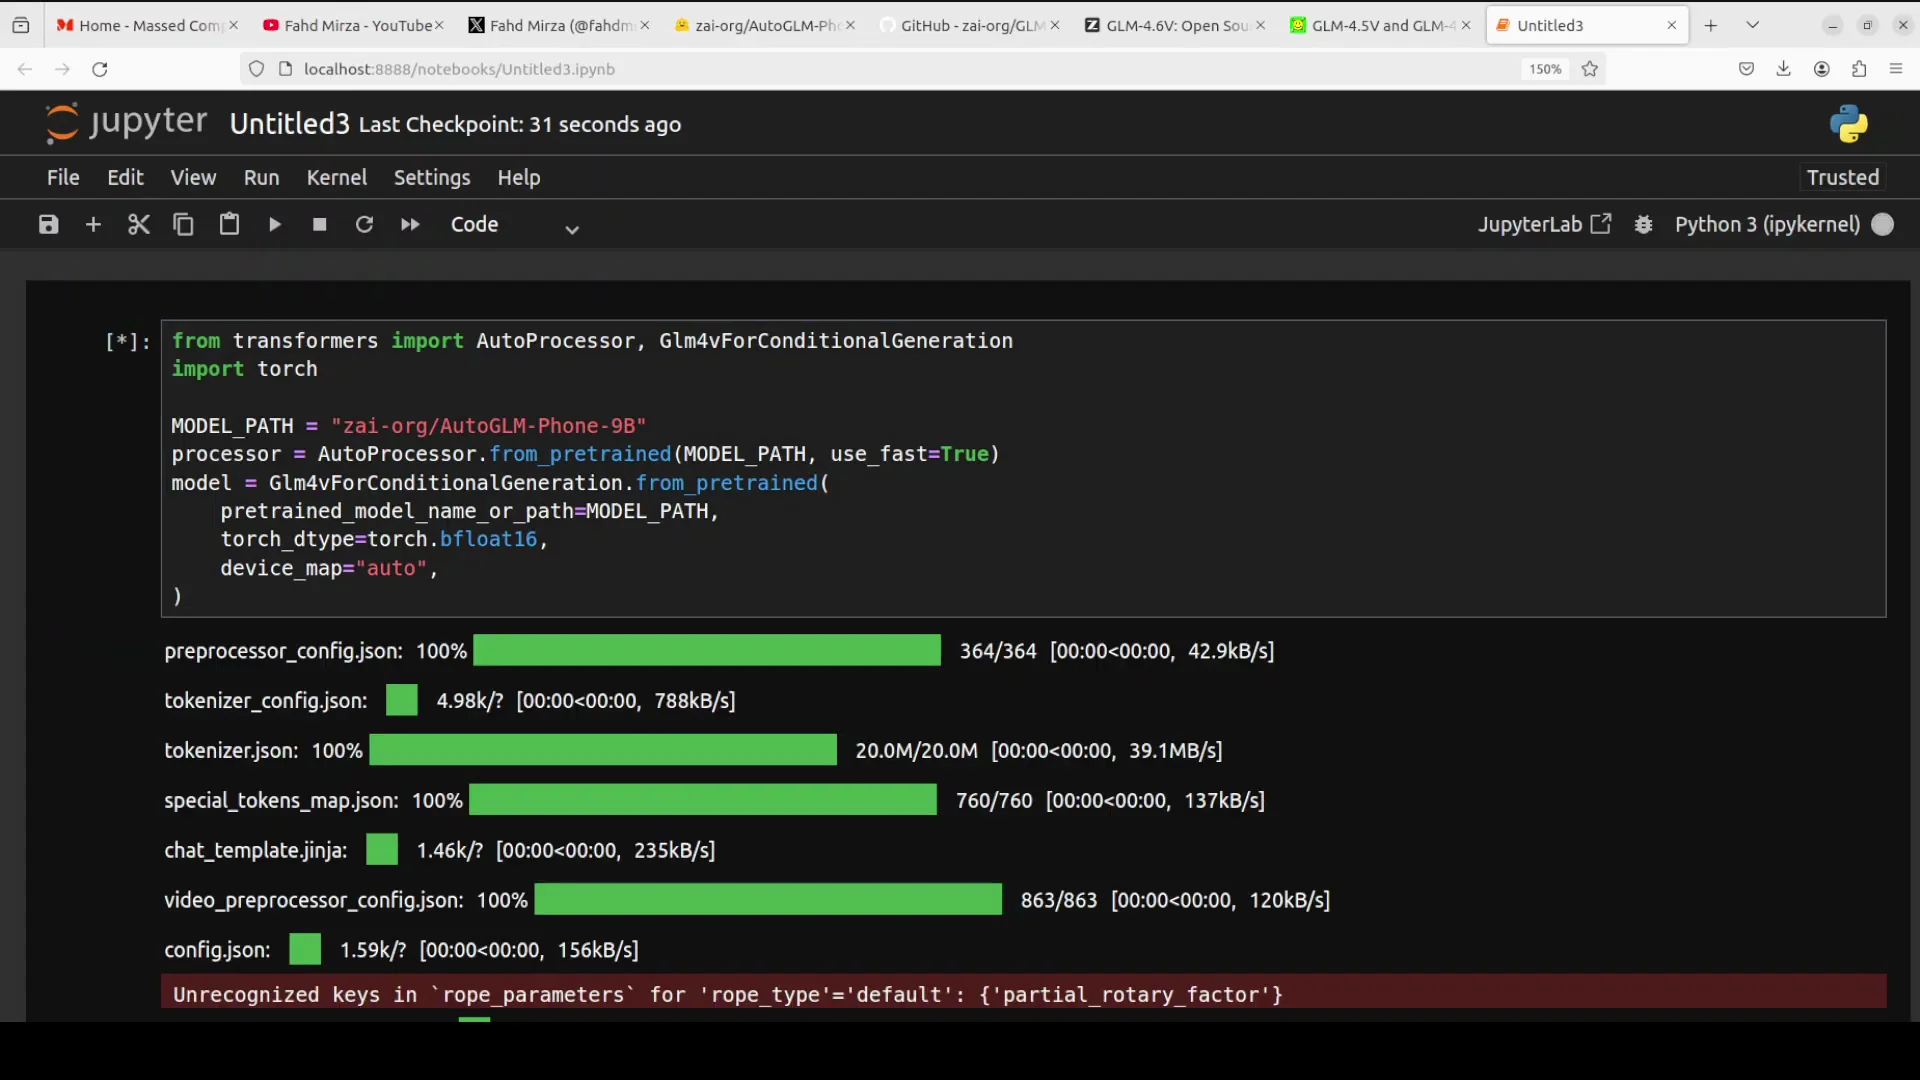
Everything is downloaded and installed. I am going to download the model in a Jupyter notebook. The model size is just over 20 GB. After the model download completes, I will run inference.
During inference, it is important to track VRAM usage. The model consumes a touch over 20 GB of VRAM during the tests shown here. If you are building an application on top of it, make sure you have that much VRAM available.
Quick Reference: AutoGLM Phone 9B Capabilities
| Area | Details |
|---|---|
| Target platform | Android smartphones via embedding in your own app |
| Interaction method | ADB control with support for network and Wi-Fi operations |
| Task types | Open apps, search content, multi-step workflows |
| Safety | Confirmation prompts for sensitive actions, human in the loop, additional safeguards |
| Model family | Related to GLM 4.1v 9B Thinking with chain of thought and reinforcement learning |
| Vision and UI reasoning | Perceives dynamic UI elements and produces actionable coordinates |
| Model size | Just over 20 GB |
| VRAM usage | A bit above 20 GB during inference in the tests shown |
How AutoGLM Phone 9B Fits Into Your App
The workflow is straightforward. You embed the model in your application, pass a natural language instruction along with the relevant screen image or UI context, and the model returns an action, reasoning steps, and screen coordinates. You then call ADB or your app’s input hooks to perform the tap, scroll, or other action.
Step-by-Step Integration Outline
- Capture context
- Provide a screenshot or UI description of the current phone screen.
- Include the user’s natural language instruction.

- Call the model
- Send the prompt and context to AutoGLM Phone 9B.
- Wait for the response that includes a structured action and coordinates.
- Parse the response
- Extract the action, target element description, and coordinates.
- Validate against safety policies, especially for sensitive actions.

- Execute the action
- Use ADB or your app’s input method to tap or perform the described action at the given coordinates.
- Optionally confirm with the user if the action is sensitive.
- Iterate or chain
- If the task is multi-step, feed the next screen’s context back into the model.
- Continue until the workflow completes.
Hands-on Inference With AutoGLM Phone 9B
I will walk through three tests that demonstrate how the model interprets screens, identifies the right element, and outputs coordinates and actions. I ran these on my Ubuntu machine with the GPU described above.
Test 1 - Selecting An Option In A Food App
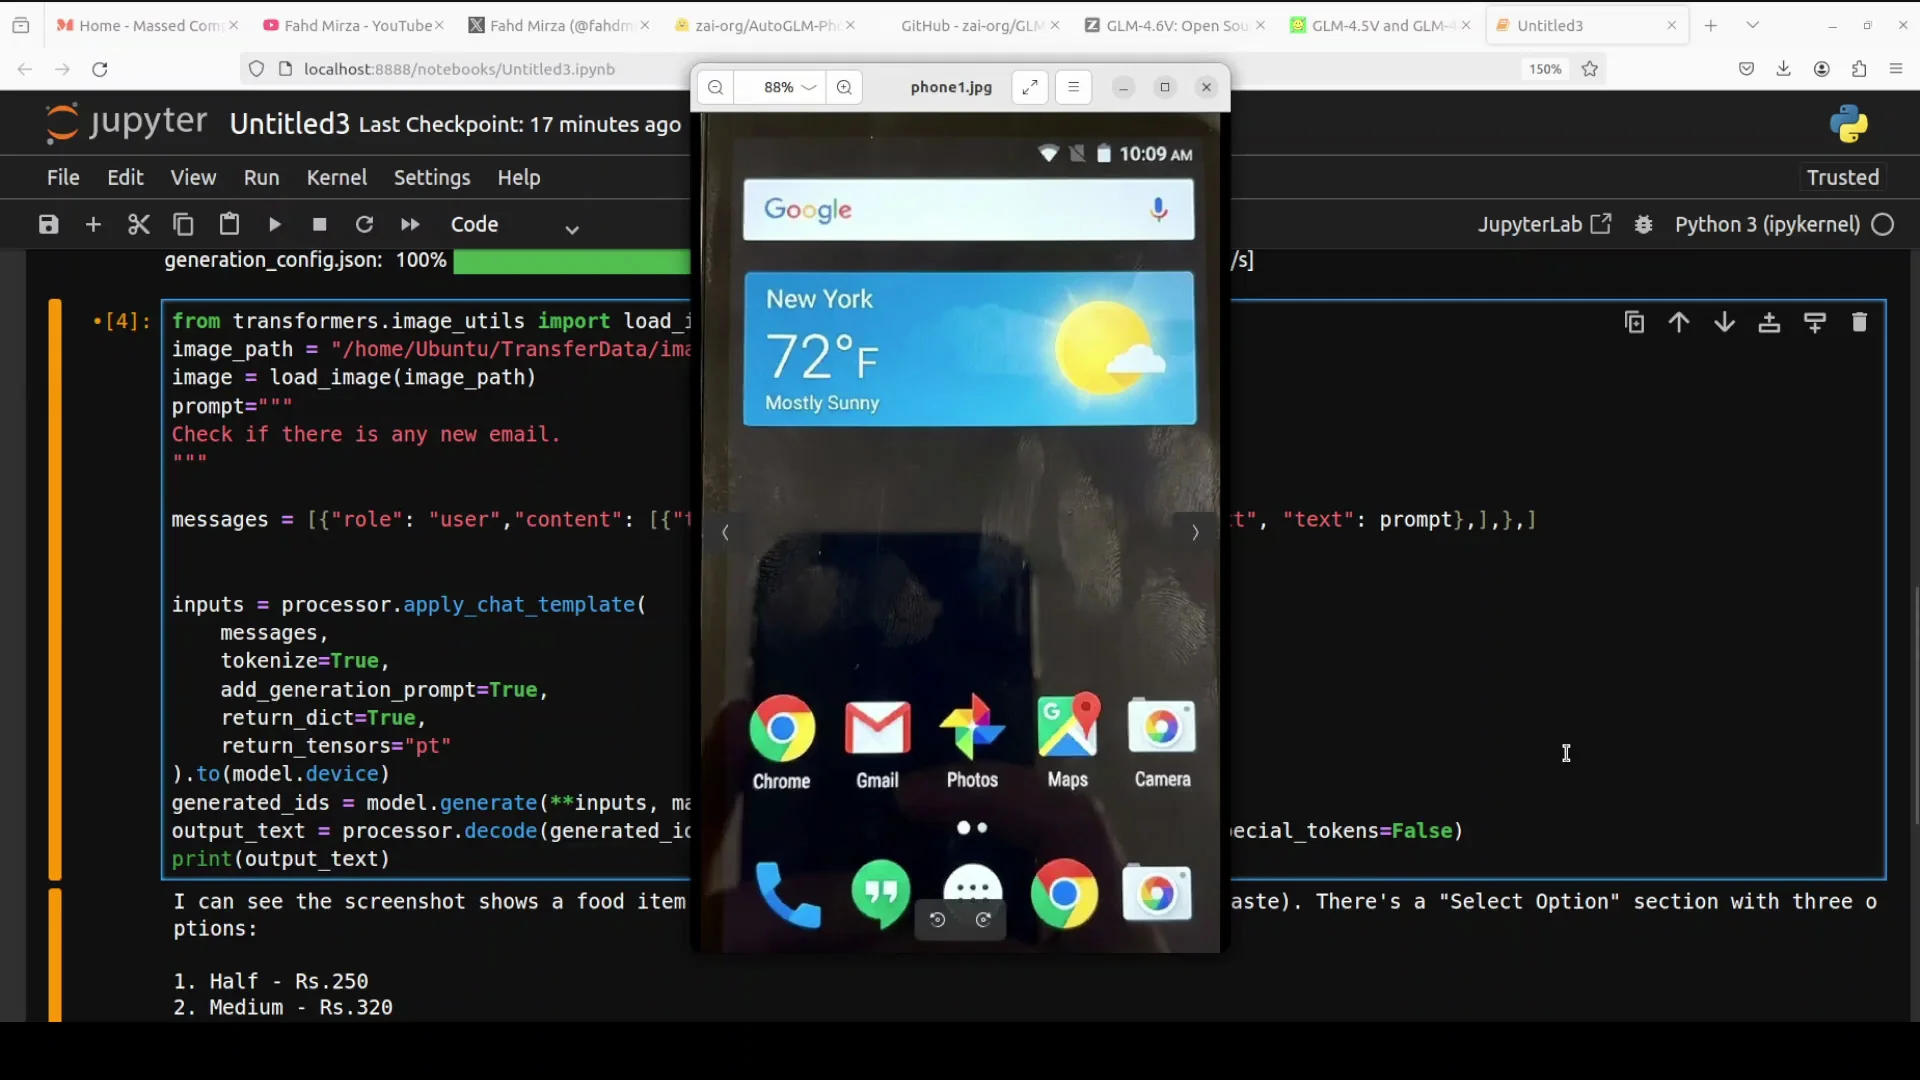
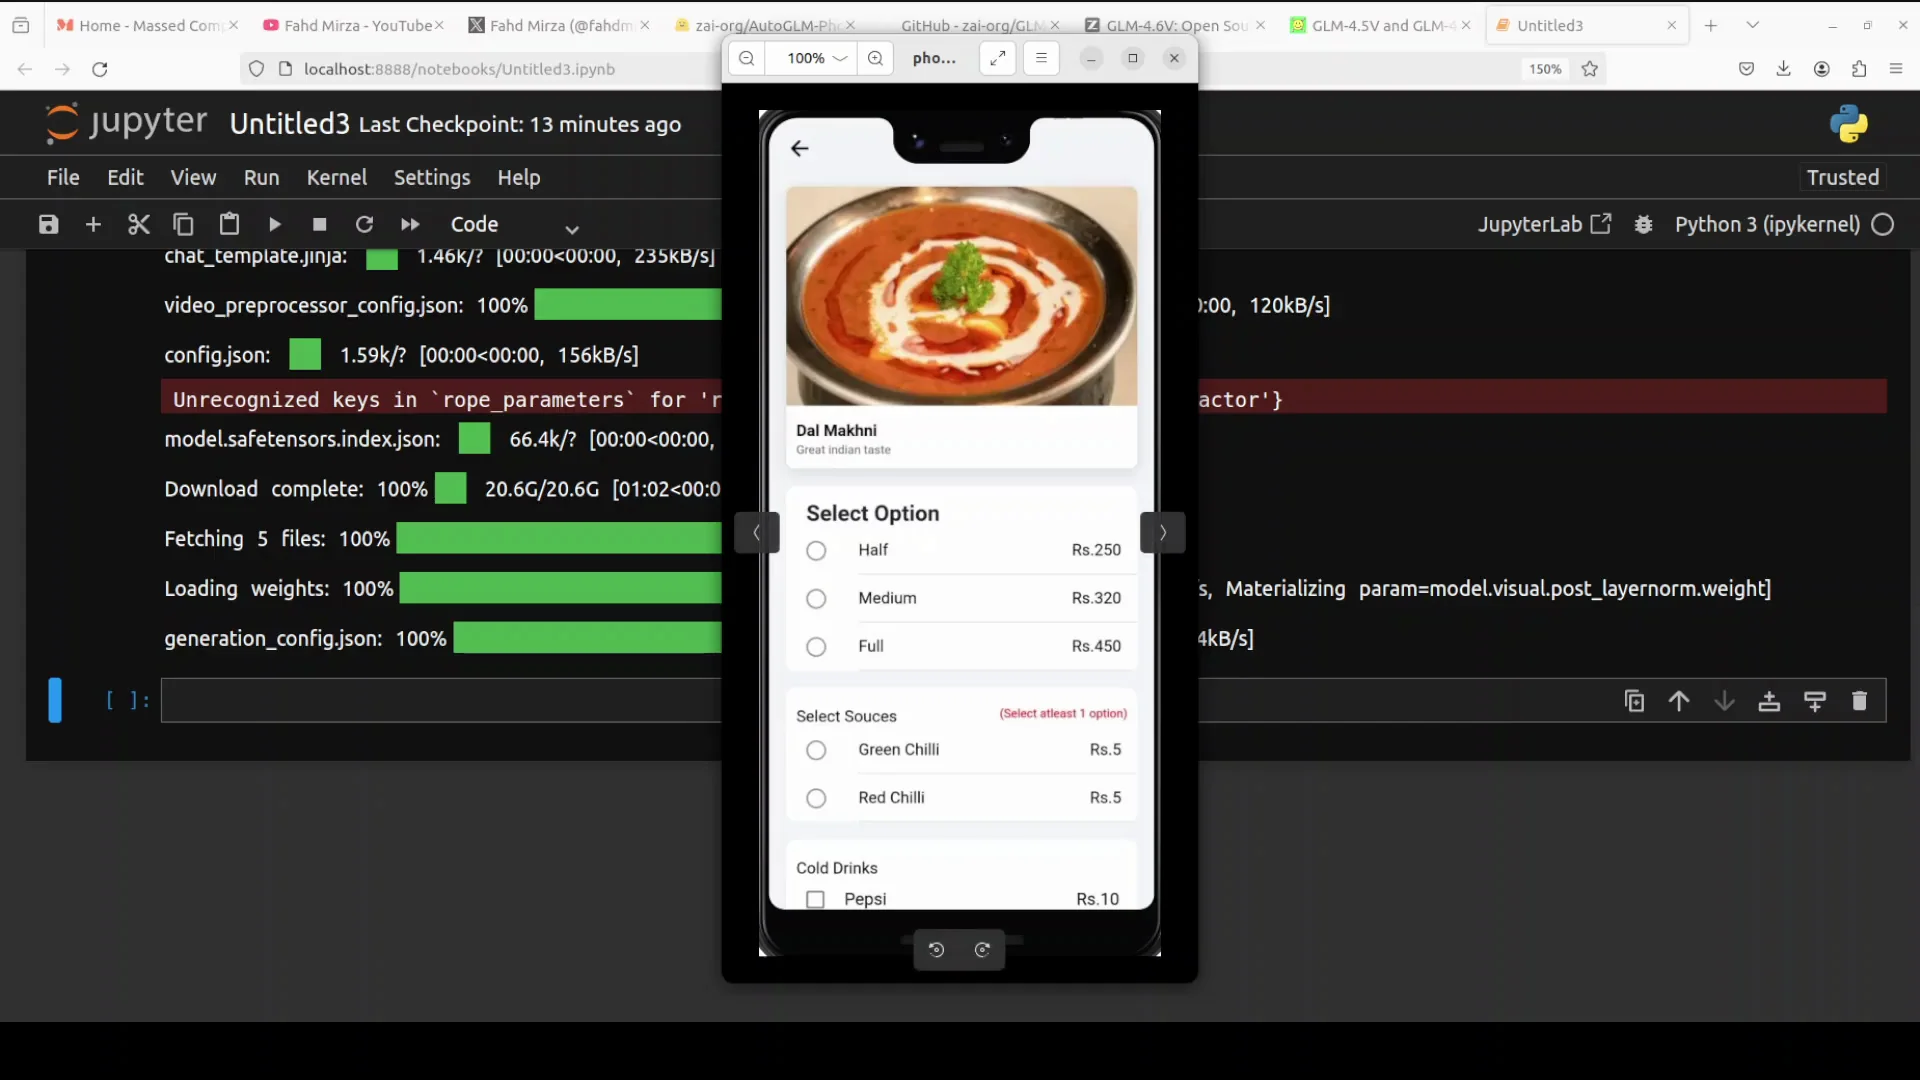
I used an image of an Android food app screen. For inference, I loaded the image from my local system. The prompt was to select the medium option.
This test checks if the model understands the layout, the options, and the user intent. It also confirms whether it produces the correct tap coordinates to select the medium option.
- VRAM usage during this run was just over 20 GB.
- The model response identified the screenshot as a food item detail page.
- It parsed the on-screen text and elements, including the subtitle text and the section with three options: half, medium, and full.
- It recognized that the user wanted to select the medium option and instructed a tap on that element.
- It returned coordinates indicating where the medium option appears.
The response described the steps to select the option and included estimated coordinates for the element. From here, you can build the application by taking these coordinates and triggering the tap on the screen.
I also checked their GitHub repository. They have some code samples. You can take inspiration from their samples for how to structure the request, parse the response, and call the action within your app. This is primarily what you need to do if you are building your own app for a use case that controls your phone screen programmatically.
What The Model Returned For Test 1
- Screen understanding: food item detail page with the correct section and options parsed.
- Intent interpretation: select the medium option.
- Action plan: tap on the medium option.
- Coordinates: approximate x and y values for the medium button region.
Test 2 - Checking For New Email From The Home Screen
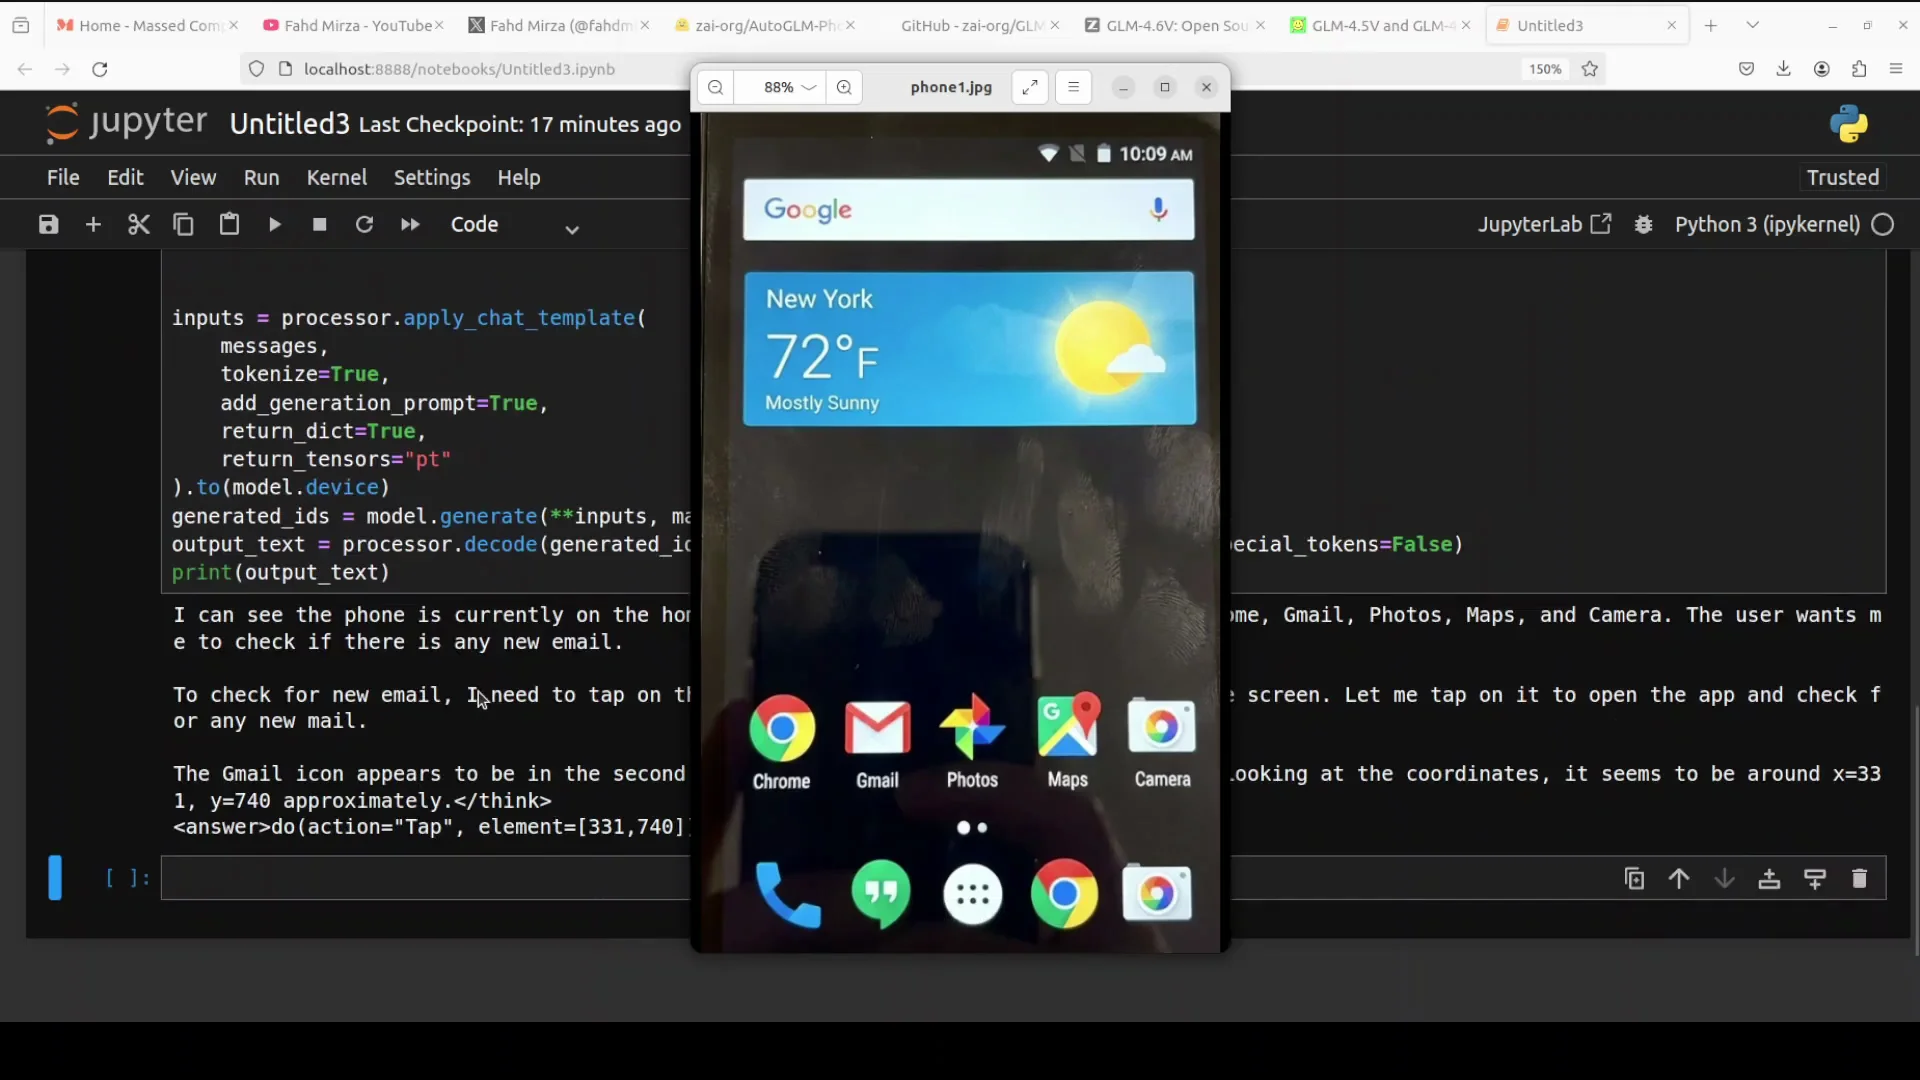
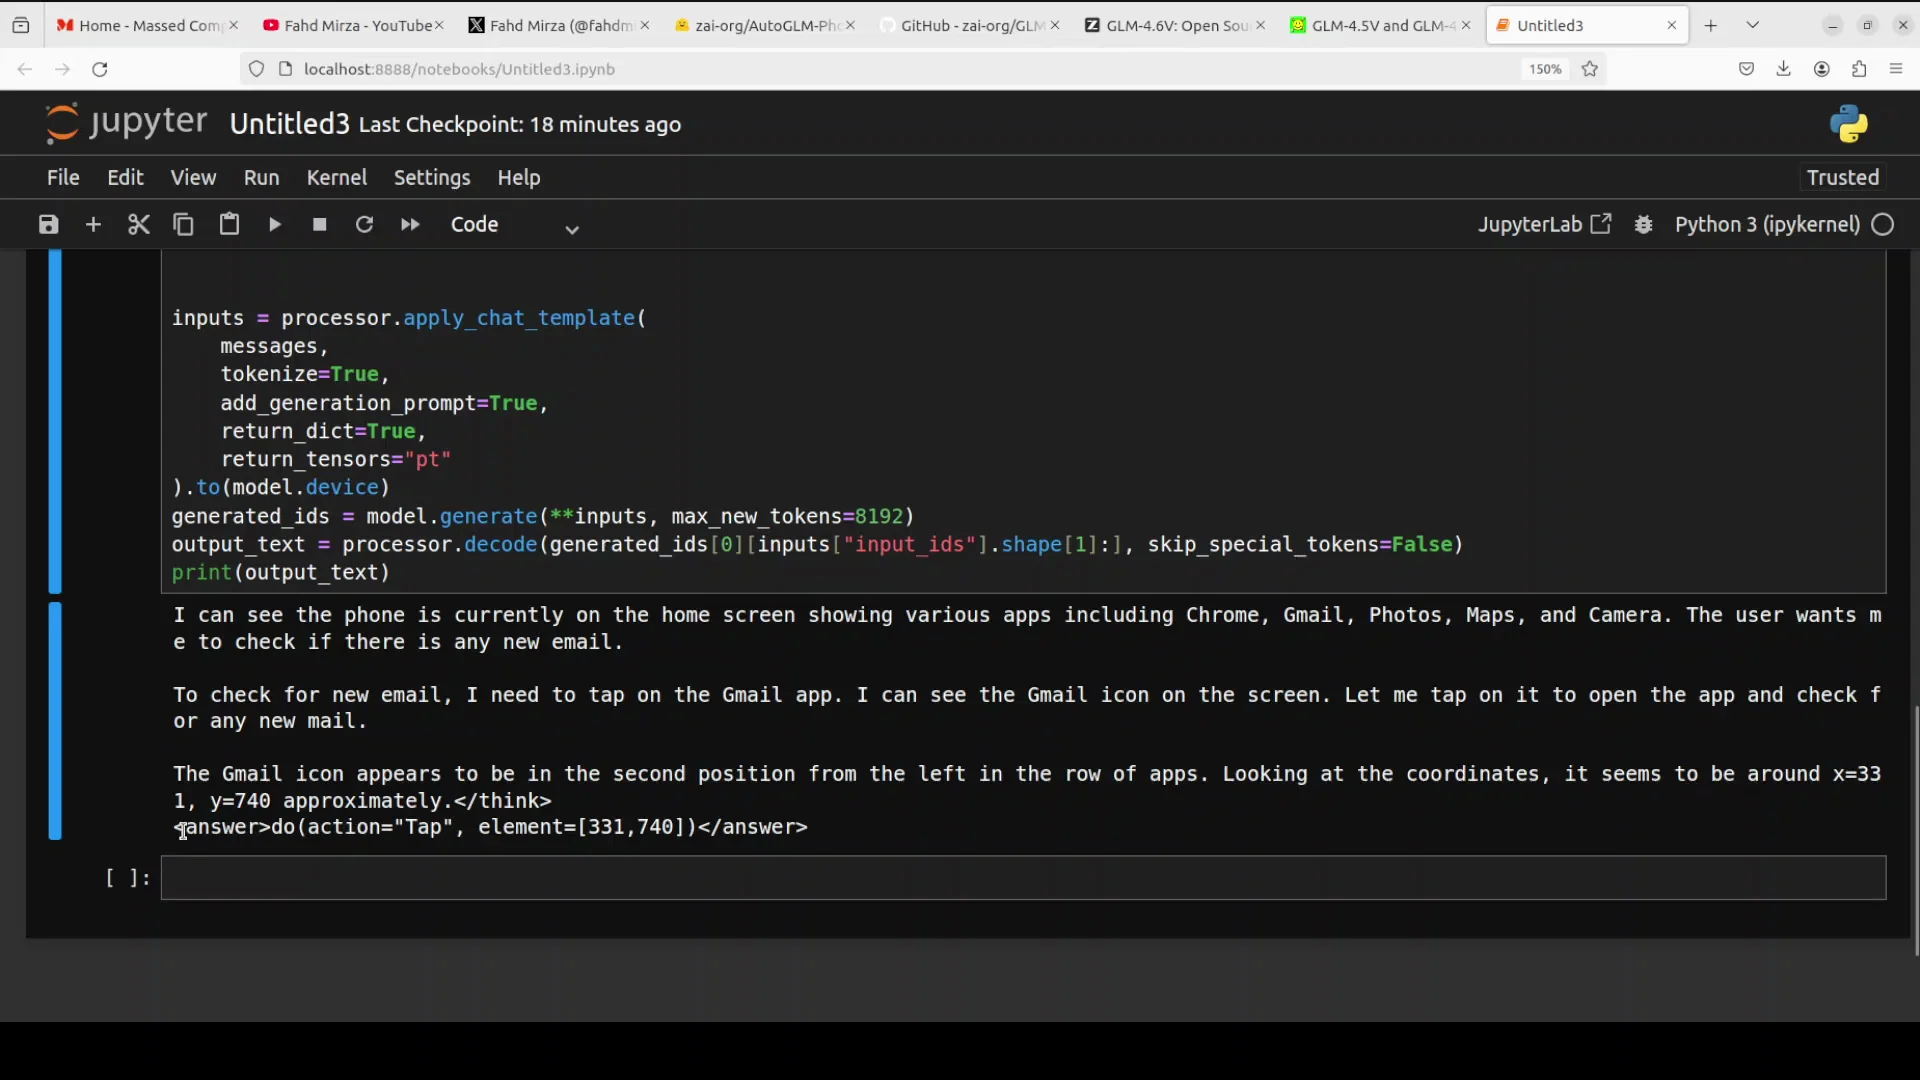
In the second test, I provided a screenshot of the phone’s home screen and asked it to check if there is any new email. I wanted to see if it can locate the Gmail app icon, relate it to the email task, and propose an appropriate action.
- The model recognized the home screen and listed the visible apps.
- It identified that the user wants to check for new email.
- It reasoned that it should tap on the Gmail app.
- It noted the position of the Gmail icon, describing it as in the second position from the left in the row of apps.
- It produced coordinates and the exact action, which was tap element.
This is exactly what a developer needs to embed into a mobile app control loop. You can wire this output directly to ADB tap calls or a similar input method to complete the action.
What The Model Returned For Test 2
- Screen understanding: home screen with multiple app icons.
- Intent interpretation: check for new email.
- Action plan: tap the Gmail app icon to open it.
- Coordinates: approximate x and y for the Gmail icon.
- Action format: do action tap element.
Test 3 - Selecting A Date On A Matching Screen
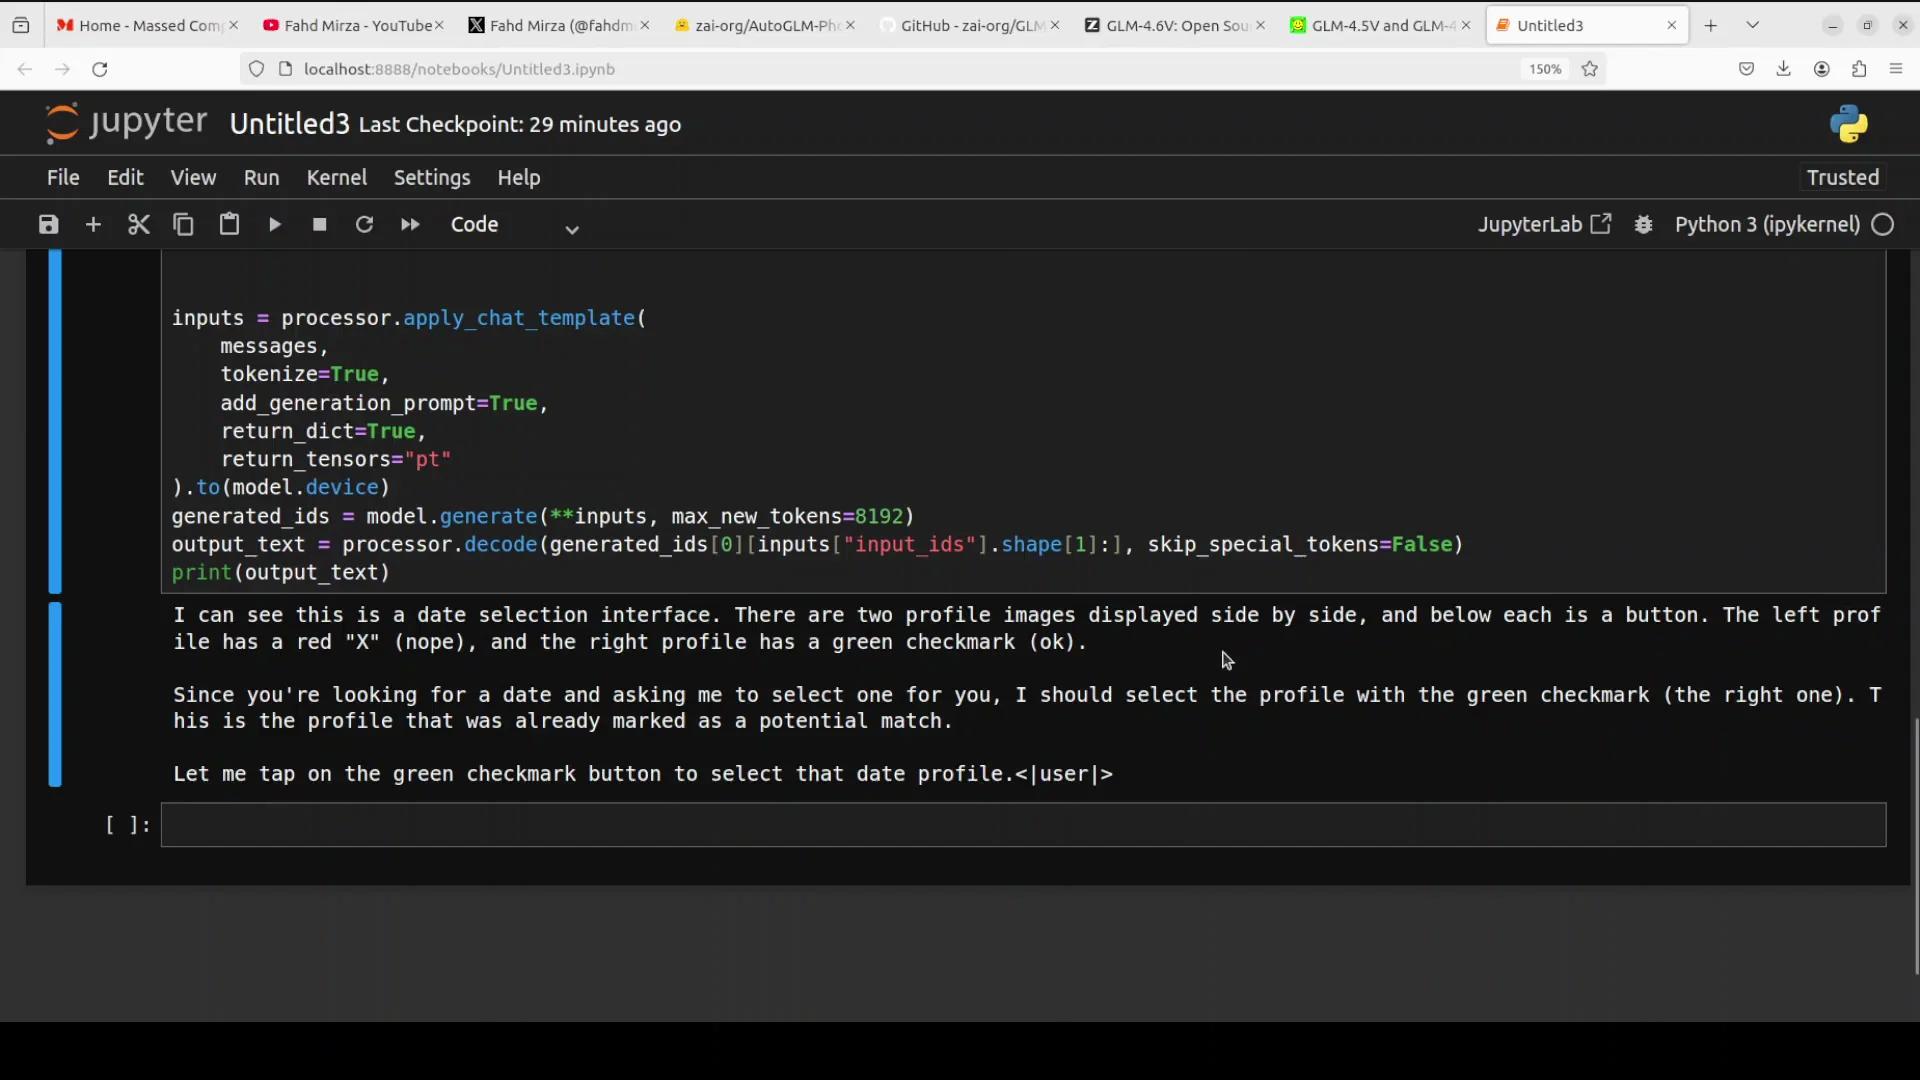
For the third test, I used an AI generated image representing a date selection interface. The instruction was simple: I am looking for a date, please select one for me.
- The model identified a date selection interface.
- It detected two profile images displayed side by side, each with a button below.
- It parsed the left and right profiles and their visual markers.
- It reasoned that since I am looking for a date and asking it to select one, it should select the profile with the green check mark, the right one.
The model did not include exact coordinates in this particular output, which I suspect is due to the max new tokens setting. Even so, its visual parsing and selection logic were correct. The overall vision quality is strong and consistent across these tests.
What The Model Returned For Test 3
- Screen understanding: a selection interface with two profiles side by side.
- Intent interpretation: select one suitable date.
- Action plan: choose the right profile with the green check mark.
- Coordinates: not returned in this run, likely due to output length constraints.
Building On Top Of AutoGLM Phone 9B
The model’s value comes from translating natural language into actionable steps and coordinates. It does not tap by itself. Your app uses the coordinates and actions to control the device through ADB or your own input methods.
Minimal Implementation Path
- Input capture: on each screen, capture a screenshot or accessible UI metadata.
- Prompt creation: combine the image with a clear instruction.
- Model call: send the prompt to AutoGLM Phone 9B.
- Output parsing: extract the target element, action, and coordinates.
- Action execution: call ADB to tap or perform the needed gesture.
- Safeguards: confirm sensitive actions with the user before executing.
Safety And Control
The framework includes confirmation prompts for sensitive actions and supports human in the loop oversight. Use these features when designing any action that could affect privacy, payments, or system settings.
Practical Tips From The Tests
- Monitor VRAM: the inference runs consumed a bit over 20 GB of VRAM, so plan your deployment accordingly.
- Resource planning: the model size is just over 20 GB, which affects both download time and storage.
- Output length: if coordinates are missing, check max new tokens or response length settings and increase as needed.
End-to-End Flow With AutoGLM Phone 9B
Below is a concise sequence that mirrors how I ran the tests and how you can turn it into a repeatable process in your app.
Step 1 - Prepare The Environment
- Use a Linux machine with a compatible Nvidia GPU.
- Ensure sufficient VRAM to cover a bit above 20 GB for inference.
- Install prerequisites required by the project.
Step 2 - Download The Model
- Load AutoGLM Phone 9B in your notebook or application runtime.
- The download size is just over 20 GB.
Step 3 - Provide Context And Prompt
- Supply a screenshot or UI image of the current Android screen.
- Provide a clear instruction, such as select the medium option or check if there is any new email.
Step 4 - Run Inference And Inspect The Output
- Confirm that the model recognizes the on-screen elements and the user intent.
- Look for the action plan and coordinates.
Step 5 - Execute On Device
- Use ADB to tap the returned coordinates or perform the returned action.
- If needed, confirm actions with the user, especially for sensitive operations.
Step 6 - Iterate For Multi-step Workflows
- Capture the next screen after the action.
- Repeat the process until the task is complete.
Observations On Vision And Reasoning
Across the three tests, the model consistently recognized layout structure, related user intent to the correct UI element, and produced appropriate actions. It identified labeling, options, and icon positions. In one case, it converted part of the text to Chinese in its reasoning notes, but it still parsed the UI correctly and followed the user instruction. Its ability to output coordinates and a tap action makes it directly useful in an embedded control loop.
I have covered a lot of phone agents, and this is one of the best I have seen so far for the specific goal of turning natural language instructions into executable UI actions with coordinates. The combination of multimodal understanding, chain of thought reasoning, and reinforcement-tuned behavior does solid work on dynamic UI elements.
Frequently Noted Details From The Session
- The model size is just over 20 GB.
- VRAM consumption during inference in my tests stayed a bit above 20 GB.
- It supports ADB control and remote operation over Wi-Fi or a network.
- It handles tasks like opening apps, searching content, and multi-step workflows.
- It includes confirmation prompts for sensitive actions and human in the loop features.
- It is built on the same family as GLM 4.1v 9B Thinking and uses chain of thought and reinforcement learning.
- It has outperformed larger models in GUI tasks on reported benchmarks.
Practical Outputs You Can Expect
Based on the three tests:
- Screen description: A concise readout of what the screen contains, including titles, options, and visible icons.
- Intent mapping: A clear statement of how the instruction maps to an action on the screen.
- Action: A precise instruction such as tap element with a reference to the element name or description.
- Coordinates: Approximate x and y coordinates for the element to act on, ready for ADB or your input pipeline.
Notes On Developing With AutoGLM Phone 9B
When building on top of this framework:
- Keep a human in the loop for sensitive tasks.
- Validate that coordinates match the current device’s resolution and scaling.
- Use structured parsing of the model’s output to avoid ambiguity.
- Store intermediate screenshots and actions for audit and debugging.
- For missing coordinates, raise the token limit or request a more verbose output.
The GitHub repository provides code samples. Review those examples to see the expected request and response formats and to shape your integration.
Summary Of The Hands-on
- The goal is to embed AutoGLM Phone 9B into an application and have it translate natural language into device-level actions.
- It does not click by itself. It returns the instructions and coordinates that your app can execute via ADB or other methods.
- It supports remote operation and multi-step flows, and it includes safety features like confirmation prompts.
- On my setup, it used a bit over 20 GB of VRAM and the model is just over 20 GB.
- In tests with a food app selection, a home screen email check, and a date selection interface, it understood the UI, mapped the intent, and produced actions. In one case, coordinates were omitted likely due to output length, which can be adjusted.
Final Thoughts On AutoGLM Phone 9B
AutoGLM Phone 9B is an open-source mobile intelligent assistant framework focused on Android task automation through natural language. Embedded in your own application, it interprets dynamic UI elements, turns requests into clear actions, and returns coordinates suitable for execution through ADB. With vision that reads screens accurately and reasoning that aligns with user intent, it provides a practical path to build AI powered mobile applications that act on real UI elements under your control.
Subscribe to our newsletter
Get the latest updates and articles directly in your inbox.

Related Posts

8 Best Claude Code Plugins in 2026 (You Need to Know)
8 Best Claude Code Plugins in 2026 (You Need to Know)

7 Best Claude Code Skills (You Need to Know)
7 Best Claude Code Skills (You Need to Know)

Claude Code Desktop IDE Features (You Need to Know)
Claude Code Desktop IDE Features (You Need to Know)