
Table Of Content
How to use Agent Manager in Antigravity?
Table Of Content
I am going back over how to create multiple agents in Google Antigravity. I covered this earlier in a different series, but a few folks still had trouble with the steps. This clears it up with a slower walkthrough inside your workspace.
Last time I spun up agents in Playground to isolate them from regular code. That kept the agents from touching app code while I tested ideas. Today I will do it inside your workspace so everything lives in namespaces.
If your use case needs a browsing worker, you can also see how to wire a browser powered workflow in this quick guide: browser use AI agent setup.
Open Agent Manager in Antigravity?
When you open Google Antigravity, you might land in the traditional IDE view. If you are not in Agent Manager, click the button labeled Open Agent Manager. That brings you into the agent focused view.
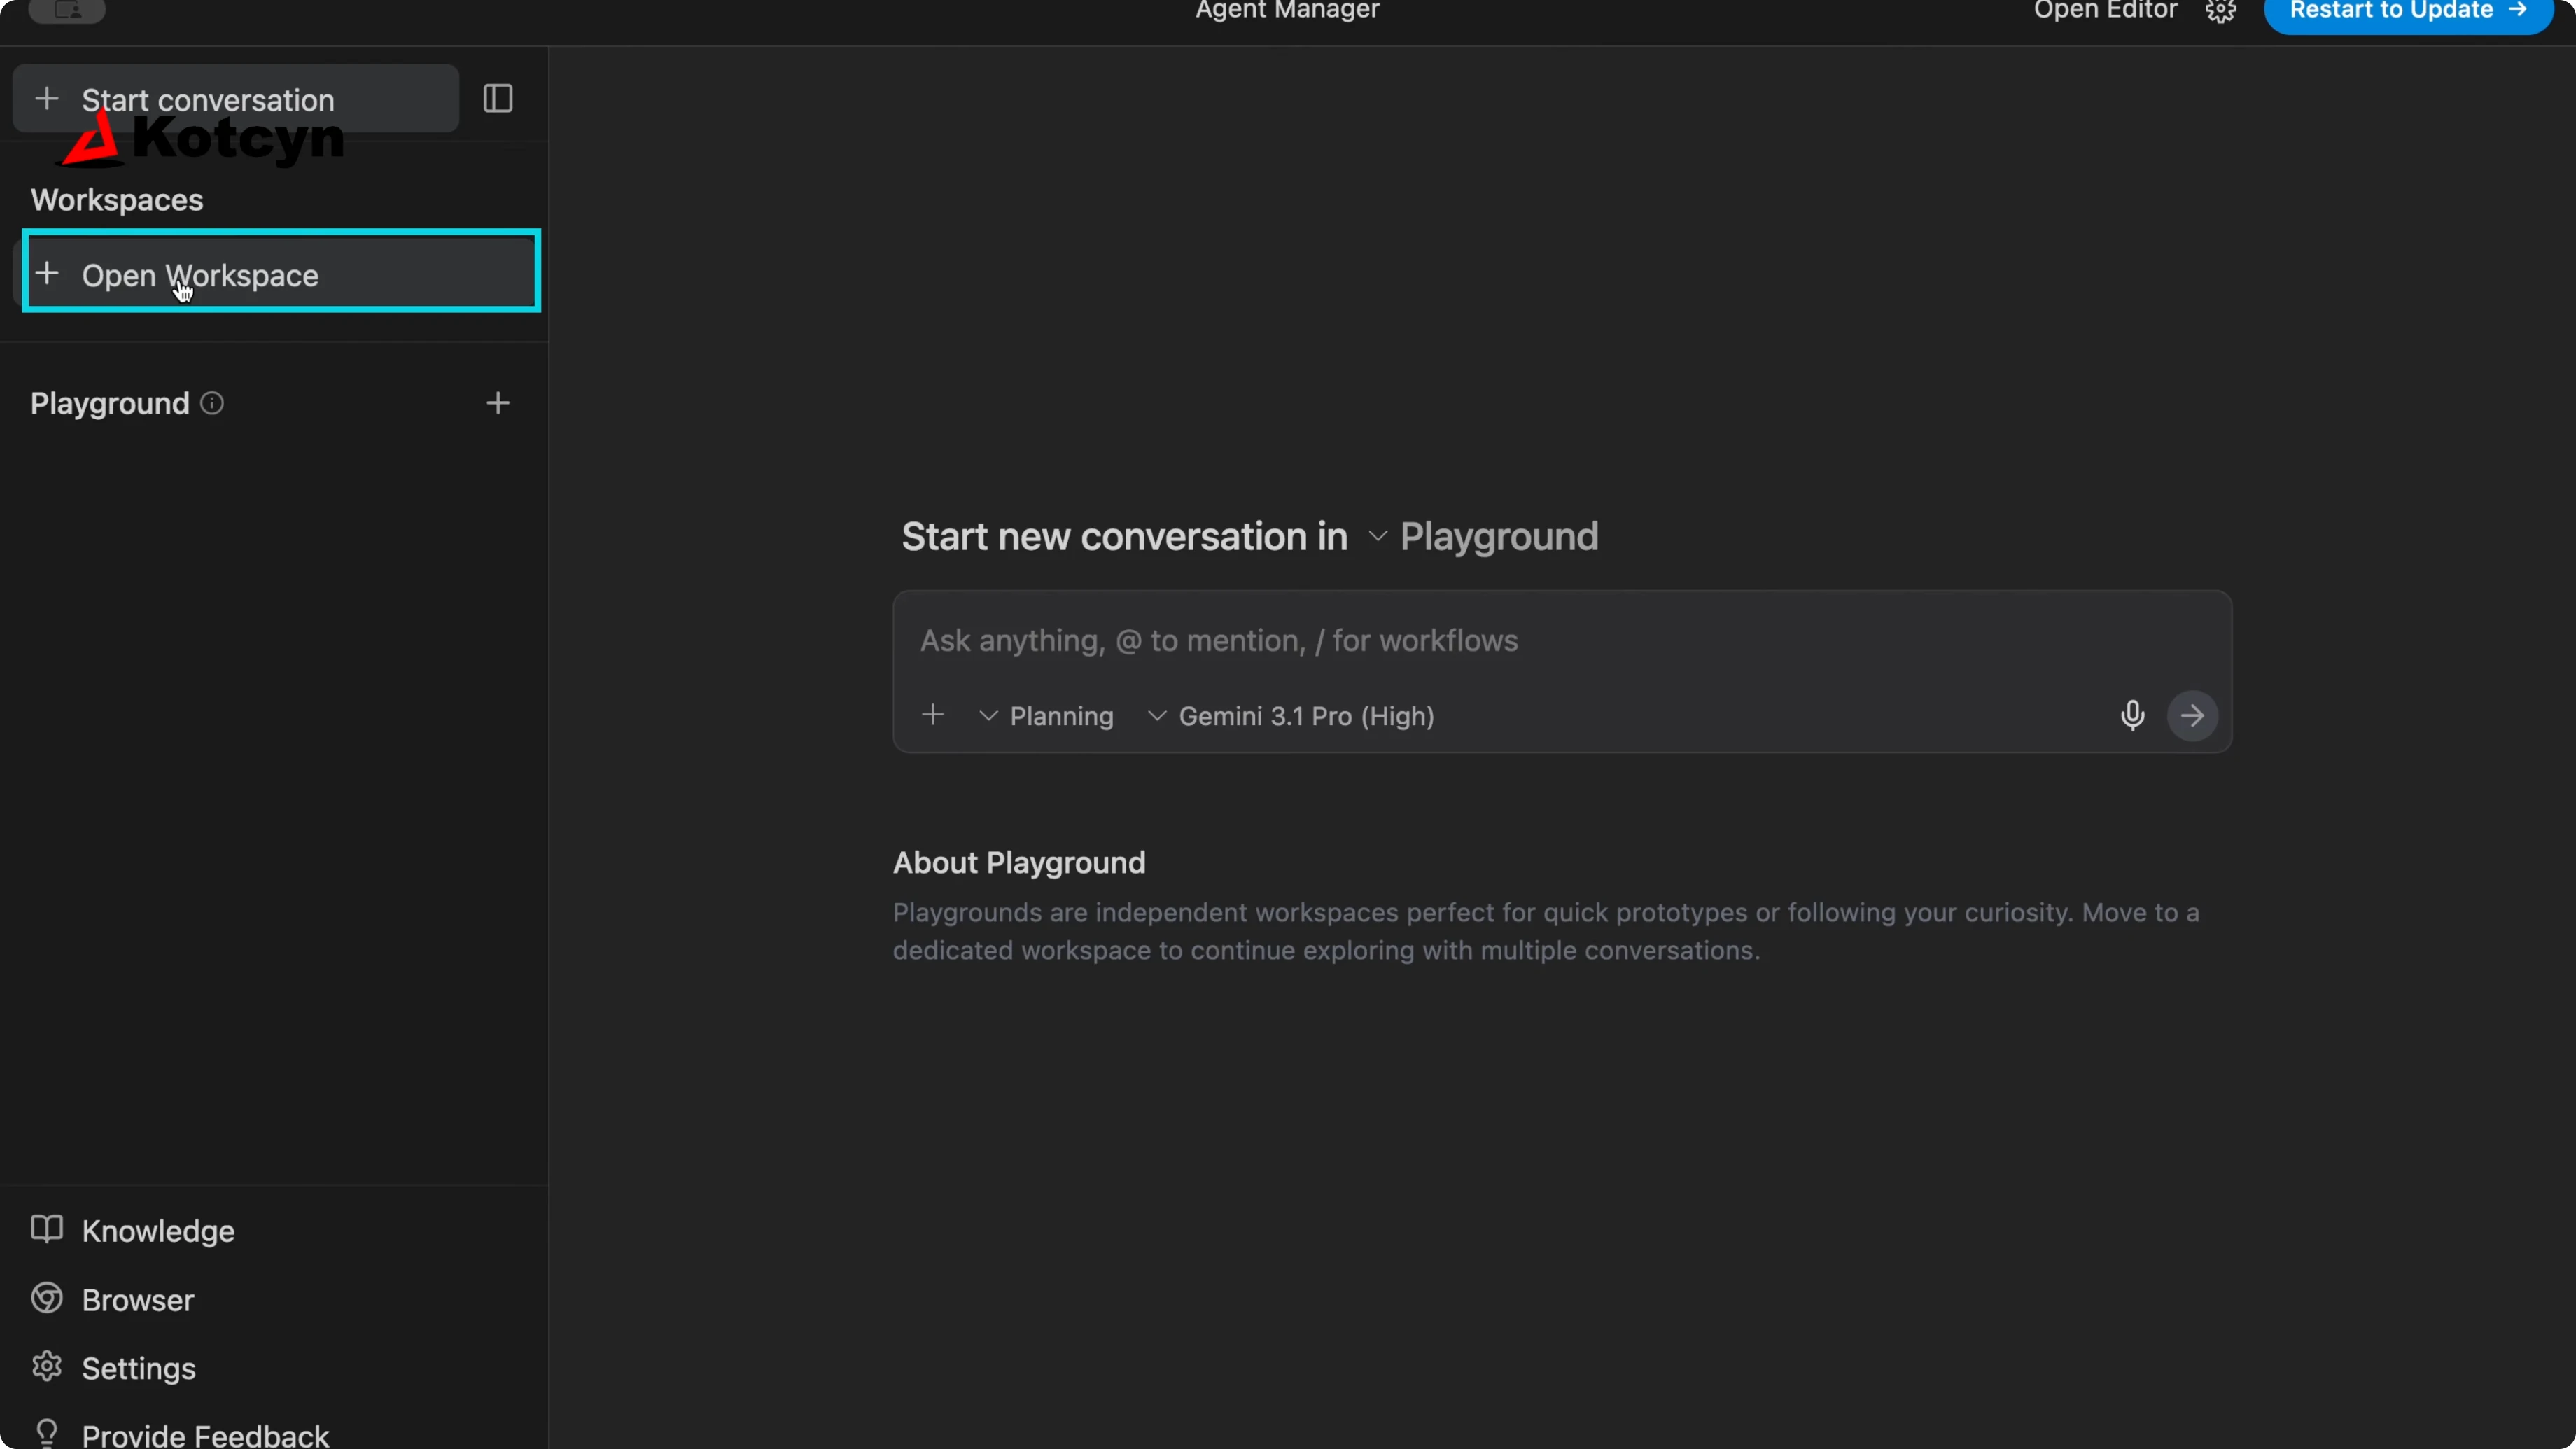
Open a workspace to use Agent Manager in Antigravity?
Click Open Workspace.
Click Open New Workspace.
Create a new folder or choose an existing folder, then click Open.
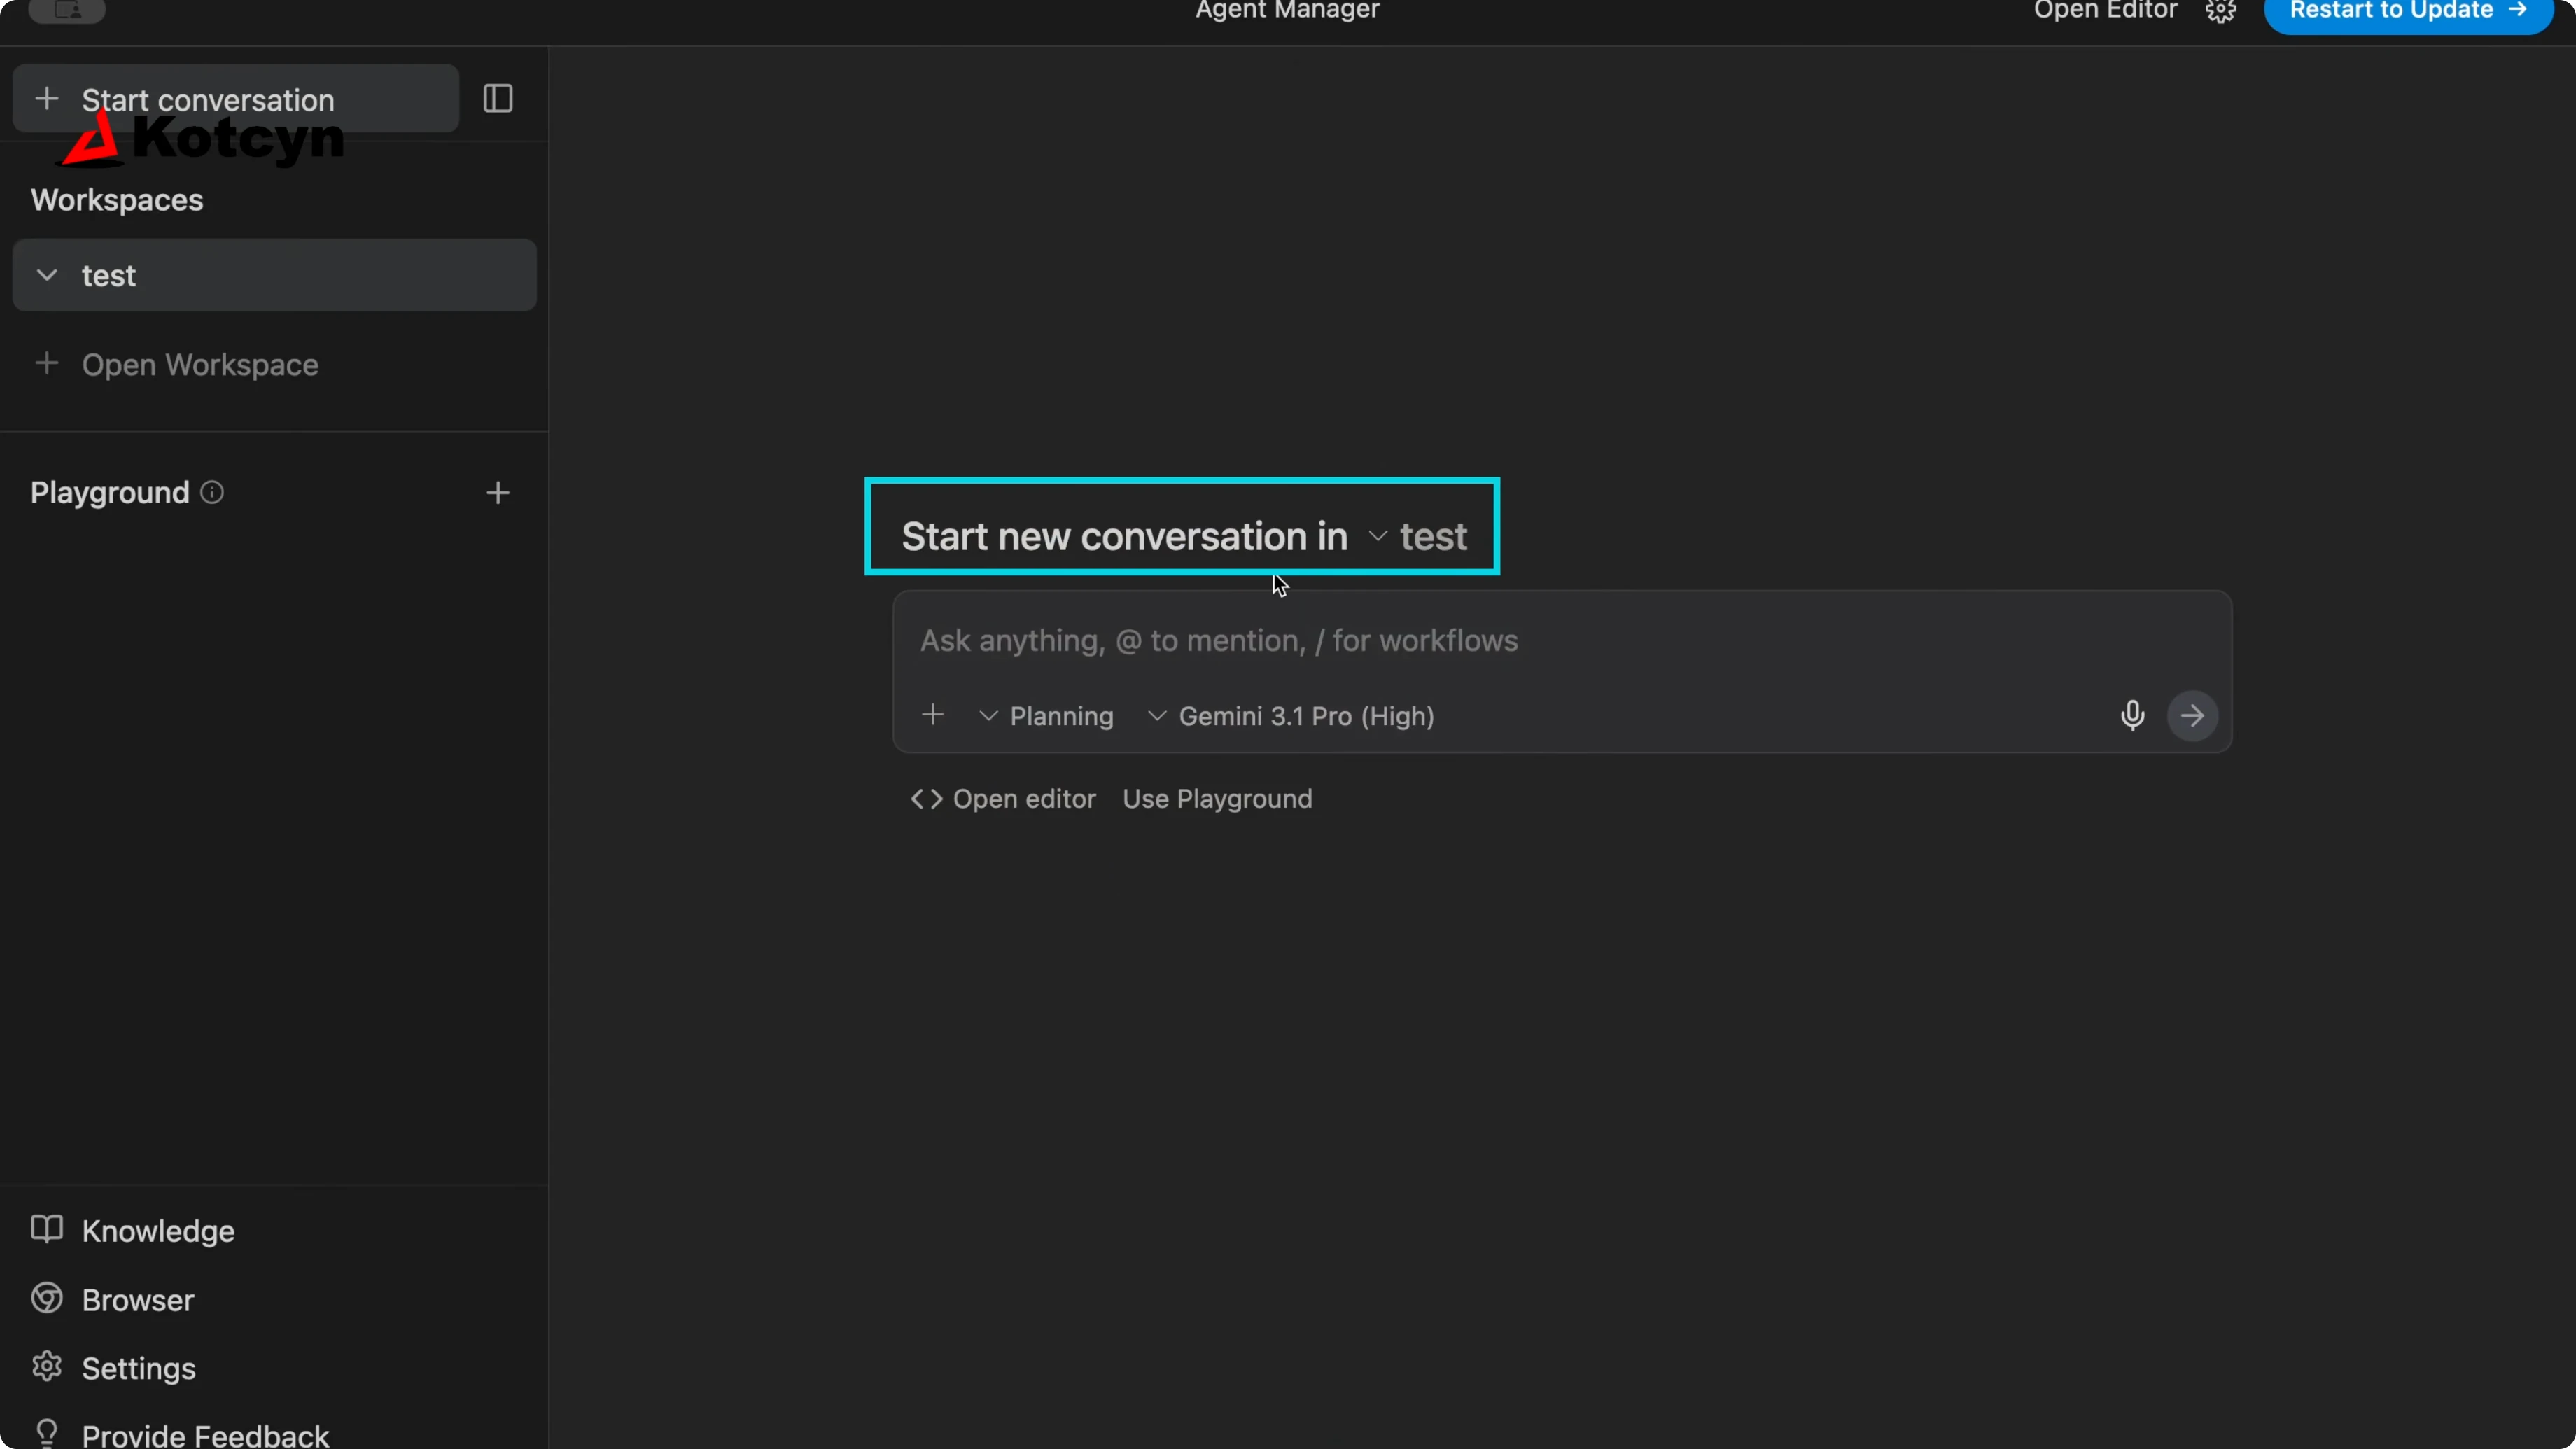
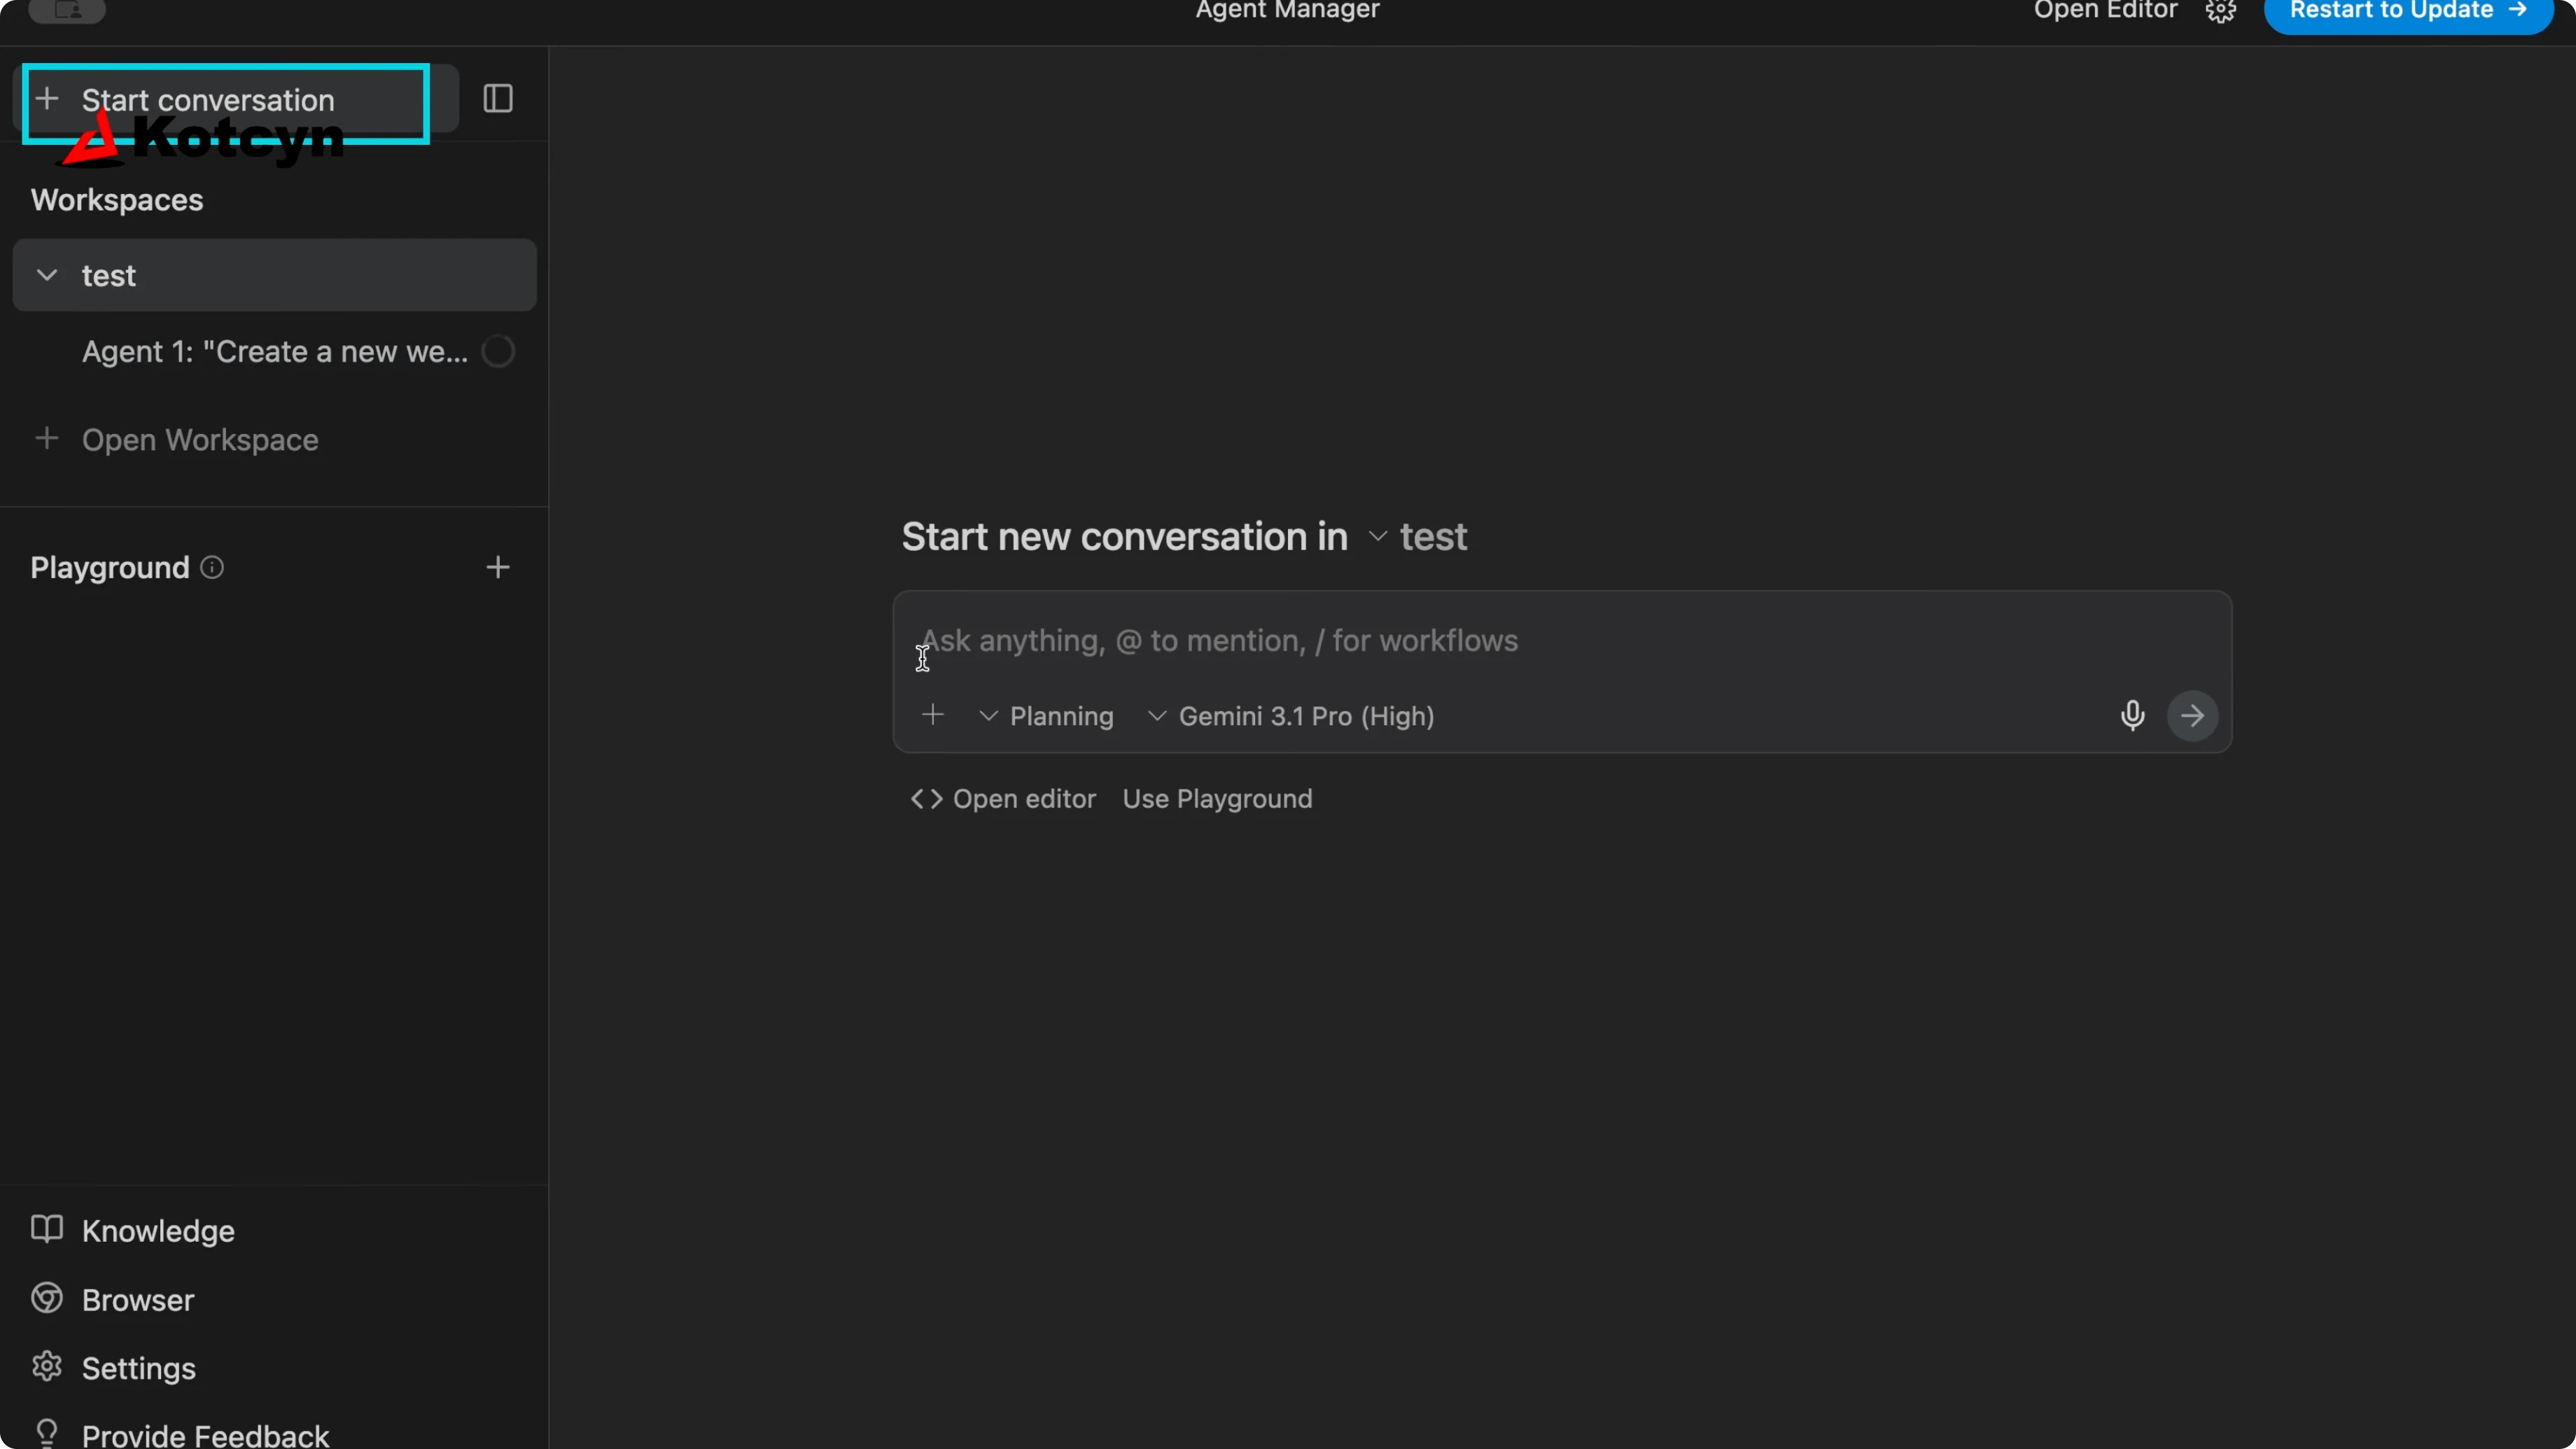
You should see the panel on the right say Start new conversation in task. That means your workspace is open and ready. The first conversation slot is ready to start your agent.
Start conversations to use Agent Manager in Antigravity?
I am going to spin up four different agents so you can see them run in parallel. I will name them in a simple way so the threads are easy to track. You can name yours with real roles and tasks.
Create the first agent
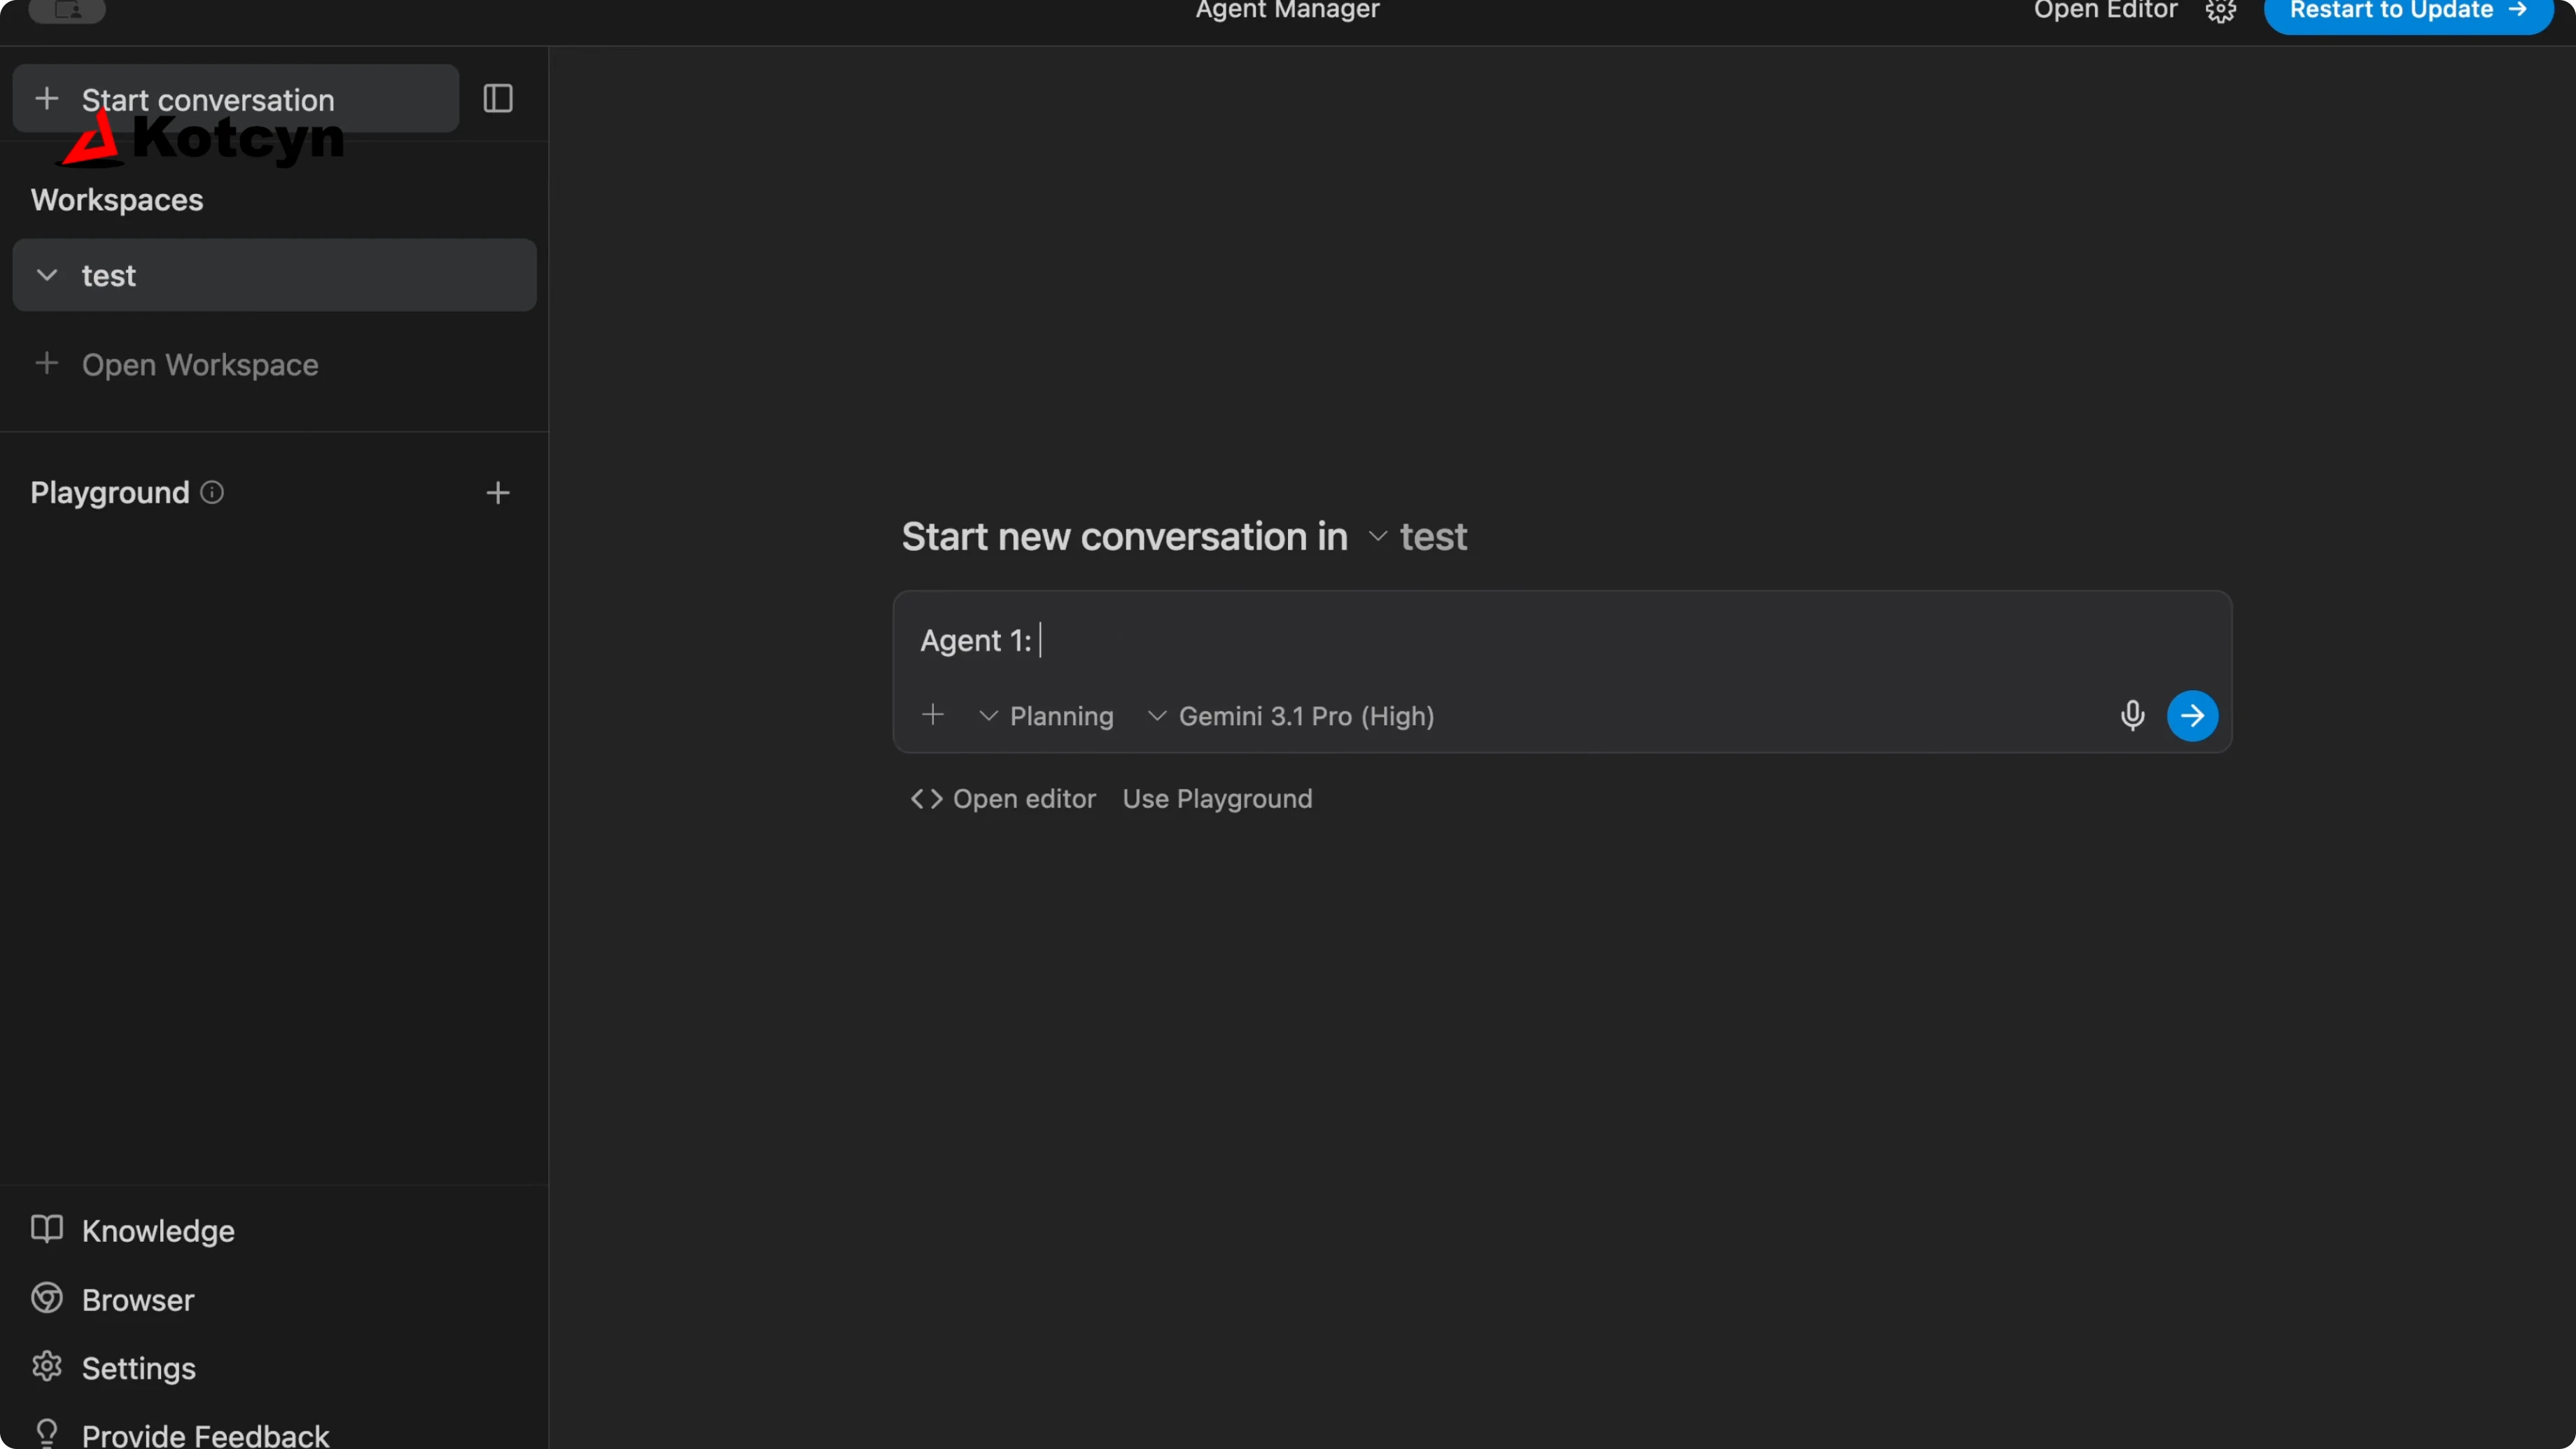
In the right panel, type your first agent prompt and name it something simple like Agent 1. Click Send to start the conversation. You will see it begin generating and setting up.
Example prompts you can paste:
Name: Agent 1
Task: Create a new web project with Cloudflare and a minimal front end and back end.
If your first thread freezes during boot, check this quick fix for a hang during startup: stuck loading agent.
Add more agents
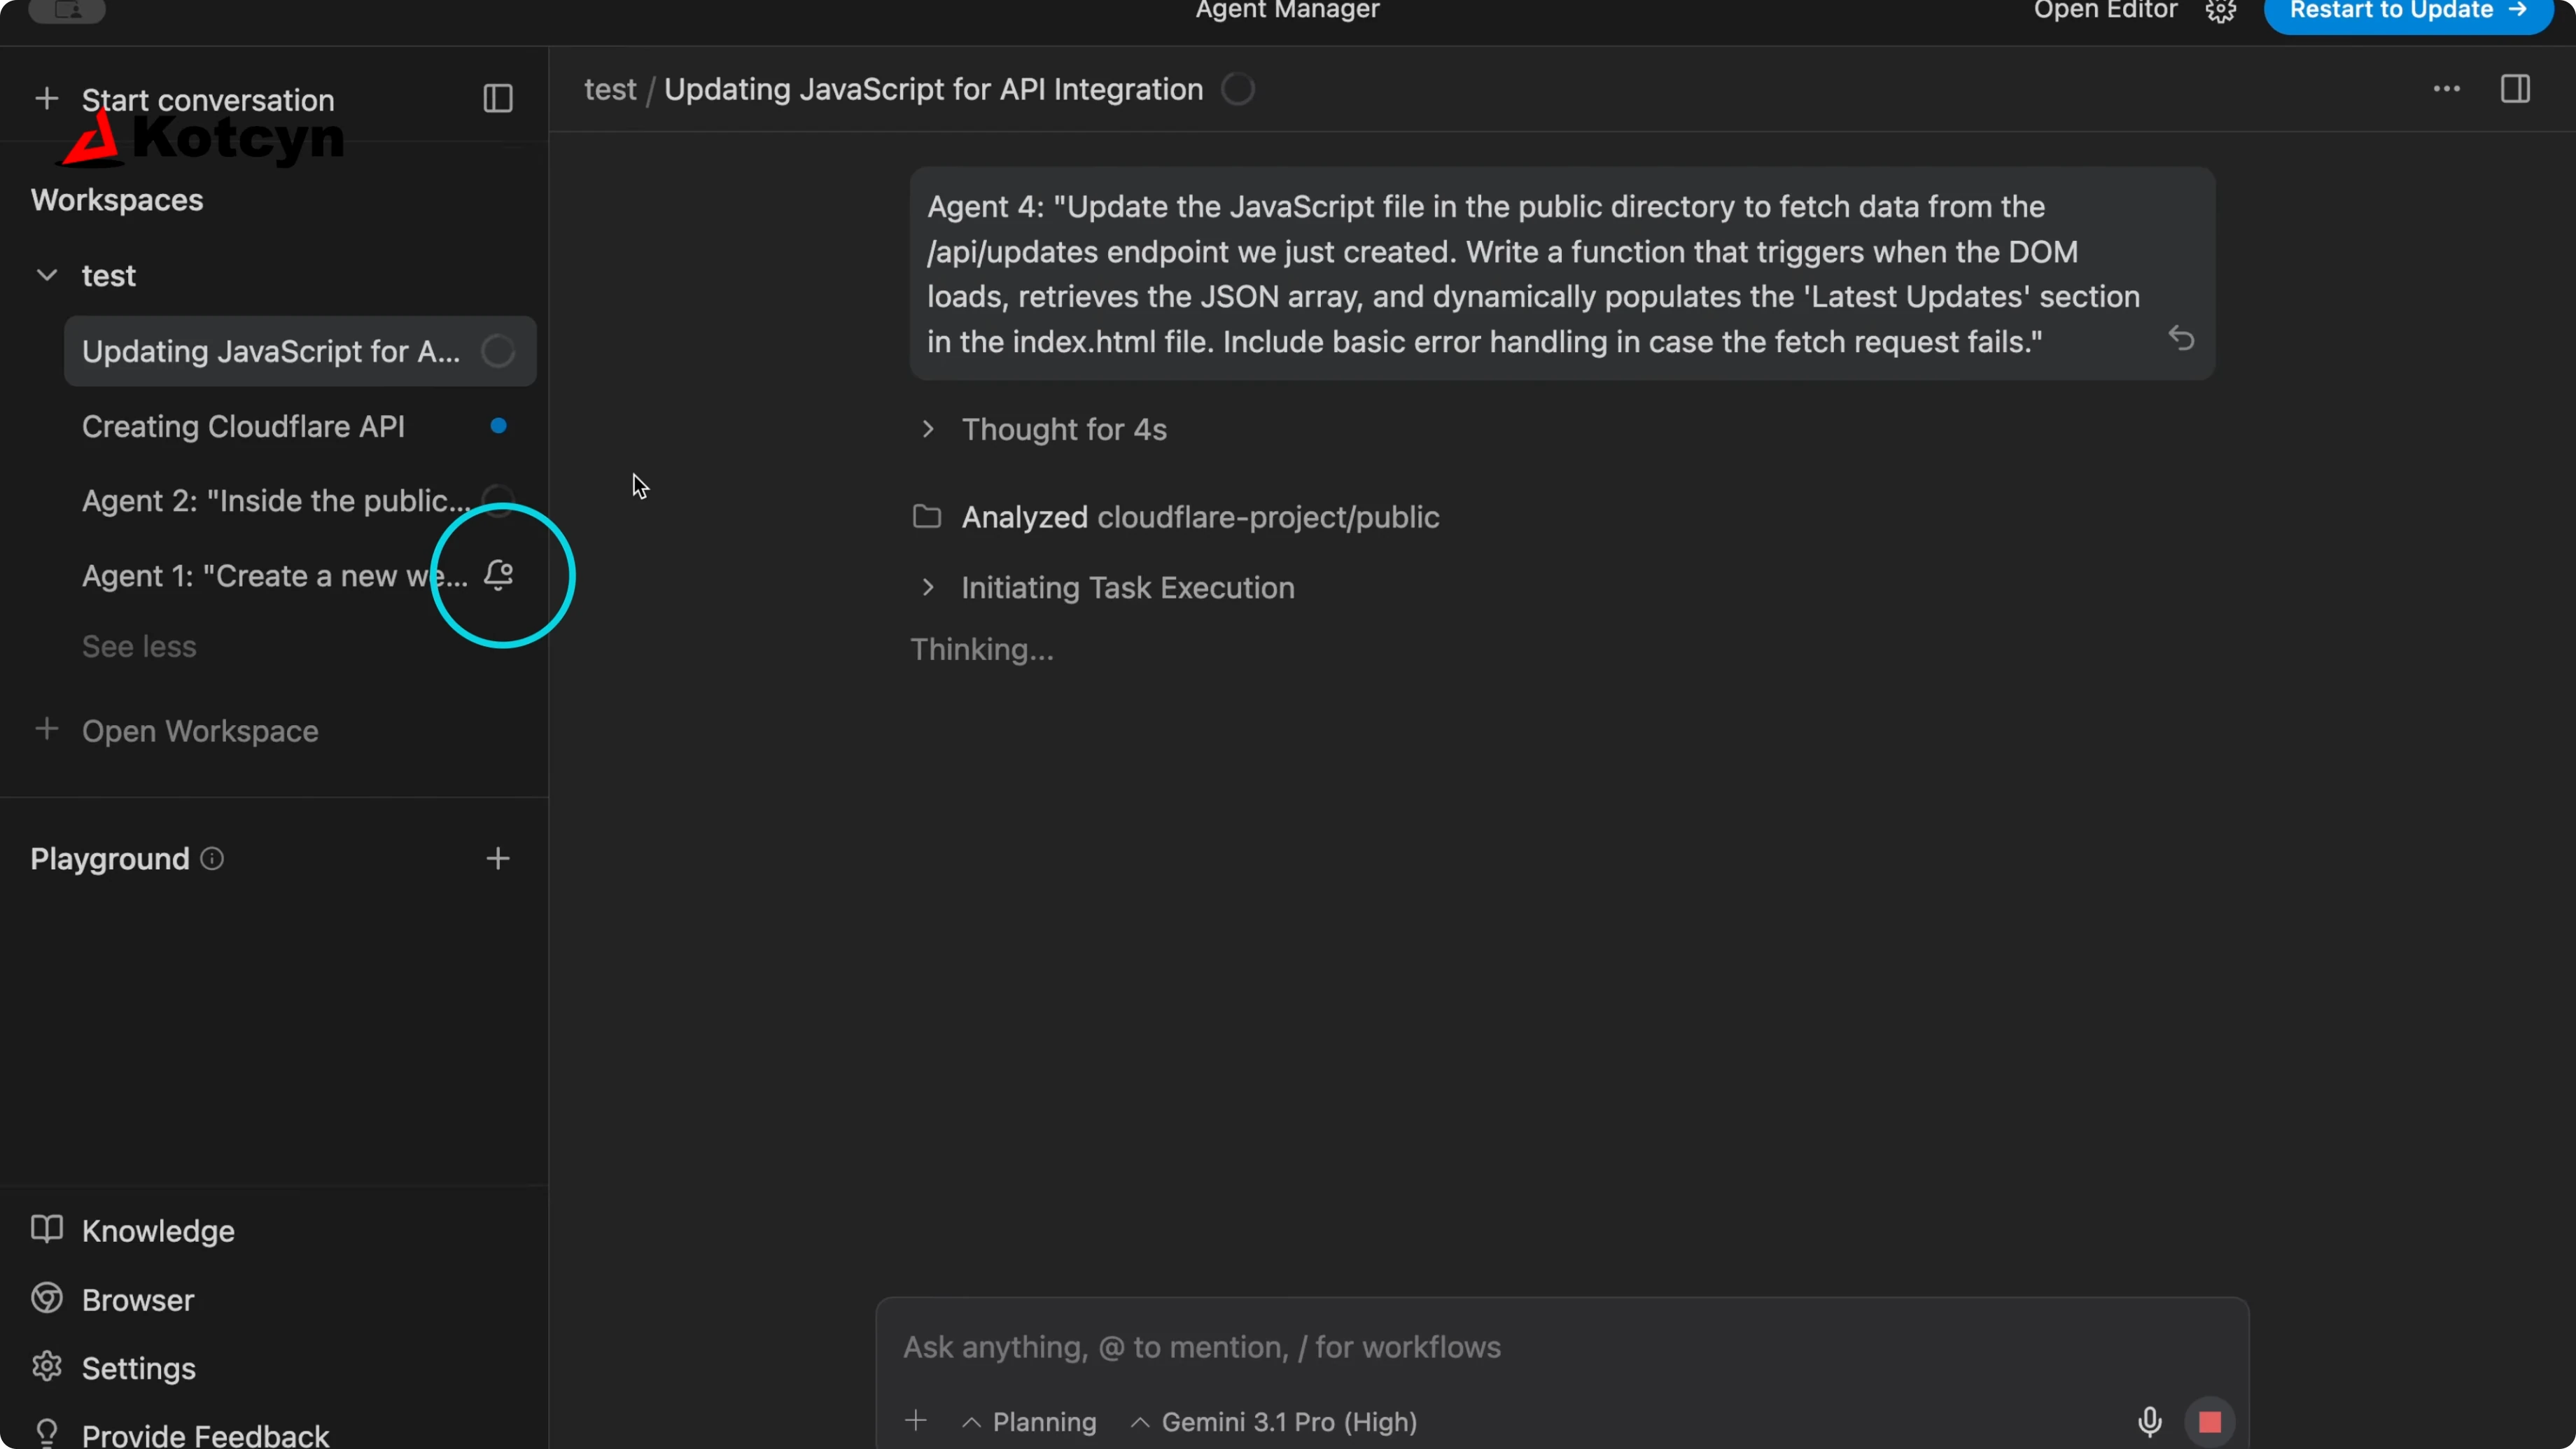
Click Start conversation again to open another conversation for a second agent. Add your second prompt, then click Start or Send to kick it off. Repeat this to create a third and a fourth agent.
Here are sample prompts you can use:
Name: Agent 2
Task: Build the back end service with routes for users and projects.
Name: Agent 3
Task: Build the front end pages and connect them to the back end routes.Name: Agent 4
Task: Write integration tests for the back end and smoke tests for the front end.You can create as many agents as you want, and they run in parallel. These agents can take on the back end, the front end, and everything in between. If one of them halts with a termination message, see this guide on the common Agent Execution Terminated error: Agent Execution Terminated.
Manage notifications as you use Agent Manager in Antigravity?
Look for the little bell icon and a small blue dot in the UI. The blue dot usually indicates that a step is complete. The bell icon means you need to review something.
Click the bell to view the item that needs your approval. You will see options to Reject or Run based on what the agent proposed. Click Run to proceed so the workflow can continue.
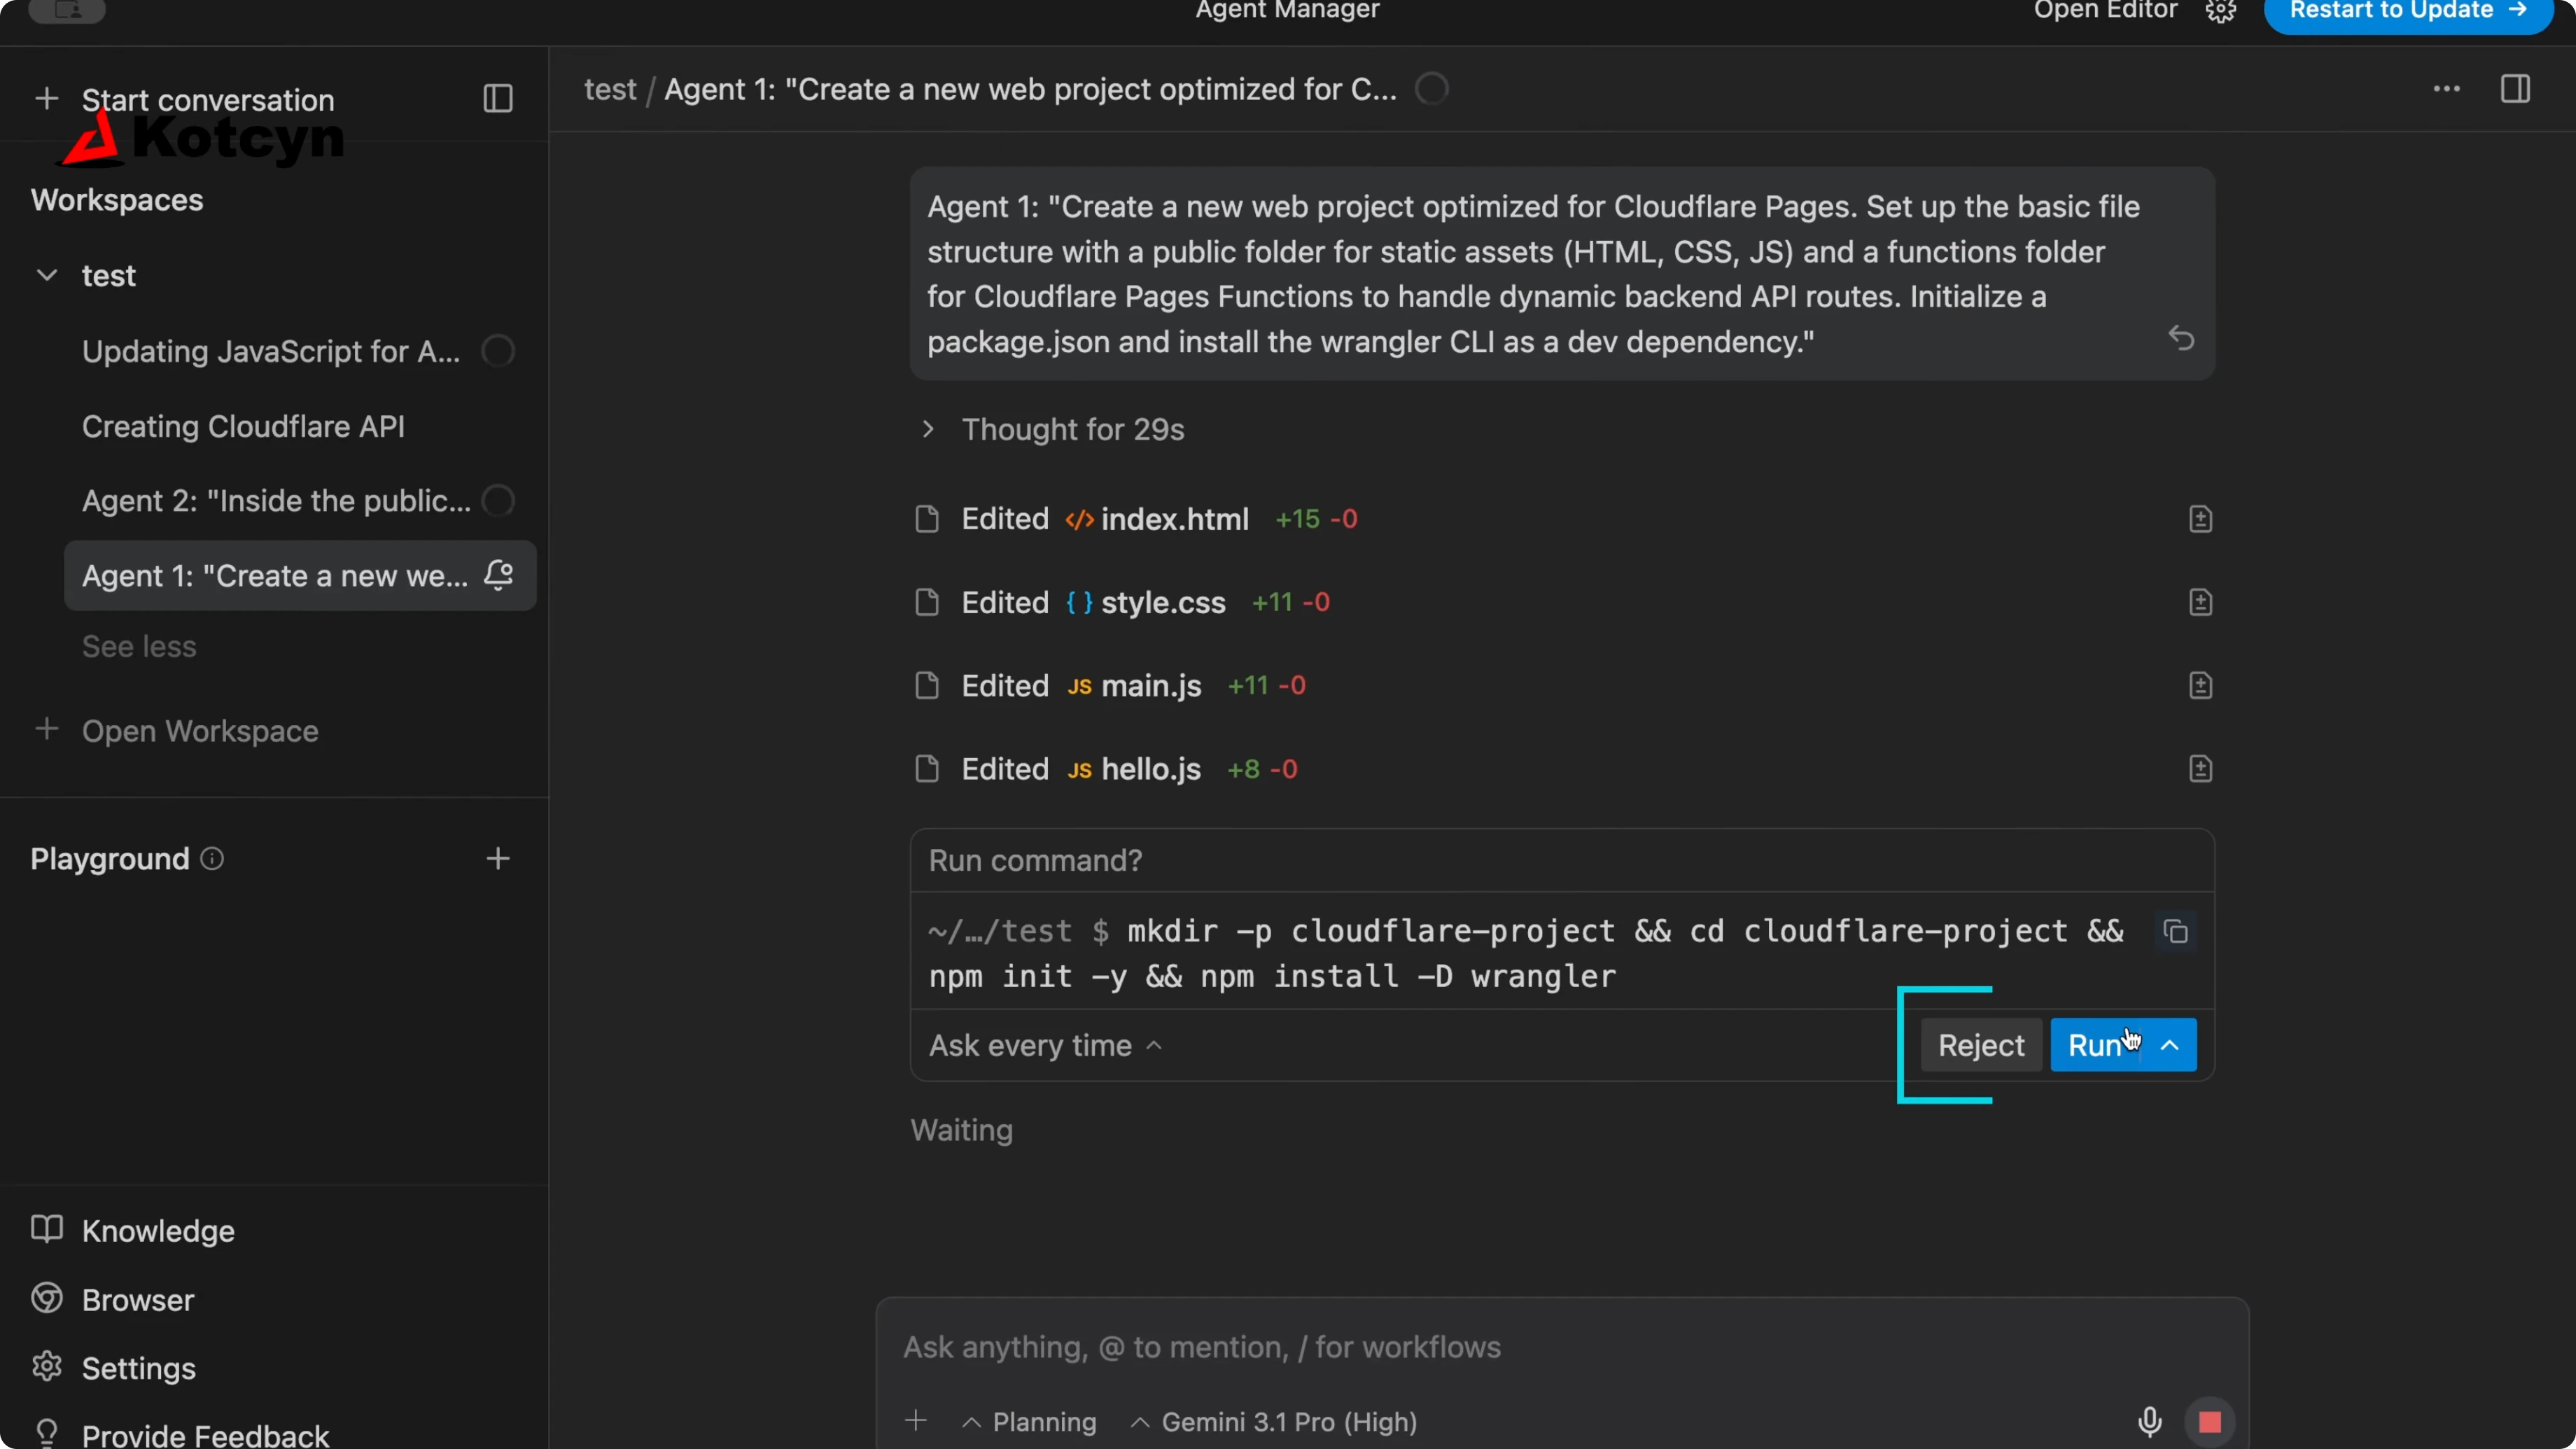
Even if most of your flow is automated, the bell is your cue to approve key steps. If a run goes off the rails and will not stop, use this fix to regain control: agent stuck and cannot be stopped. If a thread becomes unresponsive to inputs, this guide will help you recover it: agent not responding.
Final thoughts on use Agent Manager in Antigravity?
Open Agent Manager, switch to your workspace, and start a conversation for each agent you want to run. Name each agent clearly, send the prompt, and repeat for as many parallel threads as your project needs. Watch the bell for actions that need approval, click Run when prompted, and let the agents finish their tasks.
Subscribe to our newsletter
Get the latest updates and articles directly in your inbox.

Related Posts

8 Best Claude Code Plugins in 2026 (You Need to Know)
8 Best Claude Code Plugins in 2026 (You Need to Know)

7 Best Claude Code Skills (You Need to Know)
7 Best Claude Code Skills (You Need to Know)

Claude Code Desktop IDE Features (You Need to Know)
Claude Code Desktop IDE Features (You Need to Know)