
Table Of Content
- What is Supertonic Text-to-Speech?
- Supertonic Text-to-Speech Overview
- Key Features
- System Requirements and Dependencies
- How to Install Supertonic Text-to-Speech?
- 1) Get the repository from GitHub
- 2) Open a terminal in your chosen folder
- 3) Change into the project directory
- 4) Create a virtual environment with Python 3.10
- 5) Activate the virtual environment
- 6) Move to the py folder
- 7) Install Python requirements
- 8) Download the assets
- 9) Edit the example runtime file
- 10) Run the main command
- 11) Check the results folder
- Supertonic Text-to-Speech Usage Flow
- Re-running Supertonic Text-to-Speech After Closing the Terminal
- Practical Notes and Recommendations
- Managing Assets
- Verifying Dependencies
- Tips For Smooth Setup
- Switching Language Models and Styles
- Performance Notes
- Common Issues and Fixes
- Quick Reference Commands
- Step-by-Step Summary
- Frequently Asked Questions
- Why Local TTS
- Conclusion

Supertonic TTS: Ultra-Fast, Natural Voices on Windows & Mac
Table Of Content
- What is Supertonic Text-to-Speech?
- Supertonic Text-to-Speech Overview
- Key Features
- System Requirements and Dependencies
- How to Install Supertonic Text-to-Speech?
- 1) Get the repository from GitHub
- 2) Open a terminal in your chosen folder
- 3) Change into the project directory
- 4) Create a virtual environment with Python 3.10
- 5) Activate the virtual environment
- 6) Move to the py folder
- 7) Install Python requirements
- 8) Download the assets
- 9) Edit the example runtime file
- 10) Run the main command
- 11) Check the results folder
- Supertonic Text-to-Speech Usage Flow
- Re-running Supertonic Text-to-Speech After Closing the Terminal
- Practical Notes and Recommendations
- Managing Assets
- Verifying Dependencies
- Tips For Smooth Setup
- Switching Language Models and Styles
- Performance Notes
- Common Issues and Fixes
- Quick Reference Commands
- Step-by-Step Summary
- Frequently Asked Questions
- Why Local TTS
- Conclusion
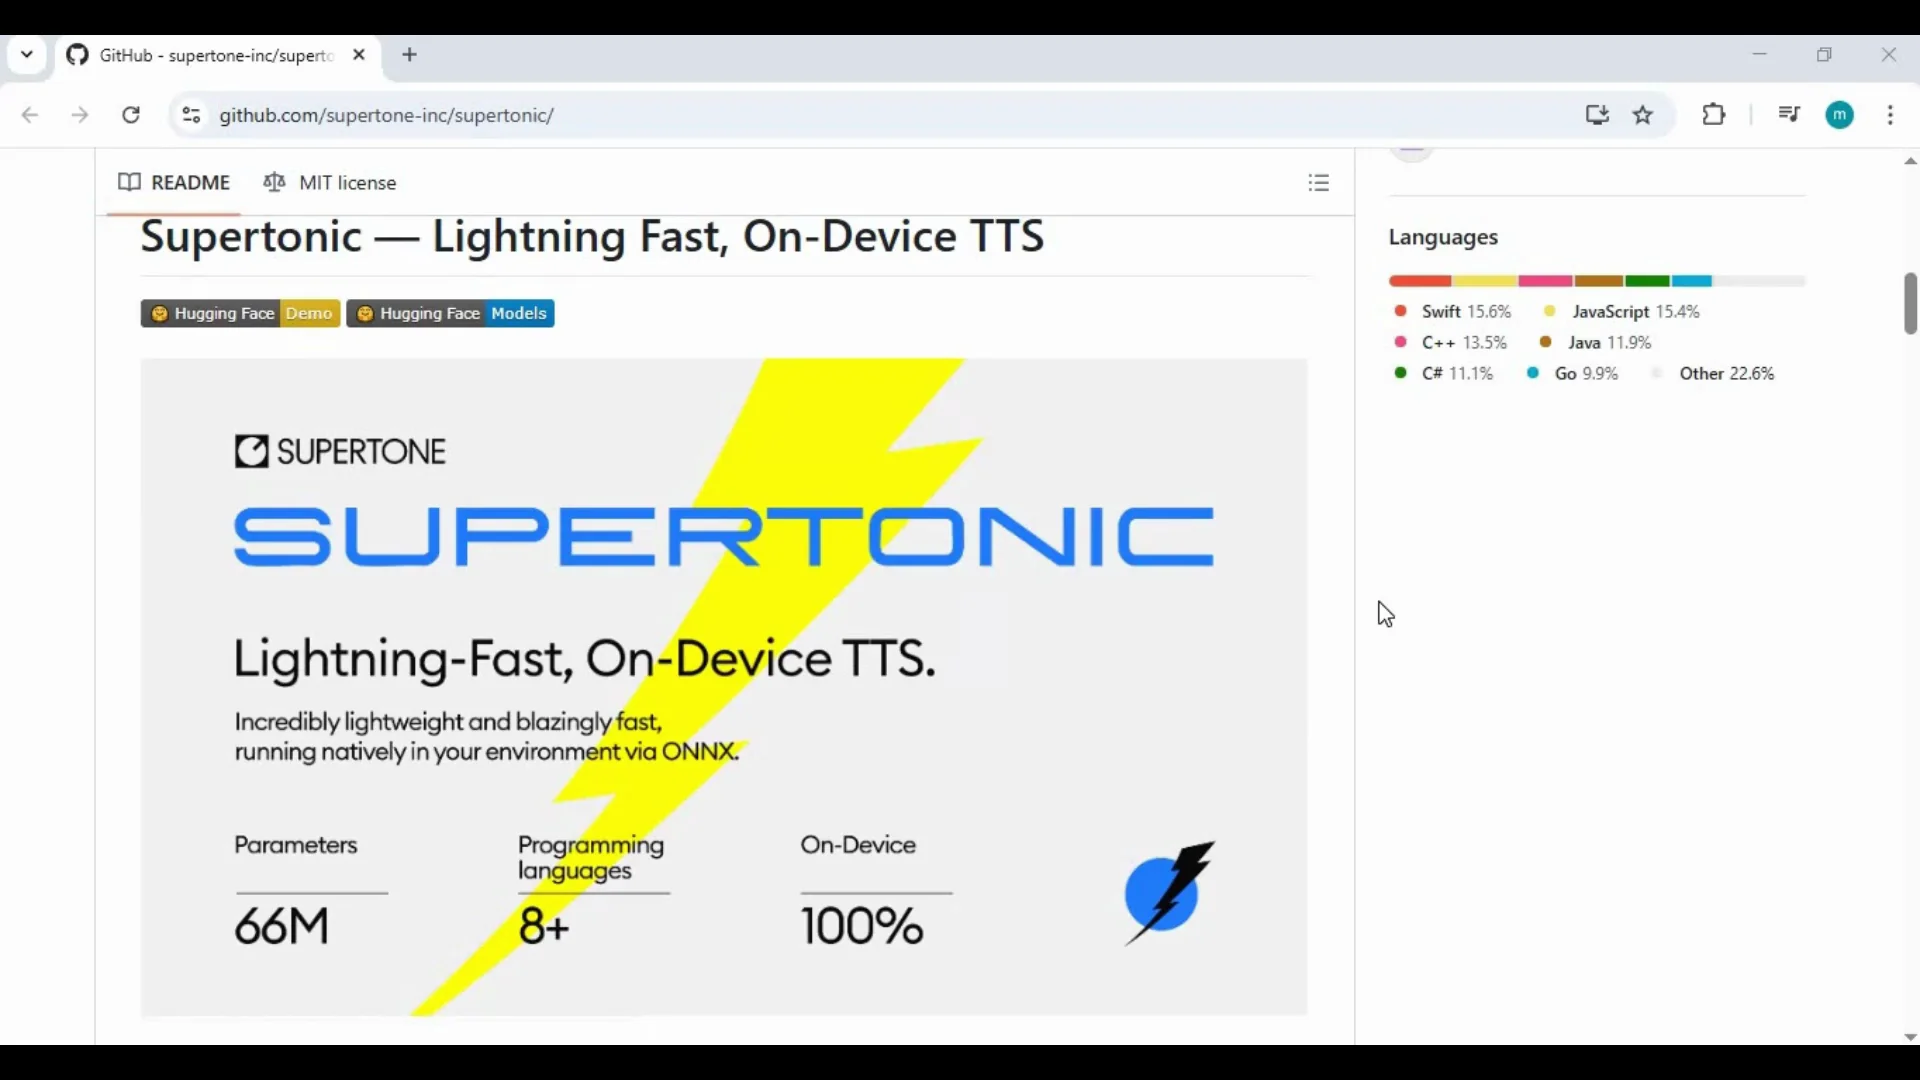
Supertonic Text-to-Speech brings fast, local text-to-speech to your computer with clear, natural voices and multiple styles. It runs on CPU, so there is no need for a dedicated GPU or high-end hardware. Installation is straightforward, and it works on Windows and macOS, including Apple Silicon.
In this guide, I walk through the essentials to get it running on your machine. You will see what it does, the key benefits, the exact tools you need, and step-by-step instructions from cloning the repository to generating speech in a few seconds.
By the end, you will be able to generate audio in different styles, switch text quickly, and rerun the process any time with just a few commands.
What is Supertonic Text-to-Speech?
Supertonic Text-to-Speech is a local TTS toolkit designed to deliver quick, high-quality speech synthesis on regular computers. It produces multiple voice styles, supports a range of language models, and writes output files to a results folder for easy access.
Everything runs on your device. You control the inputs, assets, and outputs without relying on a cloud service. The process is simple: set up once, edit a line in an example file to add your text, and run the main command to generate audio in seconds.
Supertonic Text-to-Speech Overview
Here is a quick overview of how Supertonic Text-to-Speech is set up and what to expect:
| Category | Detail |
|---|---|
| Runs on | CPU only, no GPU required |
| Platforms | Windows and macOS, including Apple Silicon (M1) |
| Python version | 3.10.11 recommended |
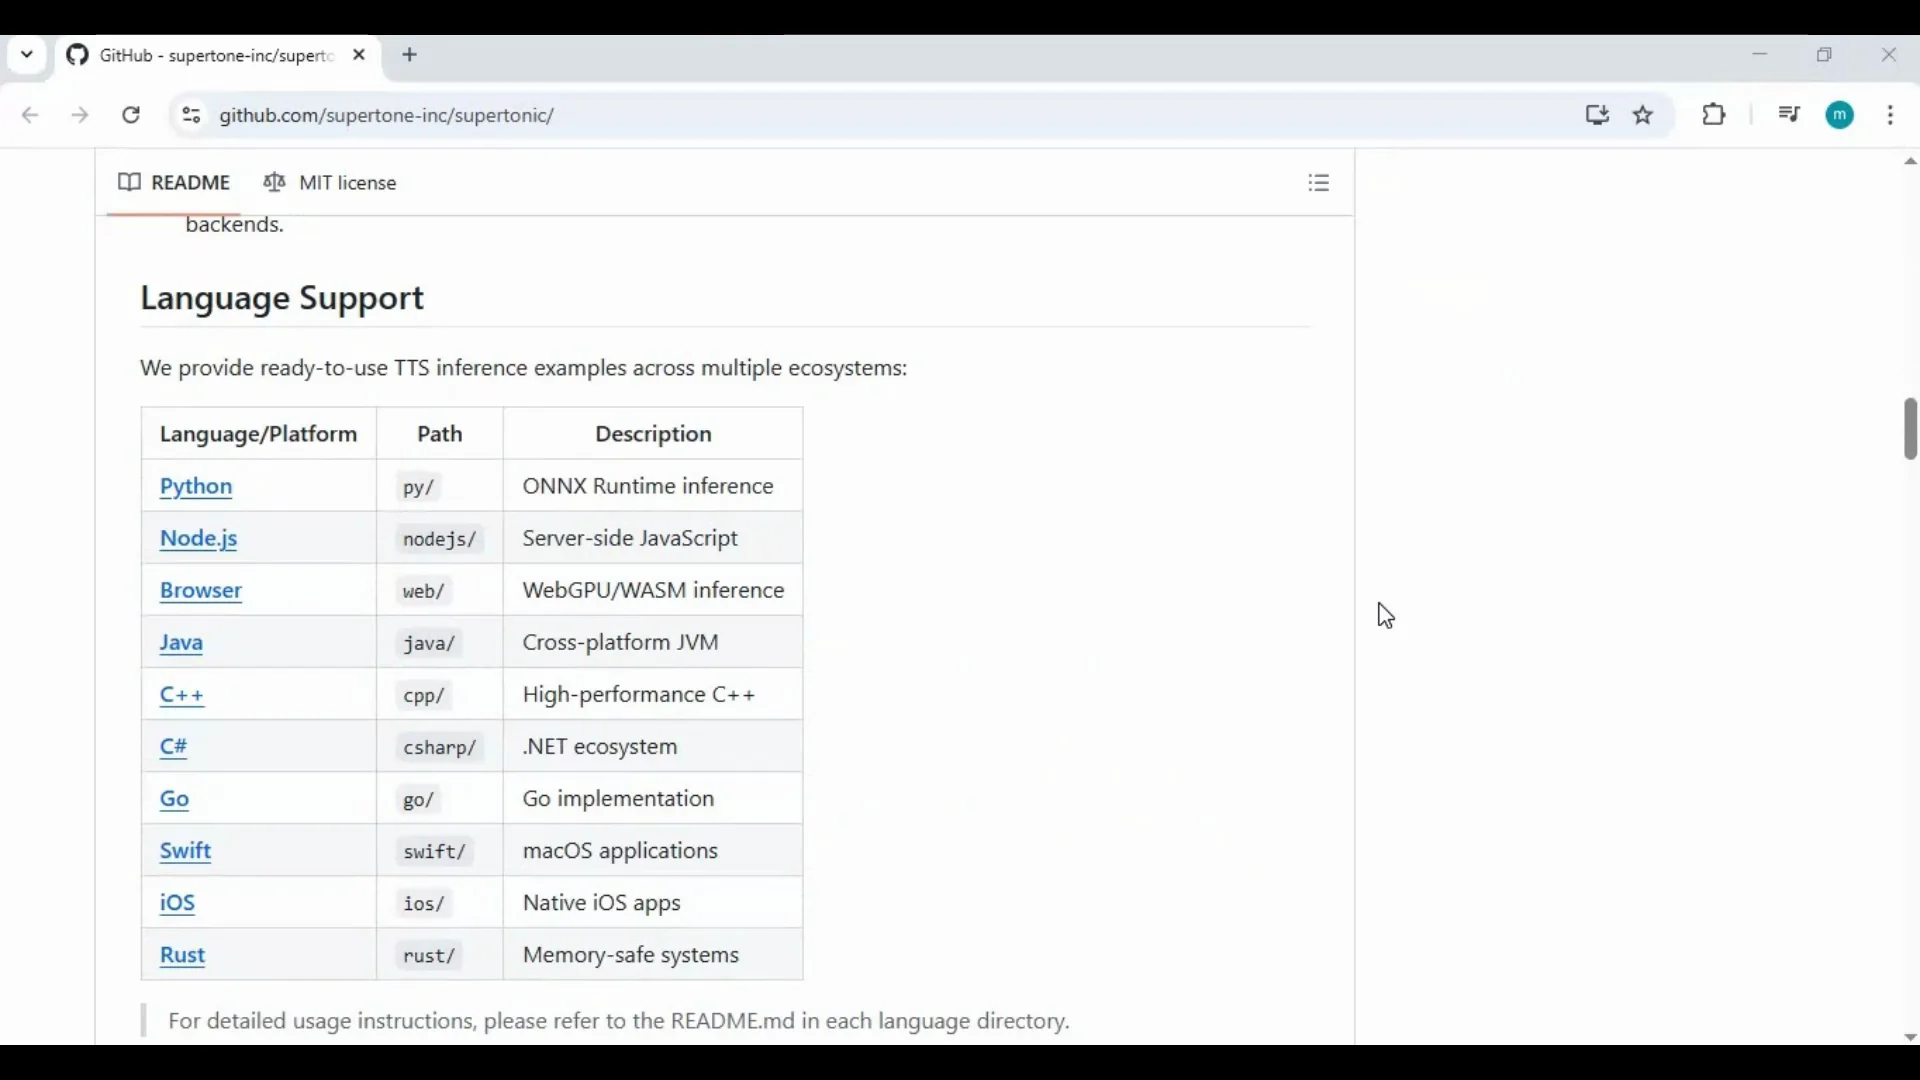
| Required tools | Git, FFmpeg, Python 3.10.x |
| Language models | 12 available models |
| Voice styles | 4 styles generated per run |
| Output location | results folder inside the project |
| Assets | Additional assets must be downloaded once |
| Skill required | Basic command line steps, no prior expertise needed |
Key Features
- CPU friendly: runs fast on everyday machines without a dedicated GPU.
- Cross platform: works on Windows and macOS, including M1 systems.
- Multiple voices and styles: produces four styles per run for quick comparison.
- Language support: access to 12 language models.
- Local and private: everything runs on your machine.
- Simple workflow: edit one line in the example file, run the main command, and get results in seconds.
System Requirements and Dependencies
Before installation, make sure the following are installed and available on your system:
- Git
- FFmpeg
- Python 3.10.11
- Internet connection for the initial asset download
Recommended checks:
- Git: git --version
- Python: python --version or py --version on Windows, python3 --version on macOS
- FFmpeg: ffmpeg -version
If any of these commands fail, install or add the tool to your PATH before proceeding.
How to Install Supertonic Text-to-Speech?
Follow these steps in order. The flow mirrors the original process: get the repository, create and activate a virtual environment, install requirements, download assets, edit the example file, and run the main code.
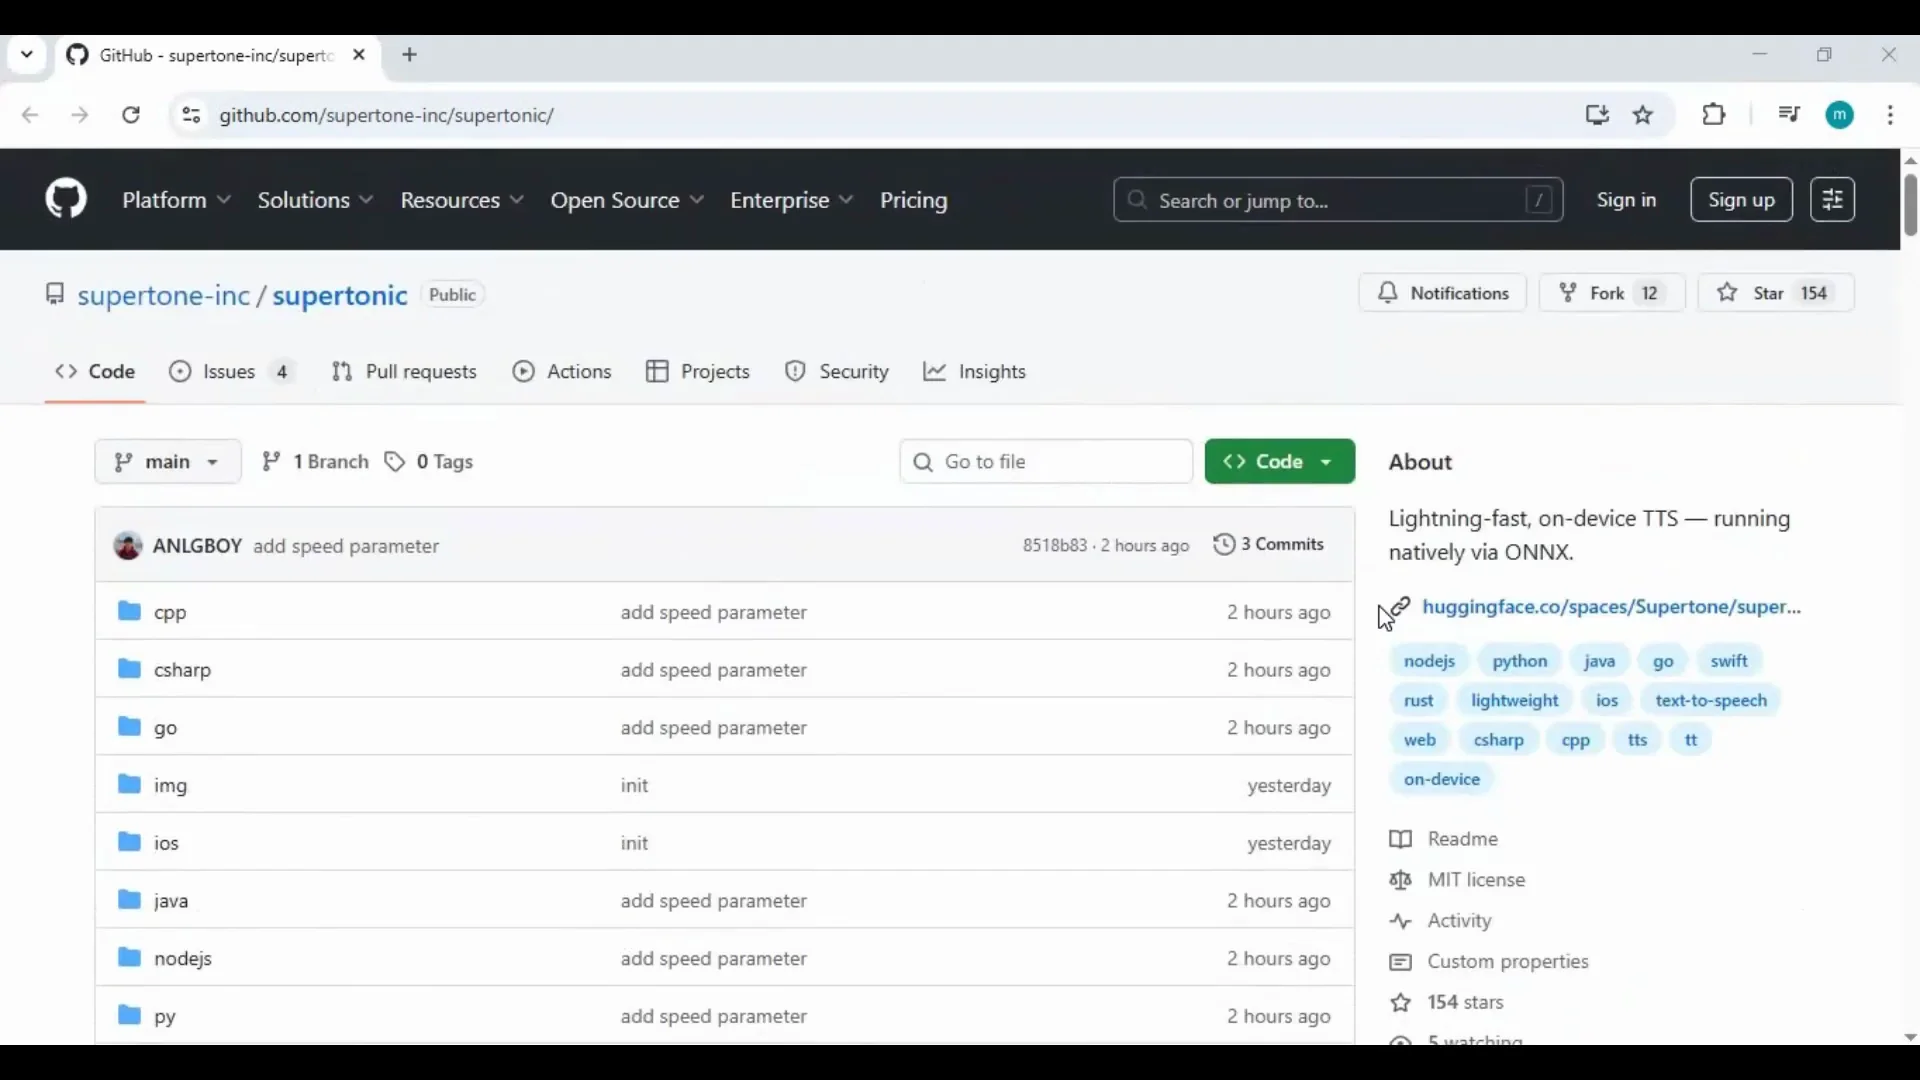
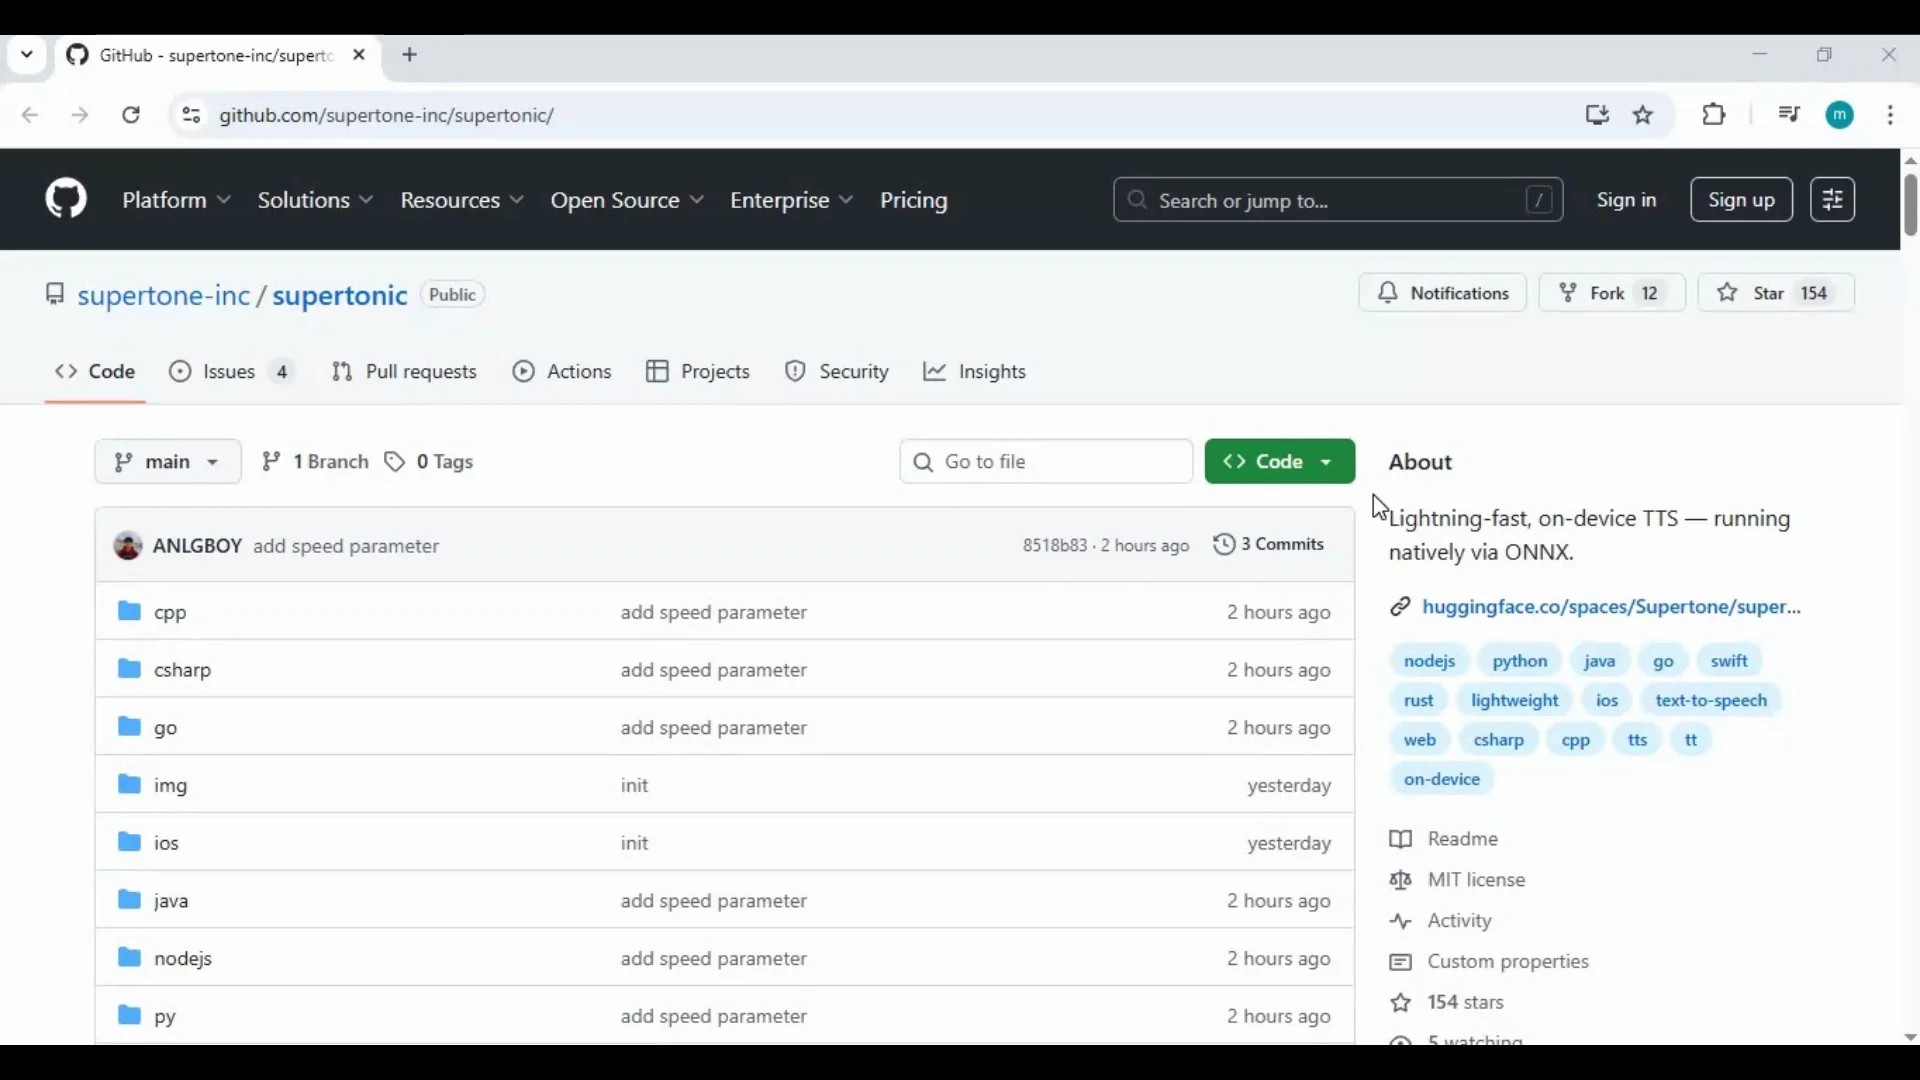
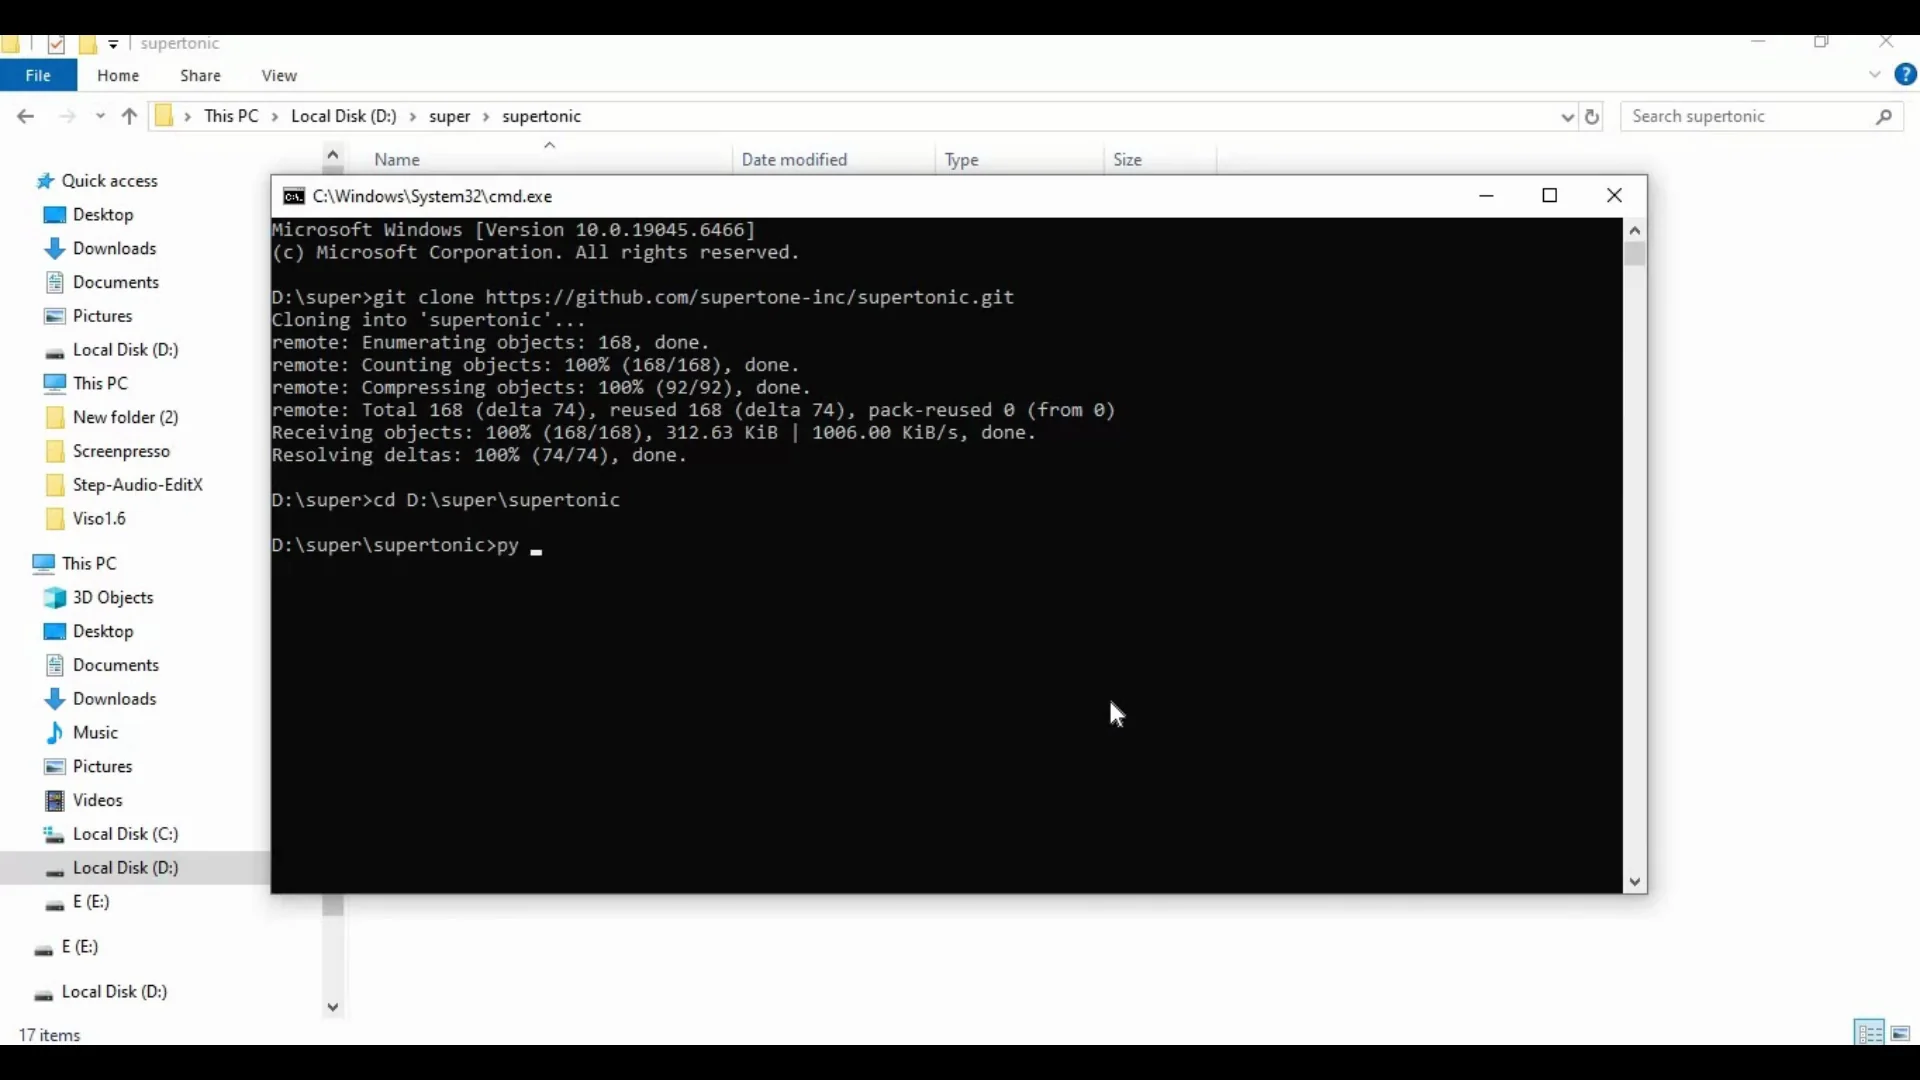
1) Get the repository from GitHub
- Open the Supertonic TTS GitHub page.
- Click the Code button and copy the HTTPS clone URL.
Run the clone command in a terminal:
git clone PASTED_URLReplace PASTED_URL with the actual URL you copied from the GitHub page.
2) Open a terminal in your chosen folder
- On Windows: open File Explorer in the folder where you want to install the project, click the path bar, type cmd, and press Enter.
- On macOS: open Terminal and cd into your chosen directory.
3) Change into the project directory
After cloning, move into the project folder:
cd supertonic-tts-project-folderReplace supertonic-tts-project-folder with the name of the cloned folder.
4) Create a virtual environment with Python 3.10
- Windows:
py -3.10 -m venv venvIf py is not available, try:
python -m venv venv- macOS:
python3 -m venv venvThis creates an isolated environment named venv for the project.
5) Activate the virtual environment
- Windows:
.\venv\Scripts\activate- macOS:
source venv/bin/activateYour terminal prompt should now indicate the venv is active.
6) Move to the py folder
The script references a py folder inside the project. Change directory into it:
cd pyKeep your venv active while running the next steps.
7) Install Python requirements
Install all library dependencies:
pip install -r requirements.txtWait for the process to complete without errors.
8) Download the assets
Go back to the main GitHub page for Supertonic TTS and locate the command or script provided for asset downloads. Copy that command and run it in your terminal.
- If there is already an assets file or folder inside the py directory, delete it first to avoid conflicts.
- Paste and run the assets download command in the same terminal with the venv active.
This step brings in the language models and any required data for synthesis.
9) Edit the example runtime file
Inside the py folder you will find an example runtime file. Open it in a text editor.
- Go to line 55.
- Replace the existing sample text with your desired input text for speech.
- Save the file.
Keep the file format and syntax intact. Only change the text content inside the quotes.
10) Run the main command
Use the main command documented on the project page to perform synthesis. This is typically a Python command run from inside the py folder with the venv active.
Example structure:
python MAIN_SCRIPT.pyRefer to the README for the exact script name. The synthesis should complete in seconds, and the program will generate four output styles automatically.
11) Check the results folder
After the run completes:
- Navigate to the results folder inside the project.
- You will find audio files for each voice style generated from your text input.
Use any media player to review the outputs.
Supertonic Text-to-Speech Usage Flow
Here is the typical flow each time you want to generate speech:
- Activate the venv.
- Go to the py folder.
- Open the example runtime file.
- Edit line 55 with your new text and save.
- Run the main command.
- Retrieve audio from the results folder.
These steps remain the same for subsequent runs.
Re-running Supertonic Text-to-Speech After Closing the Terminal
When you come back later, repeat this short sequence:
- Open the project folder. On Windows, you can type cmd in the path bar to launch a terminal in place.
- Activate the virtual environment:
- Windows: .\venv\Scripts\activate
- macOS: source venv/bin/activate
- cd into the py folder.
- Open the example runtime file, change the text on line 55, and save.
- Run the main command to synthesize speech.
- Collect results from the results folder.
This takes only a few steps and completes quickly.
Practical Notes and Recommendations
- Keep Python at 3.10.x. Other versions may cause dependency mismatches.
- Make sure FFmpeg is installed and accessible on your PATH. The program relies on it for audio processing.
- Use short test phrases initially to confirm everything works, then proceed to longer inputs.
- If you edit the example file, change only the text value. Avoid altering code around it.
- The first assets download may take longer than subsequent runs. Once assets are in place, synthesis is very fast.
Managing Assets
- If the project provides an assets command, use that exact command from the README to ensure version compatibility.
- If you need to refresh or replace assets, delete the existing assets file or folder inside the py directory before running the assets command again.
- Keep a stable internet connection for the assets download. After that, local runs are offline.
Verifying Dependencies
Use these quick checks to confirm your environment is ready:
- Python:
python --versionExpected: 3.10.11, or use py --version on Windows and python3 --version on macOS.
- FFmpeg:
ffmpeg -versionExpected: a version output with build details. If the command is not recognized, install FFmpeg and add it to PATH.
- Pip:
pip --versionIf pip is missing or linked to a different Python version, run the command from inside the activated venv.
Tips For Smooth Setup
- Folder paths: avoid special characters and very long paths in the project location. Short, simple paths reduce issues on Windows.
- Permissions: if you face permission errors, run your terminal as Administrator on Windows or use a writable directory.
- Virtual environment: always activate the venv before installing requirements or running the main command.
Switching Language Models and Styles
Supertonic Text-to-Speech includes 12 language models and generates four voice styles automatically. The example runtime file typically includes configuration options. To adjust model selection:
- Open the example runtime file.
- Look for a model or language setting and change it to your desired model.
- Save and rerun the main command.
If the README provides explicit flags or configuration keys for models or styles, follow those instructions. Keep changes minimal and within the provided configuration area.
Performance Notes
- CPU-only processing: the tool is optimized to run quickly without a discrete GPU.
- Short texts complete in seconds. Longer texts will take more time but should remain responsive on ordinary systems.
- Running on Apple Silicon: the tool supports M1 systems. Use python3 and the macOS activation commands in Terminal.
Common Issues and Fixes
-
Python version mismatch
- Symptom: installation errors or missing modules.
- Fix: install Python 3.10.11, recreate the venv with that version, and reinstall requirements.
-
FFmpeg not found
- Symptom: audio writing fails or ffmpeg not recognized.
- Fix: install FFmpeg and add it to PATH. Restart your terminal and try again.
-
Pip install errors
- Symptom: dependency build or wheel errors.
- Fix: update pip and wheel inside the venv:
- pip install -U pip wheel
- Then rerun pip install -r requirements.txt
-
Asset download fails
- Symptom: missing model files or runtime errors.
- Fix: ensure a stable internet connection, delete any partially downloaded assets, and rerun the asset command from the README.
-
Permission denied
- Symptom: cannot write to folders or create files.
- Fix: move the project to a user-writable directory. On Windows, avoid system-protected folders.
-
Results missing
- Symptom: no audio files after running.
- Fix: confirm you edited the correct line in the example runtime file, check for terminal errors, and verify that the main command is run from inside the venv and py folder.
Quick Reference Commands
- Clone:
git clone PASTED_URL- Create venv:
- Windows:
py -3.10 -m venv venv- macOS:
python3 -m venv venv- Activate venv:
- Windows:
.\venv\Scripts\activate- macOS:
source venv/bin/activate- Install requirements:
pip install -r requirements.txt- Run main script:
python MAIN_SCRIPT.pyReplace MAIN_SCRIPT.py with the script specified in the repository.
Step-by-Step Summary
- Install dependencies: Git, FFmpeg, Python 3.10.11.
- Clone the Supertonic repository from GitHub.
- Create and activate a Python 3.10 virtual environment.
- cd into the py folder and install requirements.
- Download assets using the command from the project README.
- Open the example runtime file, go to line 55, and enter your text.
- Run the main command to generate speech.
- Review the four output styles in the results folder.
- For future runs, activate the venv, edit the text in the example file, and run the main command again.

Frequently Asked Questions
-
Do I need a GPU?
- No. It runs on CPU and remains fast on typical systems.
-
Does it work on Mac and Windows?
- Yes. It supports both, including Apple Silicon.
-
How many language models are available?
- 12 language models are included.
-
Where do I find the output?
- Inside the results folder after each run.
-
How do I change the input text?
- Open the example runtime file, edit line 55, save, and rerun the main command.
Why Local TTS
Running TTS locally gives you control over your data and system resources. There is no need to upload text or audio to a third party. Once assets are downloaded, synthesis works offline, which is helpful for privacy and repeatable workflows.
Conclusion
Supertonic TTS brings fast, local speech synthesis to Windows and macOS with simple installation steps and no GPU requirement. With 12 language models, four voice styles per run, and a clear workflow, it is easy to produce quality audio on your own machine.
Follow the steps in this guide to clone the repository, set up the environment, download assets, edit a single line of text, and run the main command. After the initial setup, each new synthesis is just a quick edit and a single run away.
Subscribe to our newsletter
Get the latest updates and articles directly in your inbox.

Related Posts

8 Best Claude Code Plugins in 2026 (You Need to Know)
8 Best Claude Code Plugins in 2026 (You Need to Know)

7 Best Claude Code Skills (You Need to Know)
7 Best Claude Code Skills (You Need to Know)

Claude Code Desktop IDE Features (You Need to Know)
Claude Code Desktop IDE Features (You Need to Know)