
Table Of Content

How to Set Up Qwen3-Coder-Next and OpenClaw with llama.cpp Locally
OpenClaw Error Fixer
Paste any OpenClaw error and get the exact fix instantly — cause, steps, copy-ready commands, and related guides.
Table Of Content
I am going to install and configure OpenClaw with llama.cpp, and I am using the newly released Qwen 3 Coder Next model. This model is super efficient for coding agents and sits very nicely and natively with OpenClaw when it comes to open models. Everything runs locally, privately, and without any API keys.
For this setup, I am on Ubuntu with an Nvidia H100 GPU with 48 GB of VRAM. llama.cpp is already installed, and the model is being served locally. This is an OpenAI-compatible API endpoint on my localhost at 8001. I am using a quantization version of the model from Unsllo.
Set Up Qwen3-Coder-Next and OpenClaw with llama.cpp Locally
Install OpenClaw from scratch
- Use the curl bash script to download and install OpenClaw locally.
- The installer will prompt you:
- Choose Quick Start.
- Skip the provider for now. I could select OpenAI, but I do not want to do it at the moment. All providers is fine.
- Keep the current defaults where offered.
- Skip Telegram and WhatsApp for now.
- I am not going with skills here.
- Press Tab to skip hooks.
- It installs the core and the gateway. Gateway is the product that bridges messaging apps and OpenClaw.
- If you see a new prompt you do not need, choose No.
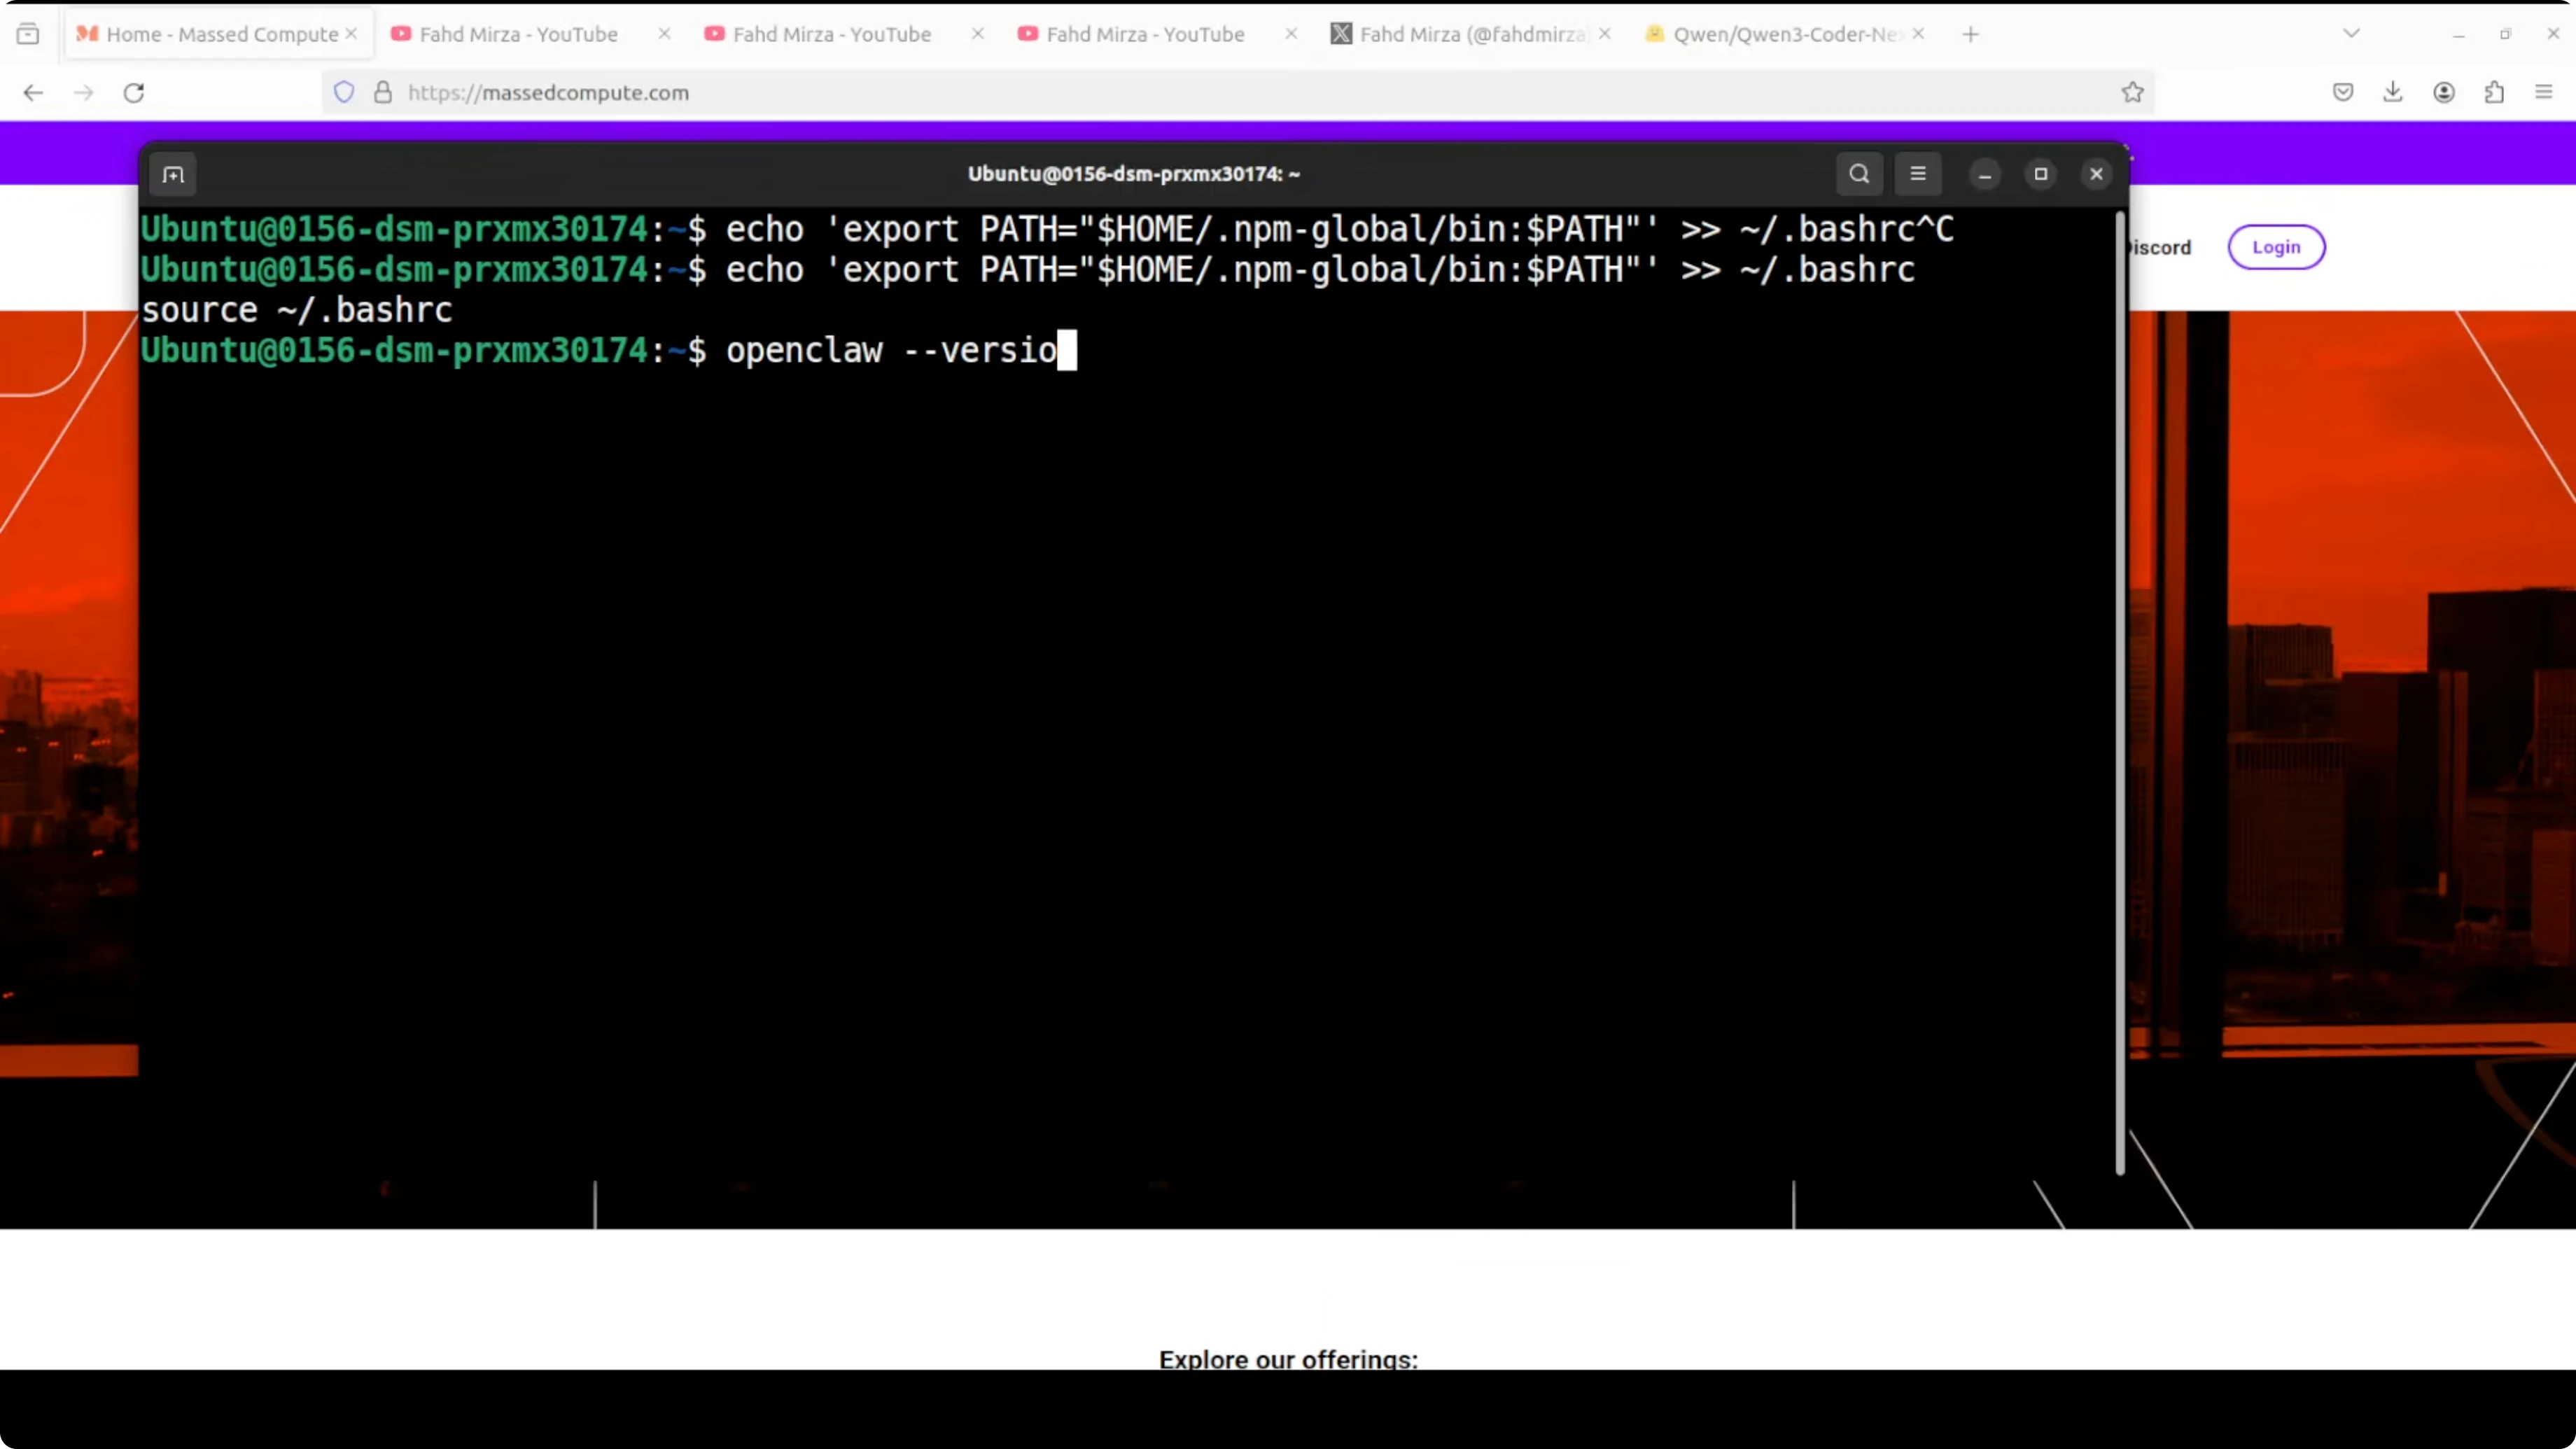
- If the command is not in your PATH, add it and rerun the version and status commands.

Verify the installation
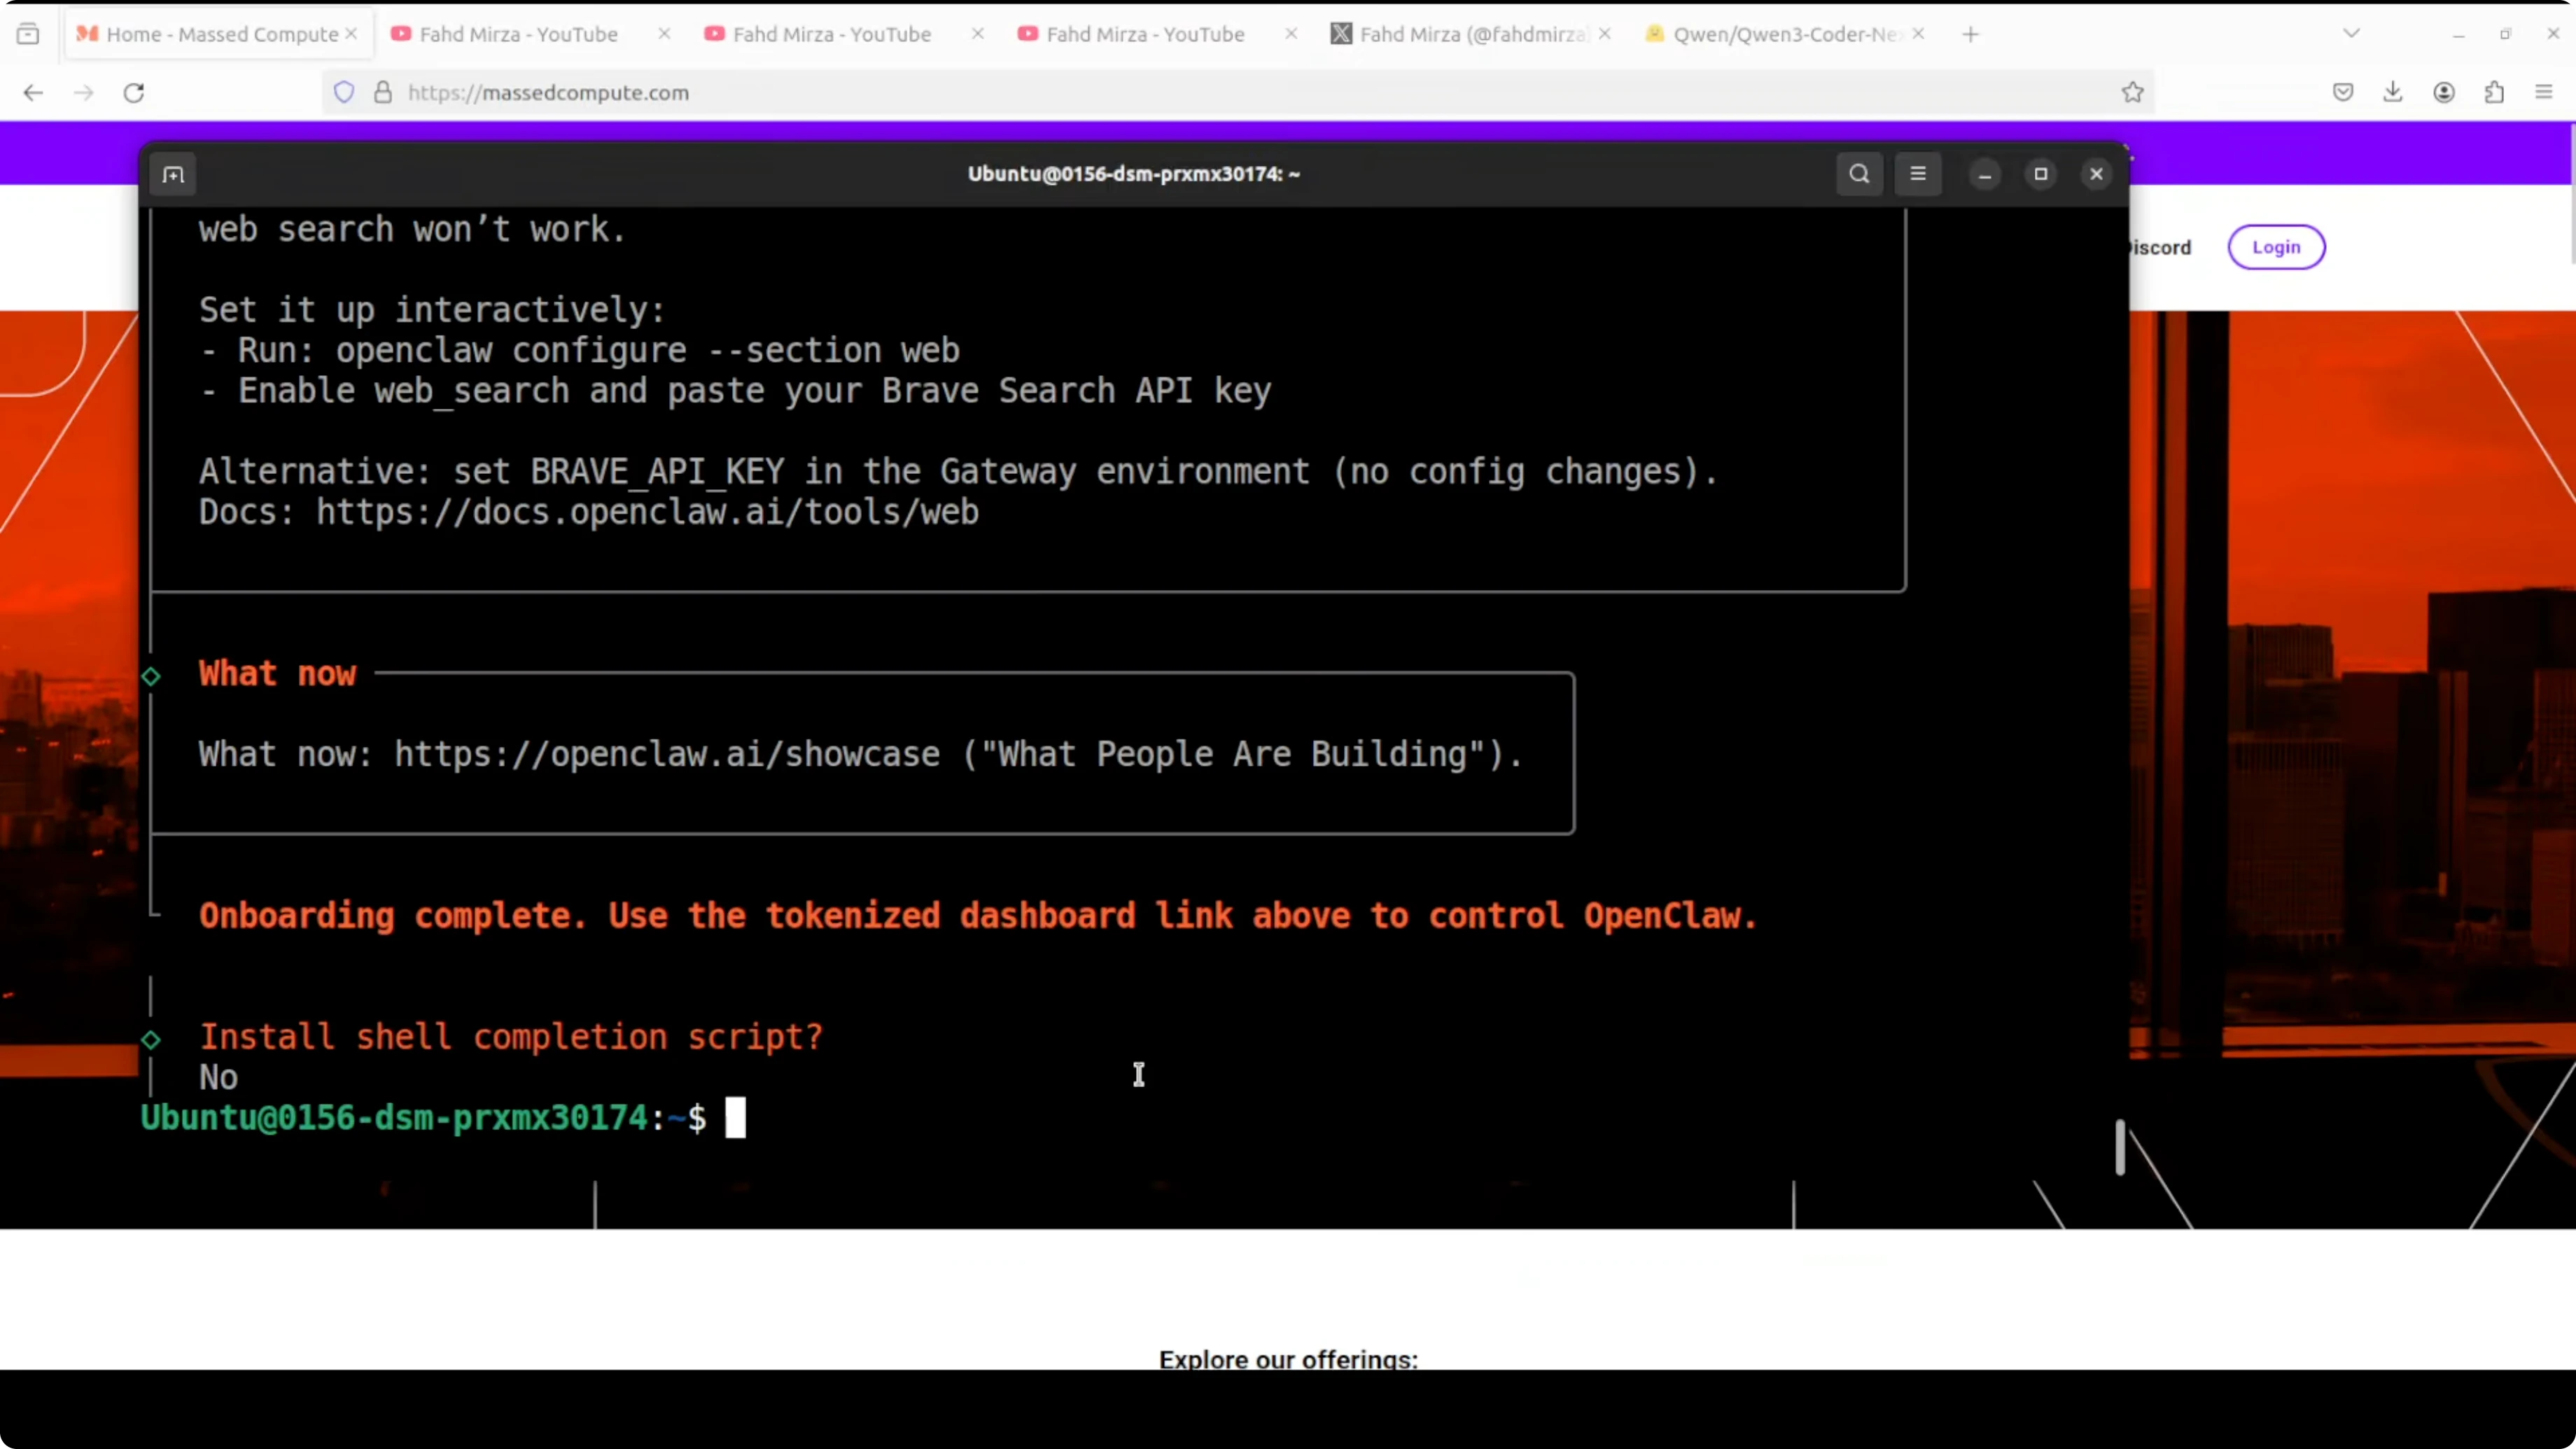
- Check version: run
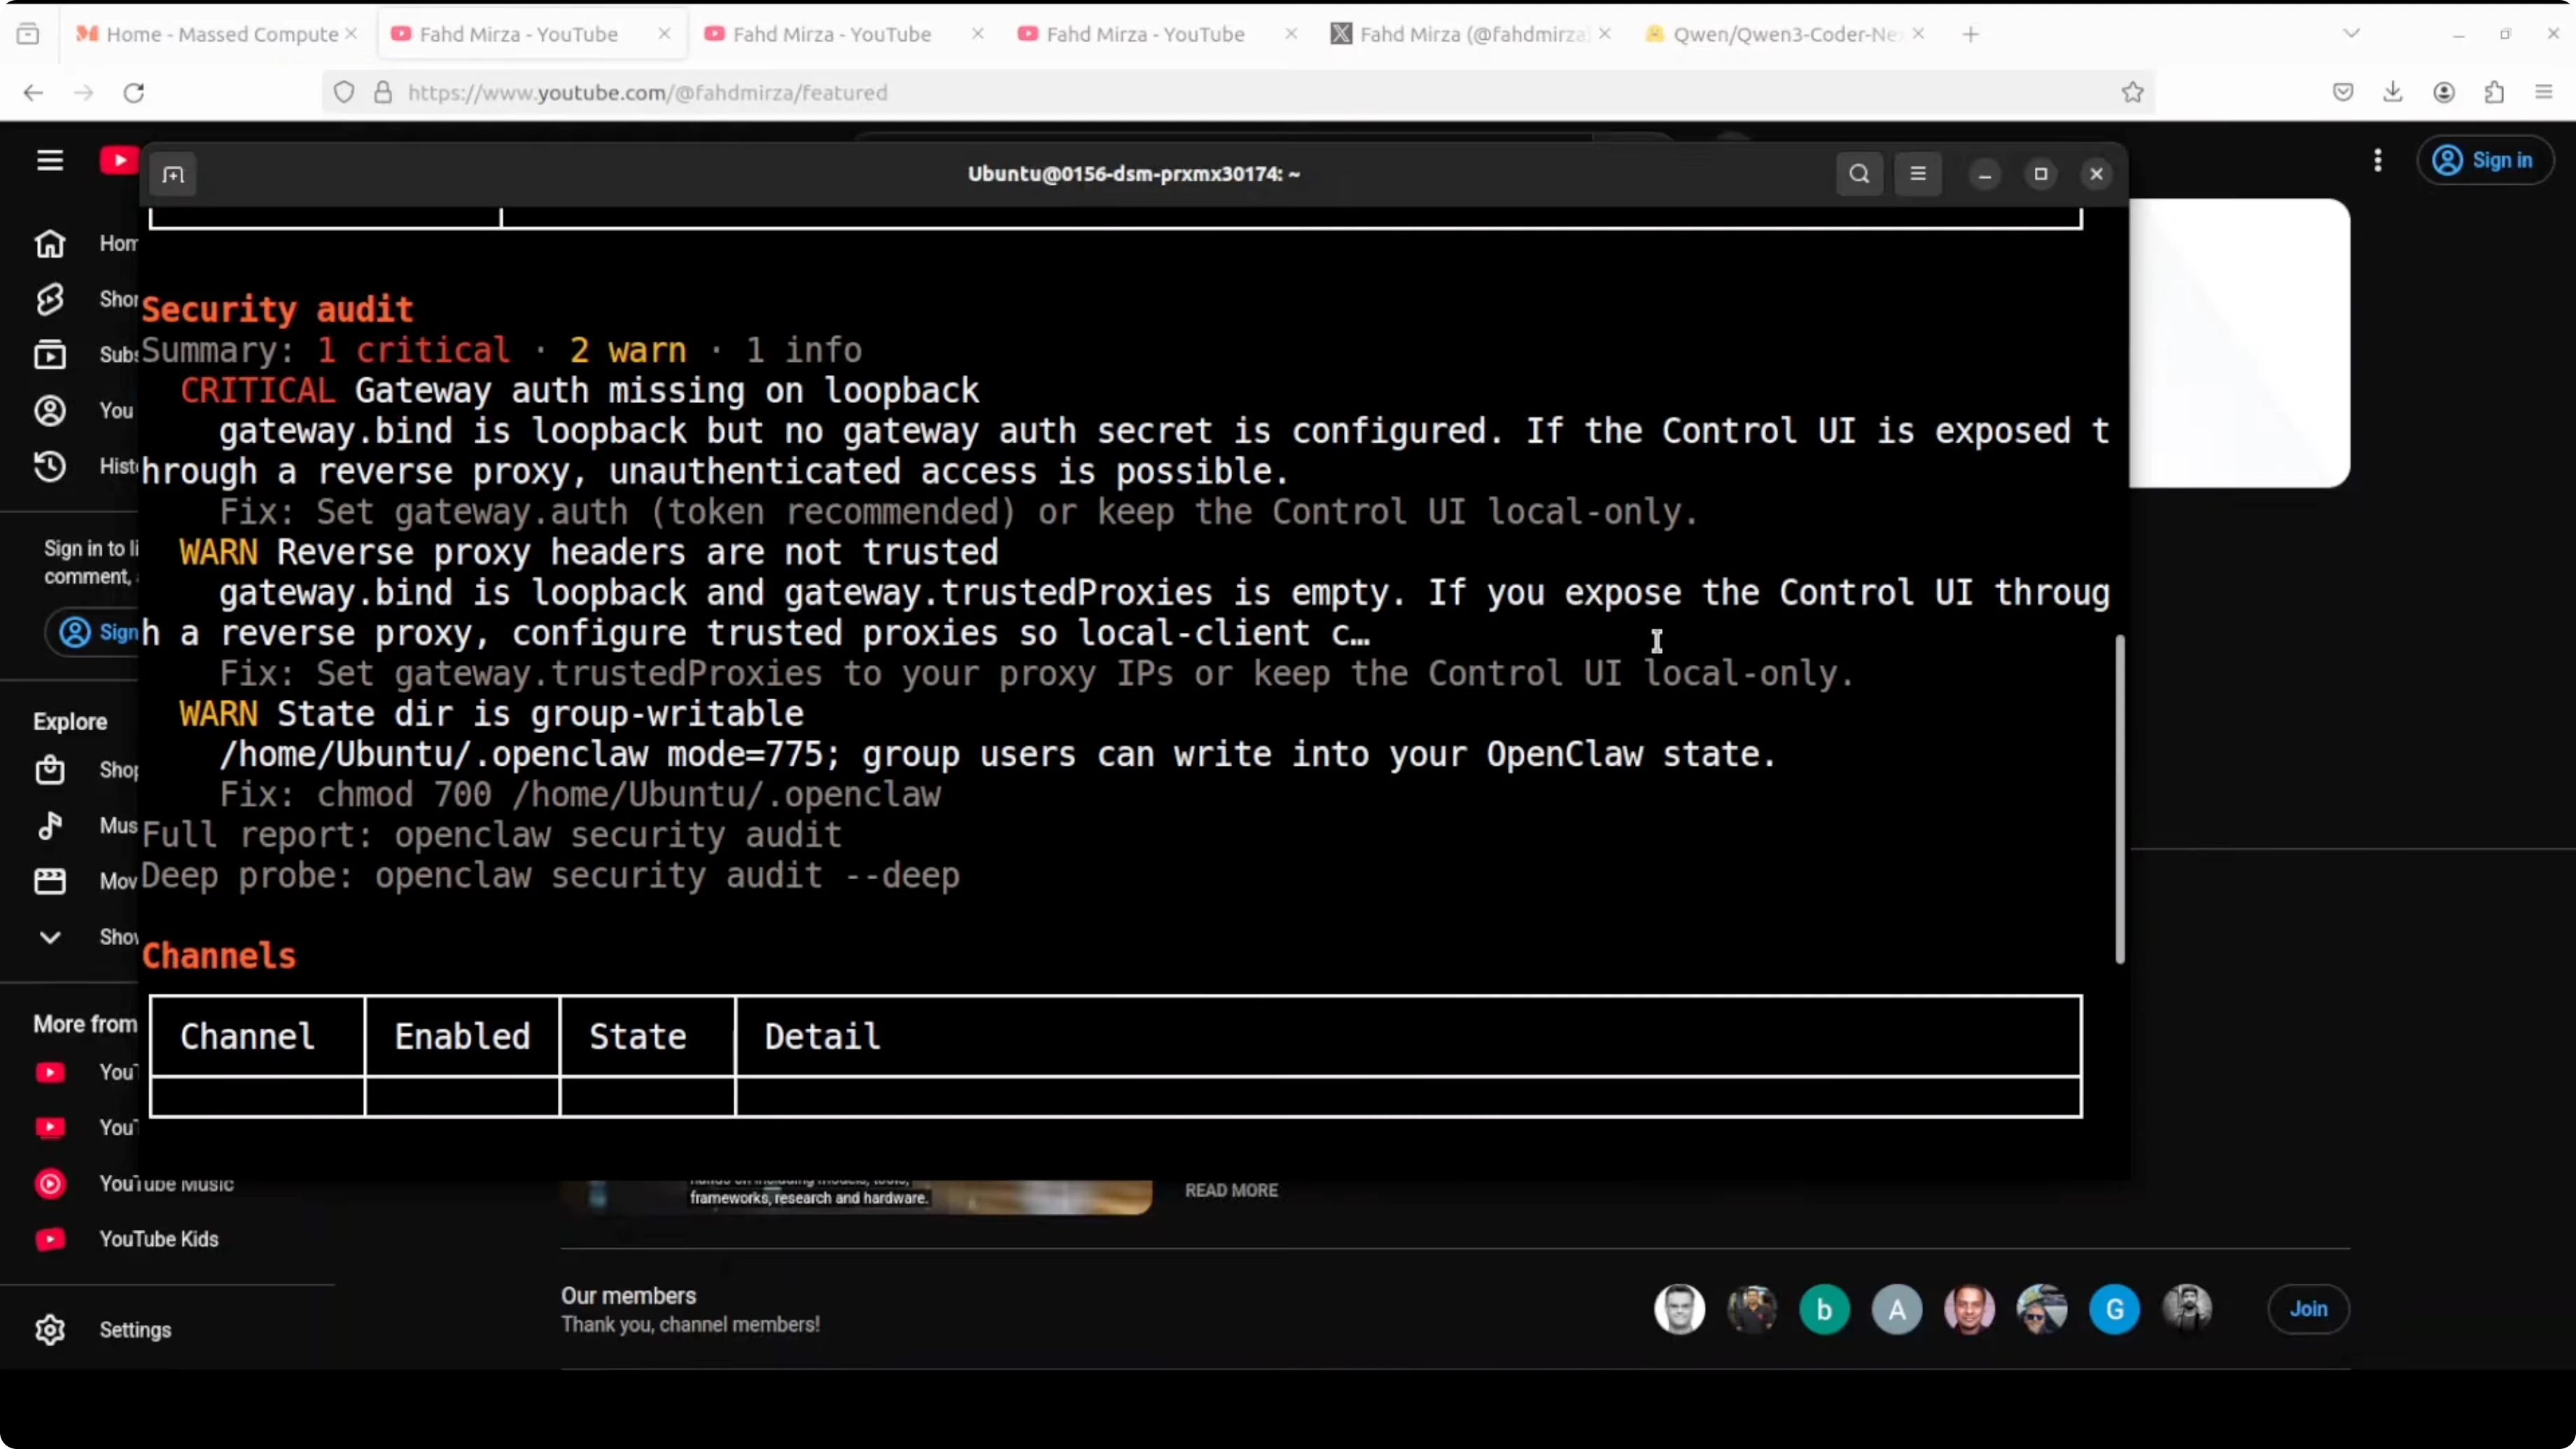
openclaw version. - Check status: run
openclaw status. - It shows what is running. You can ignore warnings for now, but not in production - fix permissions and security.

Configure OpenClaw to use your llama.cpp endpoint
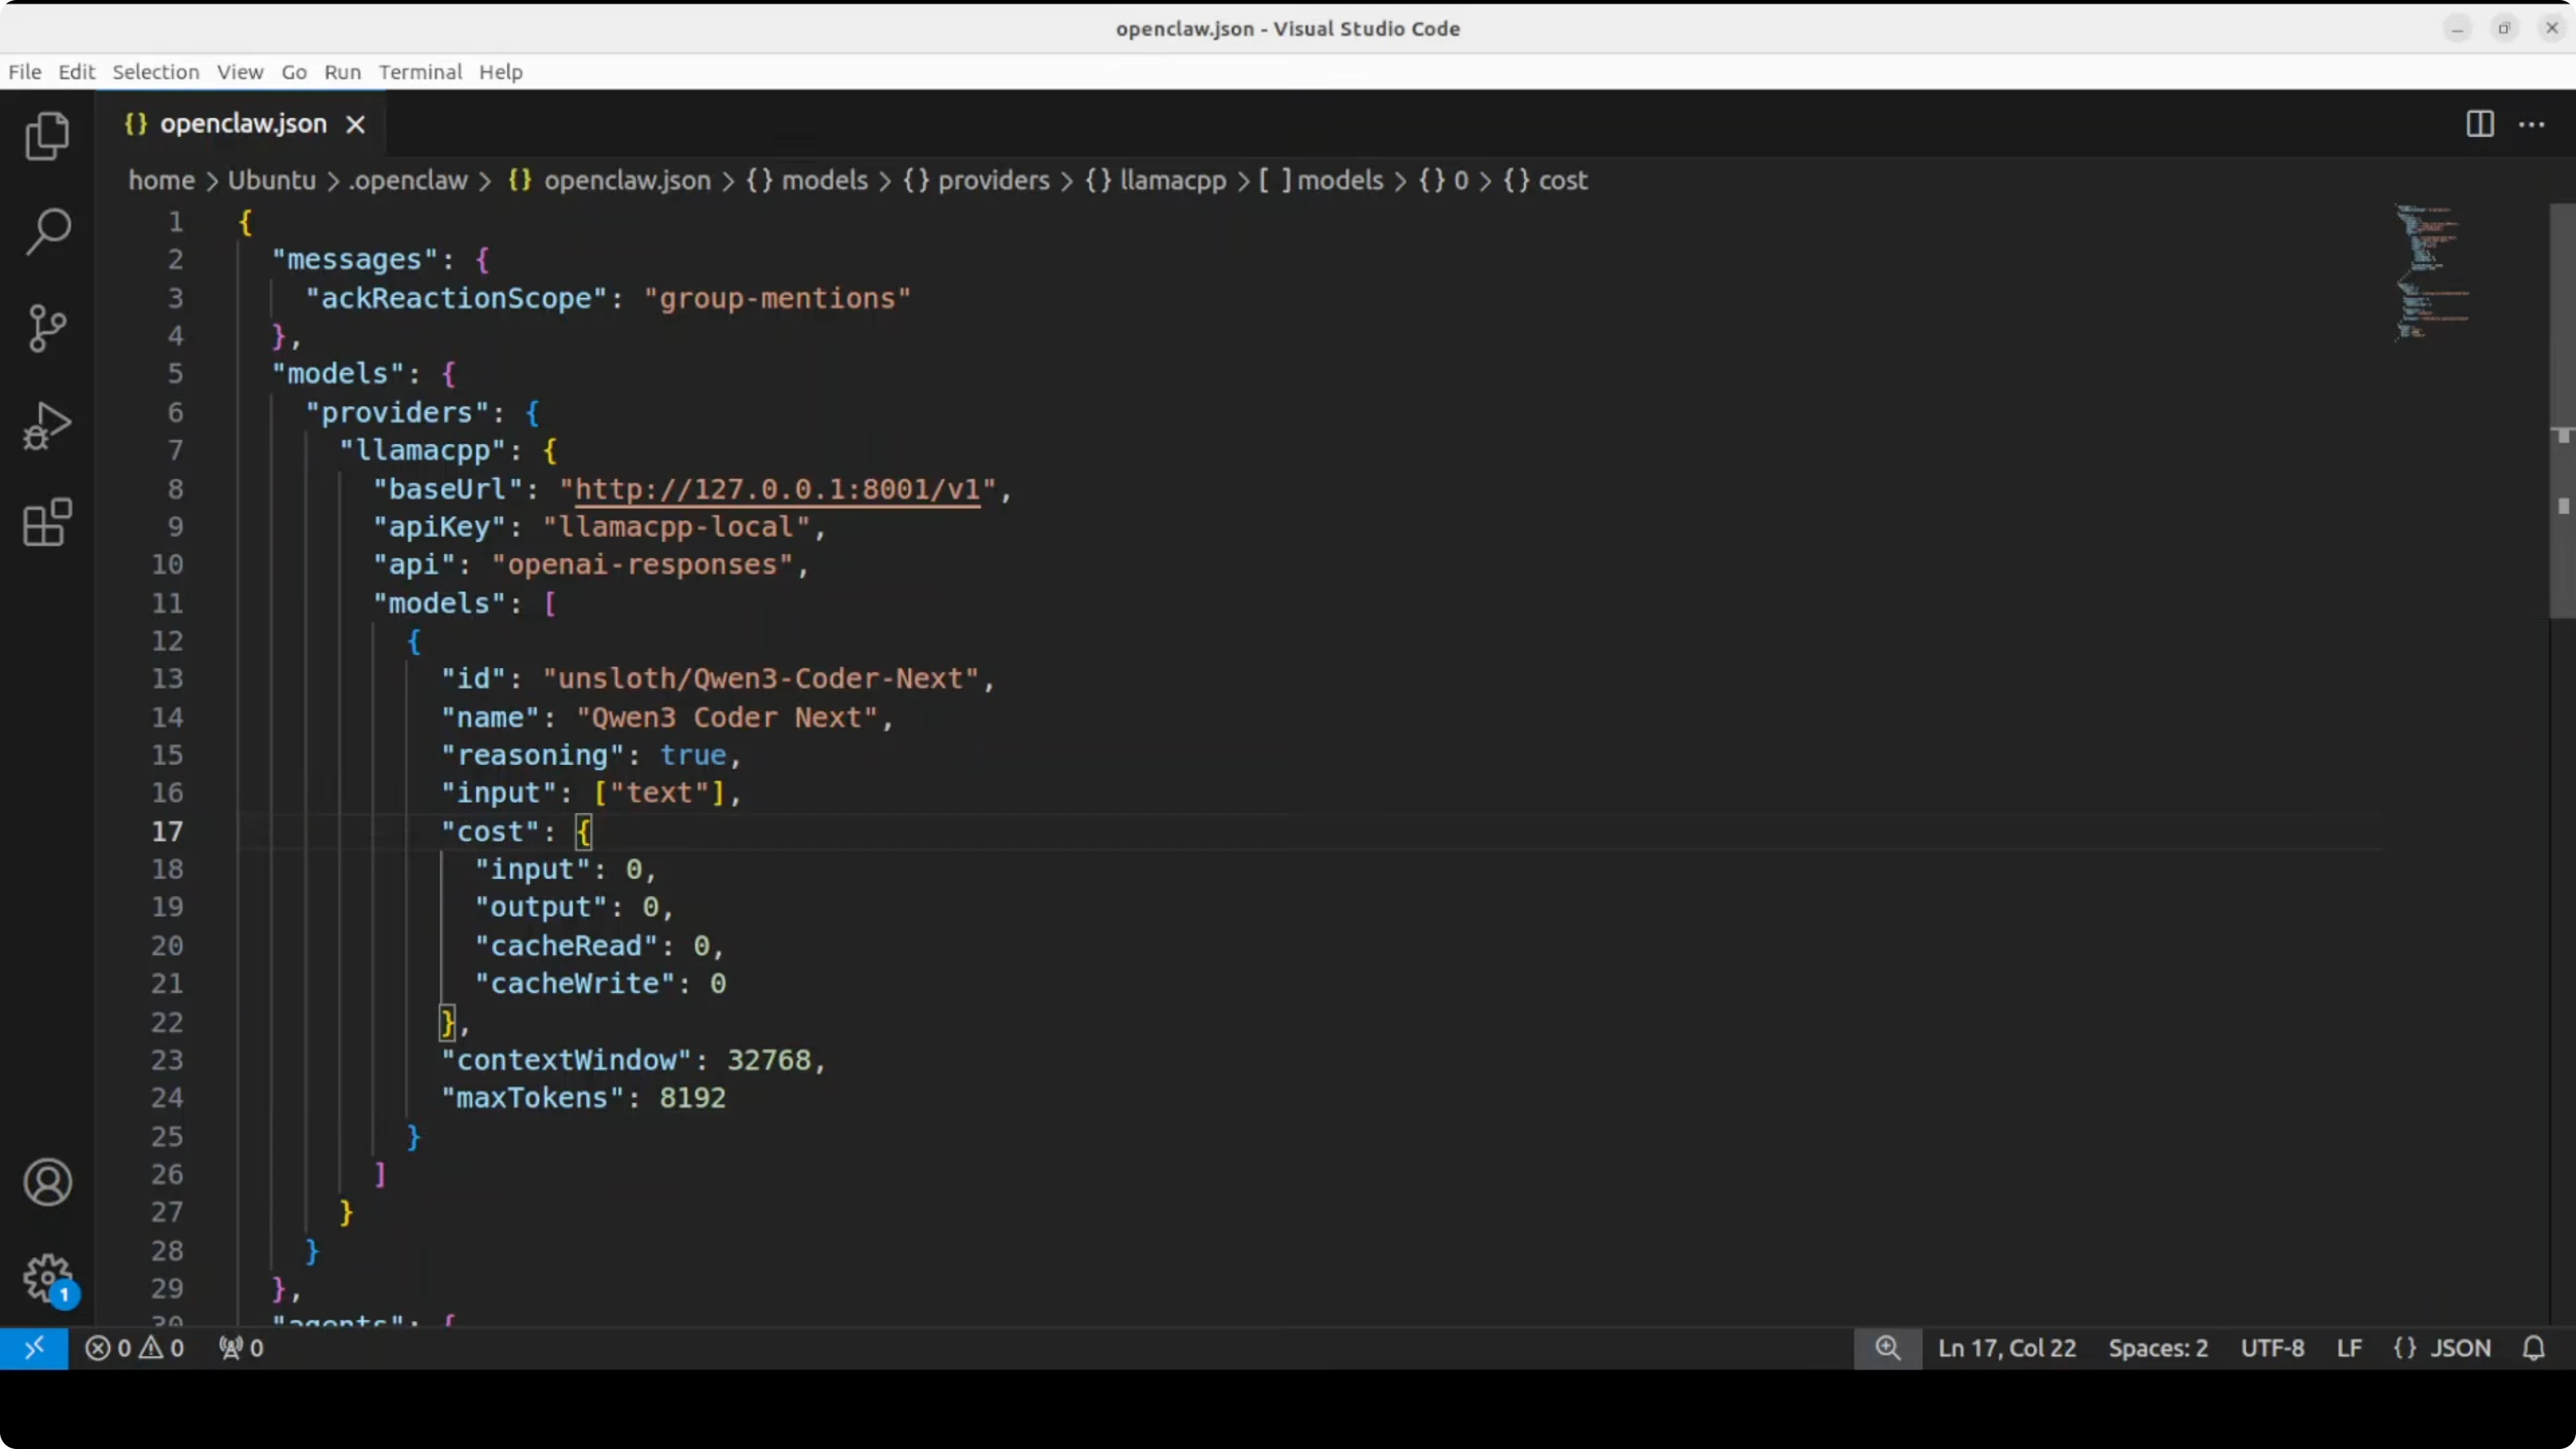
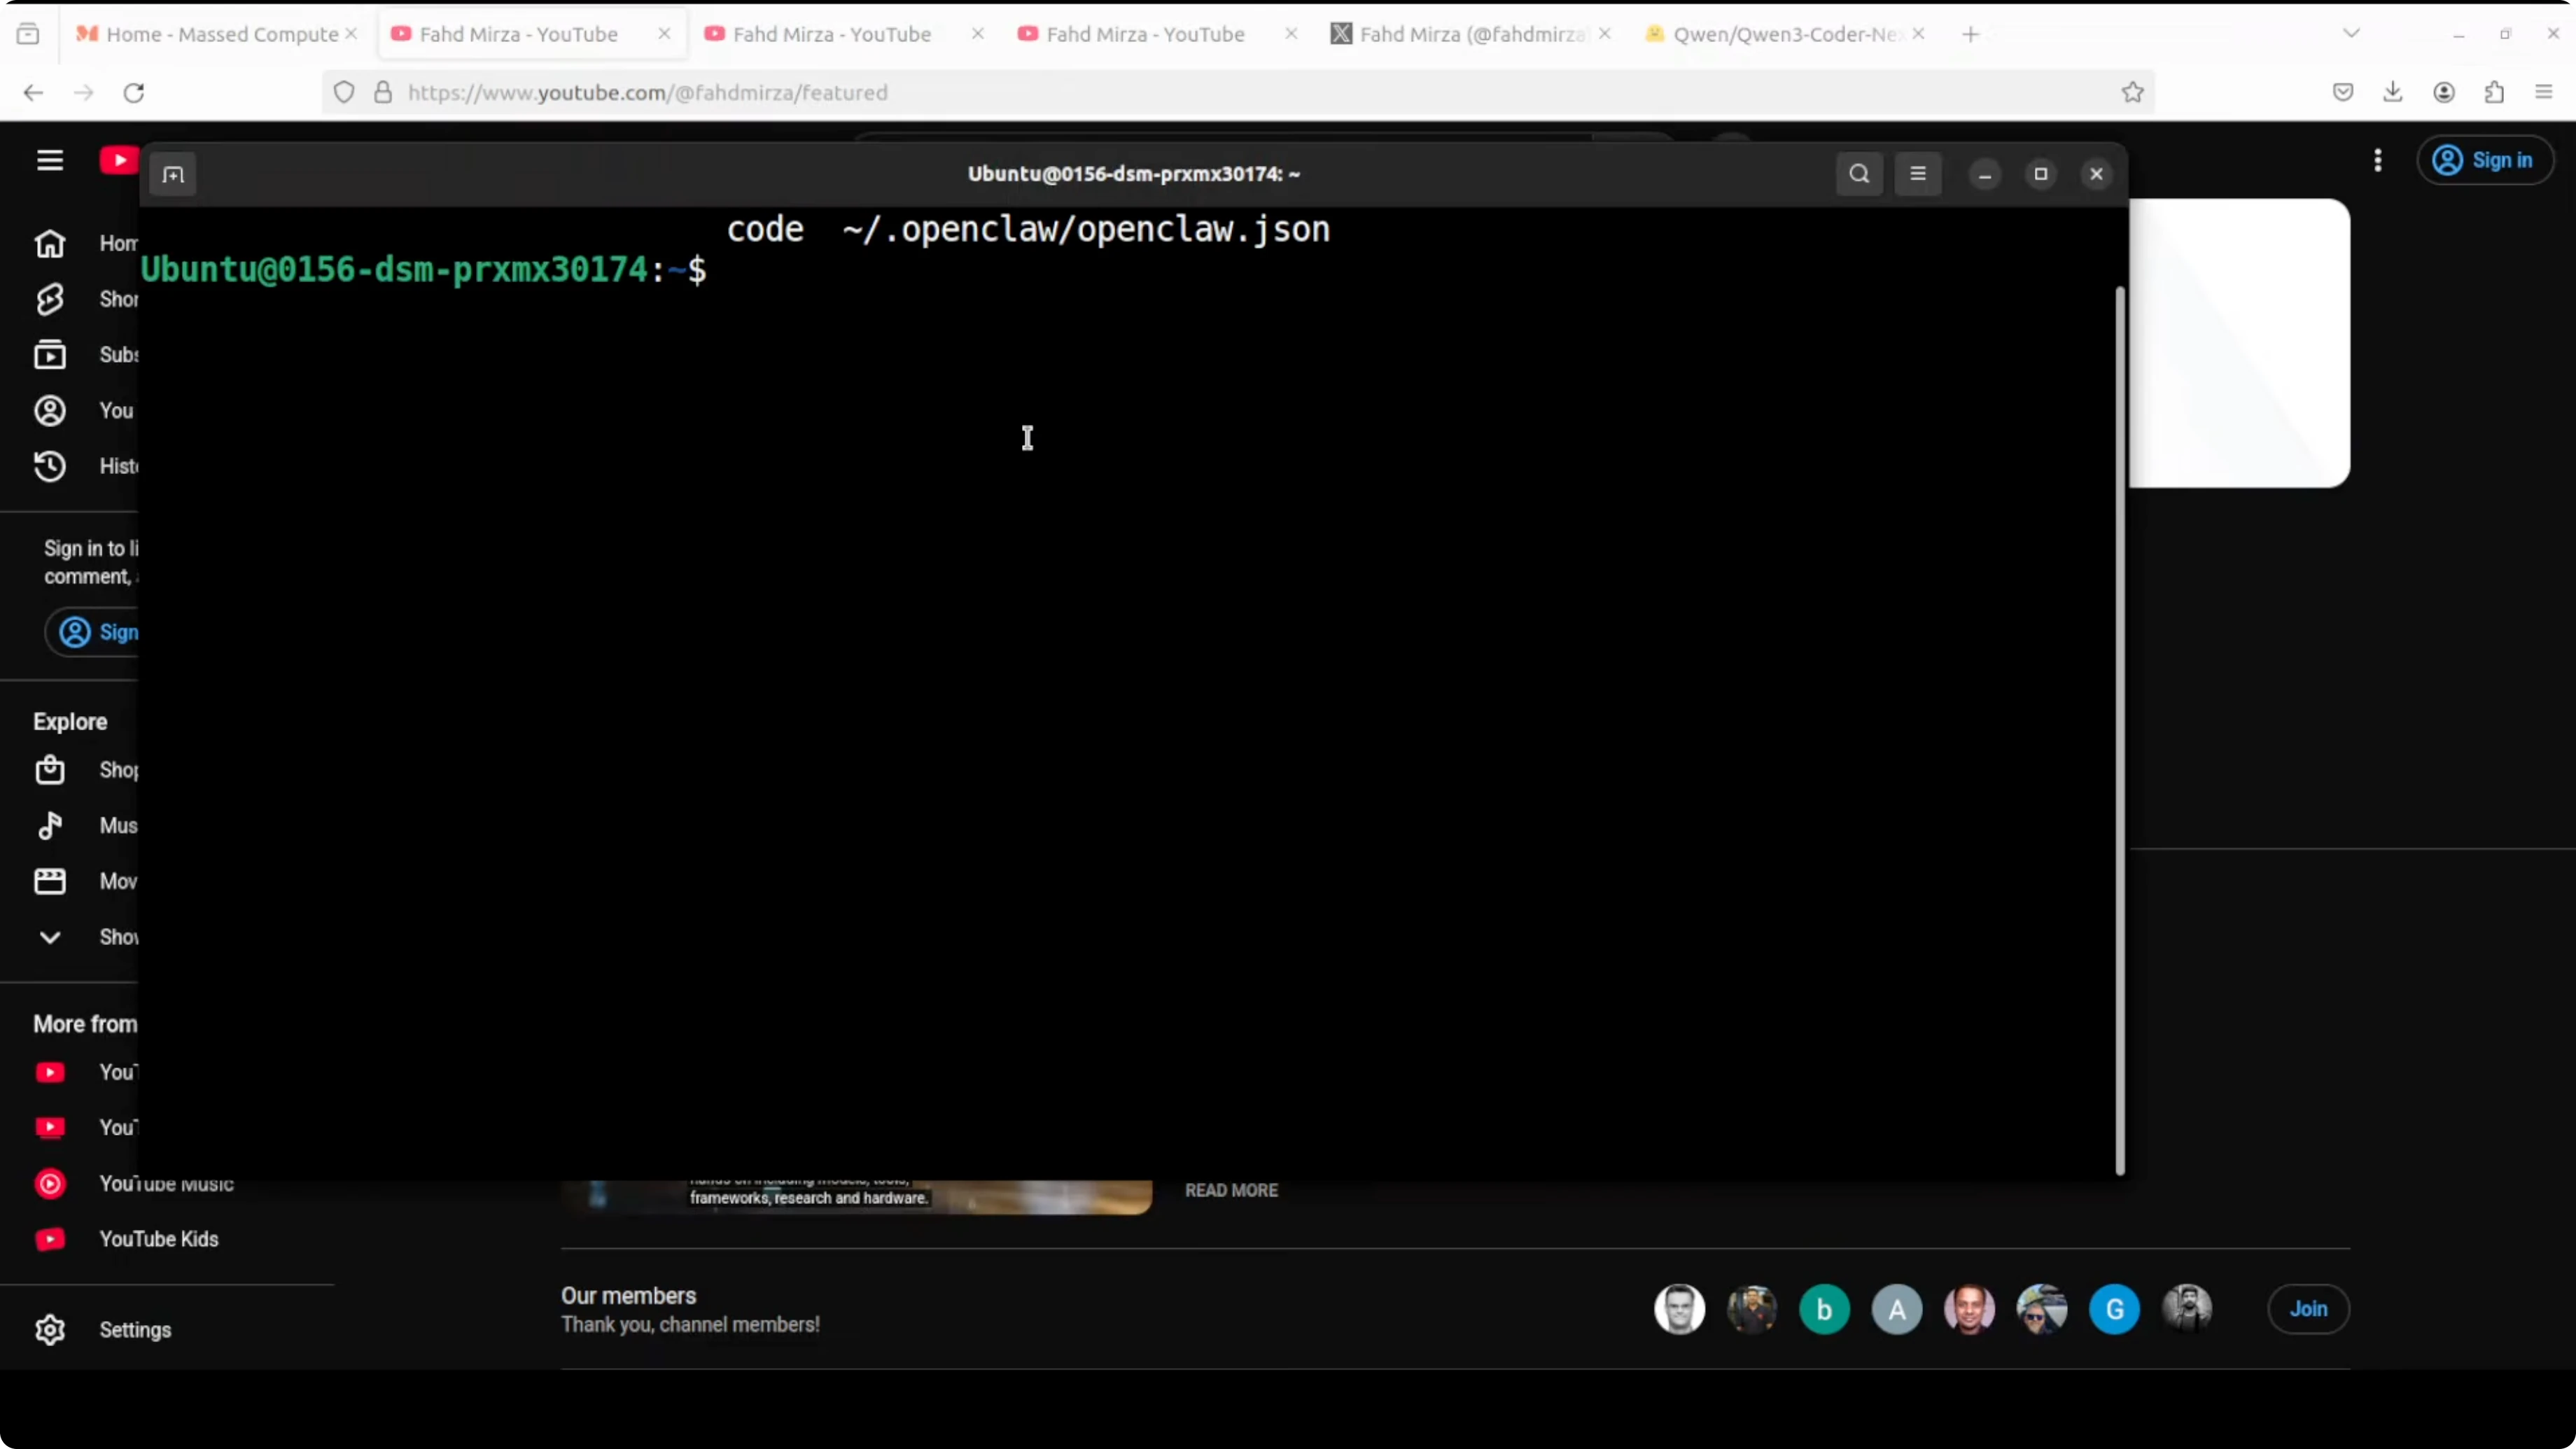
- By default OpenClaw creates a config.json. Edit it.
- All I am doing is:
- Set the base URL for the OpenAI-compatible endpoint - for me it is
http://localhost:8001. - Set the model name to the Qwen 3 Coder Next model you are serving.
- Set the base URL for the OpenAI-compatible endpoint - for me it is
Restart the gateway and confirm
- Restart the OpenClaw gateway with systemctl.
- Verify again with
openclaw status. You should see that your model is loaded. - The dashboard GUI is also available. You can chat with it if you like, but I prefer the terminal with OpenClaw.
Test the agent with Qwen3-Coder-Next
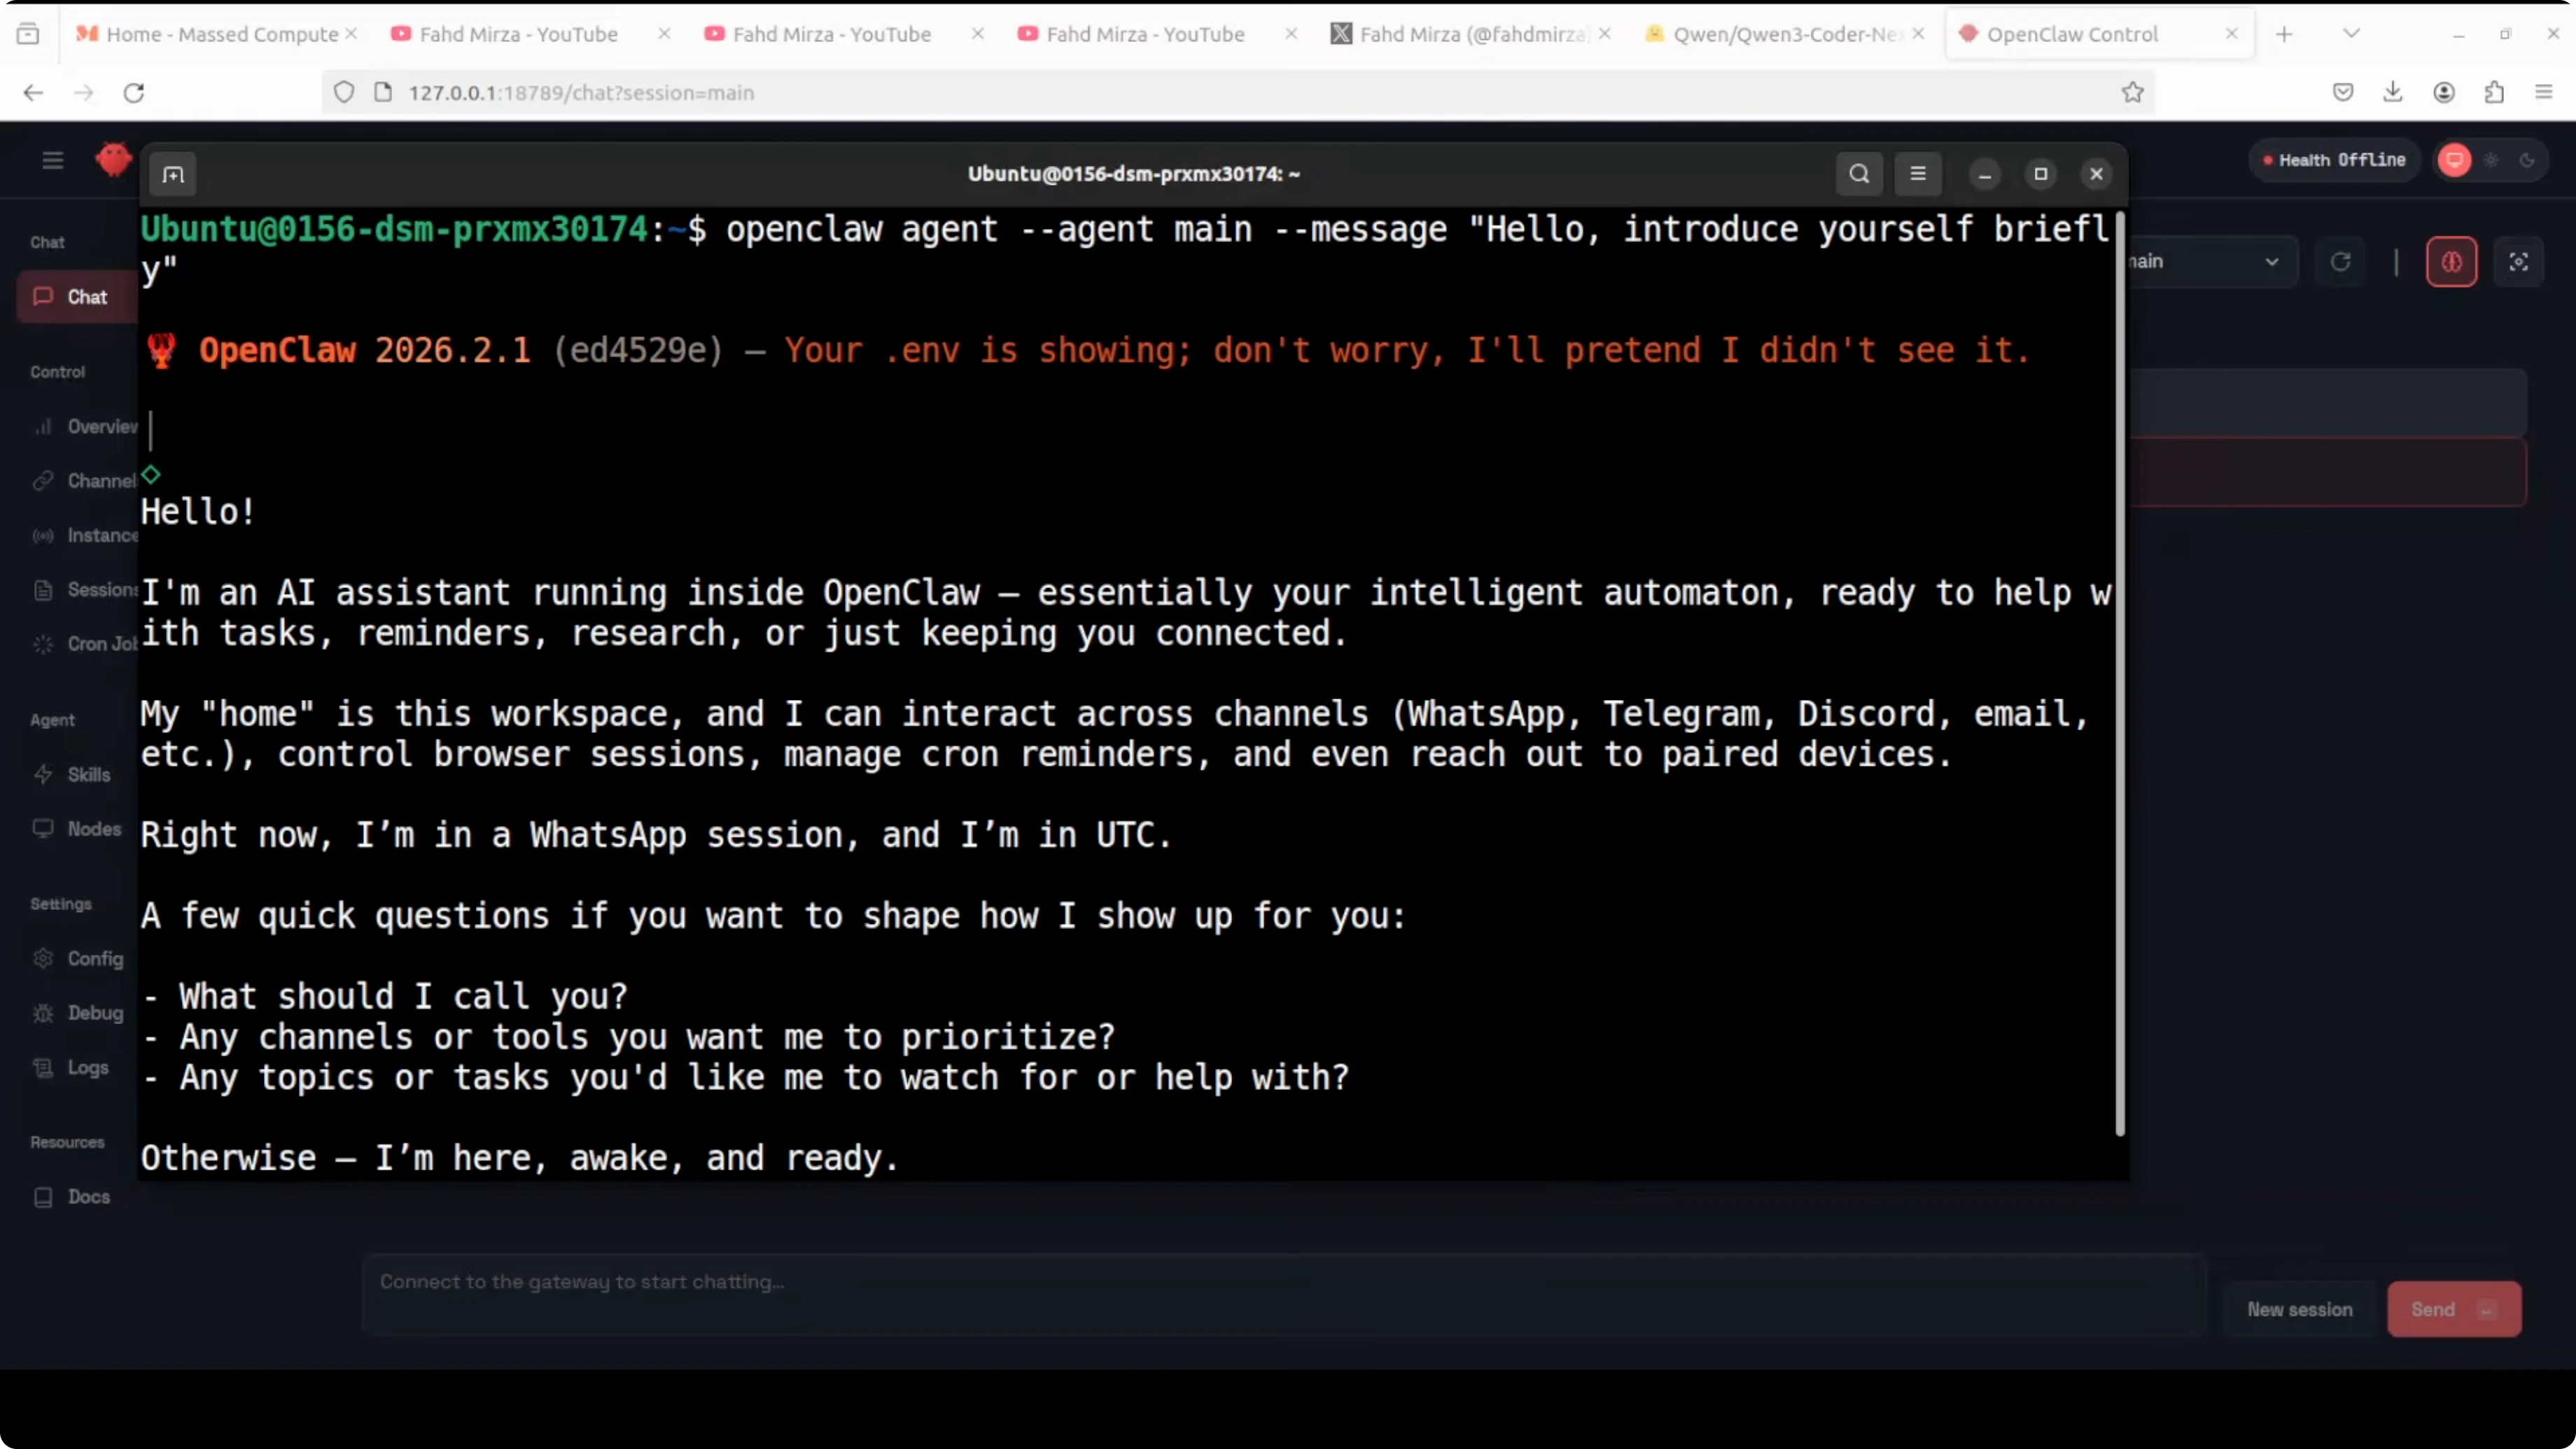
- Ask it something simple to confirm everything is wired correctly. I asked it to introduce itself, and it gave me a very concise answer - spot on.
- For coding, ask for something like: build me a simple to-do app in Python. The agent should work, and if there are any skills or tools it needs, it should use them as long as you have enabled them.
- You can also control it from your messaging app if you have integrated one.
Files, workspace, and safety
- It builds code and shows the files it created.
- It writes into a workspace directory in your OpenClaw.
- Once coding frameworks run or any tools execute, be careful about security and safety. The agent can have access to your local system as configured.
Notes on model quality
- Qwen 3 Coder Next has performed impressively in my tests. I am very impressed by the quality of it.
Final Thoughts
OpenClaw with llama.cpp and Qwen 3 Coder Next runs fully local with no API keys, and the setup is straightforward: install OpenClaw, point its config to your local OpenAI-compatible endpoint, restart the gateway, and test with a coding task. The agent generates code into the OpenClaw workspace and can use skills and tools you enable. Be mindful of permissions and security in production. I intend to do more with skills and hooks on top of this setup.
Subscribe to our newsletter
Get the latest updates and articles directly in your inbox.

Related Posts

8 Best Claude Code Plugins in 2026 (You Need to Know)
8 Best Claude Code Plugins in 2026 (You Need to Know)

7 Best Claude Code Skills (You Need to Know)
7 Best Claude Code Skills (You Need to Know)

Claude Code Desktop IDE Features (You Need to Know)
Claude Code Desktop IDE Features (You Need to Know)