Table Of Content
- What is PocketFlow?
- Table Overview
- Key Features
- How to use?
- Prerequisites
- Step 1: Get an API key (Gemini)
- Step 2: Clone the repository
- Step 3: Install prerequisites
- Step 4: Configure your model and API key
- Step 5: Test the LLM connection
- Step 6: Run the repository analysis workflow
- Output location and format
- How it works?
- Core concepts
- Control constructs
- Putting it together
- FAQs
- Do I need a GPU?
- Which models are supported?
- How do I add my API key?
- How do I change the model?
- How do I verify that the LLM is reachable?
- How do I run the example workflow?
- Where are the outputs saved?
- Can PocketFlow build more than documentation generators?
- Does PocketFlow lock me into a specific vendor?
- What is the license?
- Conclusion

PocketFlow Tutorial: Build Modular AI Agents & Workflows
Table Of Content
- What is PocketFlow?
- Table Overview
- Key Features
- How to use?
- Prerequisites
- Step 1: Get an API key (Gemini)
- Step 2: Clone the repository
- Step 3: Install prerequisites
- Step 4: Configure your model and API key
- Step 5: Test the LLM connection
- Step 6: Run the repository analysis workflow
- Output location and format
- How it works?
- Core concepts
- Control constructs
- Putting it together
- FAQs
- Do I need a GPU?
- Which models are supported?
- How do I add my API key?
- How do I change the model?
- How do I verify that the LLM is reachable?
- How do I run the example workflow?
- Where are the outputs saved?
- Can PocketFlow build more than documentation generators?
- Does PocketFlow lock me into a specific vendor?
- What is the license?
- Conclusion
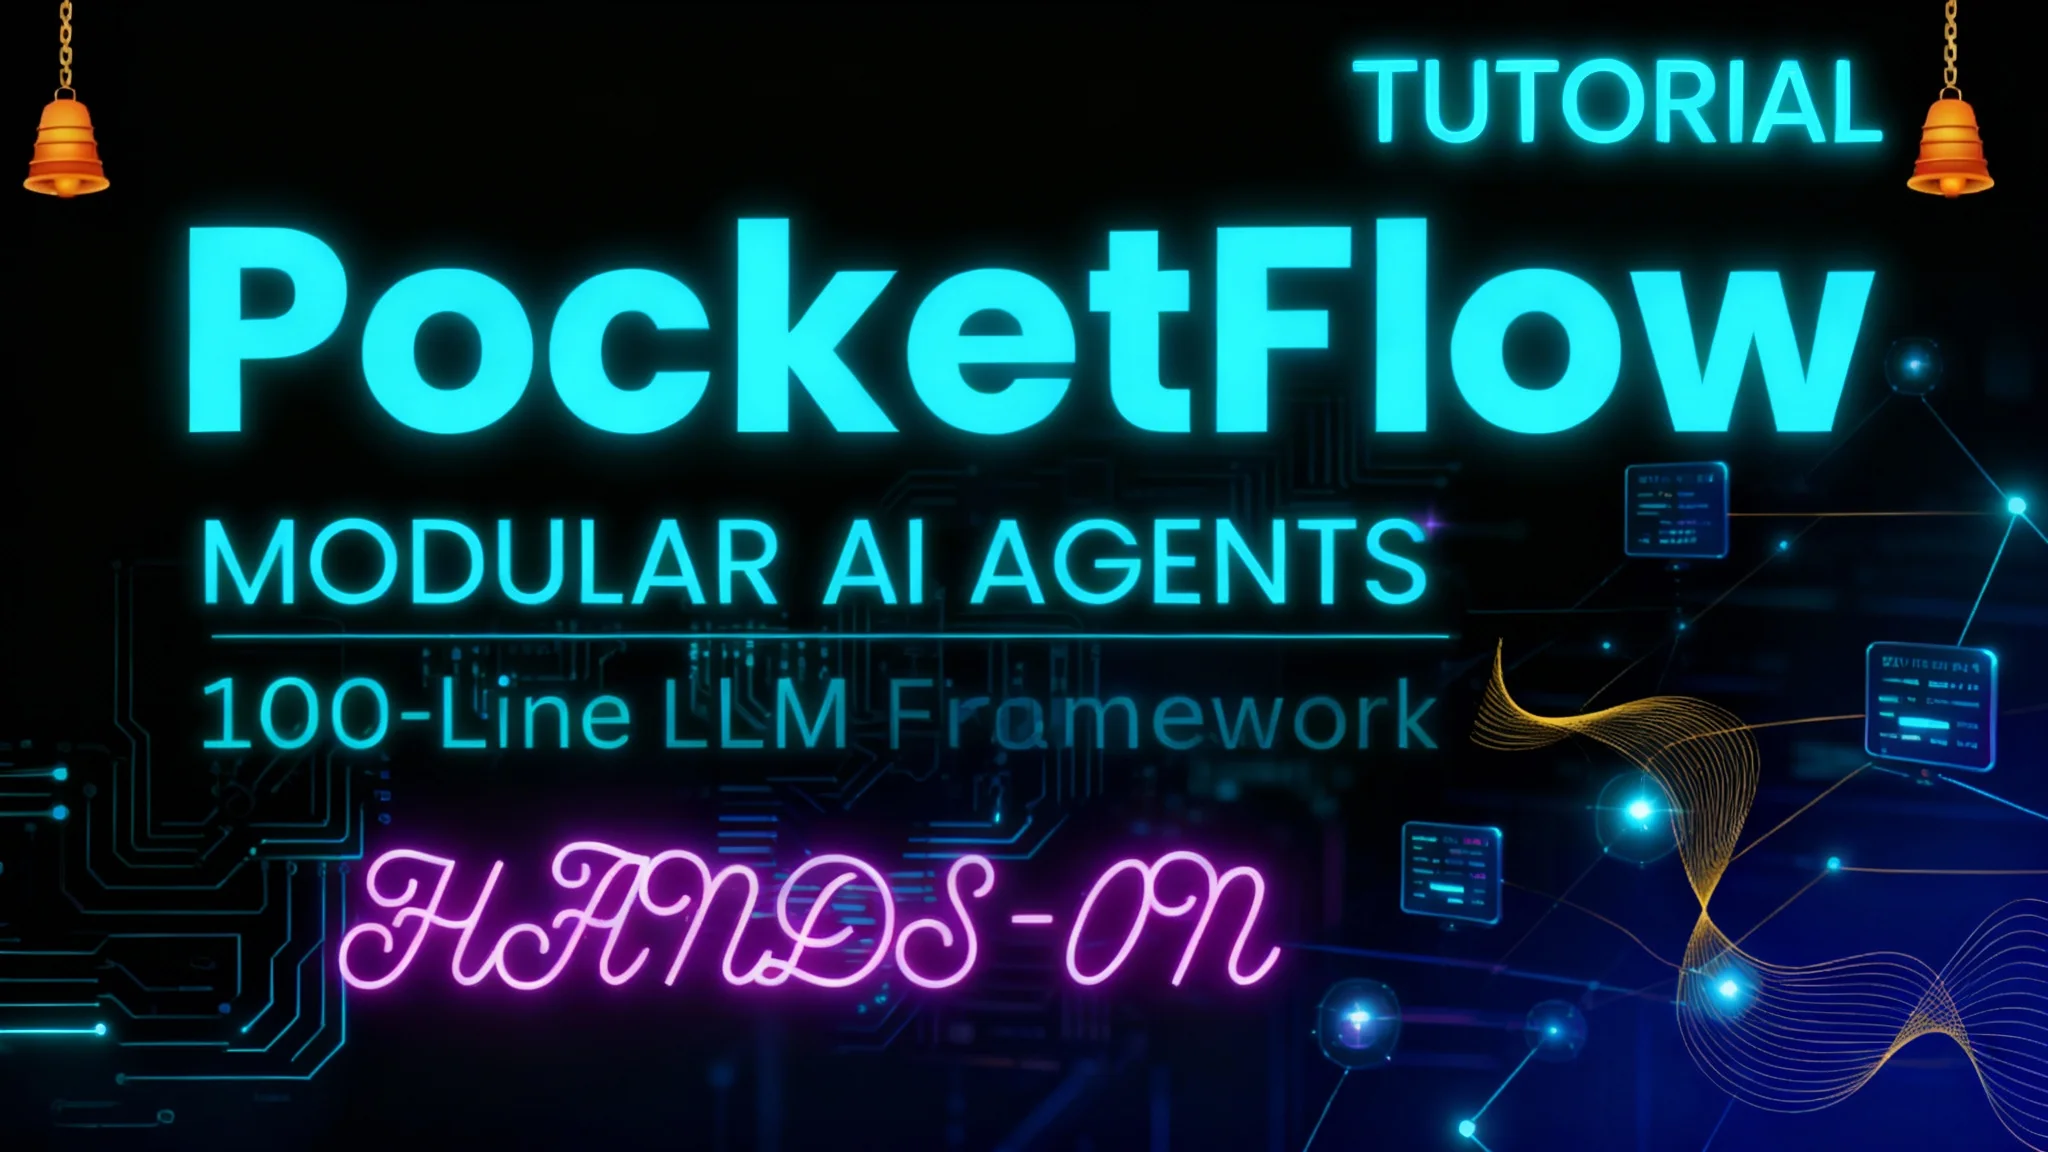
PocketFlow is a minimalist framework for building agentic applications and intelligent workflows. It focuses on a tiny core—roughly 100 lines of Python—without external dependencies or vendor lock-in.
In this hands-on guide, I install it locally, walk through the key concepts, and run a quick workflow that analyzes a local Git repository and generates documentation. I also explain the architecture—nodes, flows, and control constructs—so you can design your own modular pipelines.
What is PocketFlow?
At its core, PocketFlow defines two simple abstractions:
- Nodes encapsulate a single unit of logic or a task.
- Flows connect nodes to control how data and execution move through a process.

This structure makes it easy to build clear, maintainable systems that use LLMs for tasks such as conversation, decision-making, and automation. The aim is to keep things small, readable, and practical while supporting real workflows.
There’s plenty of theory in the documentation, but you don’t need all of it to get started. I’ll install it, show a quick end-to-end example, and then explain how the architecture fits together.
Table Overview
| Property | Details |
|---|---|
| Purpose | Build modular LLM agents and intelligent workflows |
| Core size | ~100 lines of Python |
| Dependencies | No external runtime dependencies |
| Vendor lock-in | None |
| Model access | OpenAI-compatible endpoints |
| Recommended models | Claude, Gemini, or OpenAI models |
| GPU requirement | Not required |
| Typical tasks | Conversation, decision-making, automation, repo/documentation analysis |
| Output formats | Text/Markdown and other structured outputs |
| License | MIT |
Key Features
- Minimal core: tiny codebase, easy to read and extend.
- Modular nodes: each node handles one task (read, filter, analyze, write).
- Flow orchestration: connect nodes to define end-to-end processes.
- Control constructs:
- Batch: repeat steps across multiple inputs.
- Parallel: run steps concurrently.
- Async: handle I/O-bound or waiting tasks.
- Looping: iterate for long-running interactions.
- Shared: read/write shared state between nodes.
- Branch: conditional paths.
- Nesting: group steps into reusable subflows.
- Open model access: use any OpenAI-compatible LLM service.
- Open source: permissive MIT license.
How to use?
Below is the exact setup and workflow I used to run a practical PocketFlow example on a local Ubuntu machine. The same process applies to macOS or Windows with minor shell differences.
Prerequisites
- Python environment set up on your system.
- An API-based LLM. The project recommends a strong “thinking” model such as Claude, Gemini, or OpenAI models.
- I used a free API key from Google AI Studio for Gemini 2.5 Pro. No GPU is needed.
Step 1: Get an API key (Gemini)
- Go to aistudio.google.com and sign in.
- From the top-right menu, create a free API key.
- Save the key—you’ll add it to the project in a moment.
Note: You can also use Anthropic or OpenAI keys. PocketFlow sends requests to an OpenAI-compatible endpoint, so you can swap providers by changing configuration.
Step 2: Clone the repository
- Clone the PocketFlow repository to your local machine.
- Change into the project directory.
Example:
- git clone repository_url
- cd pocketflow
(Use the actual repository URL from the project page.)
Step 3: Install prerequisites
The project’s dependencies are minimal. Install them from the repository (either a requirements file or a simple pip install depending on the repo layout):
- pip install -r requirements.txt
If a requirements file isn’t provided, install:
- pip install pocketflow openai
PocketFlow uses an OpenAI-compatible interface for model calls, so the openai client is included.
Step 4: Configure your model and API key
Open the repository in your editor and locate:
- utils/call_llm.py
In that file:
- You can read the API key from your environment or paste it directly. The script also supports Google Cloud project keys.
- I pasted the Gemini API key in double quotes around line 599, saved the file, and returned to the terminal.
- The same file works for Anthropic or OpenAI keys. Replace the model name to switch providers.
If you prefer environment variables, set them as needed and keep secrets out of the codebase.
Step 5: Test the LLM connection
From the repository:
- Run the call_llm.py script to confirm a successful request.
- If you receive a valid response, your model access is working.
This quick check ensures the rest of the workflow can call the LLM without errors.
Step 6: Run the repository analysis workflow
PocketFlow includes a simple workflow that crawls a local (or online) Git repository and generates a tutorial-style documentation set. To run it:
- From the project root, execute main.py.
- Provide the path to a local Git repository when prompted.
Here’s what happens:
- The agent fetches the repository contents and crawls directories.
- It shows progress updates while it identifies key abstractions using the LLM.
- On completion, it writes a full set of Markdown documents to an output directory.
You’ll see files such as index.md and additional pages for different parts of the project. The workflow may include diagrams—mine generated a Mermaid sequence diagram within the documentation.
Output location and format
- All generated documentation is stored in the output directory.
- Files are in Markdown format, easy to read and version-control.
- The structure includes an index and topic-specific pages based on the repository’s contents.
This example demonstrates the core concept: nodes perform focused tasks (read files, filter, analyze code, produce docs) and flows coordinate the overall process.
How it works?
PocketFlow’s design centers on modularity and clear execution paths. Once you grasp nodes and flows, the control constructs make it straightforward to express complex processes with small, reusable parts.
Core concepts
-
Node
- A node represents one unit of work.
- Example tasks: read repository files, summarize a file, draft a reply, write a Markdown section.
-
Flow
- A flow connects nodes and defines the data path and execution order.
- You can chain nodes sequentially, run sets in parallel, or conditionally branch.
This separation keeps each unit focused while still supporting end-to-end pipelines.
Control constructs
PocketFlow includes several constructs to express realistic workflows:
-
Batch
- Repeat the same node or subflow over multiple inputs.
- Useful for applying a summarizer to a list of files.
-
Parallel
- Run nodes concurrently.
- Helpful when tasks do not depend on each other and can be executed side by side.
-
Async
- Handle I/O-bound tasks or steps that may need to wait (e.g., checking an inbox).
-
Looping
- Iterate across a long-running or interactive session.
- Pattern: get questions → answer questions, repeated until done.
-
Shared
- Read and write shared state across nodes.
- Allows nodes to coordinate using a common data structure.
-
Branch
- Take different paths based on conditions.
- Pattern: need review? If yes, route to review steps; if no, continue.
-
Nesting
- Group a set of steps into a reusable unit (a subflow).
- Useful for packaging a common coding sequence such as write tests → verify code.
These constructs let you express the control plane of your workflow without burying logic in a monolithic function.
Putting it together
In the repository analysis example:
-
Nodes
- Read files.
- Filter out irrelevant content.
- Analyze code and structure.
- Produce documentation pages.
-
Flow
- Connects the above nodes in sequence.
- Uses batch to process files and may run steps in parallel.
- Optionally uses shared state to track global metadata.
- Writes a complete, coherent output set at the end.
The result is a clean pipeline where each part is easy to maintain and test.
FAQs
Do I need a GPU?
No. PocketFlow works with API-based models and does not require a GPU.
Which models are supported?
Any provider offering an OpenAI-compatible endpoint. Strong models such as Claude, Gemini, or OpenAI models are recommended for reasoning-heavy tasks.
How do I add my API key?
Open utils/call_llm.py. You can either:
- Paste the key directly (I added mine around line 599), or
- Set environment variables and read them in the script.
The file also supports Google Cloud project settings if you prefer that path.
How do I change the model?
In utils/call_llm.py, replace the model name with your preferred provider and model ID. The same file works for switching between Gemini, Anthropic, and OpenAI.
How do I verify that the LLM is reachable?
Run the call_llm.py script from the repository. If it returns a valid response, your configuration is correct.
How do I run the example workflow?
From the repository root, run main.py. Provide a path to a local Git repository. The workflow will crawl the repo, analyze it with the LLM, and write Markdown documentation to an output directory.
Where are the outputs saved?
Outputs are written to the output directory in Markdown format. You’ll see an index file along with per-topic pages. The documentation can include diagrams such as Mermaid sequence diagrams.
Can PocketFlow build more than documentation generators?
Yes. The node/flow design supports broader agentic patterns such as conversation, decision-making, and automation. The same control constructs apply across use cases.
Does PocketFlow lock me into a specific vendor?
No. The framework avoids vendor lock-in and does not rely on heavy external dependencies. You can switch providers by changing configuration.
What is the license?
MIT. You can use it in personal and commercial projects.
Conclusion
PocketFlow keeps agentic development focused on essentials: small, readable code, modular nodes for single-responsibility tasks, and flows that move data through a pipeline. I installed it locally, configured an API key for Gemini 2.5 Pro, validated the connection, and ran a practical workflow that analyzed a local Git repository and produced a complete Markdown documentation set.
The architecture is straightforward: nodes do one thing; flows connect them; control constructs express real-world execution (batch, parallel, async, loop, shared, branch, nesting). That combination makes it easy to assemble clear, maintainable workflows without heavy tooling.
It’s open source, MIT-licensed, and works with common LLM providers through OpenAI-compatible endpoints. If you want a compact framework for modular workflows and agent behavior, PocketFlow offers a clean, usable starting point.
Related Posts

Chroma 4B: Exploring End-to-End Virtual Human Dialogue Models
Chroma 4B: Exploring End-to-End Virtual Human Dialogue Models

Qwen3-TTS: Create Custom Voices from Text Descriptions Easily
Qwen3-TTS: Create Custom Voices from Text Descriptions Easily

How to Fix Google AI Studio Failed To Generate Content Permission Denied?
How to Fix Google AI Studio Failed To Generate Content Permission Denied?

