
Table Of Content
- Try New Image Generation model Z Image Turbo
- What is FLUX2 dev?
- FLUX2 dev Overview
- Precision variants and suggested VRAM
- Key Features
- How to Use FLUX2 dev - Step-by-Step Guide
- 1. Install ComfyUI fresh
- 2. Set up your Hugging Face access
- 3. Download the three required model components
- 4. Load the workflow in ComfyUI
- 5. Pick the right precision for your GPU
- 6. Generate with a simple text prompt
- 7. Add reference images if needed
- 8. Troubleshoot out-of-memory or timeouts
- VRAM, Performance, and Practical Notes
- Full precision behavior
- FP8 mixed precision behavior
- General tips
- Using Reference Images
- Single image editing
- Two-image prompting
- Quality notes
- Architecture Notes for FLUX2 dev
- High level changes from FLUX 1
- Capacity reallocation and parameter sharing
- Efficiency and normalization
- Benchmarks and Quality Observations
- Reported benchmarks
- Prompt fidelity and rendering
- Areas to watch
- Safety and Availability
- Frequently Asked Questions
- Do I need a new ComfyUI install?
- Where do I put the files?
- Which model variant should I download?
- What if I get out-of-memory errors?
- Does the workflow support image editing?
- Quick Start Checklist
- Tips for Better Results
- Conclusion

Set Up Flux 2 dev in ComfyUI: Local Install + Free Workflow
Table Of Content
- Try New Image Generation model Z Image Turbo
- What is FLUX2 dev?
- FLUX2 dev Overview
- Precision variants and suggested VRAM
- Key Features
- How to Use FLUX2 dev - Step-by-Step Guide
- 1. Install ComfyUI fresh
- 2. Set up your Hugging Face access
- 3. Download the three required model components
- 4. Load the workflow in ComfyUI
- 5. Pick the right precision for your GPU
- 6. Generate with a simple text prompt
- 7. Add reference images if needed
- 8. Troubleshoot out-of-memory or timeouts
- VRAM, Performance, and Practical Notes
- Full precision behavior
- FP8 mixed precision behavior
- General tips
- Using Reference Images
- Single image editing
- Two-image prompting
- Quality notes
- Architecture Notes for FLUX2 dev
- High level changes from FLUX 1
- Capacity reallocation and parameter sharing
- Efficiency and normalization
- Benchmarks and Quality Observations
- Reported benchmarks
- Prompt fidelity and rendering
- Areas to watch
- Safety and Availability
- Frequently Asked Questions
- Do I need a new ComfyUI install?
- Where do I put the files?
- Which model variant should I download?
- What if I get out-of-memory errors?
- Does the workflow support image editing?
- Quick Start Checklist
- Tips for Better Results
- Conclusion
FLUX 2 is the next iteration of Black Forest Labs' image generation model. In this guide, I show exactly how I installed FLUX2 dev locally in ComfyUI, which model files you need, how to set up the workflow, and how to manage VRAM for both full precision and FP8 variants. I also cover a concise overview of the architecture updates from FLUX 1 to FLUX 2, basic troubleshooting, and how reference images behave in the provided workflow.
I ran the full precision model on an Nvidia H100 80 GB card on Ubuntu and tested the FP8 mixed precision variant on a smaller budget. The steps and folder paths below follow ComfyUI’s default structure.
Try New Image Generation model Z Image Turbo
If you want to test it before installing it locally, you can use Z Image Turbo, a free online tool by Alibaba that lets you generate images with Z-Image-Turbo and other AI models directly in your browser. No installation or GPU required.
What is FLUX2 dev?
FLUX2 dev refers to setting up the FLUX 2 dev model for local text-to-image and image-conditioned generation inside ComfyUI. The dev release is free to download with a Hugging Face account and includes a full precision model and quantized variants that fit different GPUs.
In ComfyUI, FLUX2 dev runs as a standard diffusion model with a single text encoder and a VAE. You load the three components in a workflow, add a prompt, optionally plug in reference images, and generate.
FLUX2 dev Overview
FLUX2 dev includes a single text encoder, a VAE, and the main diffusion model file. The full precision file targets high VRAM cards, while the FP8 mixed precision variant fits far smaller GPUs.
Precision variants and suggested VRAM
| Variant | Model file size | Suggested GPU VRAM | Notes |
|---|---|---|---|
| Full precision | about 64.4 GB | 80 GB | Highest quality, largest memory footprint |
| FP16 mixed precision | varies | 48 GB or more | Middle ground for quality and memory |
| FP8 mixed precision | about 35.5 GB | under 20 GB possible | Smallest footprint, quality tradeoffs in fine details |
Notes:
- Actual memory use during generation can exceed model file size due to activations and workflow nodes.
- In practice, the full precision model can pull over 62 GB and may spike higher under load.
- FP8 can fit under 20 GB on the GPU in this workflow.
Key Features
- Single text encoder
- Uses a Mistral Small 3.1 based encoder
- Up to 512 tokens for prompts
- Multimodal DiT core
- Based on a multimodal diffusion transformer with parallel DiT blocks
- Eight double stream blocks handle image and text before joining for attention
- Rebalanced capacity
- FLUX 2 allocates about 73 percent of parameters to single stream blocks in a 32B architecture
- FLUX 1 allocated about 54 percent in a 12B setup
- Efficiency updates
- Shared time and guidance modulation parameters across blocks
- Bias parameters removed from attention and feed forward layers
- Fully parallel transformer layout in single stream blocks
- Normalization and fused QV projections for speed and stability
- ComfyUI friendly
- Standard three-part setup: model, text encoder, VAE
- Works with text-only prompts and prompts with reference images
- Safety emphasis
- Model aligns with safety partnerships and filters
How to Use FLUX2 dev - Step-by-Step Guide
Follow these steps in order. A fresh ComfyUI install is important for compatibility.

1. Install ComfyUI fresh
- Install a clean, up-to-date copy of ComfyUI. If you have an older setup, remove it and reinstall.
- Confirm you can launch ComfyUI in your browser before adding models.
2. Set up your Hugging Face access
- Sign up or log in to your Hugging Face account.
- Locate the FLUX 2 dev model page.
- Accept the model terms and conditions. You must do this for downloads to proceed.

3. Download the three required model components
You need one file for each of the following:
- Text encoder
- Purpose: converts your prompt text into embeddings the model can read
- File size: about 18 GB
- Save to: ComfyUI/models/text_encoder
- Variational Autoencoder
- Purpose: maps between latent space and pixel space for image output
- File size: about 336 MB
- Save to: ComfyUI/models/vae
- Diffusion model
- Purpose: main model weights
- Options:
- Full precision: about 64.4 GB for 80 GB VRAM cards
- FP16 mixed precision: for GPUs near 48 GB
- FP8 mixed precision: about 35.5 GB, fits under 20 GB VRAM in tests
- Save to: ComfyUI/models/diffusion_models
Tip:
- Right click the download arrow on Hugging Face and choose Save link as to place files directly into the correct folders.
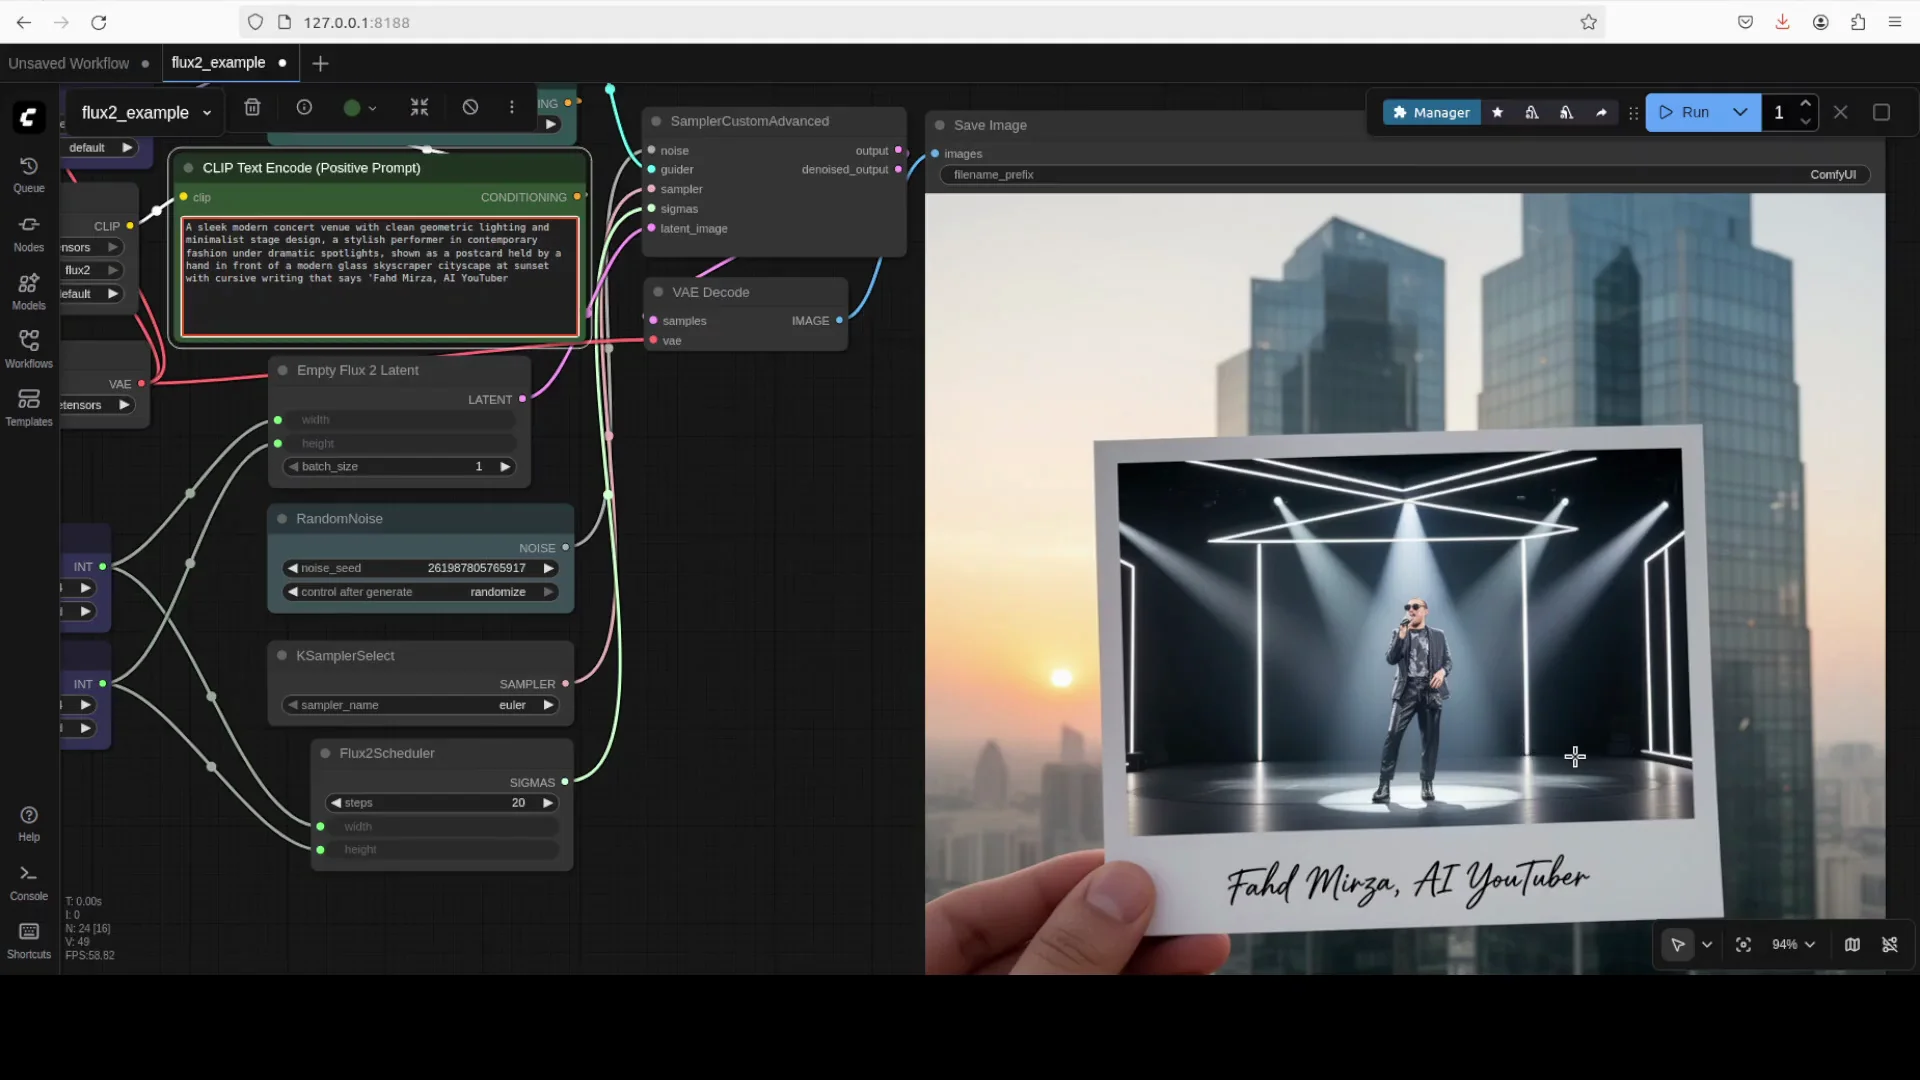
4. Load the workflow in ComfyUI
- Launch ComfyUI in your browser.
- Load the provided FLUX2 dev workflow file. It includes:
- Load Diffusion Model node
- Text encoder node
- VAE node
- Prompt input
- Optional reference image inputs
- In the Load Diffusion Model node, select the model file you downloaded.
- In the text encoder node, select the Mistral based text encoder file.
- In the VAE node, select the VAE file.
- Add your prompt and run.
5. Pick the right precision for your GPU
- 80 GB VRAM
- Use the full precision model for best quality
- Around 48 GB VRAM
- Use the 48 GB class mixed precision model
- Under 20 GB VRAM
- Use the FP8 mixed precision model
Switch the model in the Load Diffusion Model node and keep the same workflow.
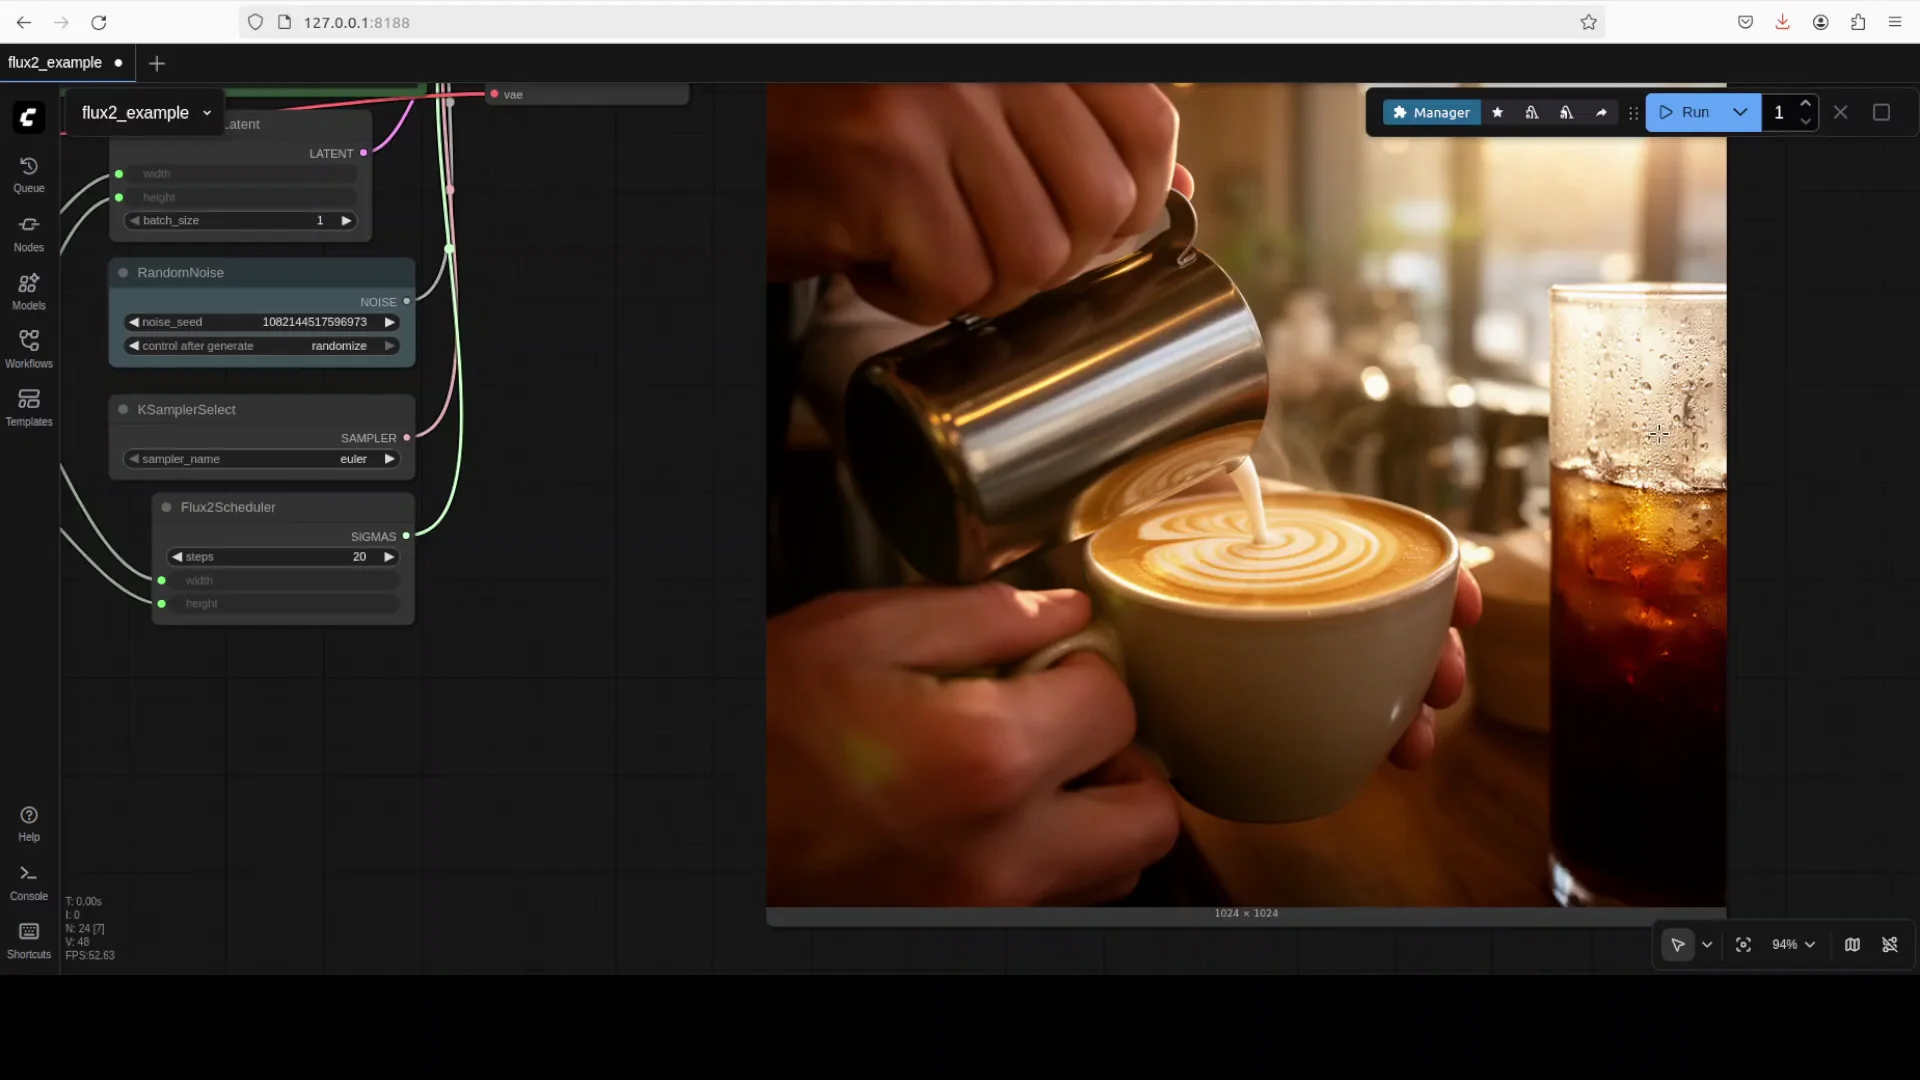
6. Generate with a simple text prompt
- In the prompt node, add your description.
- Click Run.
- Watch the nodes load and execute in sequence.
- Inspect VRAM usage if you want to gauge headroom.
7. Add reference images if needed
- The workflow includes one or more image input nodes.
- Upload a single reference image for editing or multiple for style and content guidance.
- Adjust prompt and reference weights if the workflow exposes them.
- Run and review results.
8. Troubleshoot out-of-memory or timeouts
- If you hit an out-of-memory error
- Stop the ComfyUI process
- Relaunch ComfyUI to clear VRAM and reload models
- If runs slow or stall
- Reduce resolution or batch size
- Switch to a lower precision model
- Restart ComfyUI to free memory
VRAM, Performance, and Practical Notes
Full precision behavior
- Full precision on an 80 GB card
- Loading and generation can exceed 62 GB and climb near the card limit during heavy runs
- If a run exhausts memory or times out, restarting ComfyUI clears the state
- Longer prompts and high resolution increase memory pressure
FP8 mixed precision behavior
- FP8 often fits under 20 GB on the GPU in this workflow
- Quality differences appear in fine textures and tricky anatomy
- For most tests, FP8 remained stable and responsive
General tips
- The model tends to fill available VRAM
- If you have plenty of headroom, the runtime can claim more memory
- Keep only the necessary nodes active
- Disable or remove unused nodes to reduce allocations
- If you switch model files mid-session
- Restart ComfyUI to ensure a clean load and accurate memory view
Using Reference Images
Single image editing
- Upload a source image in the workflow
- Prompt for the desired change, such as color adjustments
- The model can change attributes like clothing color based on prompt guidance
- Identity preservation
- In tests, editing changes could also alter the face or character
- Expect style and attribute changes rather than strict identity locking
Two-image prompting
- Provide two reference images for clothing and style hints
- Prompt for the scene, pose, and lighting
- The output tends to follow clothing and general style cues
- Identity replacement is not guaranteed in this setup
Quality notes
- Outputs showed strong global lighting, realistic shadows, and pleasing reflections
- Hand and finger details may need improvement in some cases
- FP8 outputs reduced the plastic look while keeping a natural tone in many scenes
Architecture Notes for FLUX2 dev
High level changes from FLUX 1
- Single text encoder
- FLUX 2 uses a single Mistral Small 3.1 text encoder
- Up to 512 tokens per prompt
- Core layout
- Multimodal diffusion transformer with parallel DiT blocks
- Eight double stream blocks handle image and text separately before attention merging
Capacity reallocation and parameter sharing
- Capacity shifts
- In a 32B architecture, about 73 percent of parameters sit in single stream blocks
- FLUX 1 used about 54 percent in a 12B setup
- Parameter sharing
- Time and guidance modulation parameters are shared across blocks
- Bias parameters are removed from attention and feed forward layers
Efficiency and normalization
- Fully parallel transformer architecture in single stream blocks
- Normalization improvements around KQ projections
- Fused QV projections reduce overhead and improve stability
These changes aim to balance throughput and quality while keeping the architecture friendly for production workflows.
Benchmarks and Quality Observations
Reported benchmarks
- Text to image
- FLUX2 dev scored higher than other compared models in the released benchmarks
- Reference guided generation
- Single reference results were strong
- Multi reference results improved further
- Cross model comparison
- FLUX2 dev results were consistently favorable against several baselines in the shared charts
Prompt fidelity and rendering
- The model follows prompt scene structure, lighting, and mood very well
- Global illumination and shadowing are natural
- Typography and clean geometry in designed scenes are handled with confidence
Areas to watch
- Hands and complex fingers can still show minor issues
- Identity persistence for strict photo editing is limited in the tested workflow
- Full precision improves detail and reduces artifacts at large resolutions
Safety and Availability
- Safety focus
- The model incorporates safety measures in collaboration with external partners
- Results in tests stayed within typical content safety norms
- Availability
- FLUX2 dev is free with a Hugging Face account and accepted terms
- Additional paid models were mentioned by the creators, including a context model
- More releases are planned by the team
Frequently Asked Questions
Do I need a new ComfyUI install?
Yes. Use a clean, up-to-date ComfyUI install to avoid compatibility issues with FLUX2 dev.
Where do I put the files?
- Text encoder: ComfyUI/models/text_encoder
- VAE: ComfyUI/models/vae
- Diffusion model: ComfyUI/models/diffusion_models
Which model variant should I download?
- 80 GB GPU: full precision
- 48 GB class GPU: FP16 mixed precision
- Under 20 GB: FP8 mixed precision
What if I get out-of-memory errors?
Stop ComfyUI, let it terminate fully, then relaunch. This clears VRAM and reloads the model. You can also lower resolution, switch to FP8, or reduce batch size.
Does the workflow support image editing?
Yes. You can upload one or more reference images. The model follows style and attributes well. Identity preservation is limited in the tested setup.
Quick Start Checklist
- Fresh ComfyUI install
- Hugging Face account and accepted FLUX2 dev terms
- Downloaded files:
- Text encoder file in models/text_encoder
- VAE file in models/vae
- Diffusion model in models/diffusion_models
- Workflow loaded in ComfyUI
- Model, text encoder, and VAE selected in their nodes
- Prompt added
- Optional reference images uploaded
- Run
Tips for Better Results
- Start small
- Use a moderate resolution and a single image generation to validate setup
- Prompt clarity
- Describe composition, lighting, materials, and color tones
- Specify camera lens and grading only if needed
- Iterate
- Tweak seed, CFG, and sampler parameters if the workflow exposes them
- Adjust prompt strength and reference weights when available
- Switch precision by need
- Move to FP8 for limited VRAM
- Use full precision for the highest detail when memory allows
Conclusion
With a clean ComfyUI install, a Hugging Face login with accepted terms, and three model files placed in the right folders, FLUX2 dev is straightforward to run locally. The provided workflow covers text prompts and reference images, and you can switch between full precision and FP8 variants based on your GPU.
The architecture moves to a single text encoder, rebalances capacity toward single stream blocks, and brings several efficiency improvements across the transformer stack. In practice, it renders convincing lighting and textures, follows prompts closely, and supports reference guided generation. Keep an eye on VRAM usage, restart ComfyUI after heavy runs, and pick the precision level that matches your hardware.
FLUX2 dev, load the workflow, select the text encoder and VAE, choose the right model variant, and start generating.
Subscribe to our newsletter
Get the latest updates and articles directly in your inbox.

Related Posts

8 Best Claude Code Plugins in 2026 (You Need to Know)
8 Best Claude Code Plugins in 2026 (You Need to Know)

7 Best Claude Code Skills (You Need to Know)
7 Best Claude Code Skills (You Need to Know)

Claude Code Desktop IDE Features (You Need to Know)
Claude Code Desktop IDE Features (You Need to Know)