
Table Of Content
- Understanding the Issue — Fixing OpenClaw Bot Node.js Version Errors Easily
- Fixing OpenClaw Bot Node.js Version Errors Easily
- Step 1: Verify your Node.js version
- Step 2: Install Node.js 22 (Linux with NodeSource)
- Step 3: Confirm the correct version is active
- Step 4: Restart the OpenClaw setup
- Alternative Fixes and Notes
- Use nvm (Node Version Manager)
- macOS with Homebrew
- Windows with nvm-windows
- Final Thoughts

Fixing OpenClaw Bot Node.js Version Errors Easily
OpenClaw Error Fixer
Paste any OpenClaw error and get the exact fix instantly — cause, steps, copy-ready commands, and related guides.
Table Of Content
- Understanding the Issue — Fixing OpenClaw Bot Node.js Version Errors Easily
- Fixing OpenClaw Bot Node.js Version Errors Easily
- Step 1: Verify your Node.js version
- Step 2: Install Node.js 22 (Linux with NodeSource)
- Step 3: Confirm the correct version is active
- Step 4: Restart the OpenClaw setup
- Alternative Fixes and Notes
- Use nvm (Node Version Manager)
- macOS with Homebrew
- Windows with nvm-windows
- Final Thoughts
If you’re getting the OpenClaw Node.js version error, it means your system isn’t running the version OpenClaw needs. OpenClaw requires Node.js 22 to run correctly for everything to function. I’ll show you exactly how to verify your version and install the correct one.
Open your terminal on whichever device you are. You only need a few simple commands to get this fixed and start running smoothly.
If OpenClaw still feels slow after the fix, see our quick note on not responding issues.
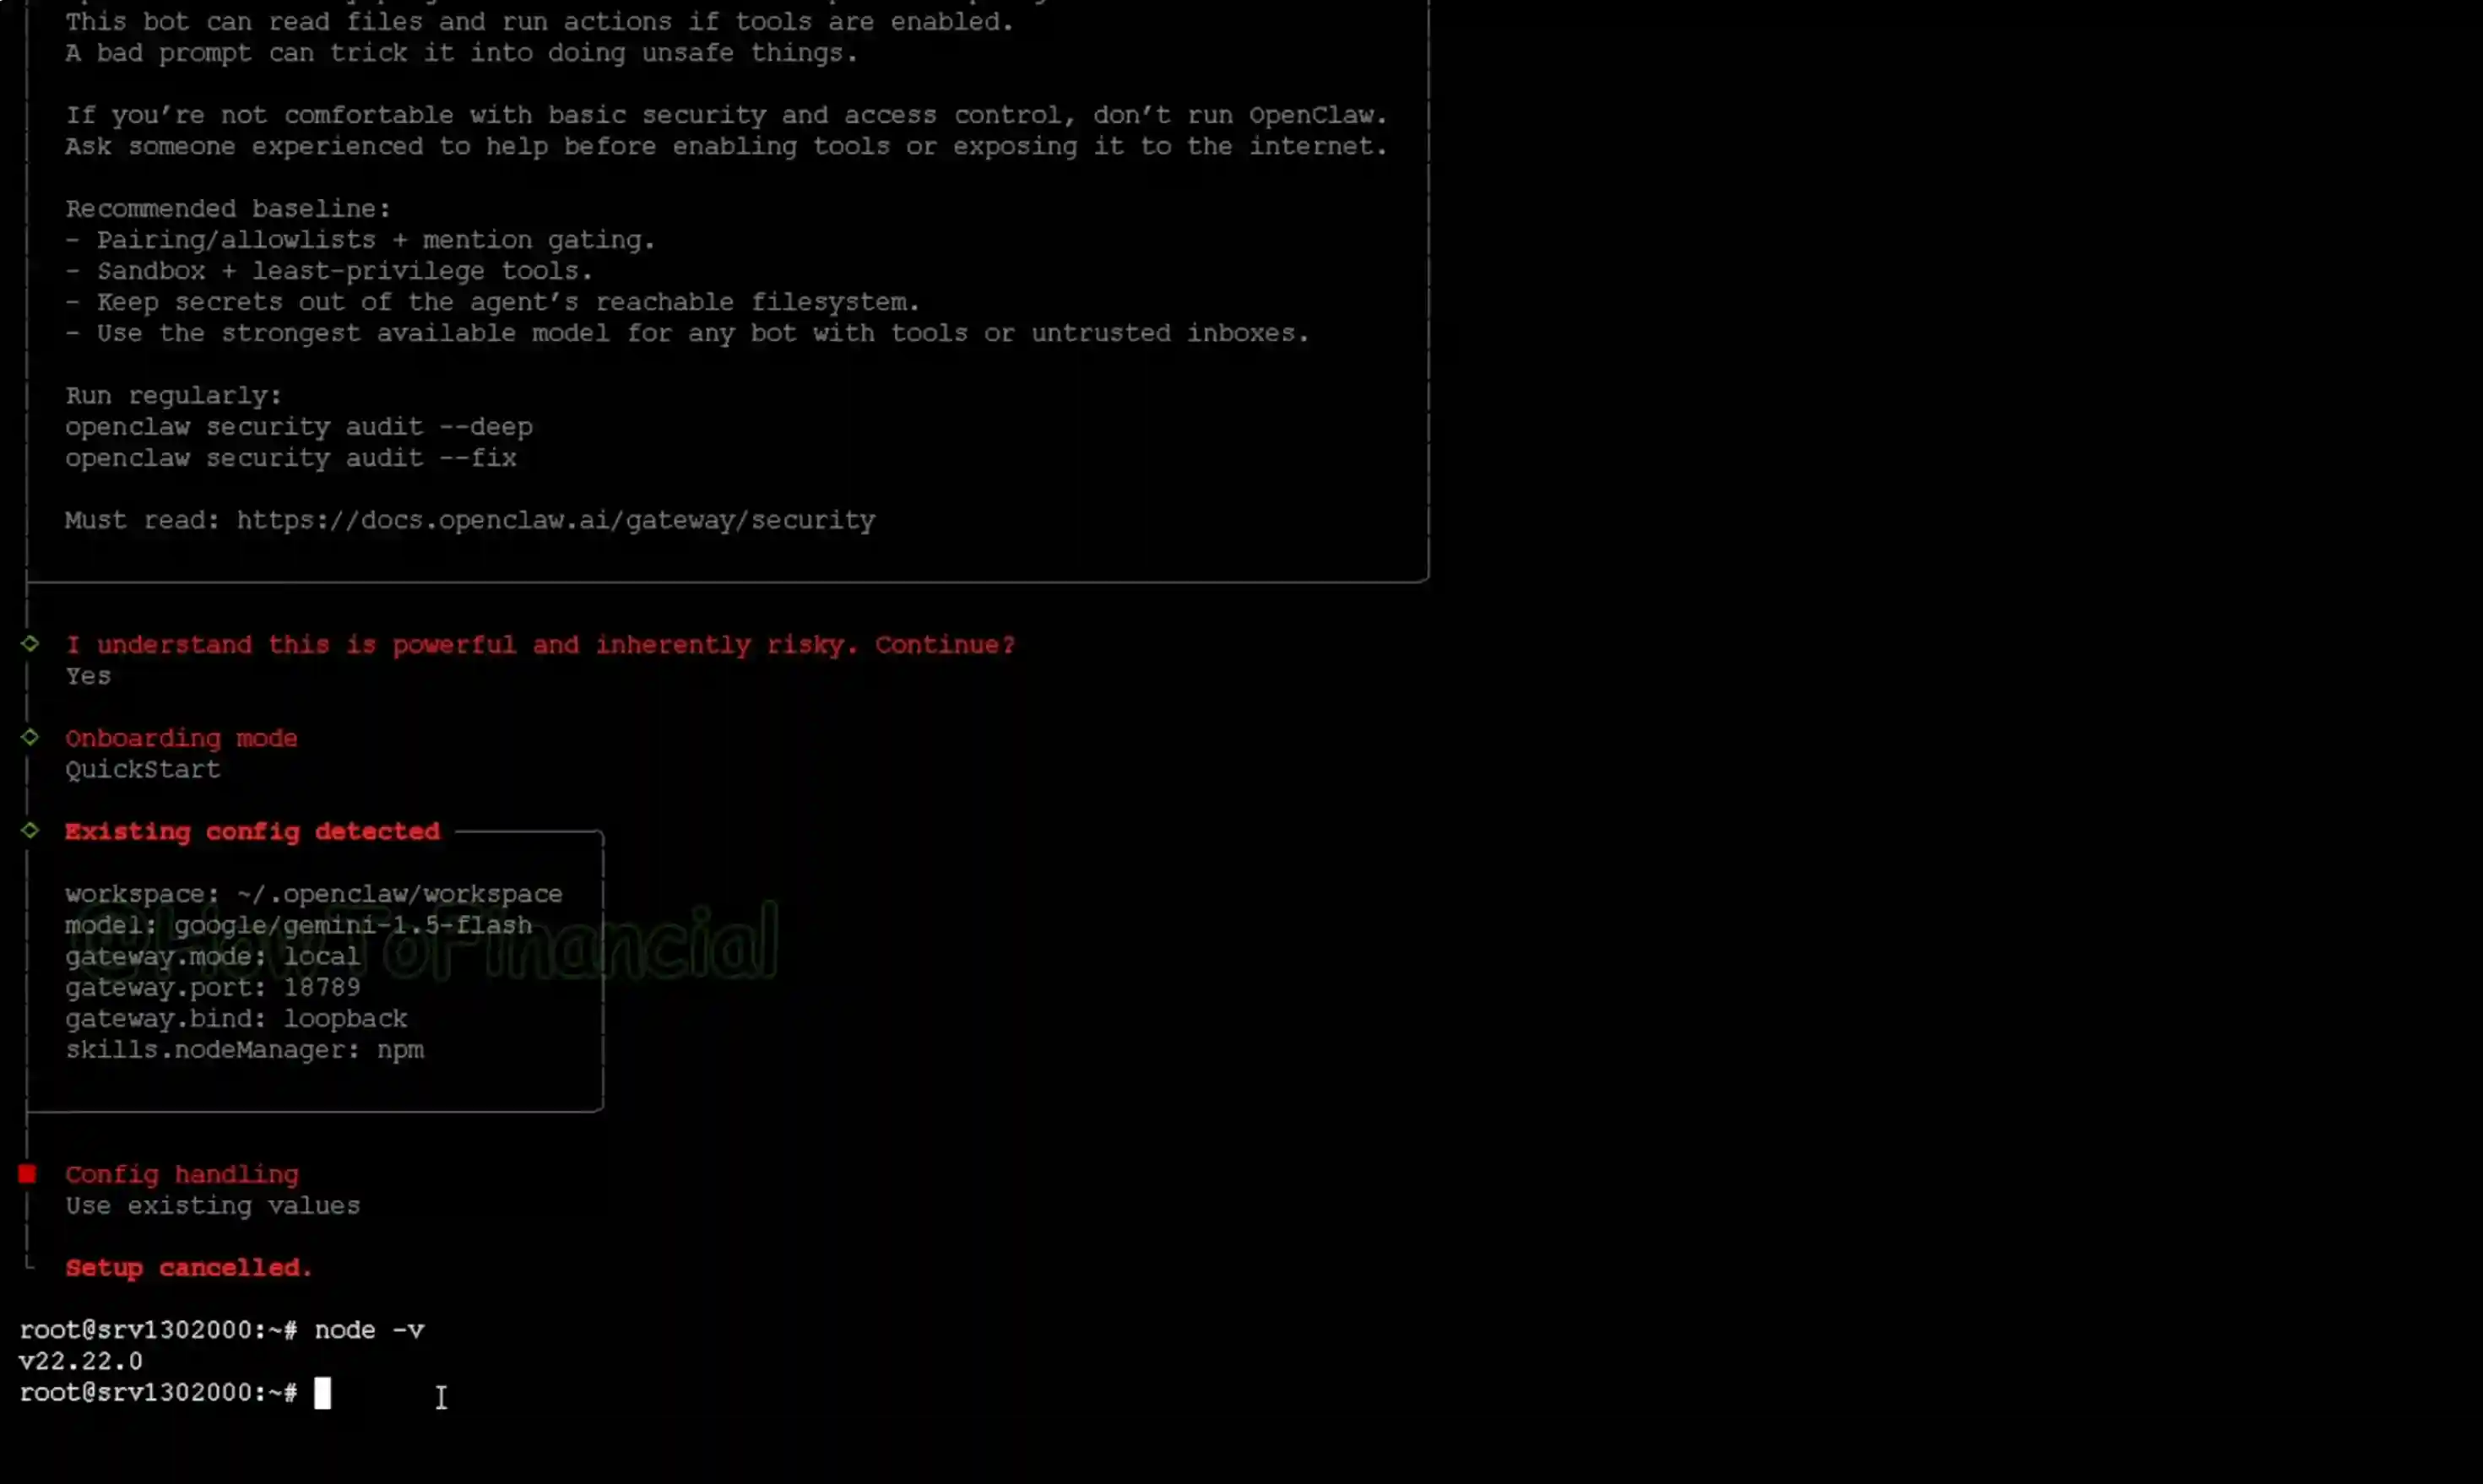
Understanding the Issue — Fixing OpenClaw Bot Node.js Version Errors Easily
If you get a Node.js version error on OpenClaw, it usually means you don’t have the required version installed. You need at least Node.js 22 for OpenClaw to actually function. Verify your version, install the right one, and then restart the setup.
Fixing OpenClaw Bot Node.js Version Errors Easily
Step 1: Verify your Node.js version
- Open your terminal.
- Run:
node -v- If the output is lower than v22.x, upgrade to Node.js 22.
Note: If you copy-paste commands into a terminal, use Ctrl+Shift+V instead of Ctrl+V. This prevents accidental characters and pastes cleanly. Keep the terminal focused when pasting.
Step 2: Install Node.js 22 (Linux with NodeSource)
- Add the Node.js 22 repository:
curl -fsSL https://deb.nodesource.com/setup_22.x | sudo -E bash -- Install Node.js:
sudo apt-get install -y nodejs- Wait for the installation to finish. If Node.js 22 is already present, it will just verify and exit quickly.
If you prefer managing versions per user, jump to the nvm option in Alternative Fixes. If you later see a websocket error, check this quick tip on the 1006 error.
Step 3: Confirm the correct version is active
- Check the version again:
node -v- You should see v22.x.x. That confirms the right version is installed and active.
Step 4: Restart the OpenClaw setup
Use the official setup or start command from the OpenClaw website or docs. Run it again now that Node.js 22 is installed. This ensures the environment boots cleanly with the required runtime.
Alternative Fixes and Notes
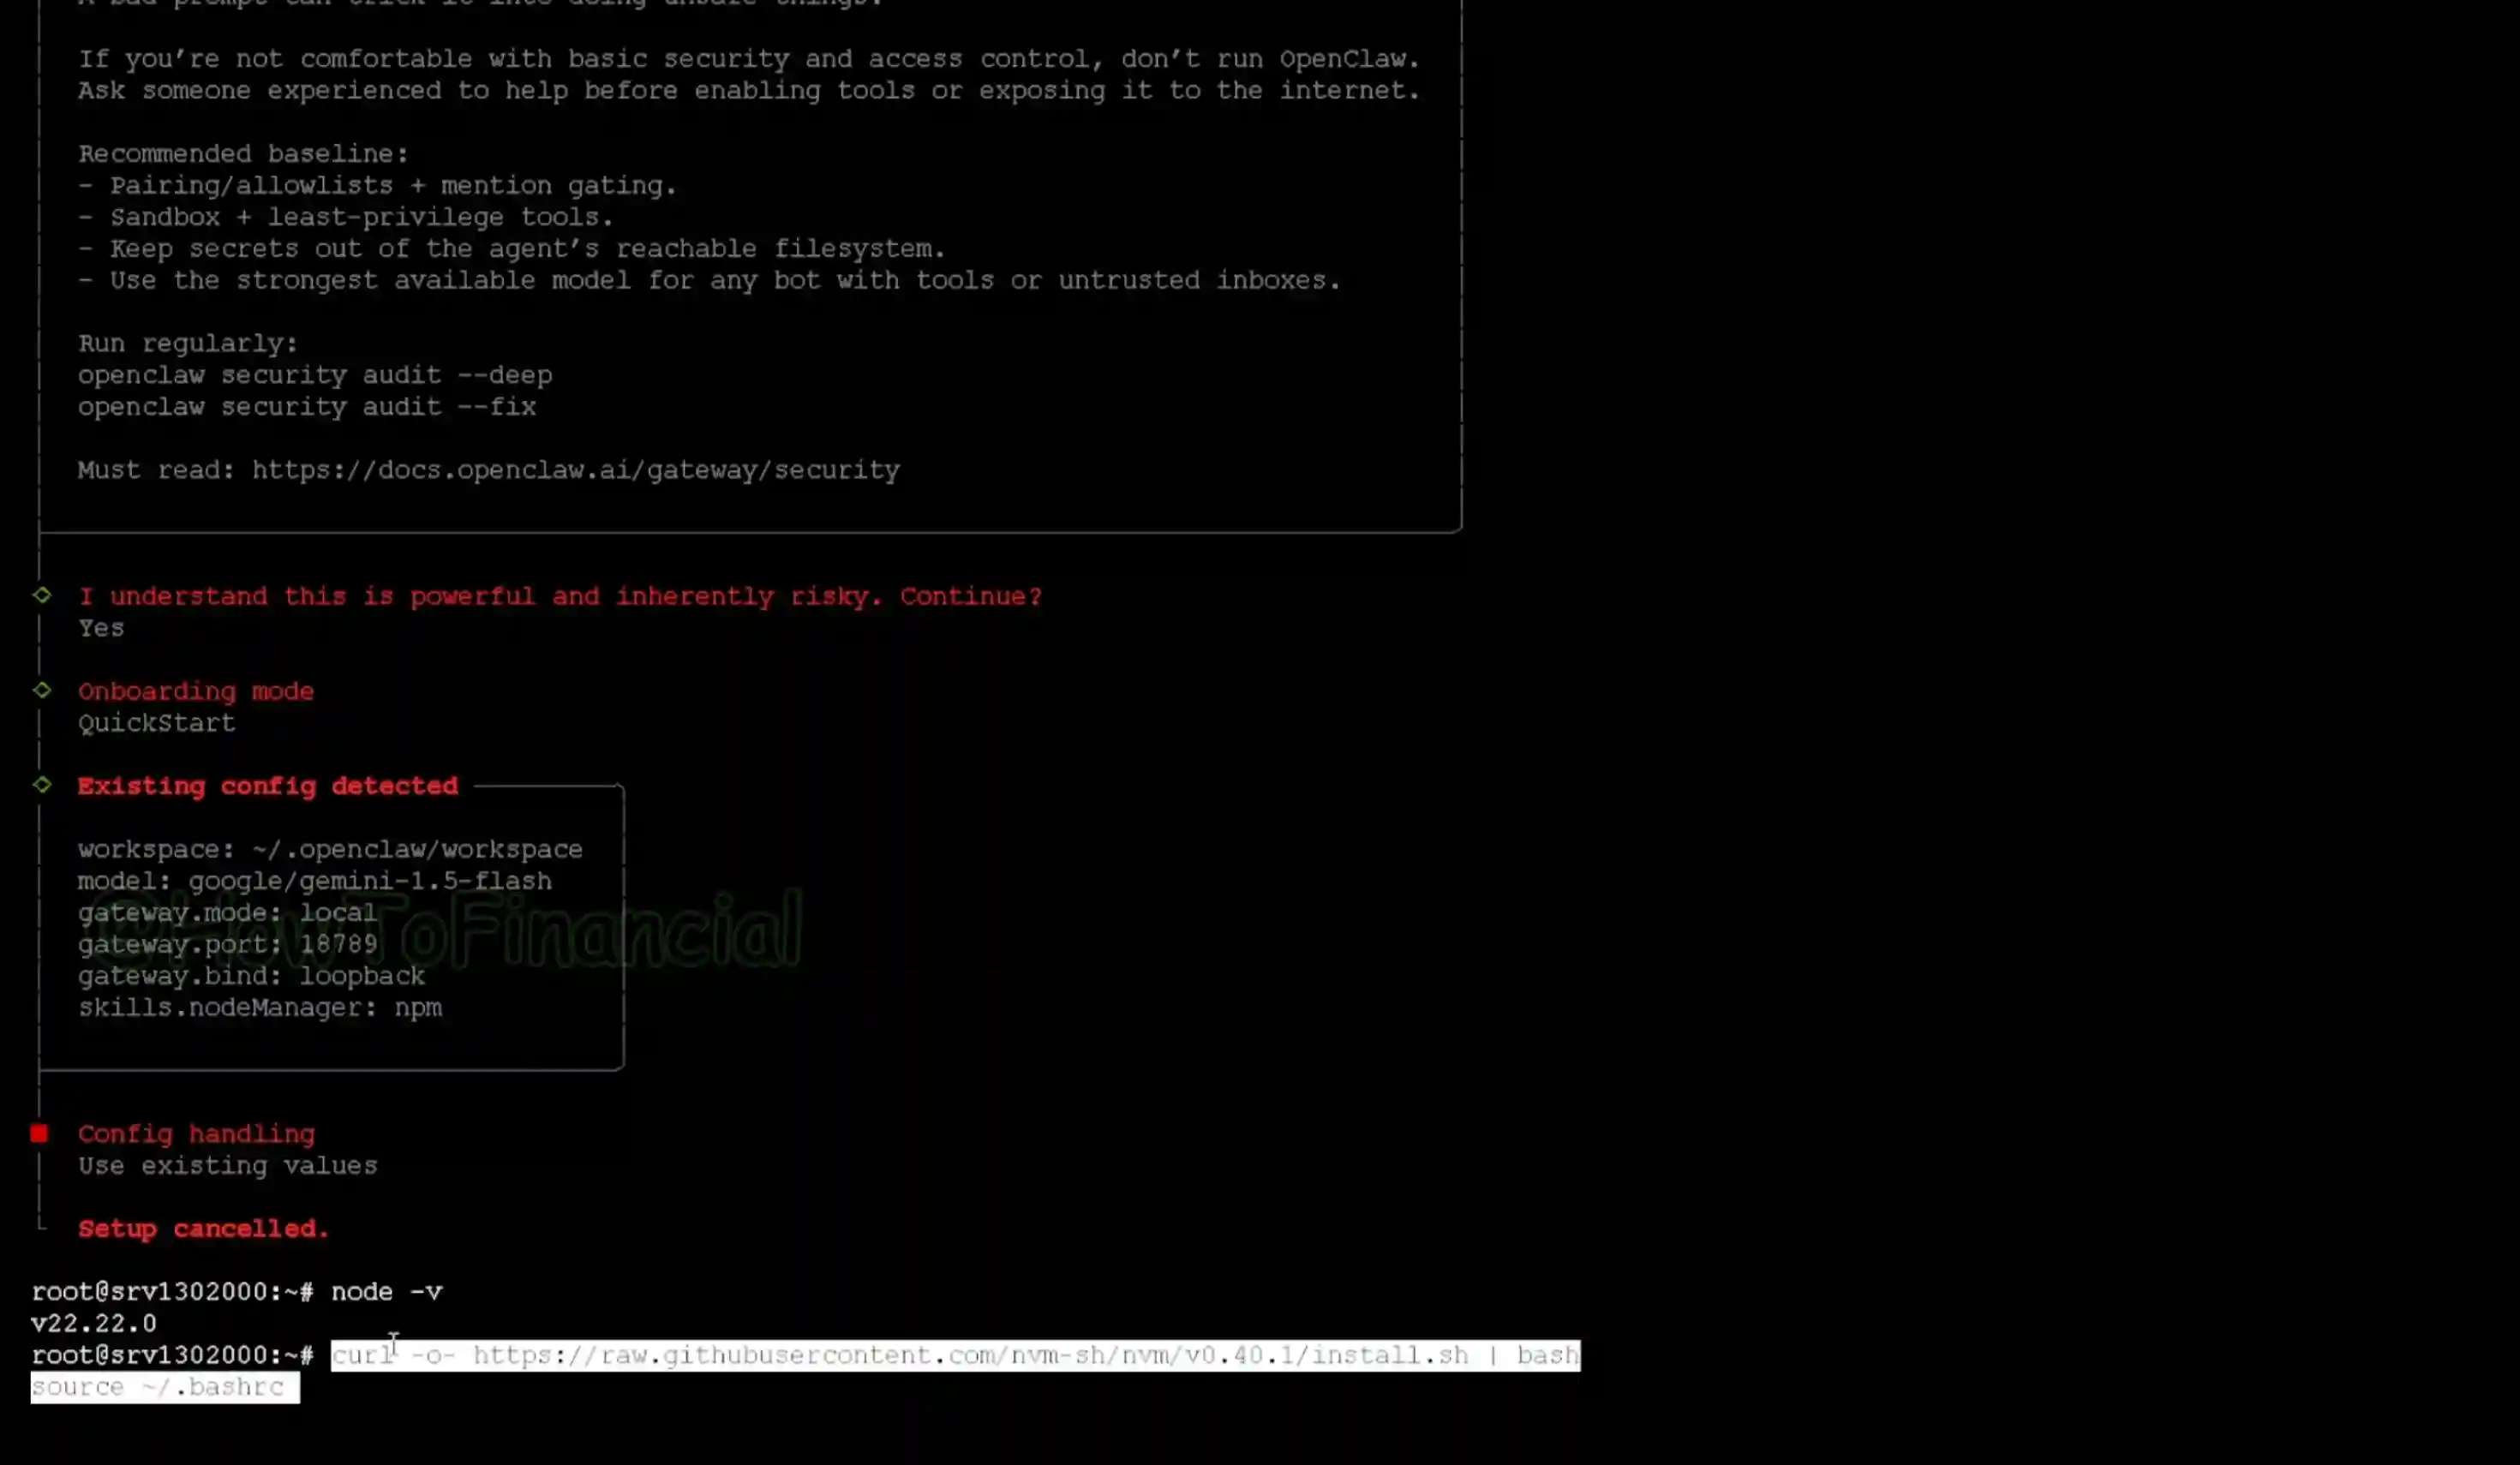
Use nvm (Node Version Manager)
If you don’t want system-wide changes, install Node.js 22 with nvm. This is a clean way to switch versions per project or user.
- Install nvm:
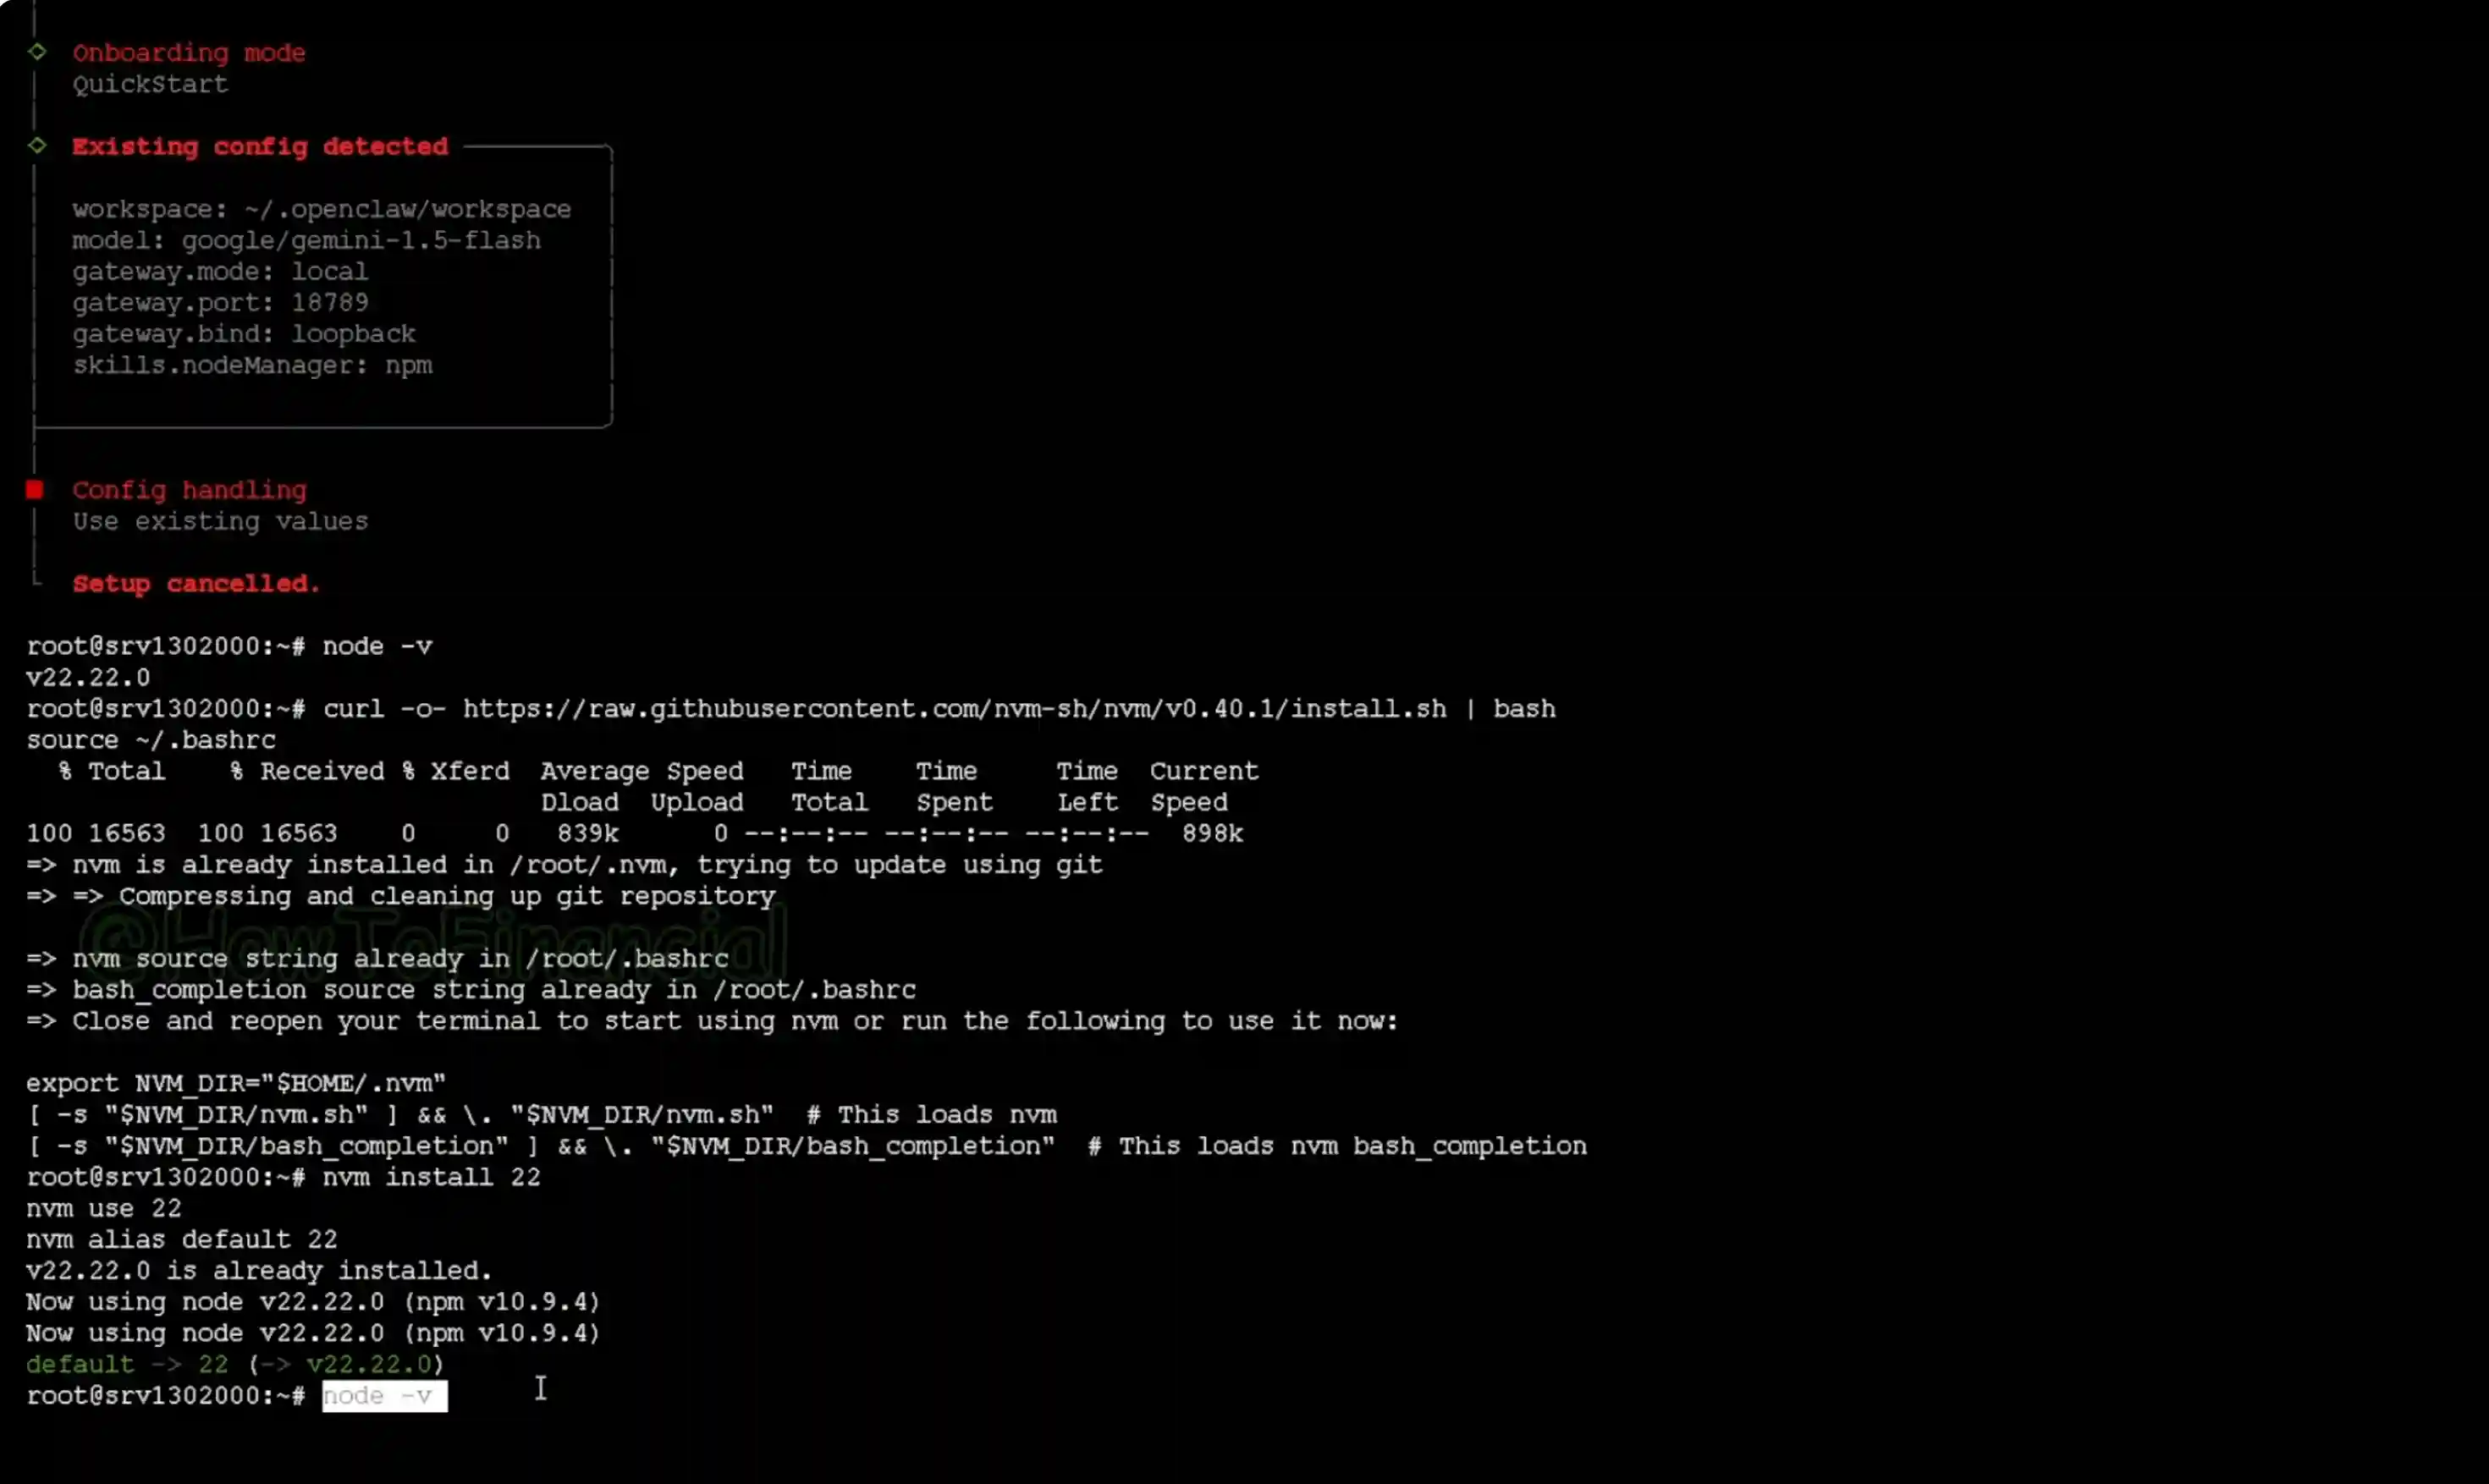
curl -o- https://raw.githubusercontent.com/nvm-sh/nvm/v0.39.7/install.sh | bash- Load nvm into the current shell:
export NVM_DIR="$HOME/.nvm"
[ -s "$NVM_DIR/nvm.sh" ] && \. "$NVM_DIR/nvm.sh"- Install and use Node.js 22:
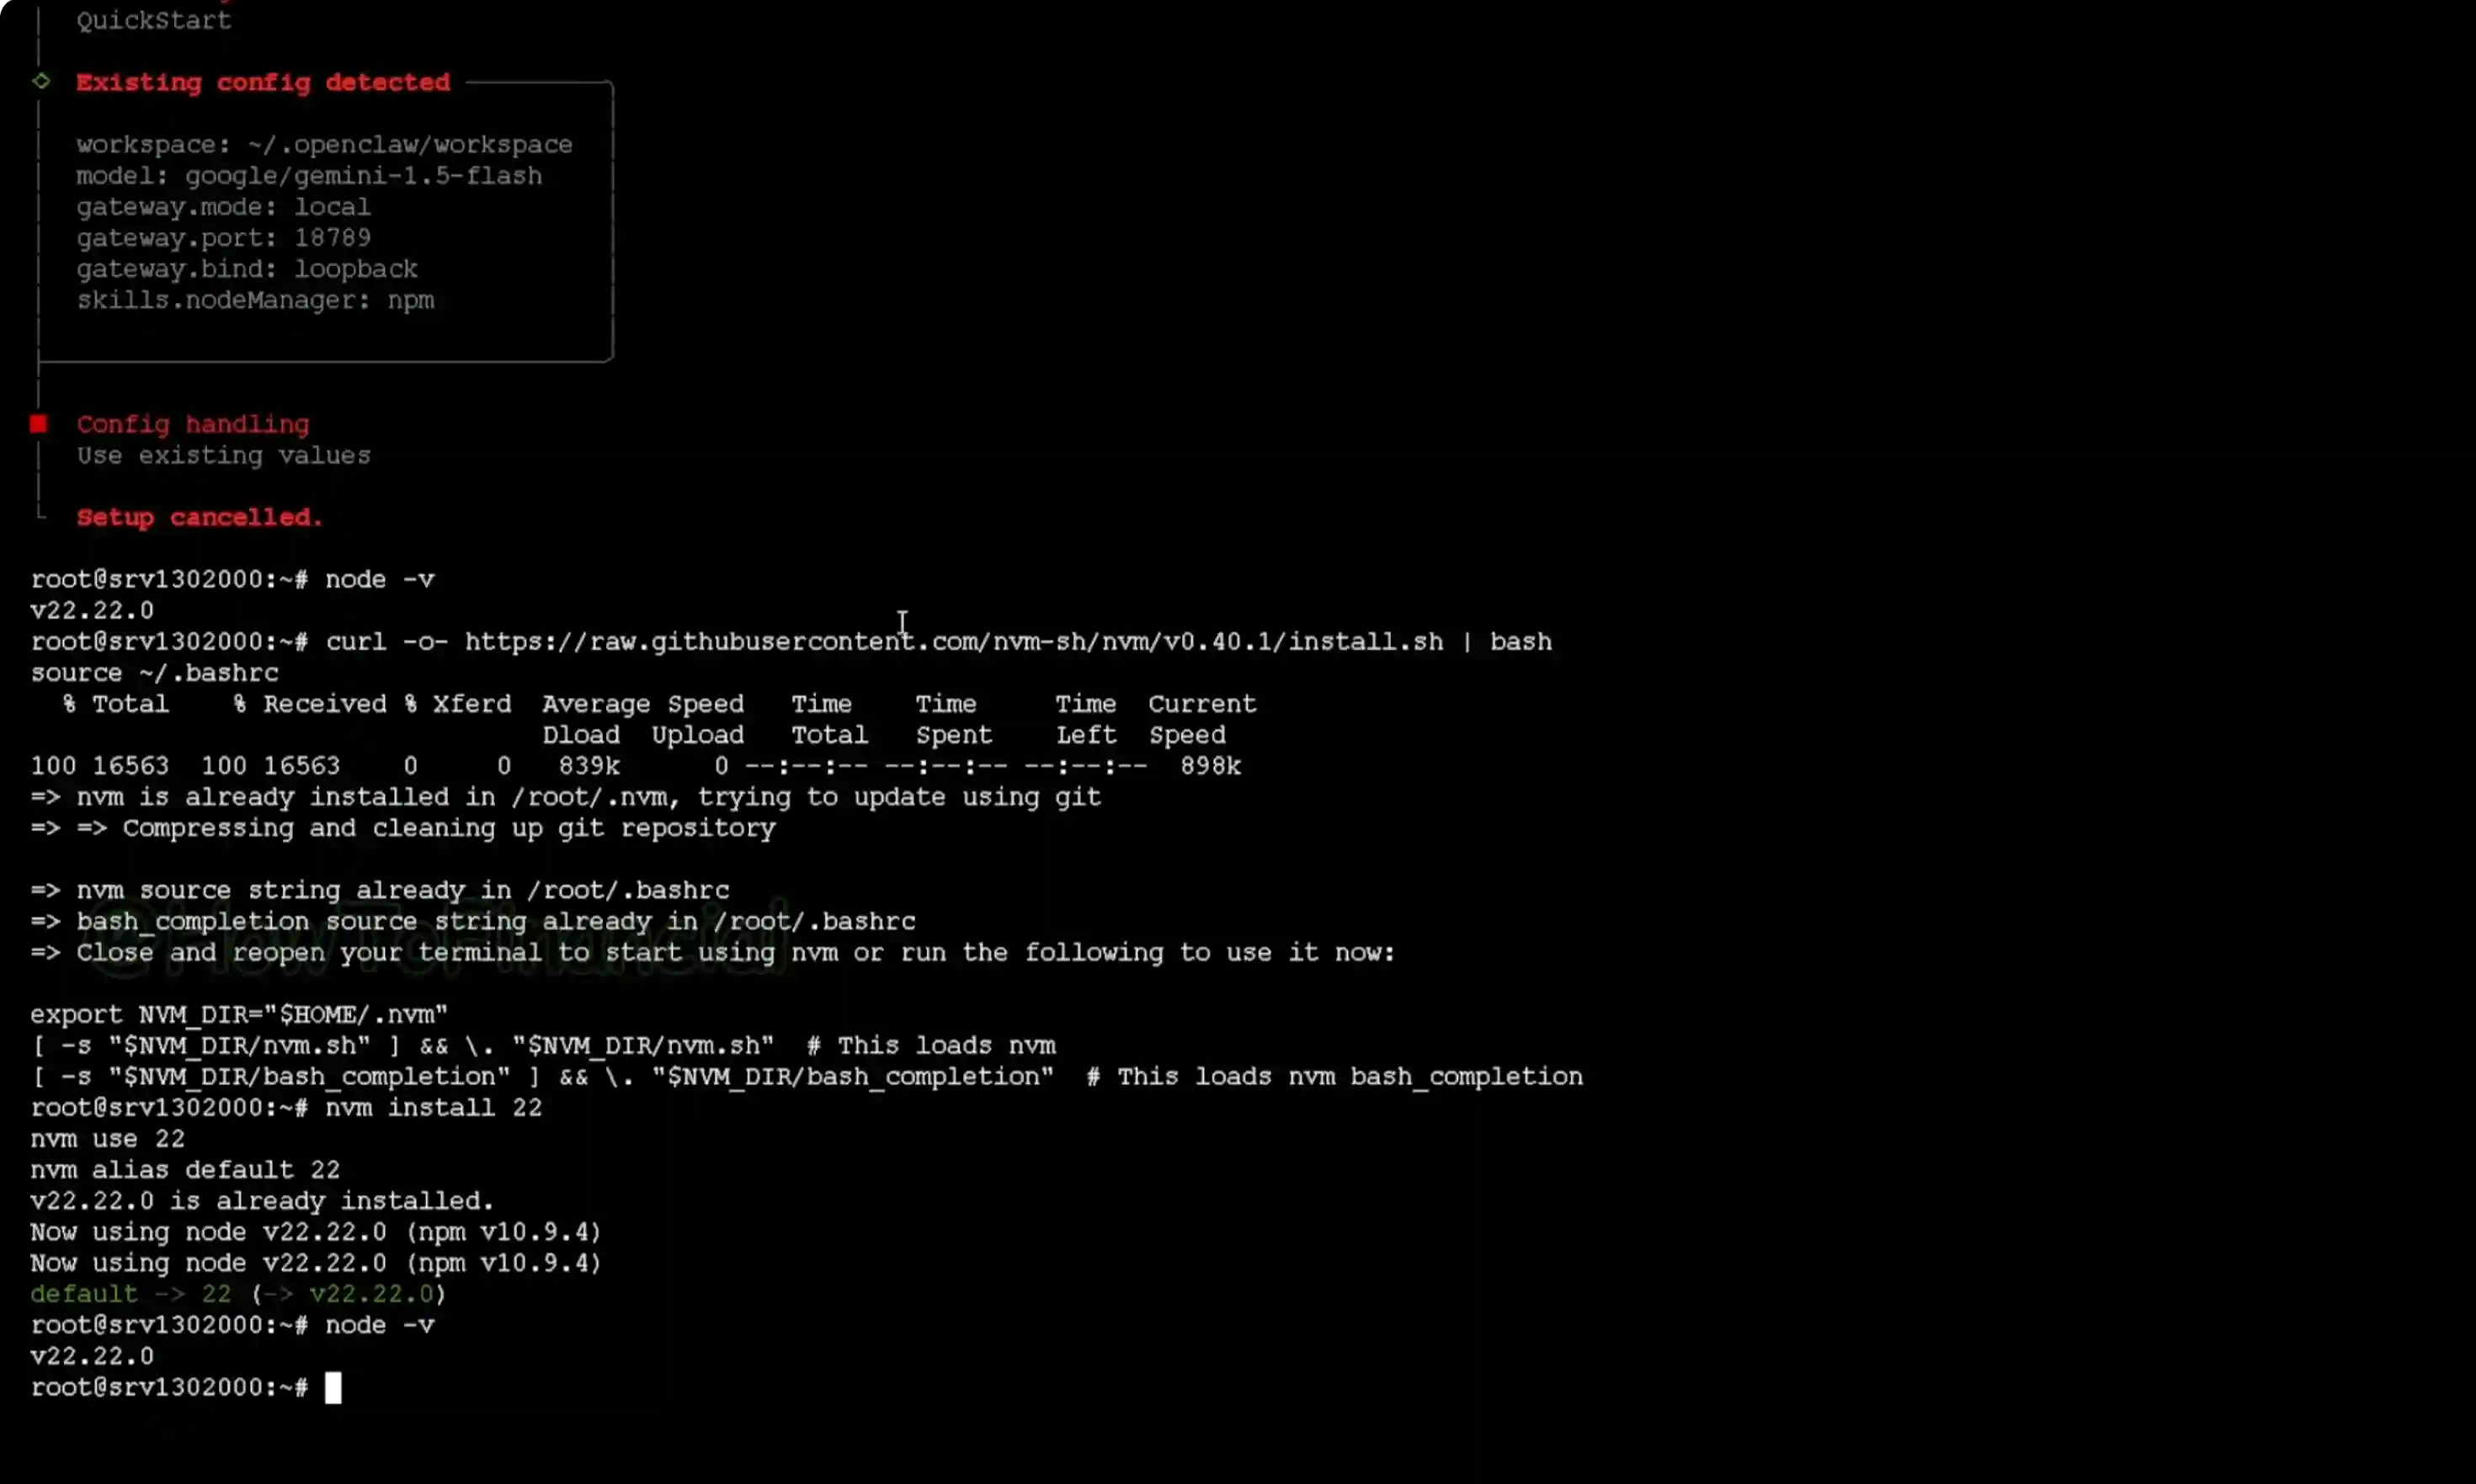
nvm install 22
nvm alias default 22
nvm use 22- Verify:
node -vmacOS with Homebrew
- Install Node.js 22:
brew install node@22- Link it:
brew link --overwrite --force node@22- Verify:
node -vWindows with nvm-windows
- Install nvm-windows (then open a new terminal).
- Install and use Node.js 22:
nvm install 22.0.0
nvm use 22.0.0
node -v
If your environment depends on containers and something breaks during setup, see this quick Docker fix. Once Node.js 22 is active, re-run your OpenClaw setup command to complete.
Final Thoughts
Verifying with node -v and installing Node.js 22 resolves the OpenClaw Node.js version error. After confirming v22.x.x, restart your OpenClaw setup and you’re good to go. If you run into connection issues afterward, take a look at the quick note on the 1006 error.
Subscribe to our newsletter
Get the latest updates and articles directly in your inbox.

Related Posts

8 Best Claude Code Plugins in 2026 (You Need to Know)
8 Best Claude Code Plugins in 2026 (You Need to Know)

7 Best Claude Code Skills (You Need to Know)
7 Best Claude Code Skills (You Need to Know)

Claude Code Desktop IDE Features (You Need to Know)
Claude Code Desktop IDE Features (You Need to Know)