
Table Of Content
- Easily Set Up OpenClaw on Hostinger VPS? (Step By Step)
- Get Your VPS
- OpenClaw Configuration Page
- Get Your API Key
- Deploy and Monitor
- Access the OpenClaw Dashboard
- Configure Identity (soul.md)
- Connect a Messaging Channel
- Ask OpenClaw to Set Up Telegram
- Create a Telegram Bot with BotFather
- Connect Telegram to OpenClaw
- Troubleshooting Common Errors
- Blank Responses
- Test Your Telegram Bot
- Add Skills: Extending What It Can Do
- Restore From a Backup
- Start From Scratch
- Final Thoughts

How to Easily Set Up OpenClaw on Hostinger VPS? (Step By Step)
OpenClaw Error Fixer
Paste any OpenClaw error and get the exact fix instantly — cause, steps, copy-ready commands, and related guides.
Table Of Content
- Easily Set Up OpenClaw on Hostinger VPS? (Step By Step)
- Get Your VPS
- OpenClaw Configuration Page
- Get Your API Key
- Deploy and Monitor
- Access the OpenClaw Dashboard
- Configure Identity (soul.md)
- Connect a Messaging Channel
- Ask OpenClaw to Set Up Telegram
- Create a Telegram Bot with BotFather
- Connect Telegram to OpenClaw
- Troubleshooting Common Errors
- Blank Responses
- Test Your Telegram Bot
- Add Skills: Extending What It Can Do
- Restore From a Backup
- Start From Scratch
- Final Thoughts
I'll walk you through setting up OpenClaw on a Hostinger virtual private server step by step.
We'll cover setting up your VPS with a simple one click template, connecting your favourite LLM, configuring a messaging channel like Telegram so you can talk to your bot from anywhere, how to enable additional skills, and how to avoid common beginner setup errors. By the end, you'll have your own digital assistant running 24/7.
Easily Set Up OpenClaw on Hostinger VPS? (Step By Step)
Get Your VPS
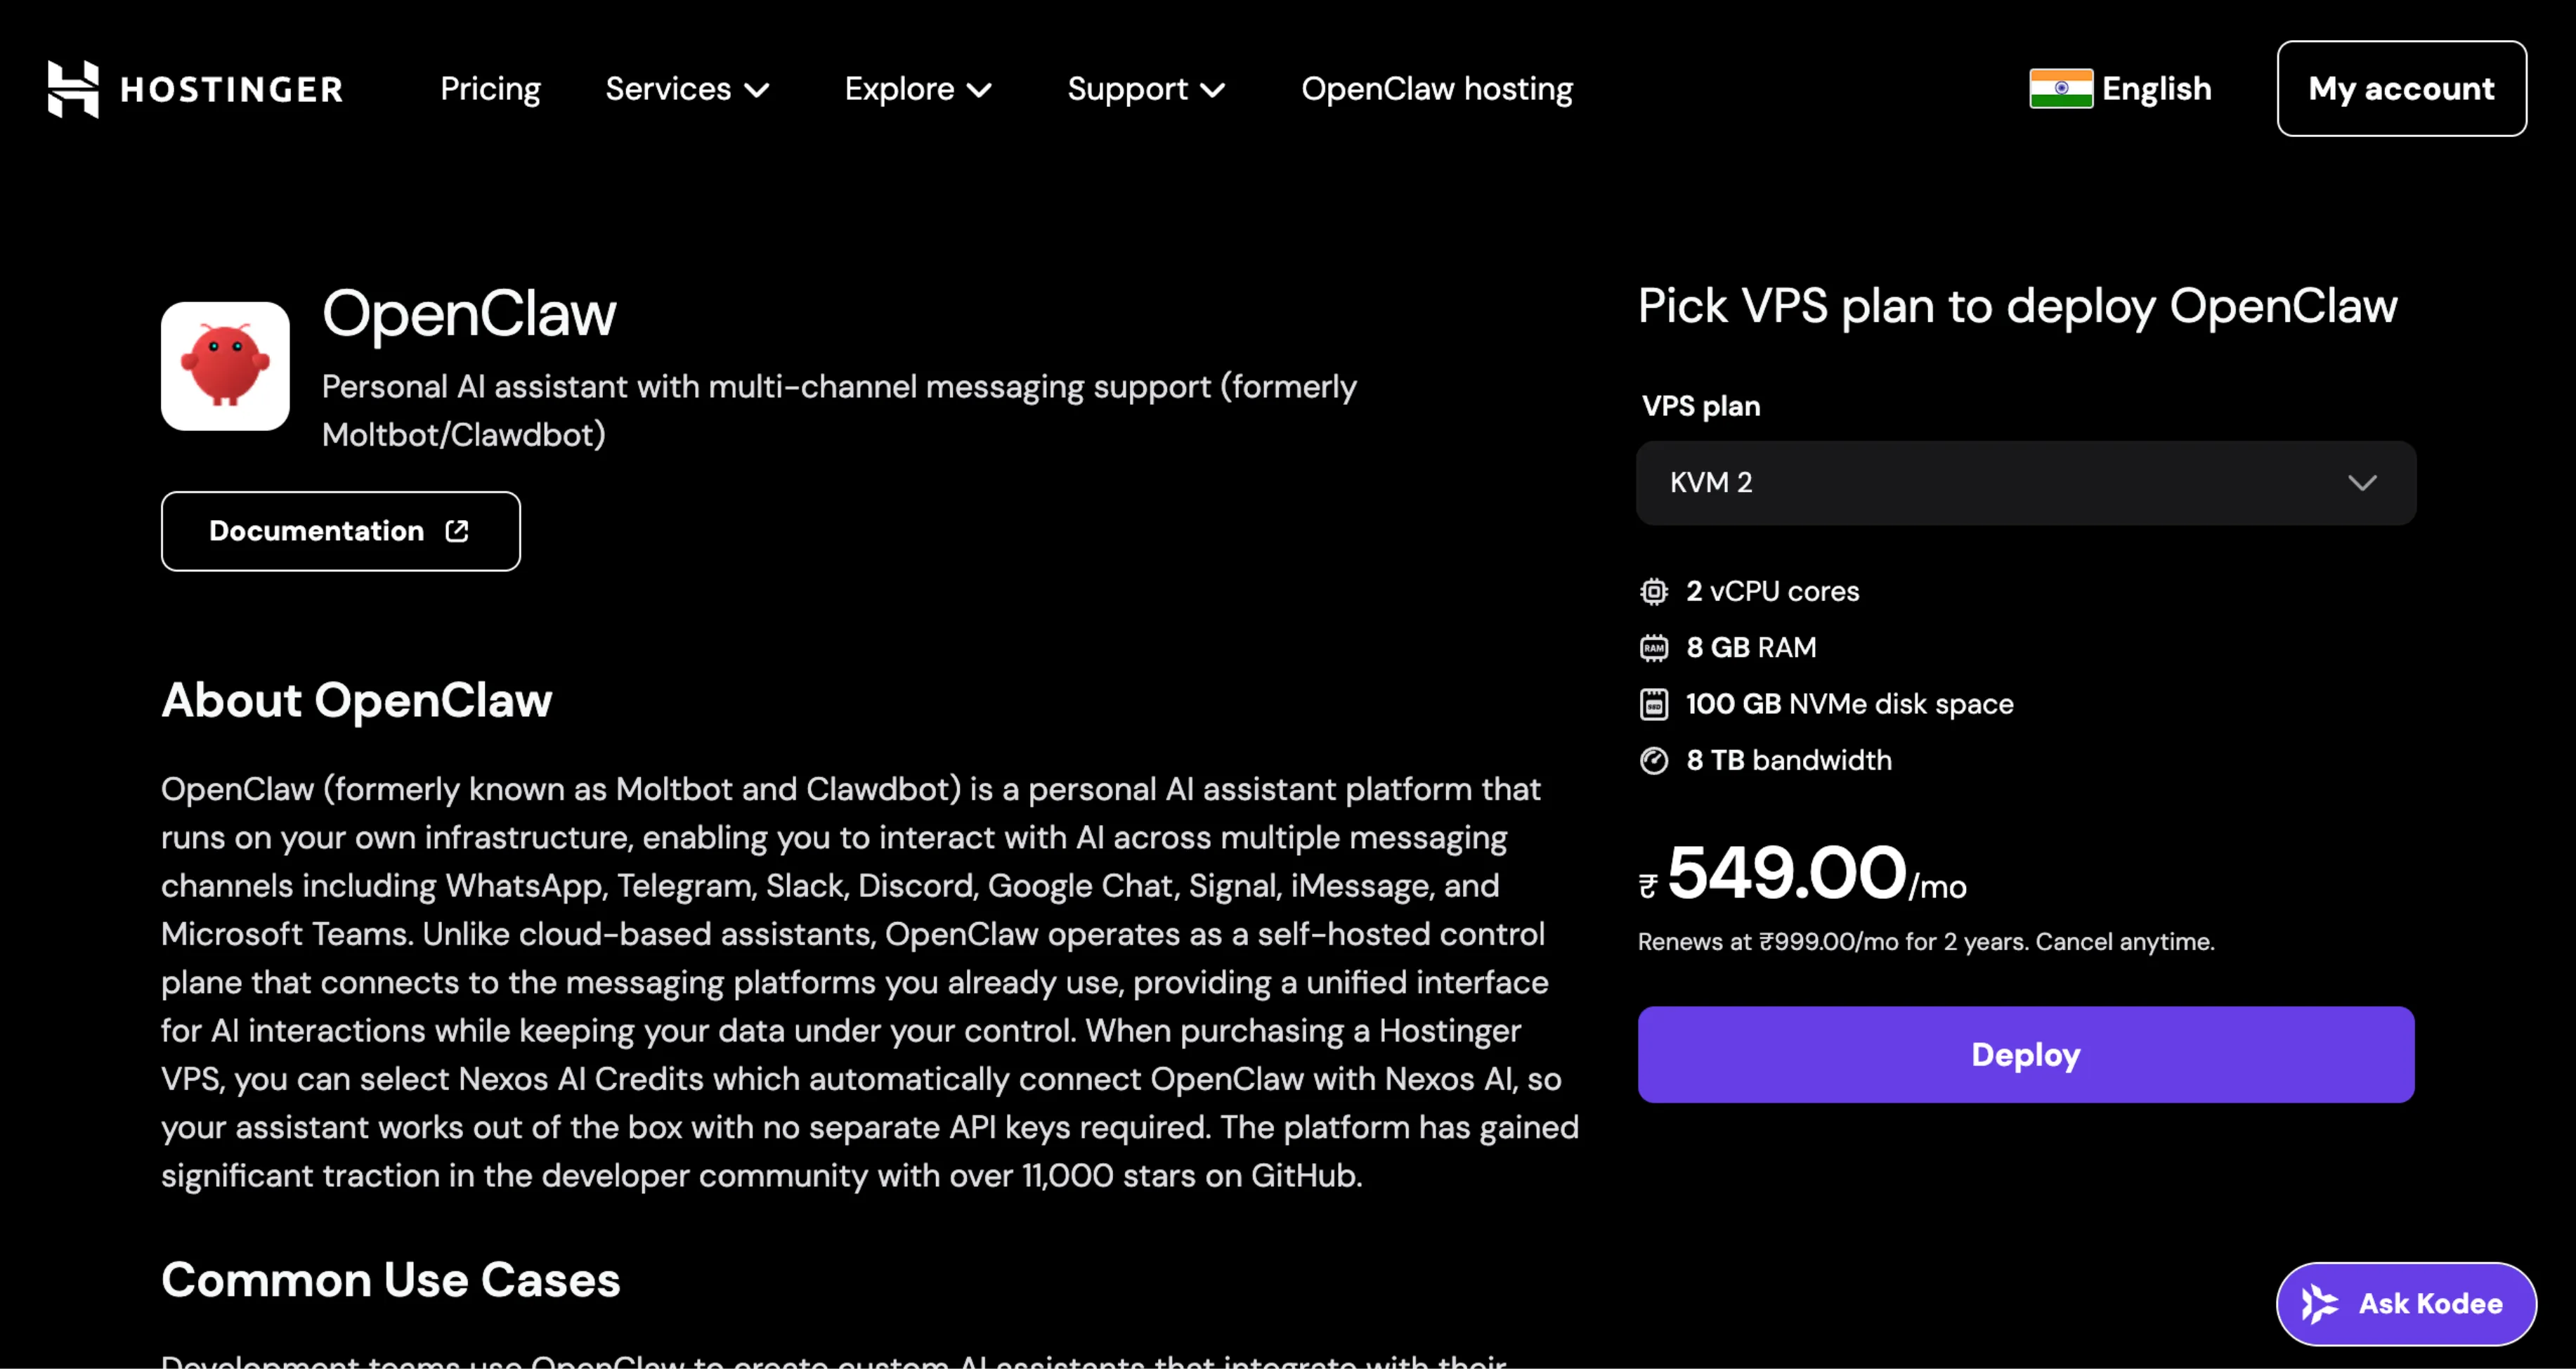
You can easily deploy OpenClaw on a VPS by simply clicking deploy.
On the cart page:
- Select your billing period: 1 month, 12 months, or 24 months. For the best price overall, I recommend the 24 month plan, as the per month cost is lower.
- Select daily auto backups. OpenClaw's capable of reconfiguring its own server environment, so if anything breaks, you'll want to make sure you have a reliable backup to roll back to.
- Choose a server location. By default, the server location with the lowest latency is selected, so unless you want to use a specific server region, keep the default.
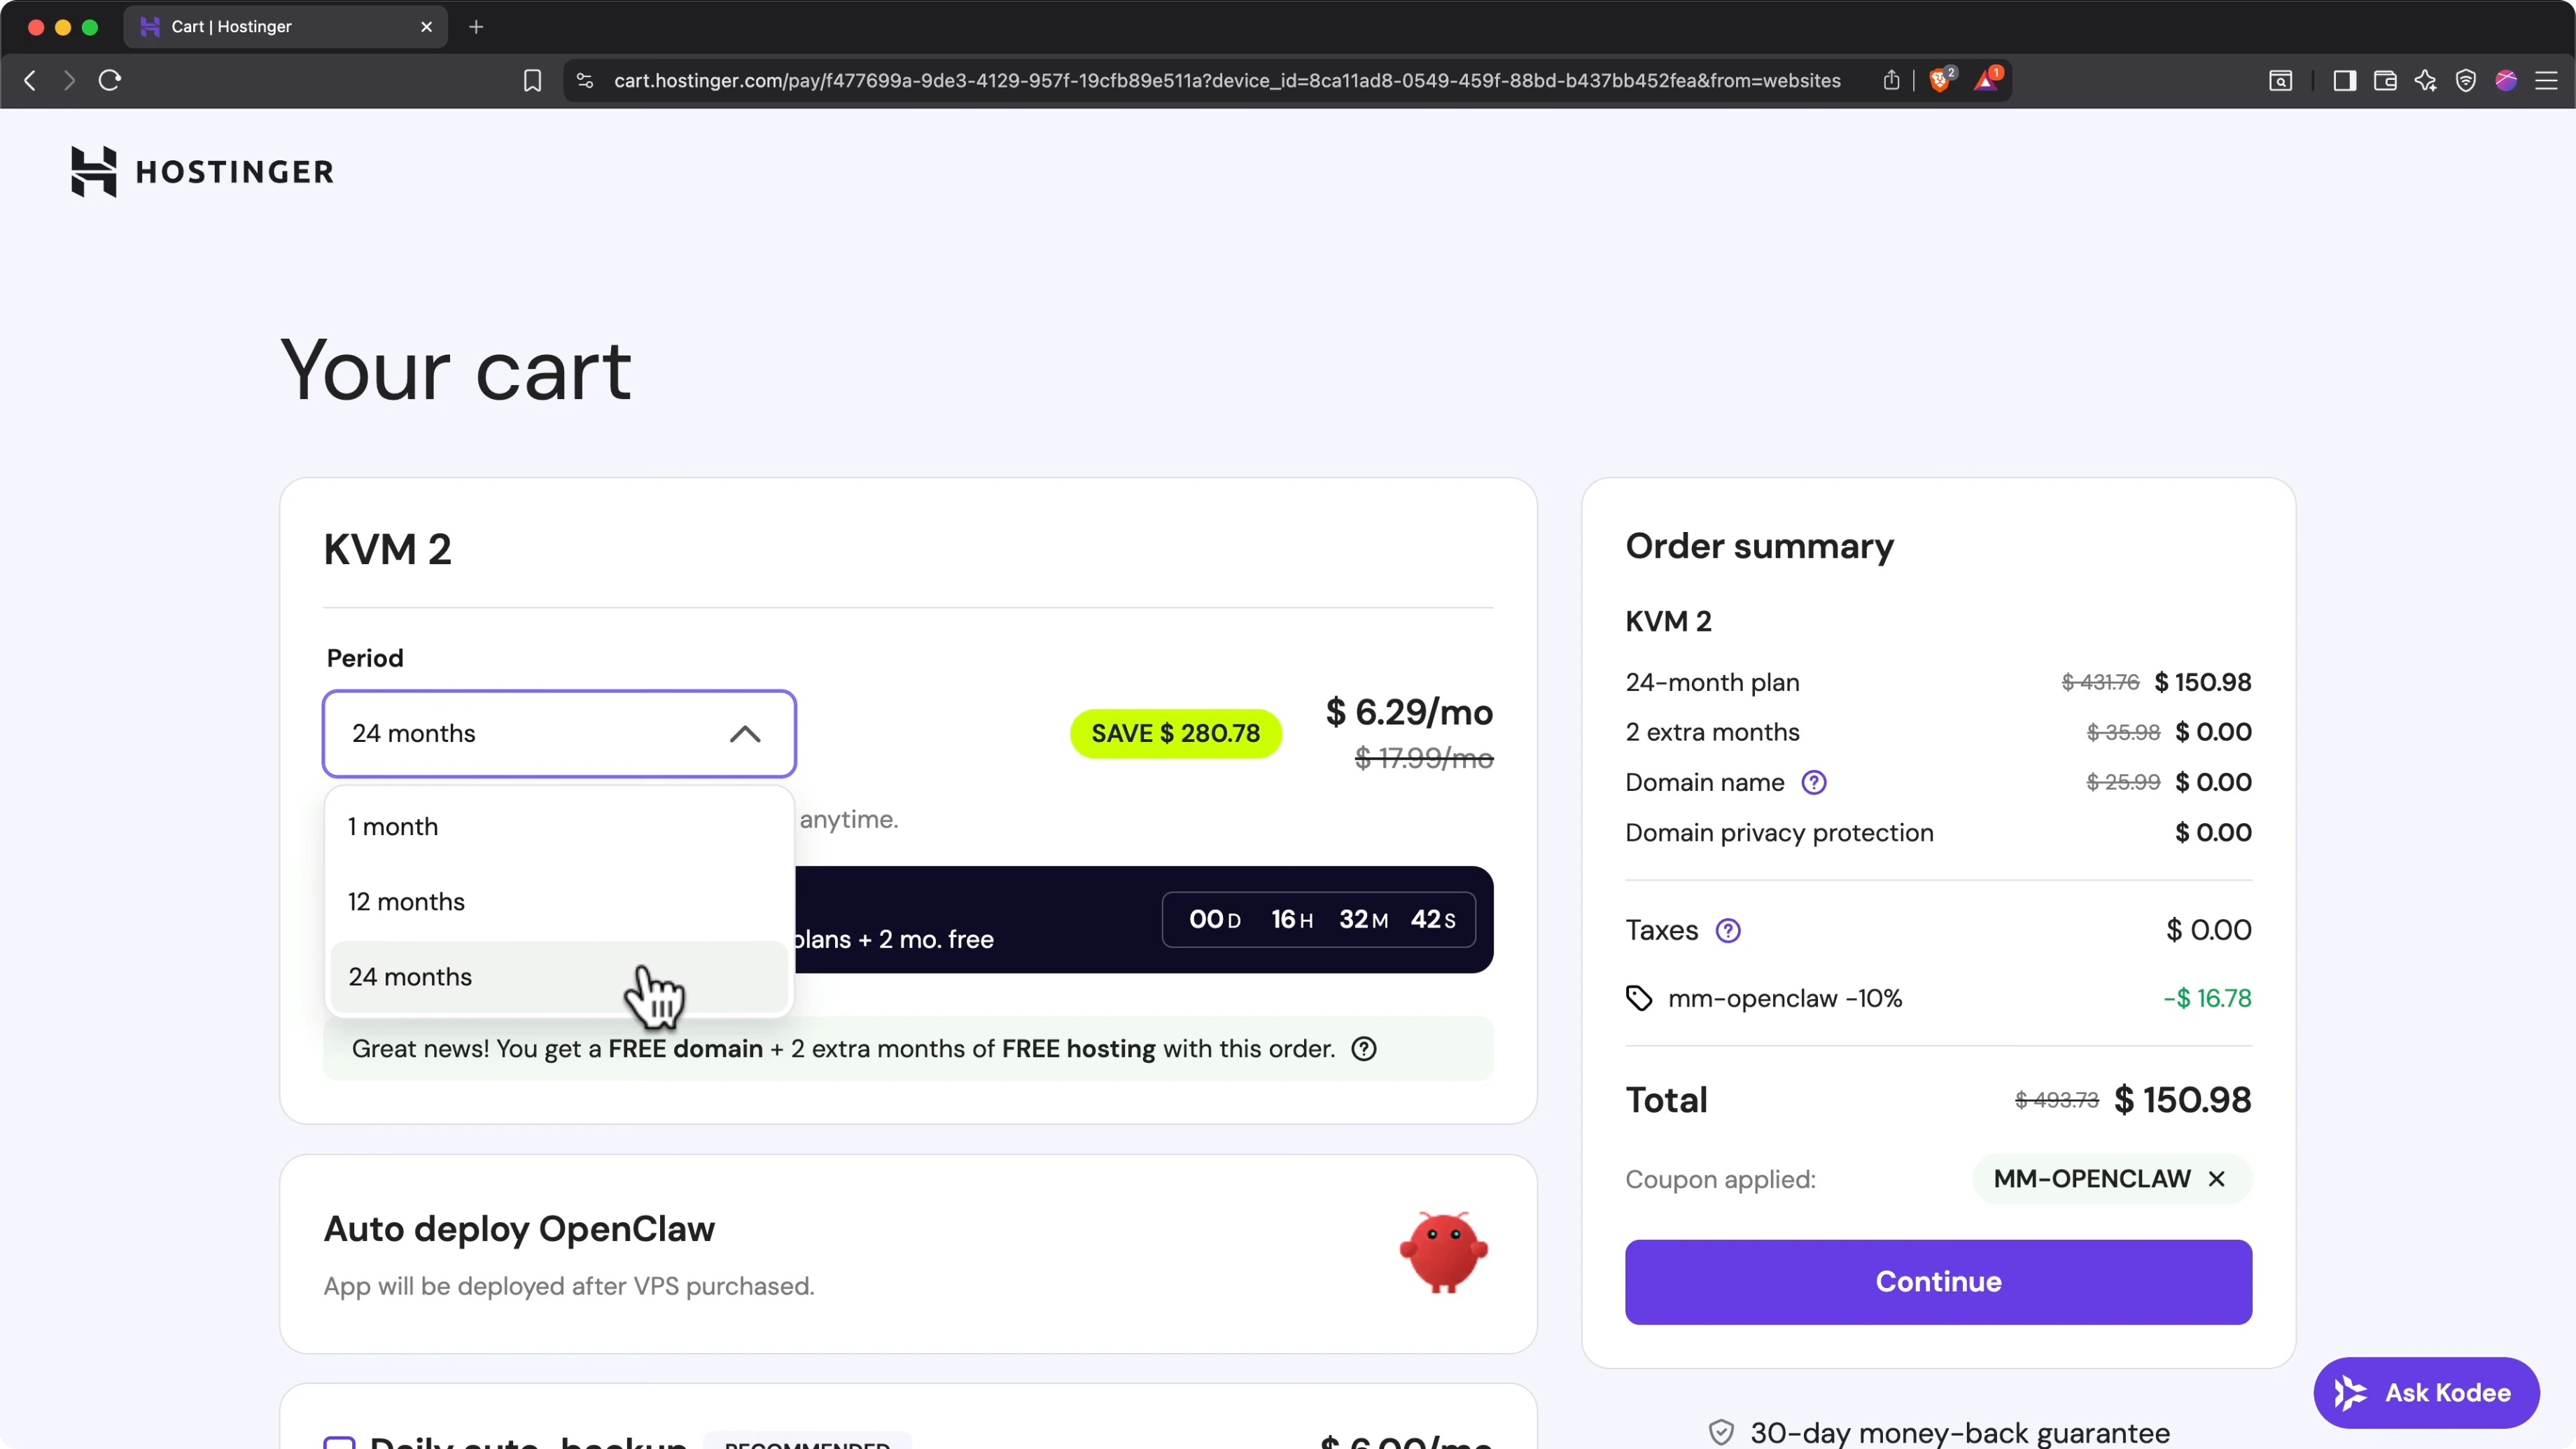
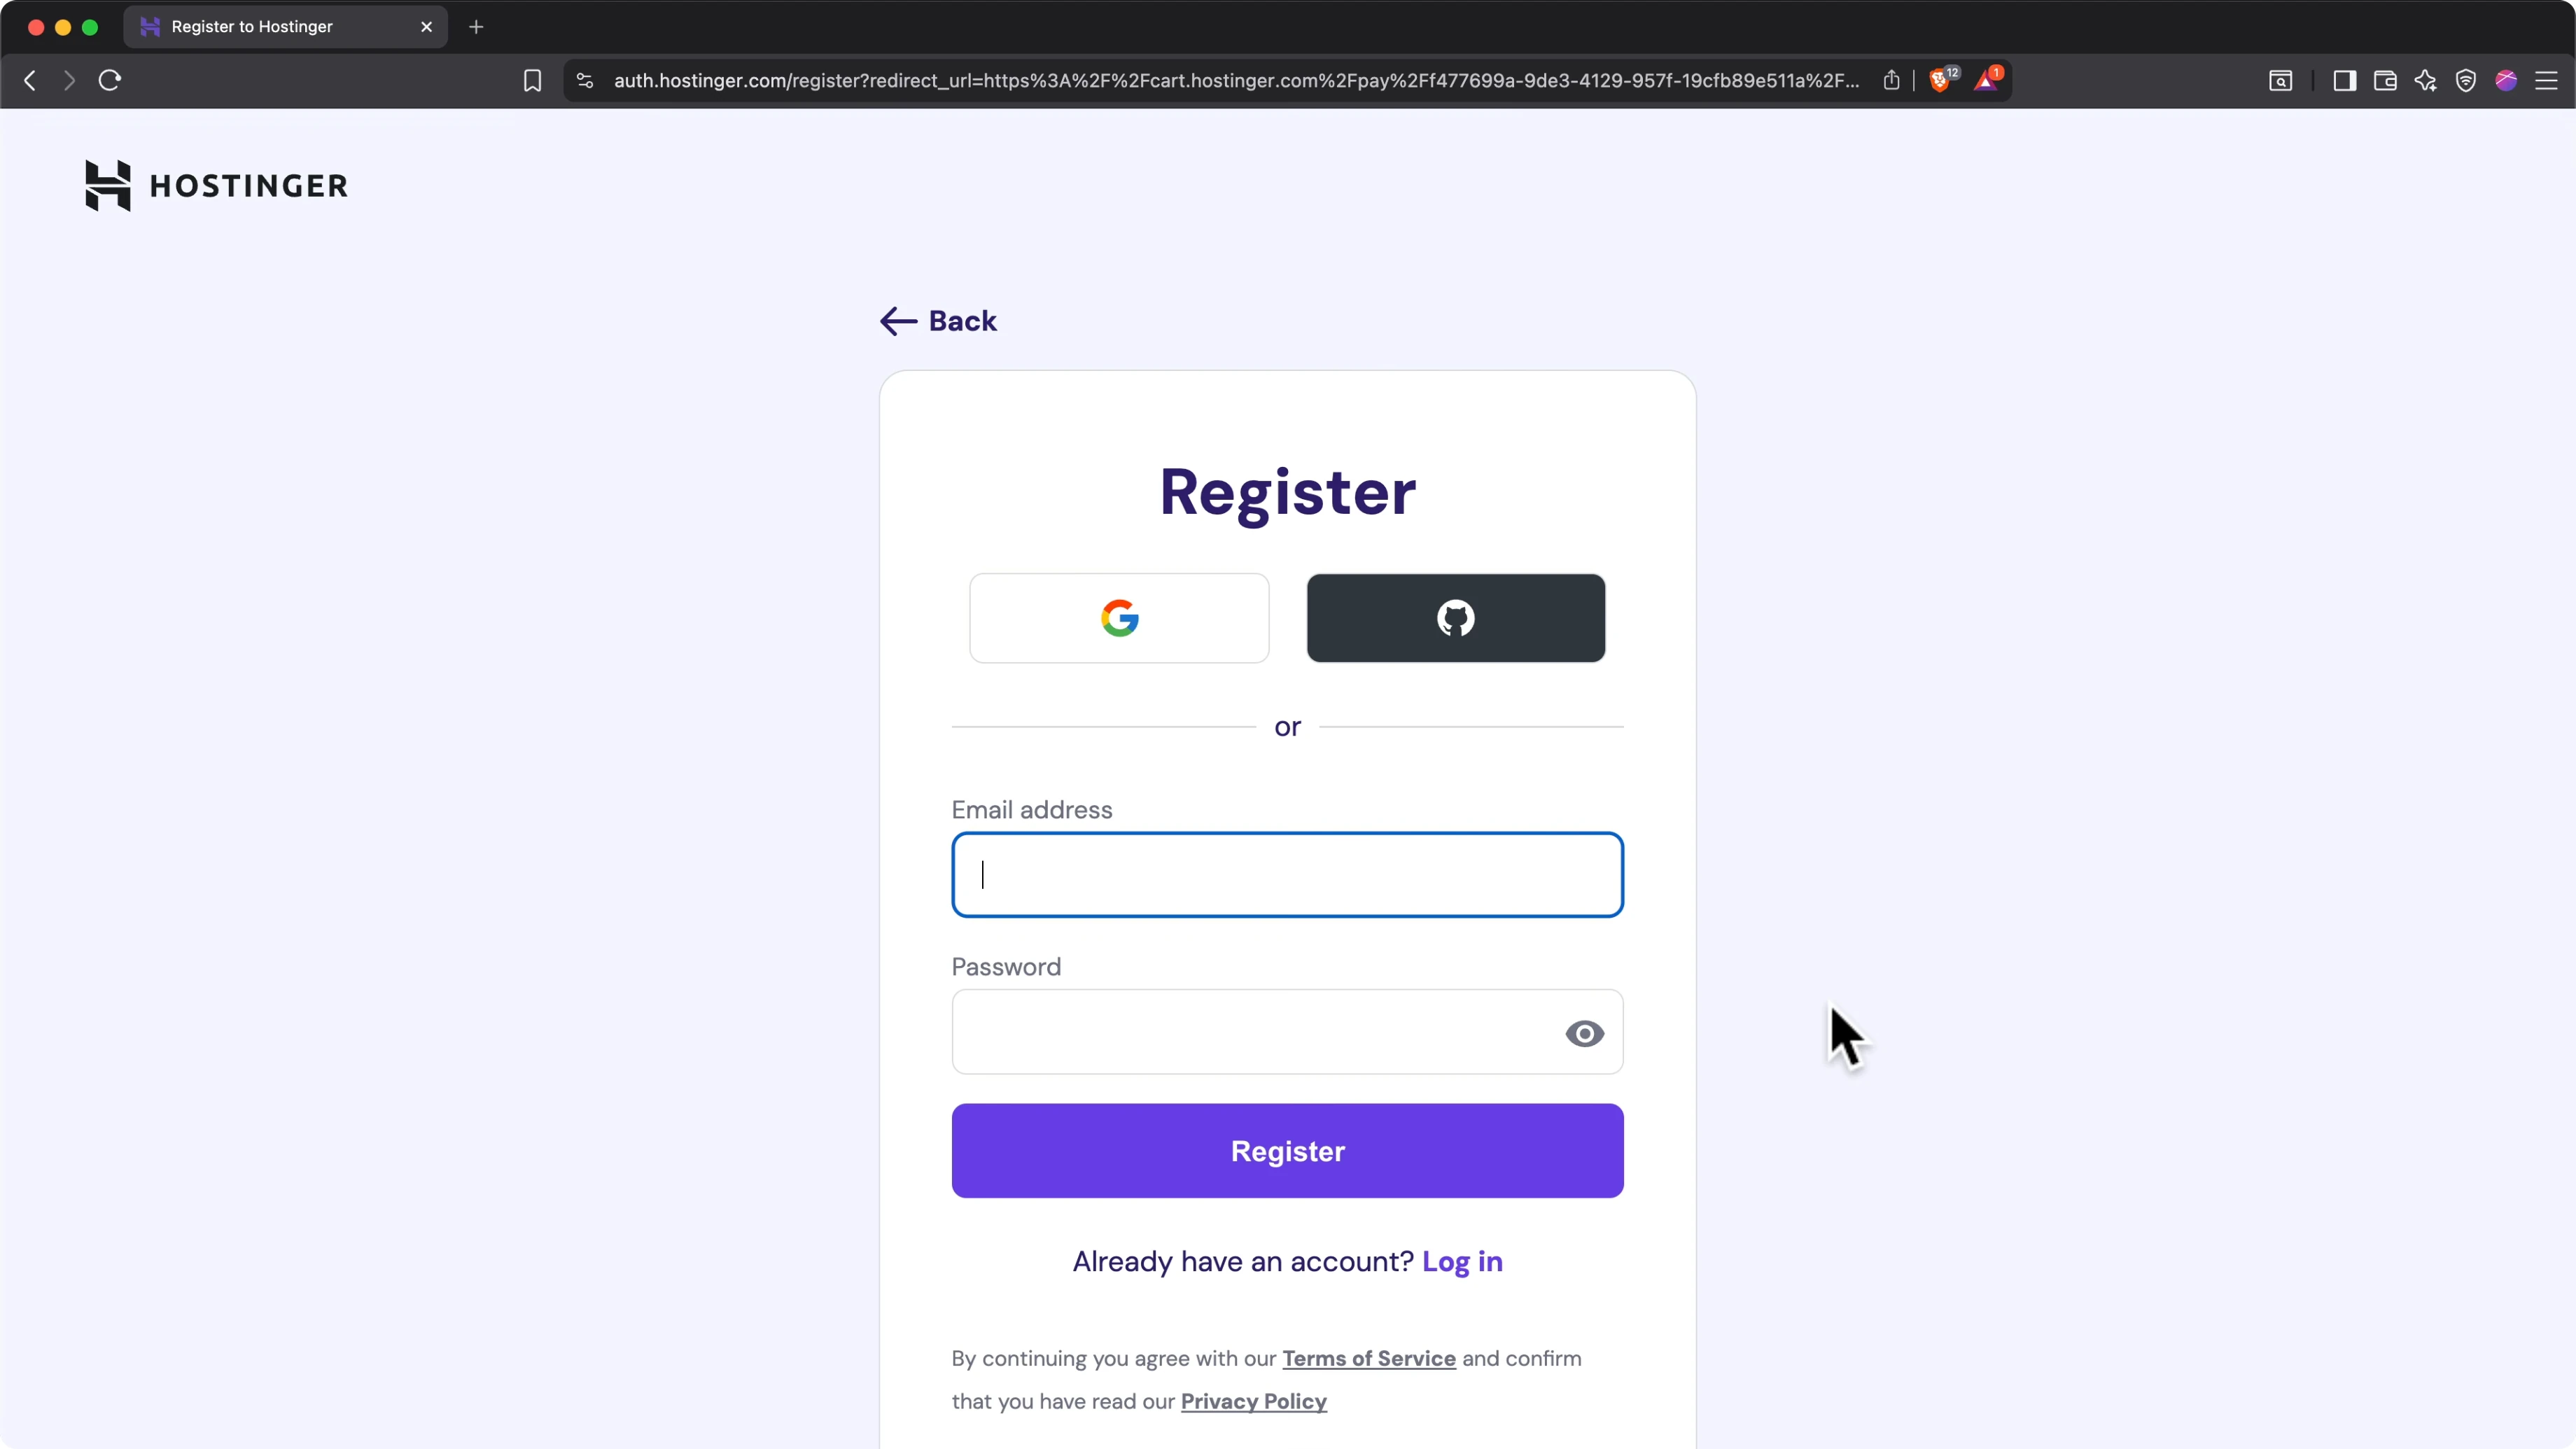
When you're ready, click continue. Register your hosting account with either Google or an email address, then enter your billing address and payment information to complete the transaction.
OpenClaw Configuration Page
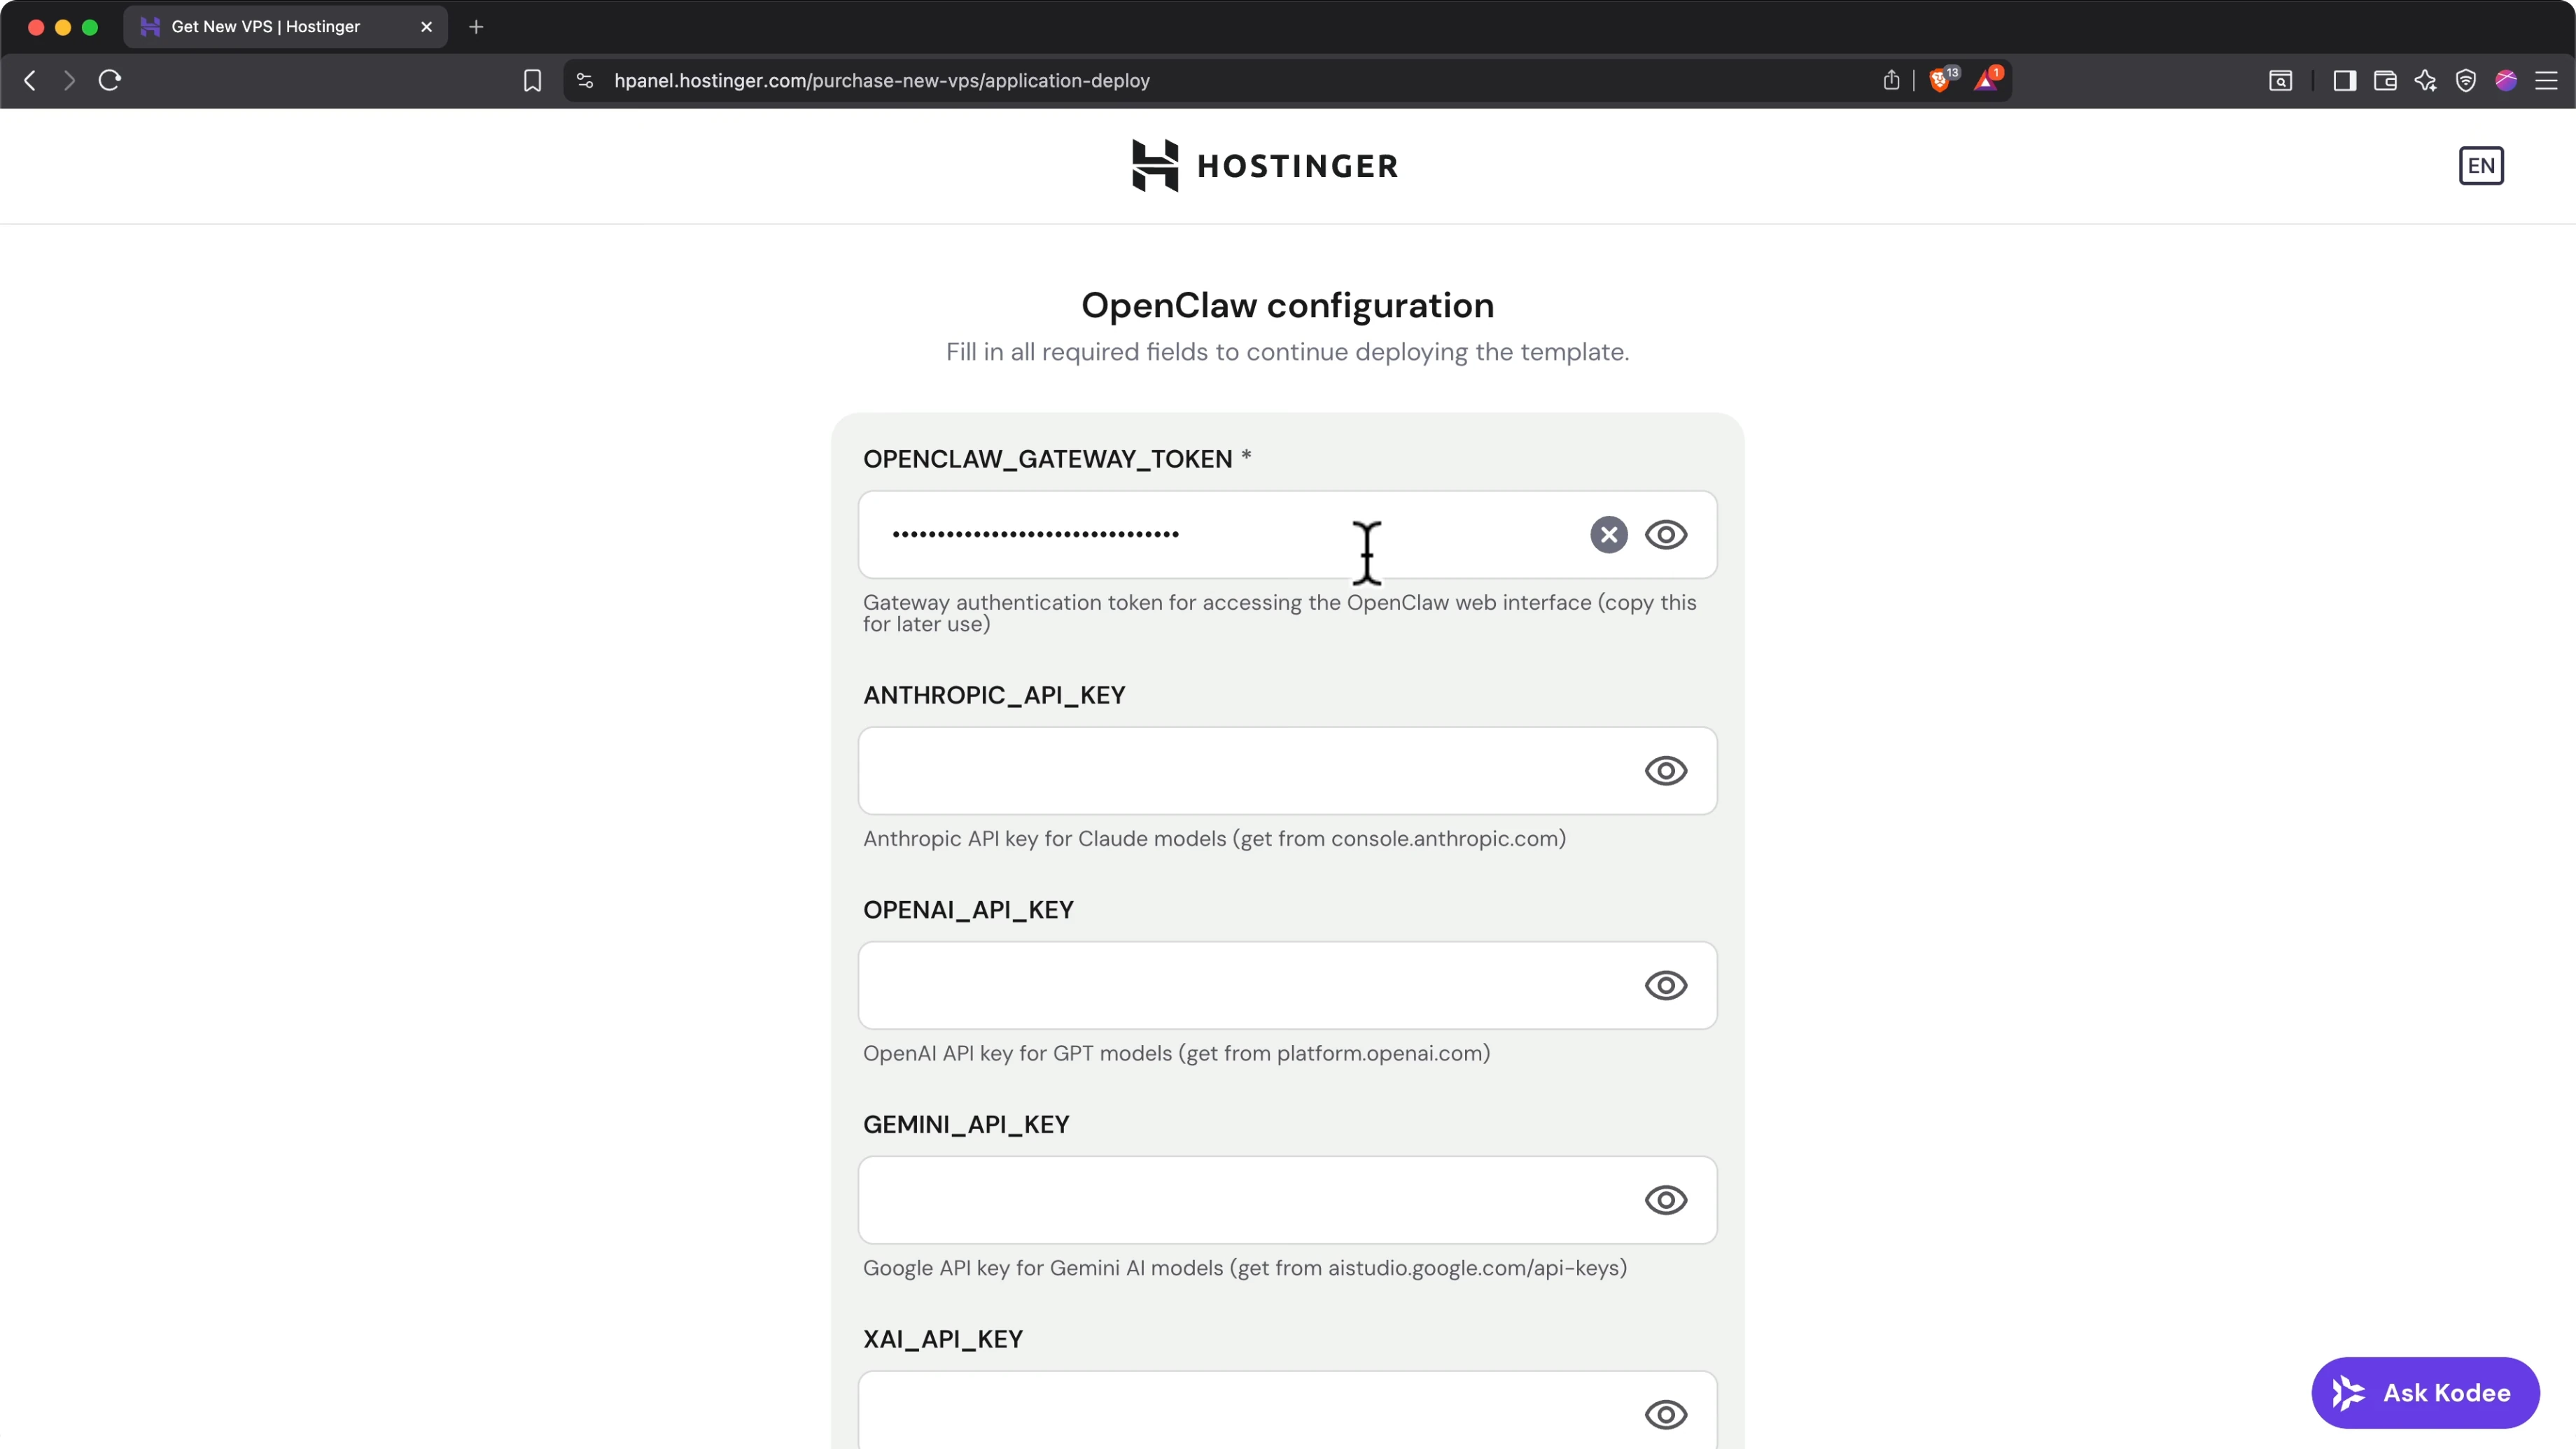
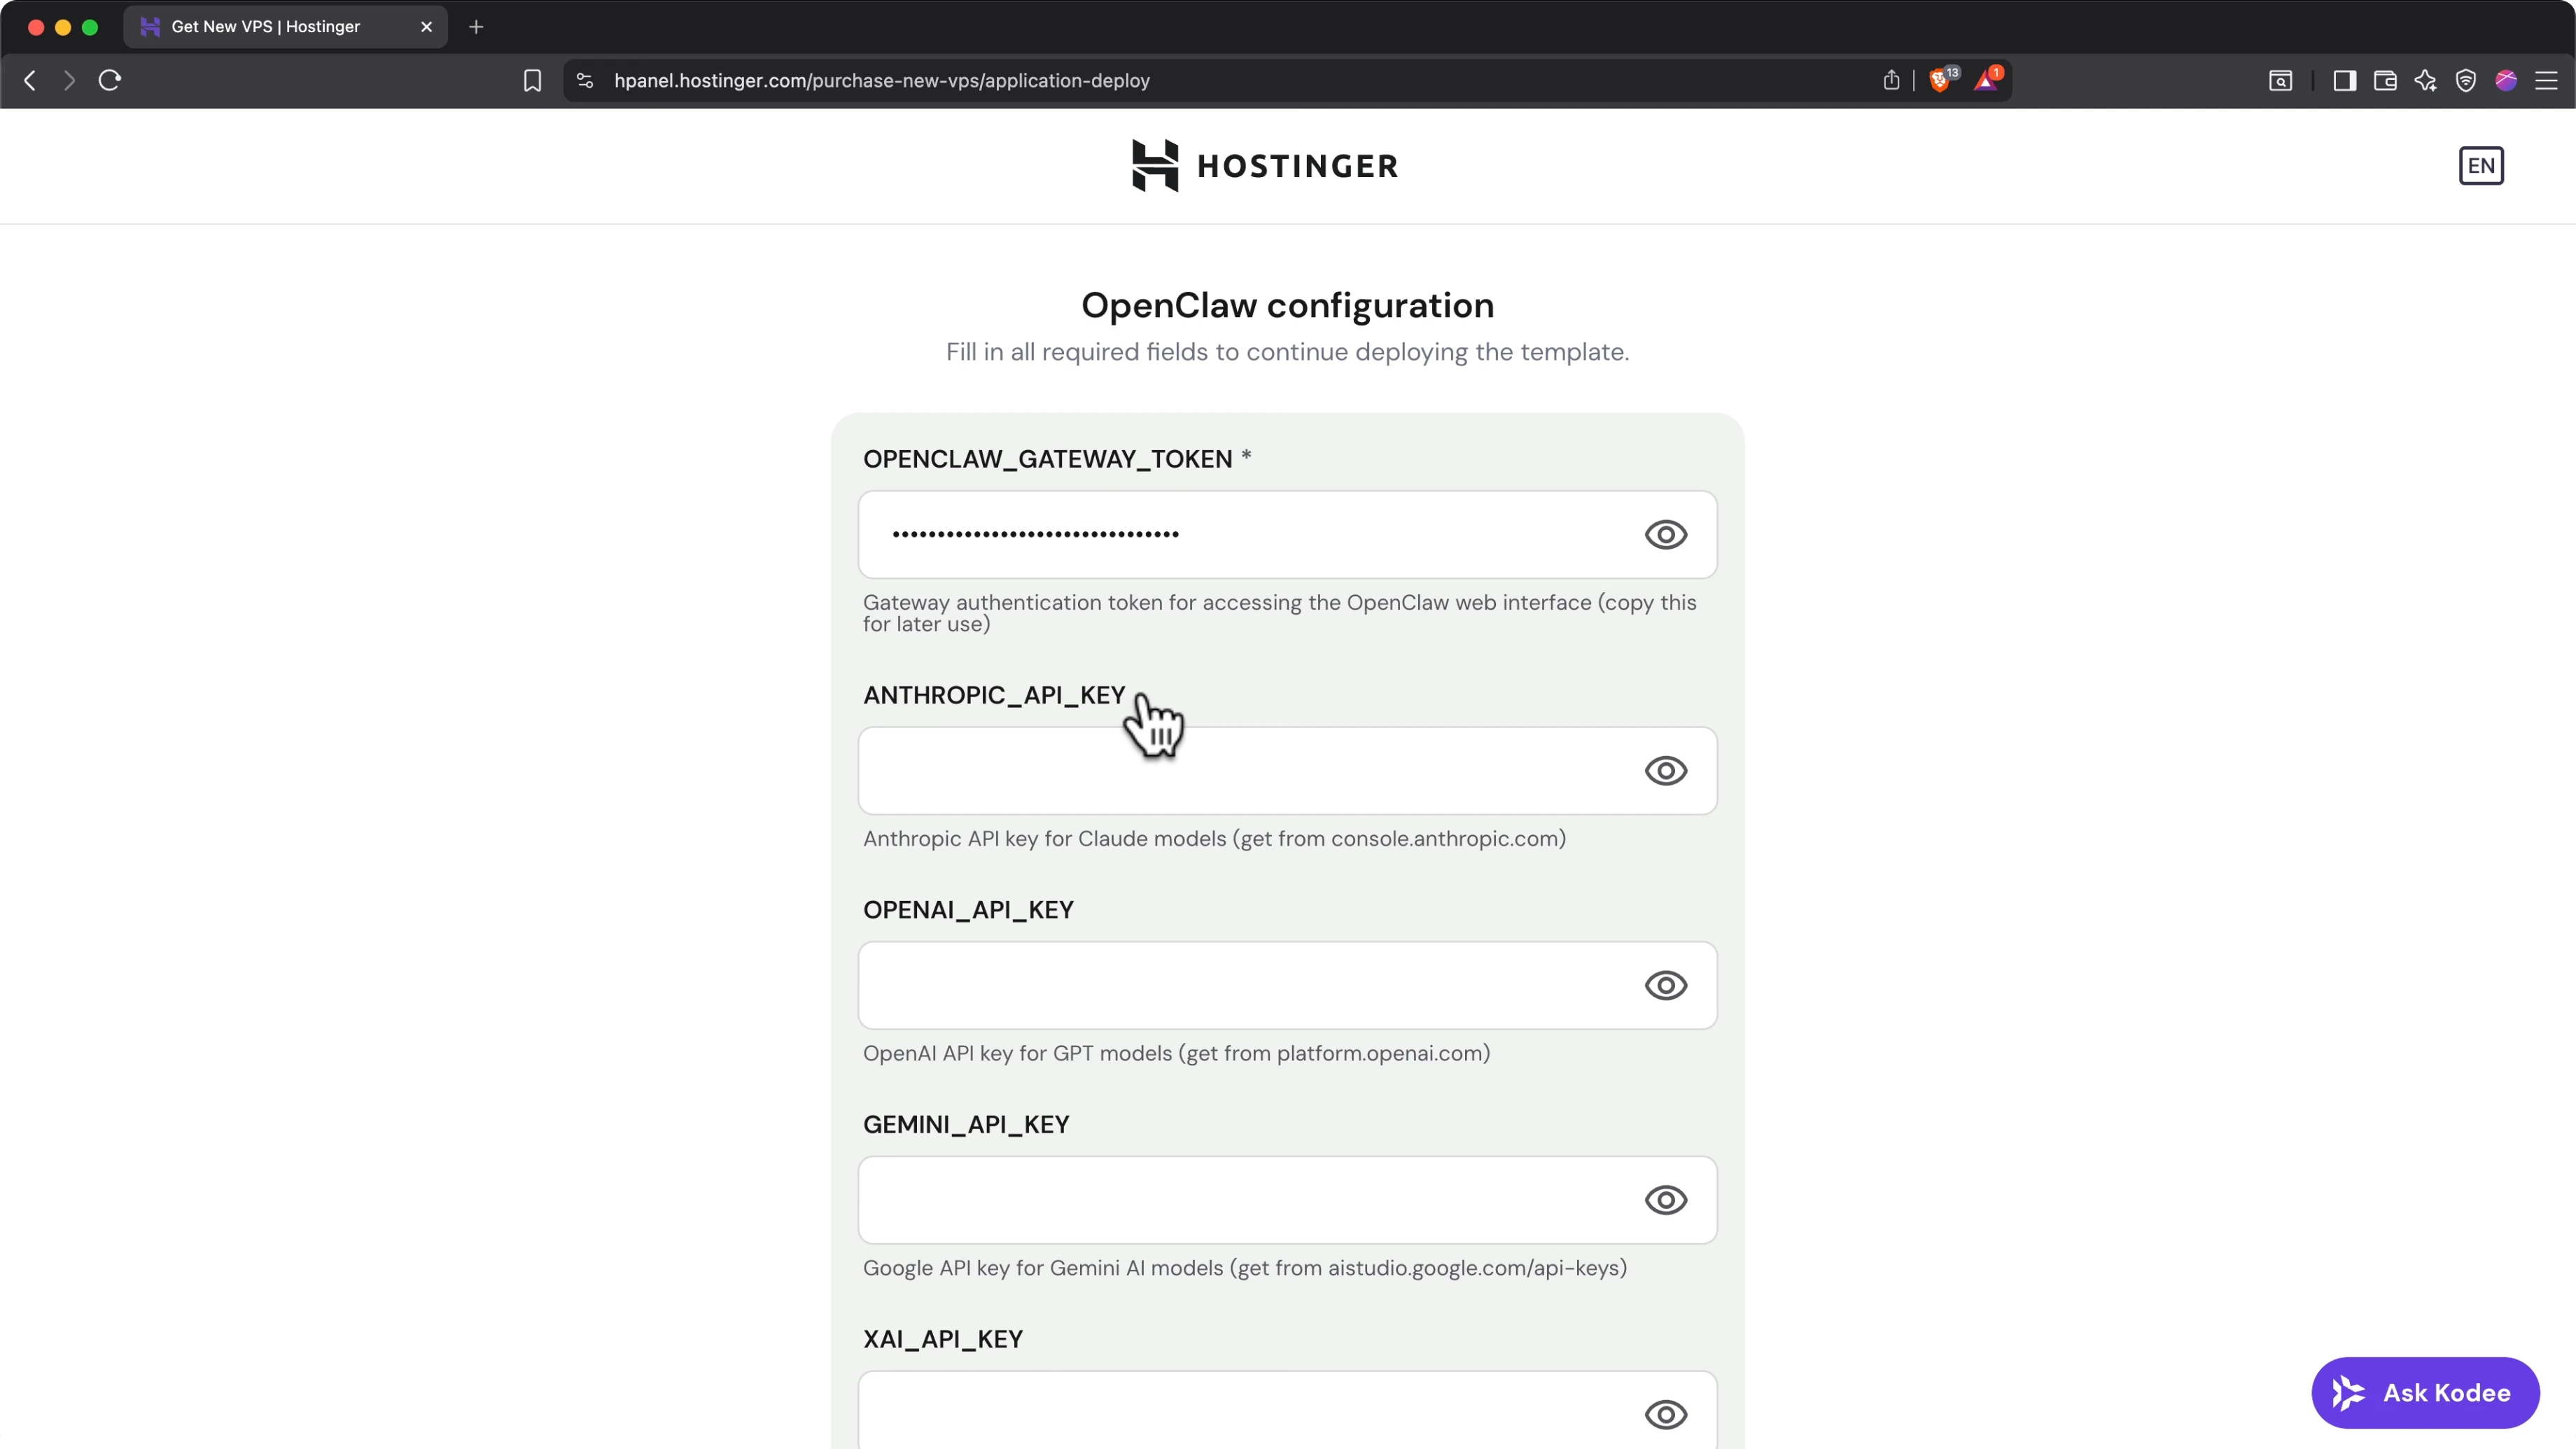
After payment, you'll land on the OpenClaw configuration page. This has several fields.
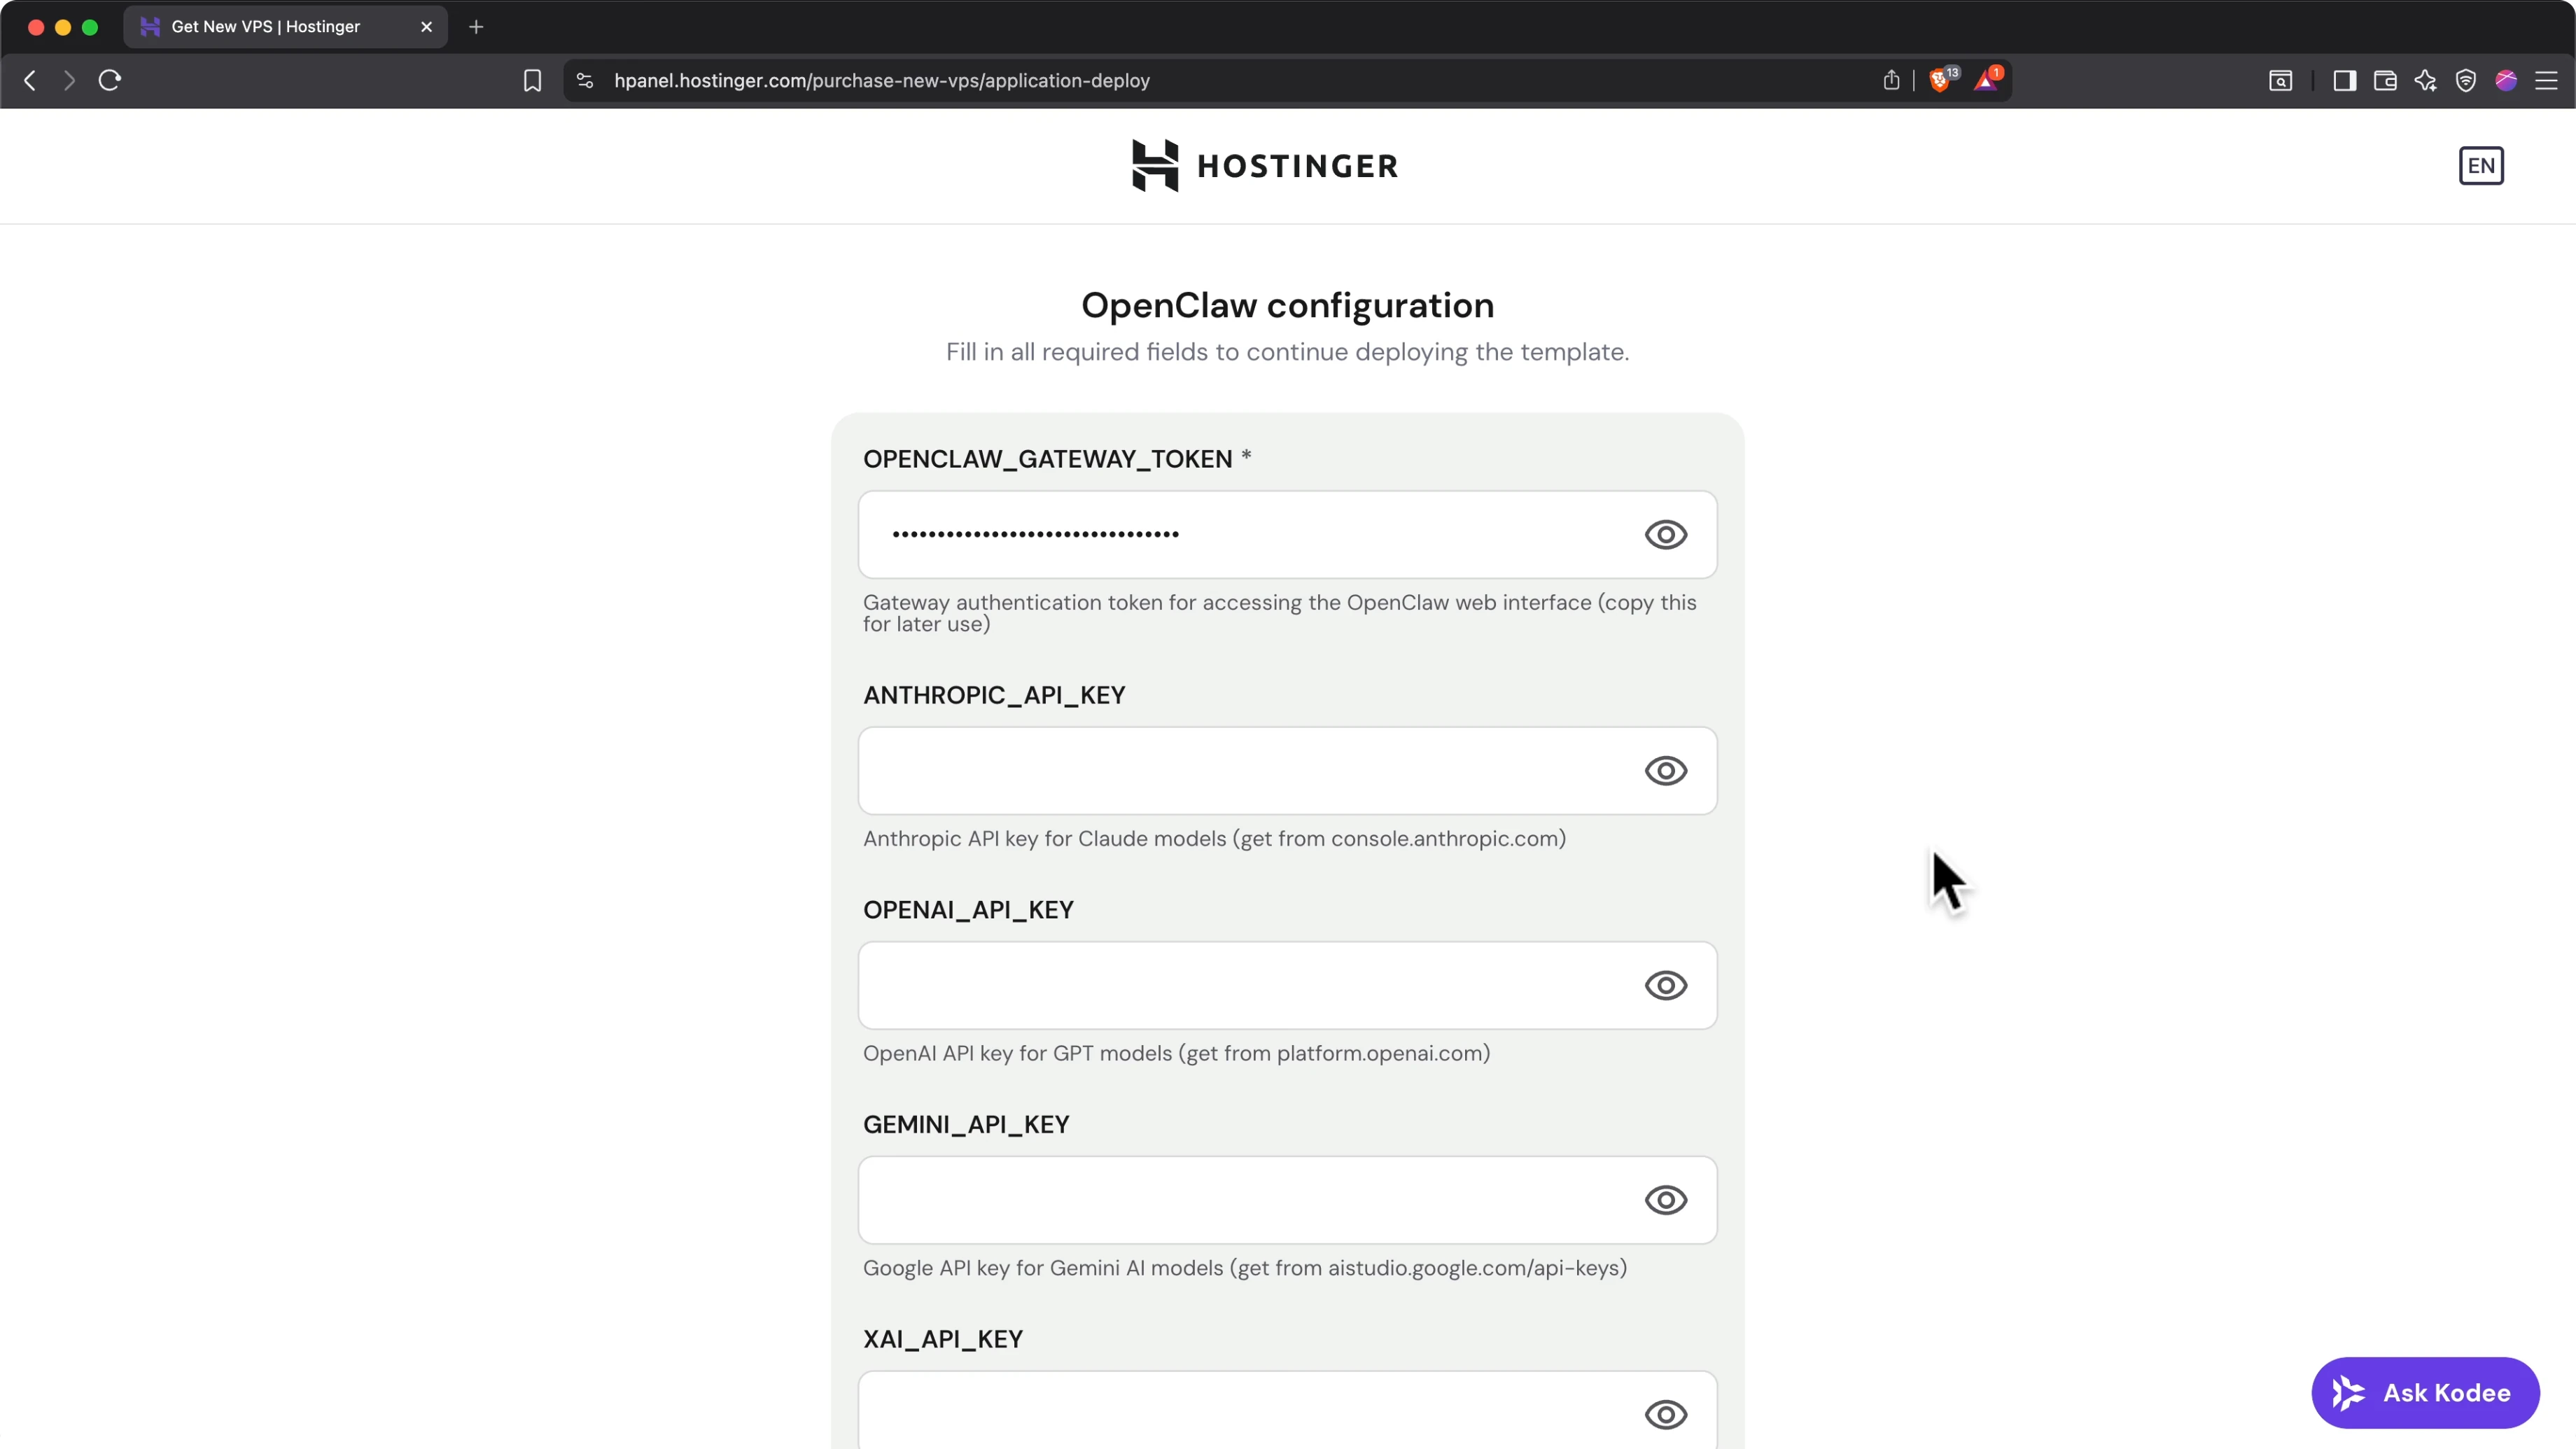
- OpenClaw gateway token: This is essentially a password to access your OpenClaw gateway. Click the eye icon to reveal it and save it somewhere safe like a password manager so you can access your OpenClaw web interface going forward.
Get Your API Key
Next, grab an API key for your preferred LLM. You can use one or even several. I'm personally using Anthropic Claw because I like the way that particular LLM works.
This configuration page says to go to console.anthropic.com, but you actually want to go to platform.claude.com. Once you're there:
- Set up an account or sign in.
- If you're setting up a new account, add your name and pick either an individual or an organisation account type.
- Buy some credits:
- Click the Buy credits button.
- Enter your payment details to buy a minimum of five dollars worth of credits.
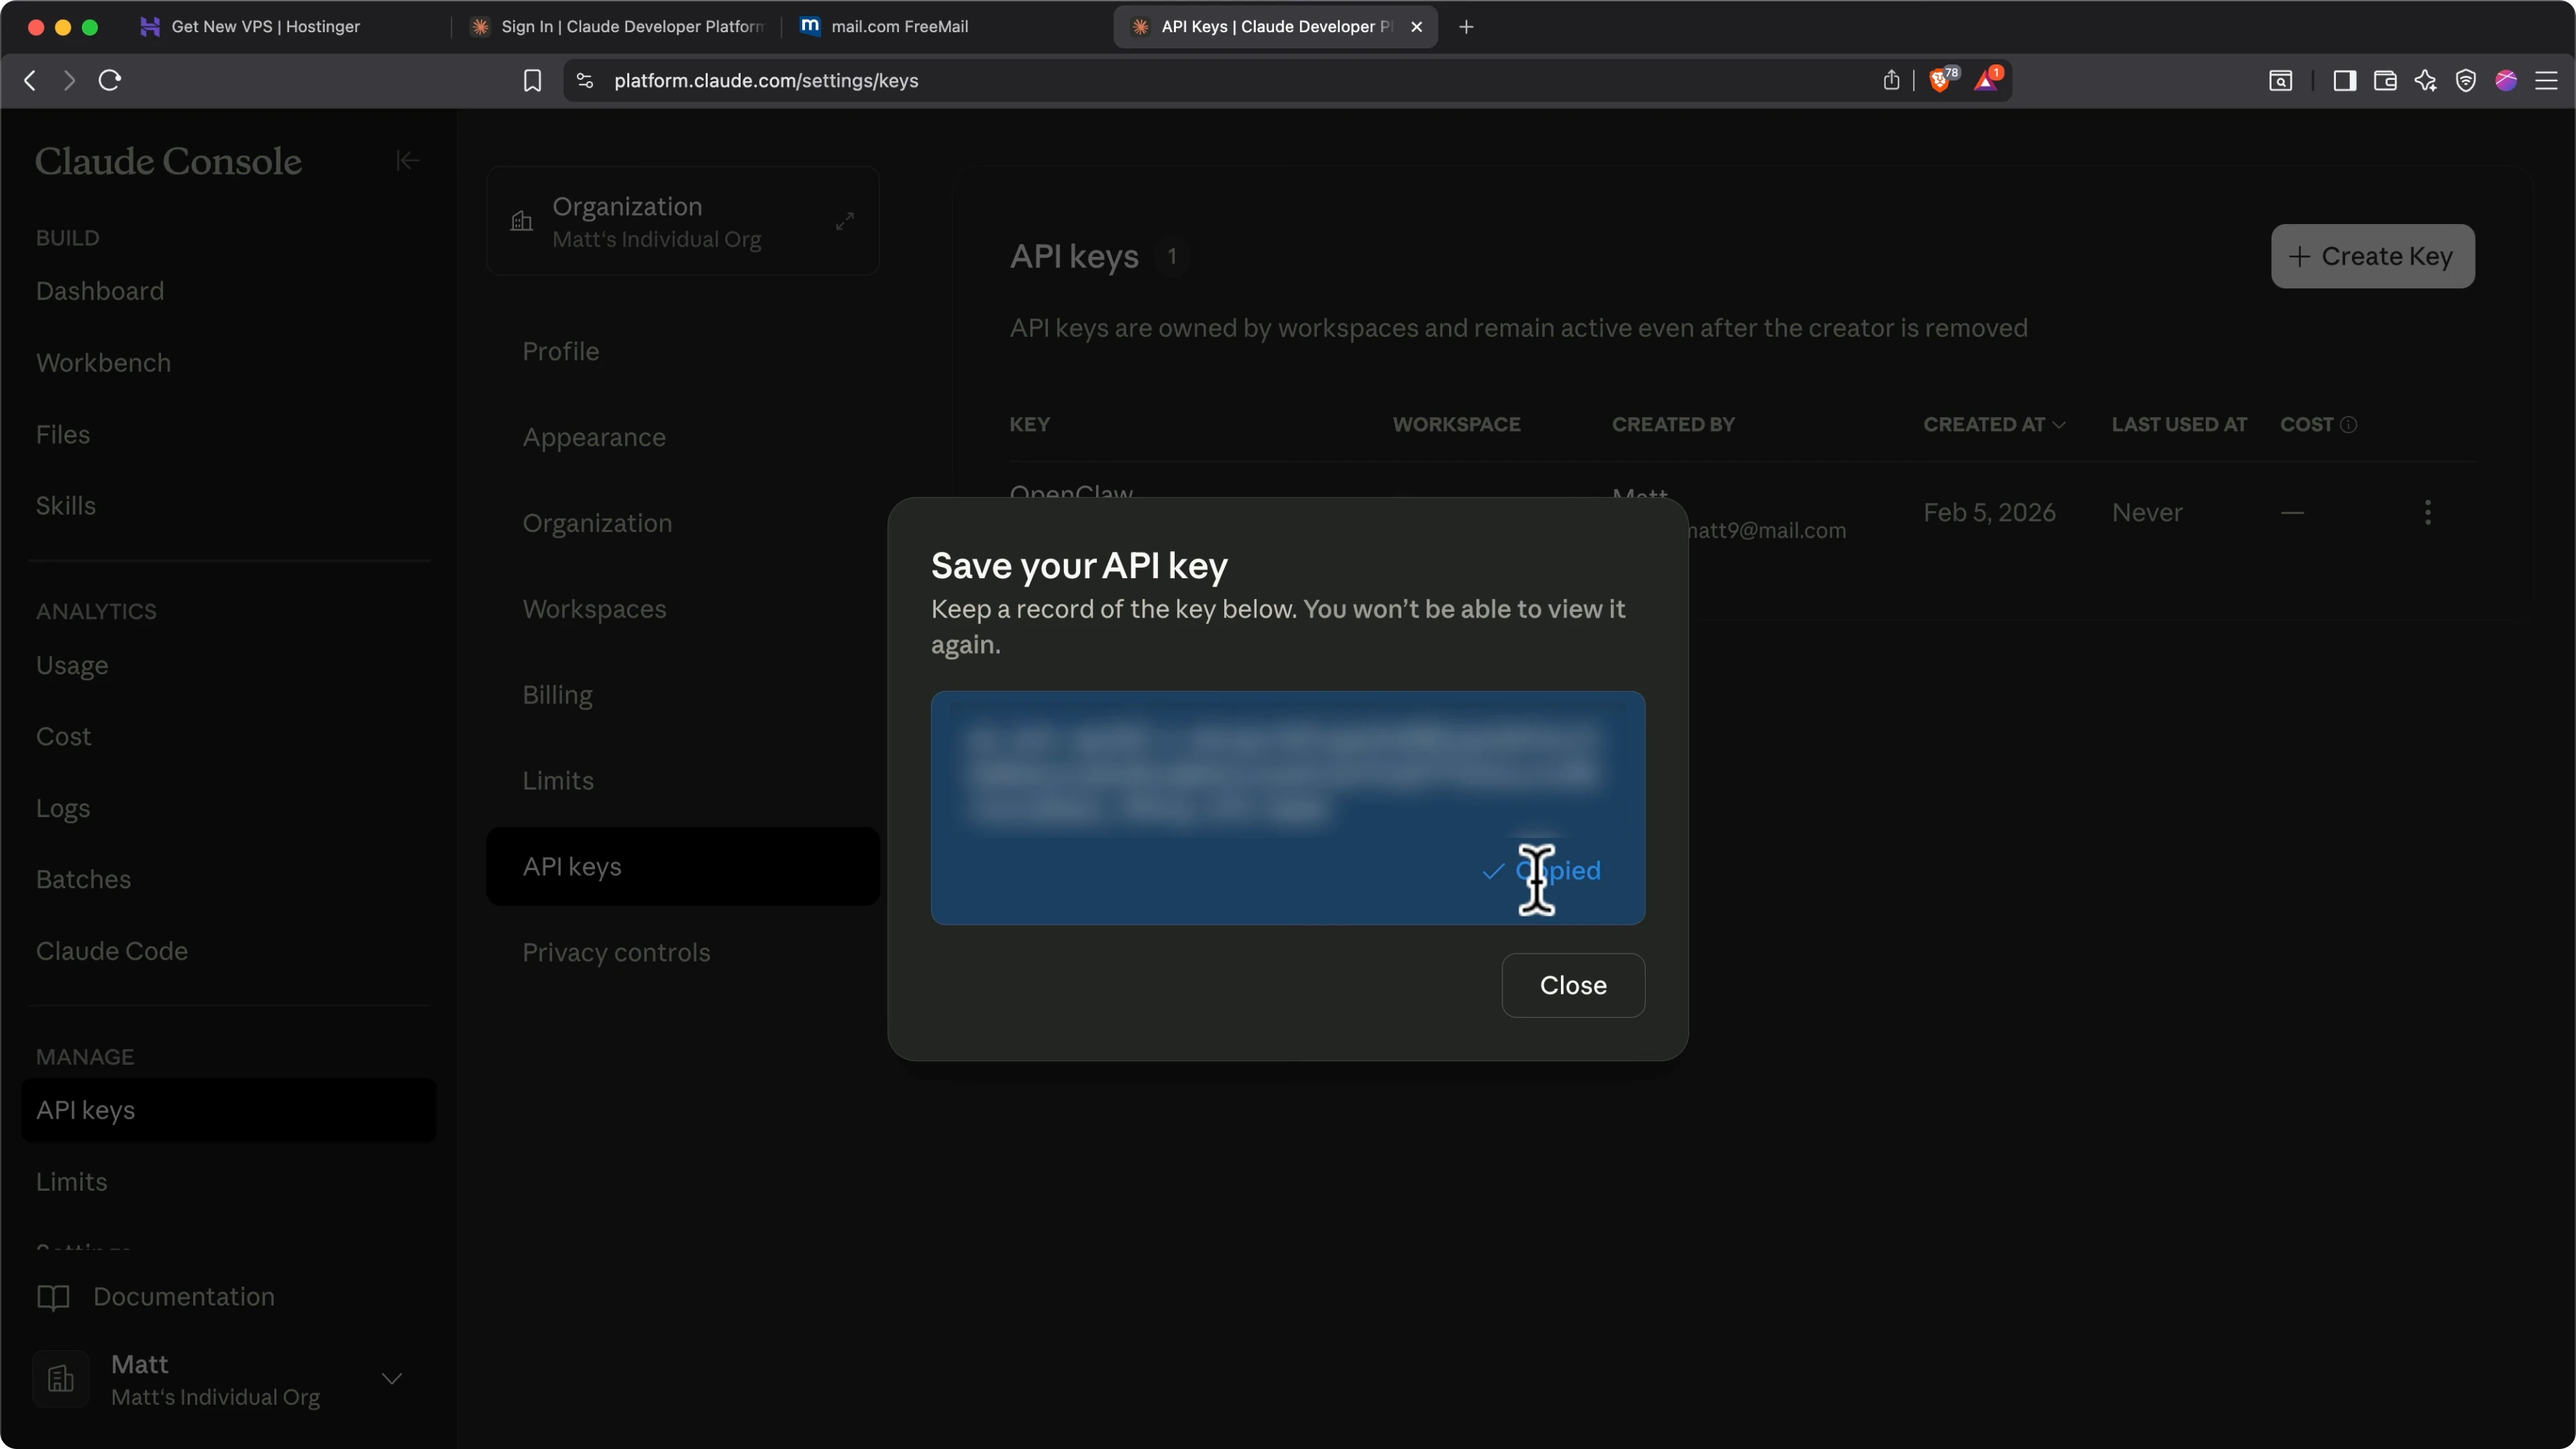
- Create an API key:
- Click Create API Key, then Create key.
- Give your key a name. I'll call mine OpenClaw.
- Click Add.
- Copy the API key. This is like a password, so don't share it with anyone.
Return to Hostinger and paste your API key in the relevant field.
Getting an API key for any of the other LLMs is pretty similar. Go to the link provided for each one under each field, follow the instructions, then return here and paste in your key. You can use one or several LLMs.
When your API key is pasted in for your preferred LLM, scroll to the bottom and click Deploy.
Deploy and Monitor
You’ll land on the H panel page in Hostinger with a survey. Scroll to the bottom and click Skip. Once you close that, in Docker Manager you’ll see an indicator saying your project is being deployed. This can take between two and five minutes, so wait for it to finish.
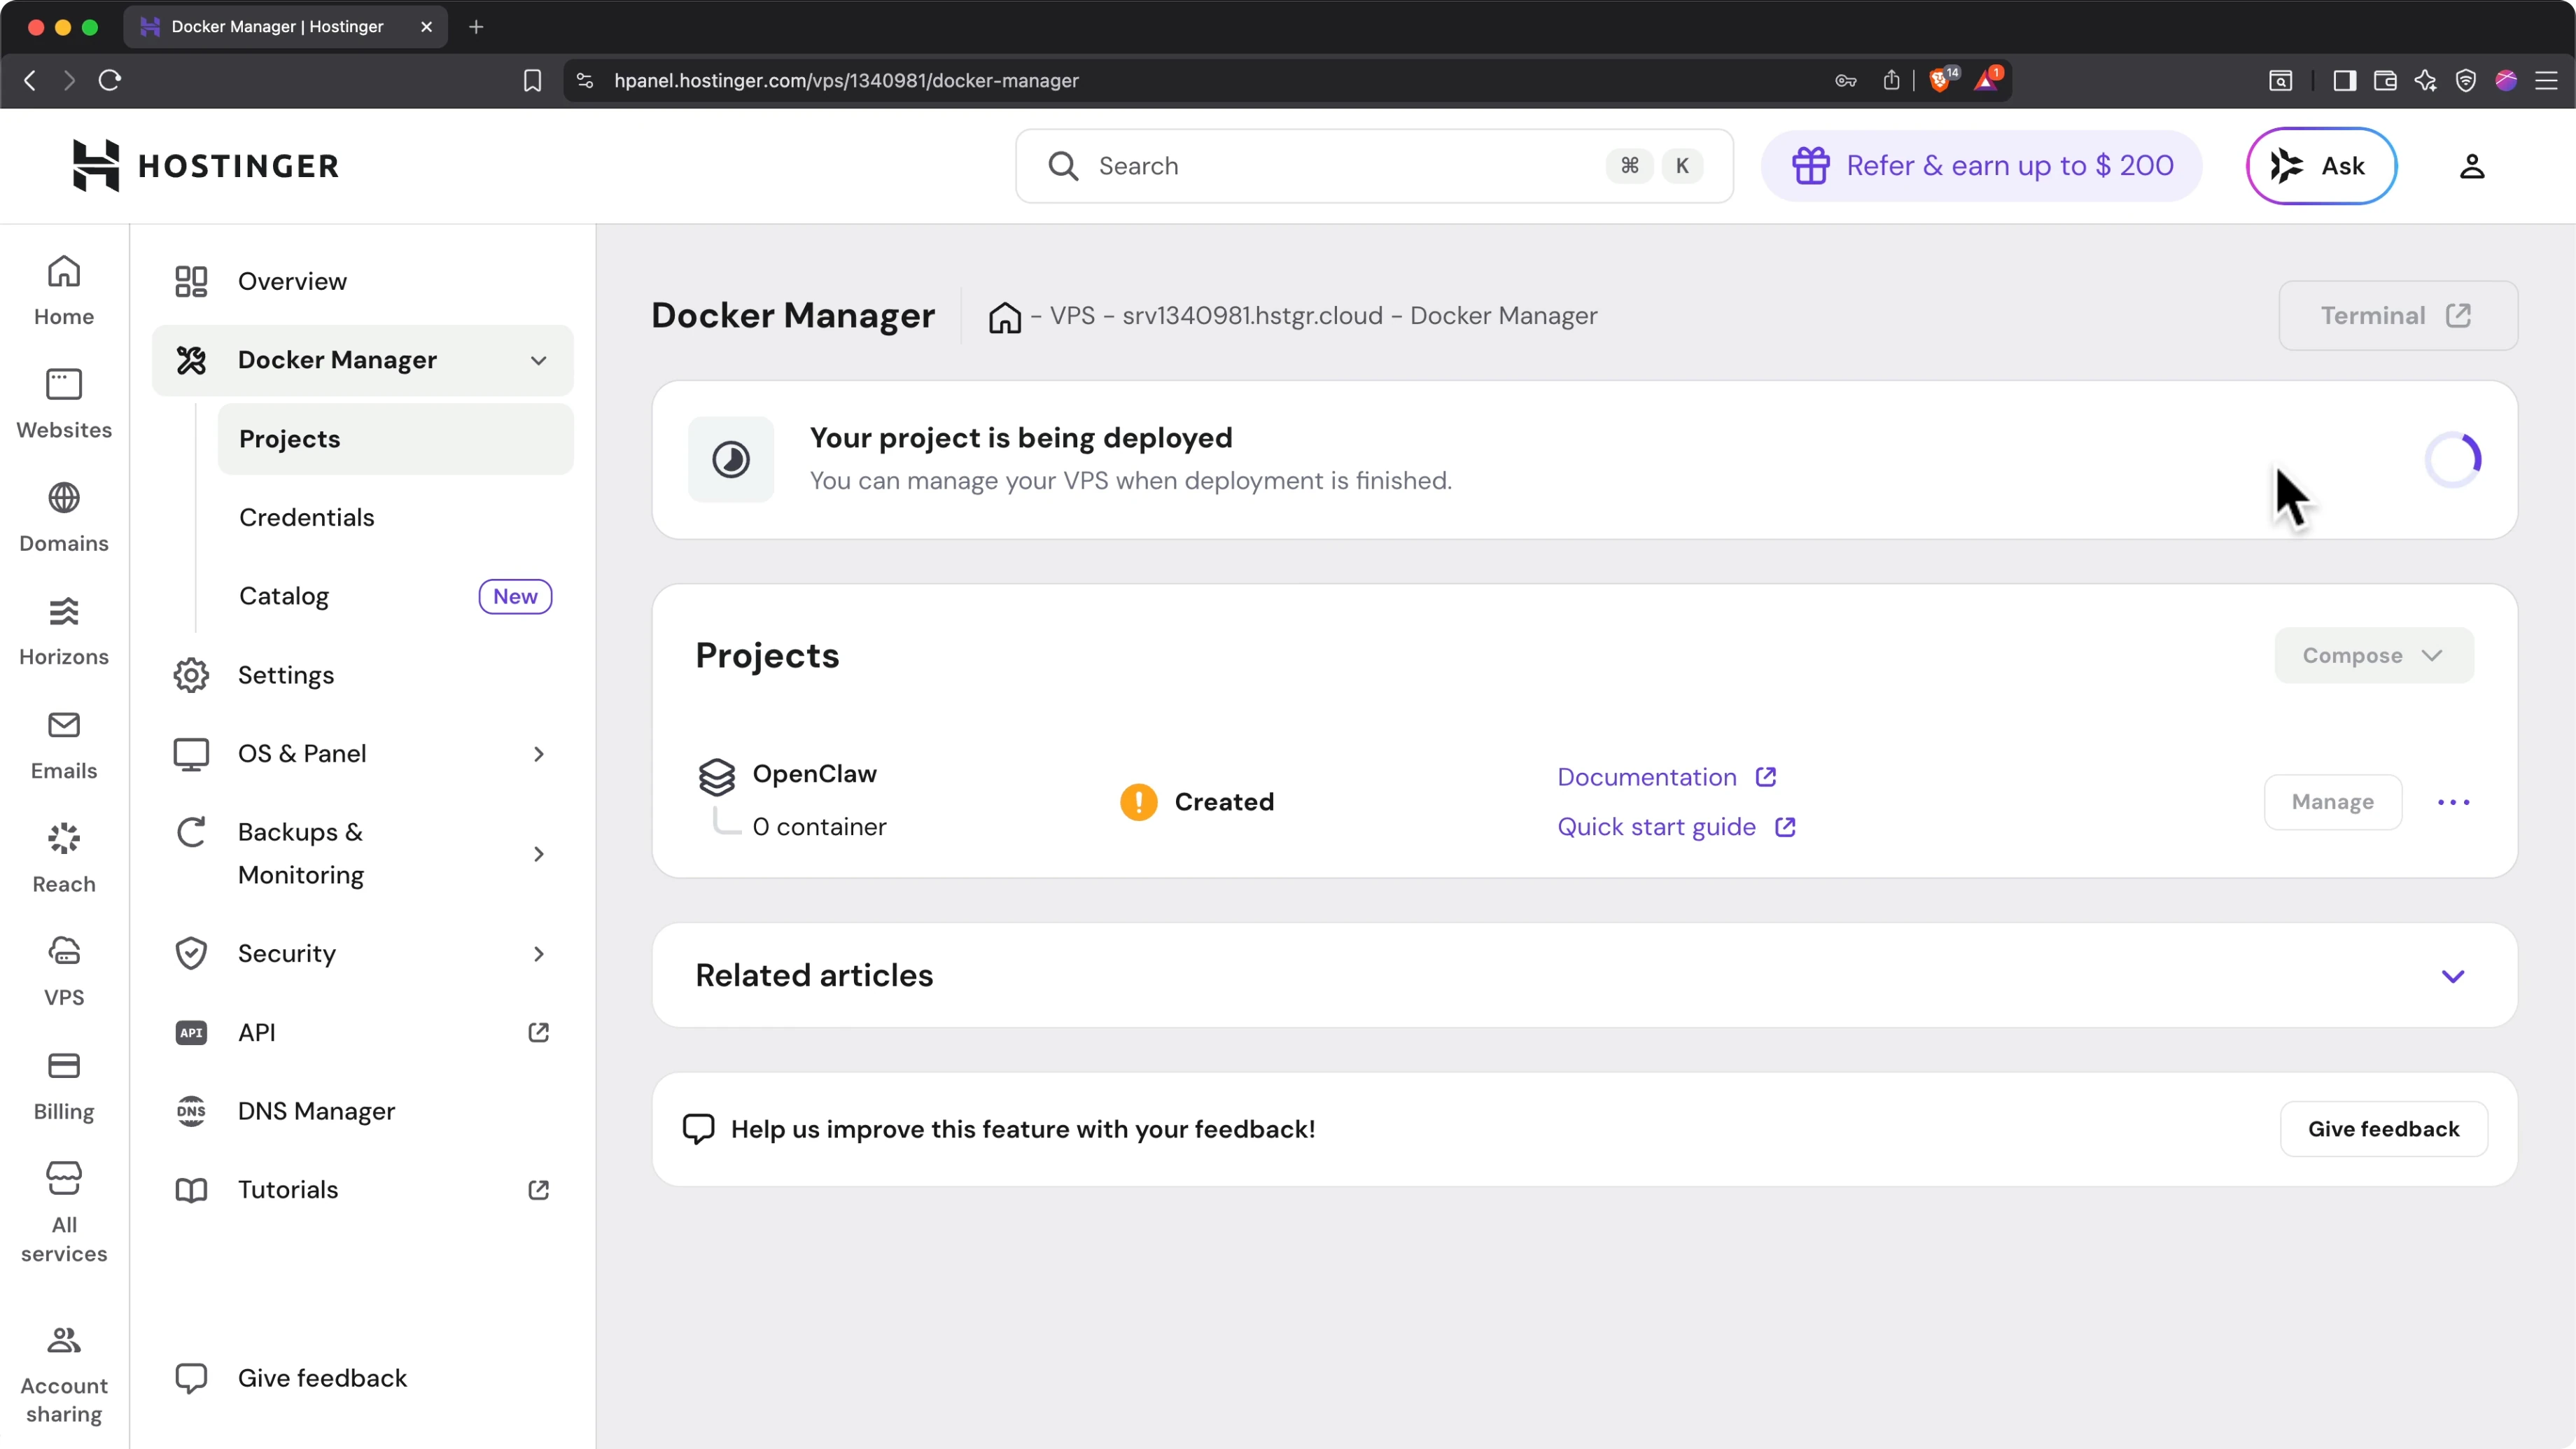
Access the OpenClaw Dashboard
When it's all done, you'll see a green check mark and it will say Running. To access your OpenClaw dashboard:
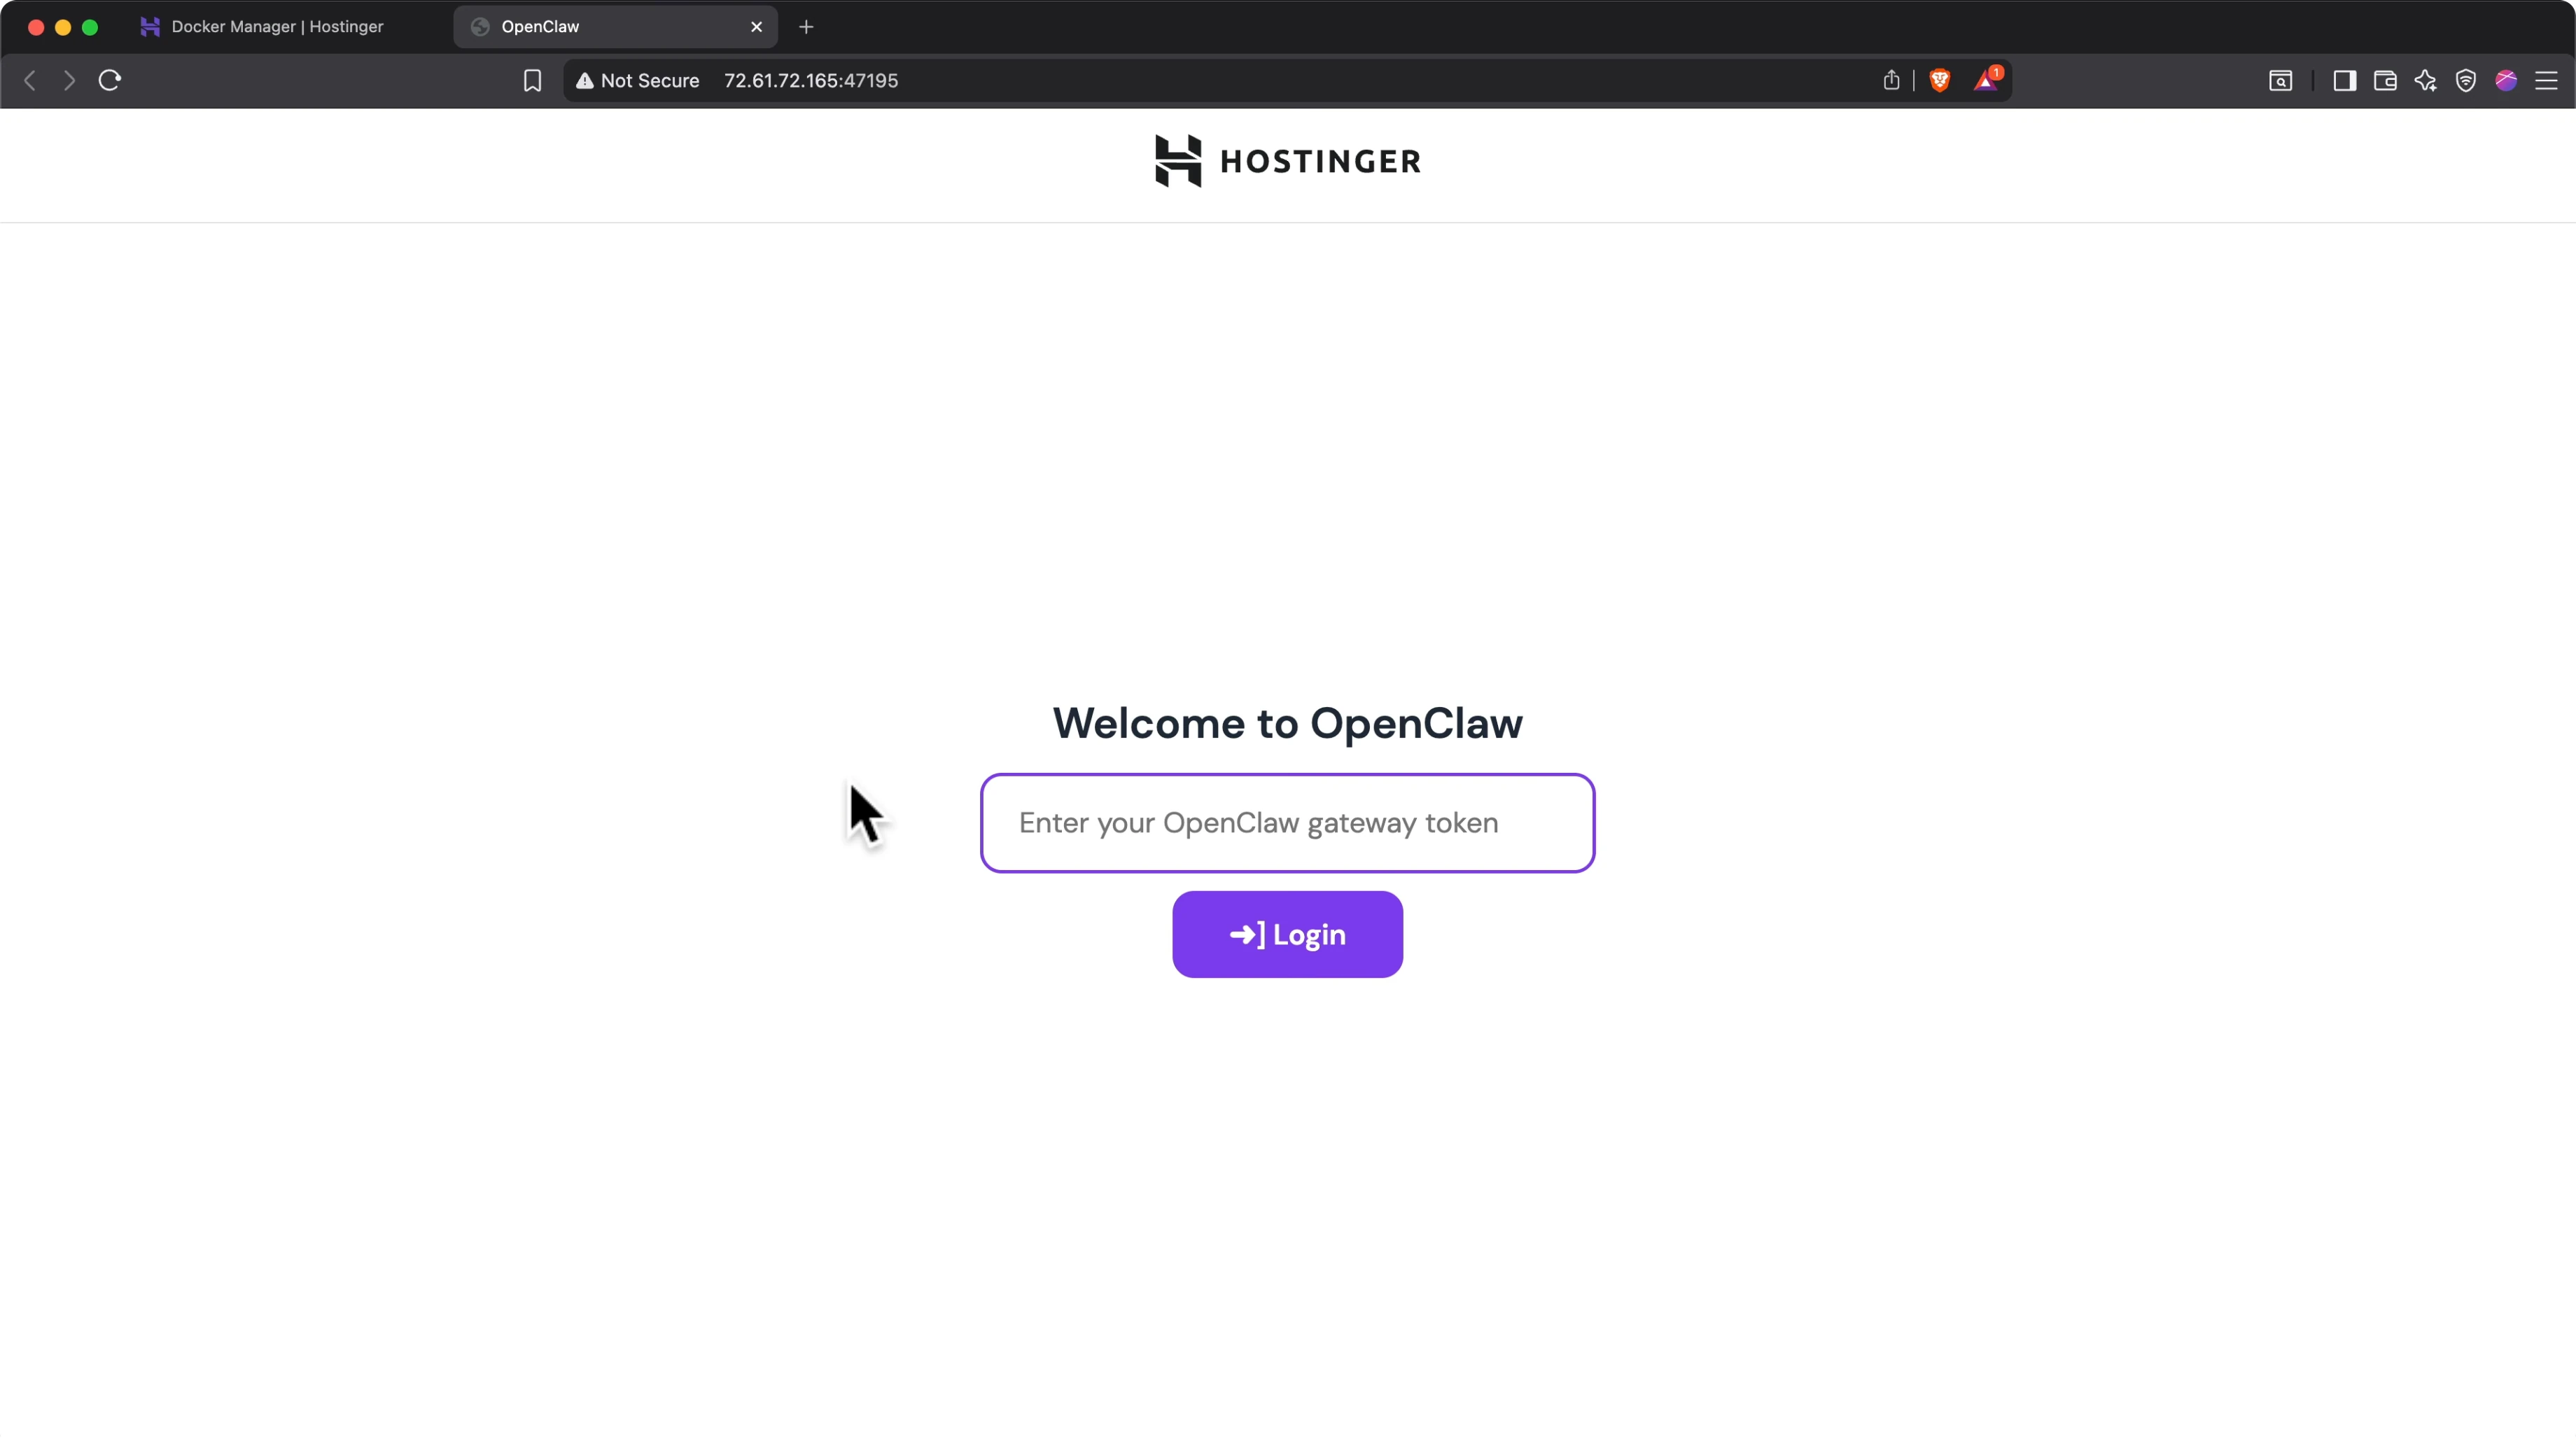
- Click the purple link in the bottom left.
- Paste the OpenClaw gateway token you saved earlier and click Log in.
If you didn't get that onboarding flow and you didn’t have to plug in the gateway token yet, add it manually:
- On the left side under Control, click Overview.
- In the Gateway access panel, paste the gateway token and click Connect.
- On the right side, Snapshot status will change from Disconnected to Connected.
Configure Identity (soul.md)
First things first, configure OpenClaw's soul, a very fancy way of saying onboarding:
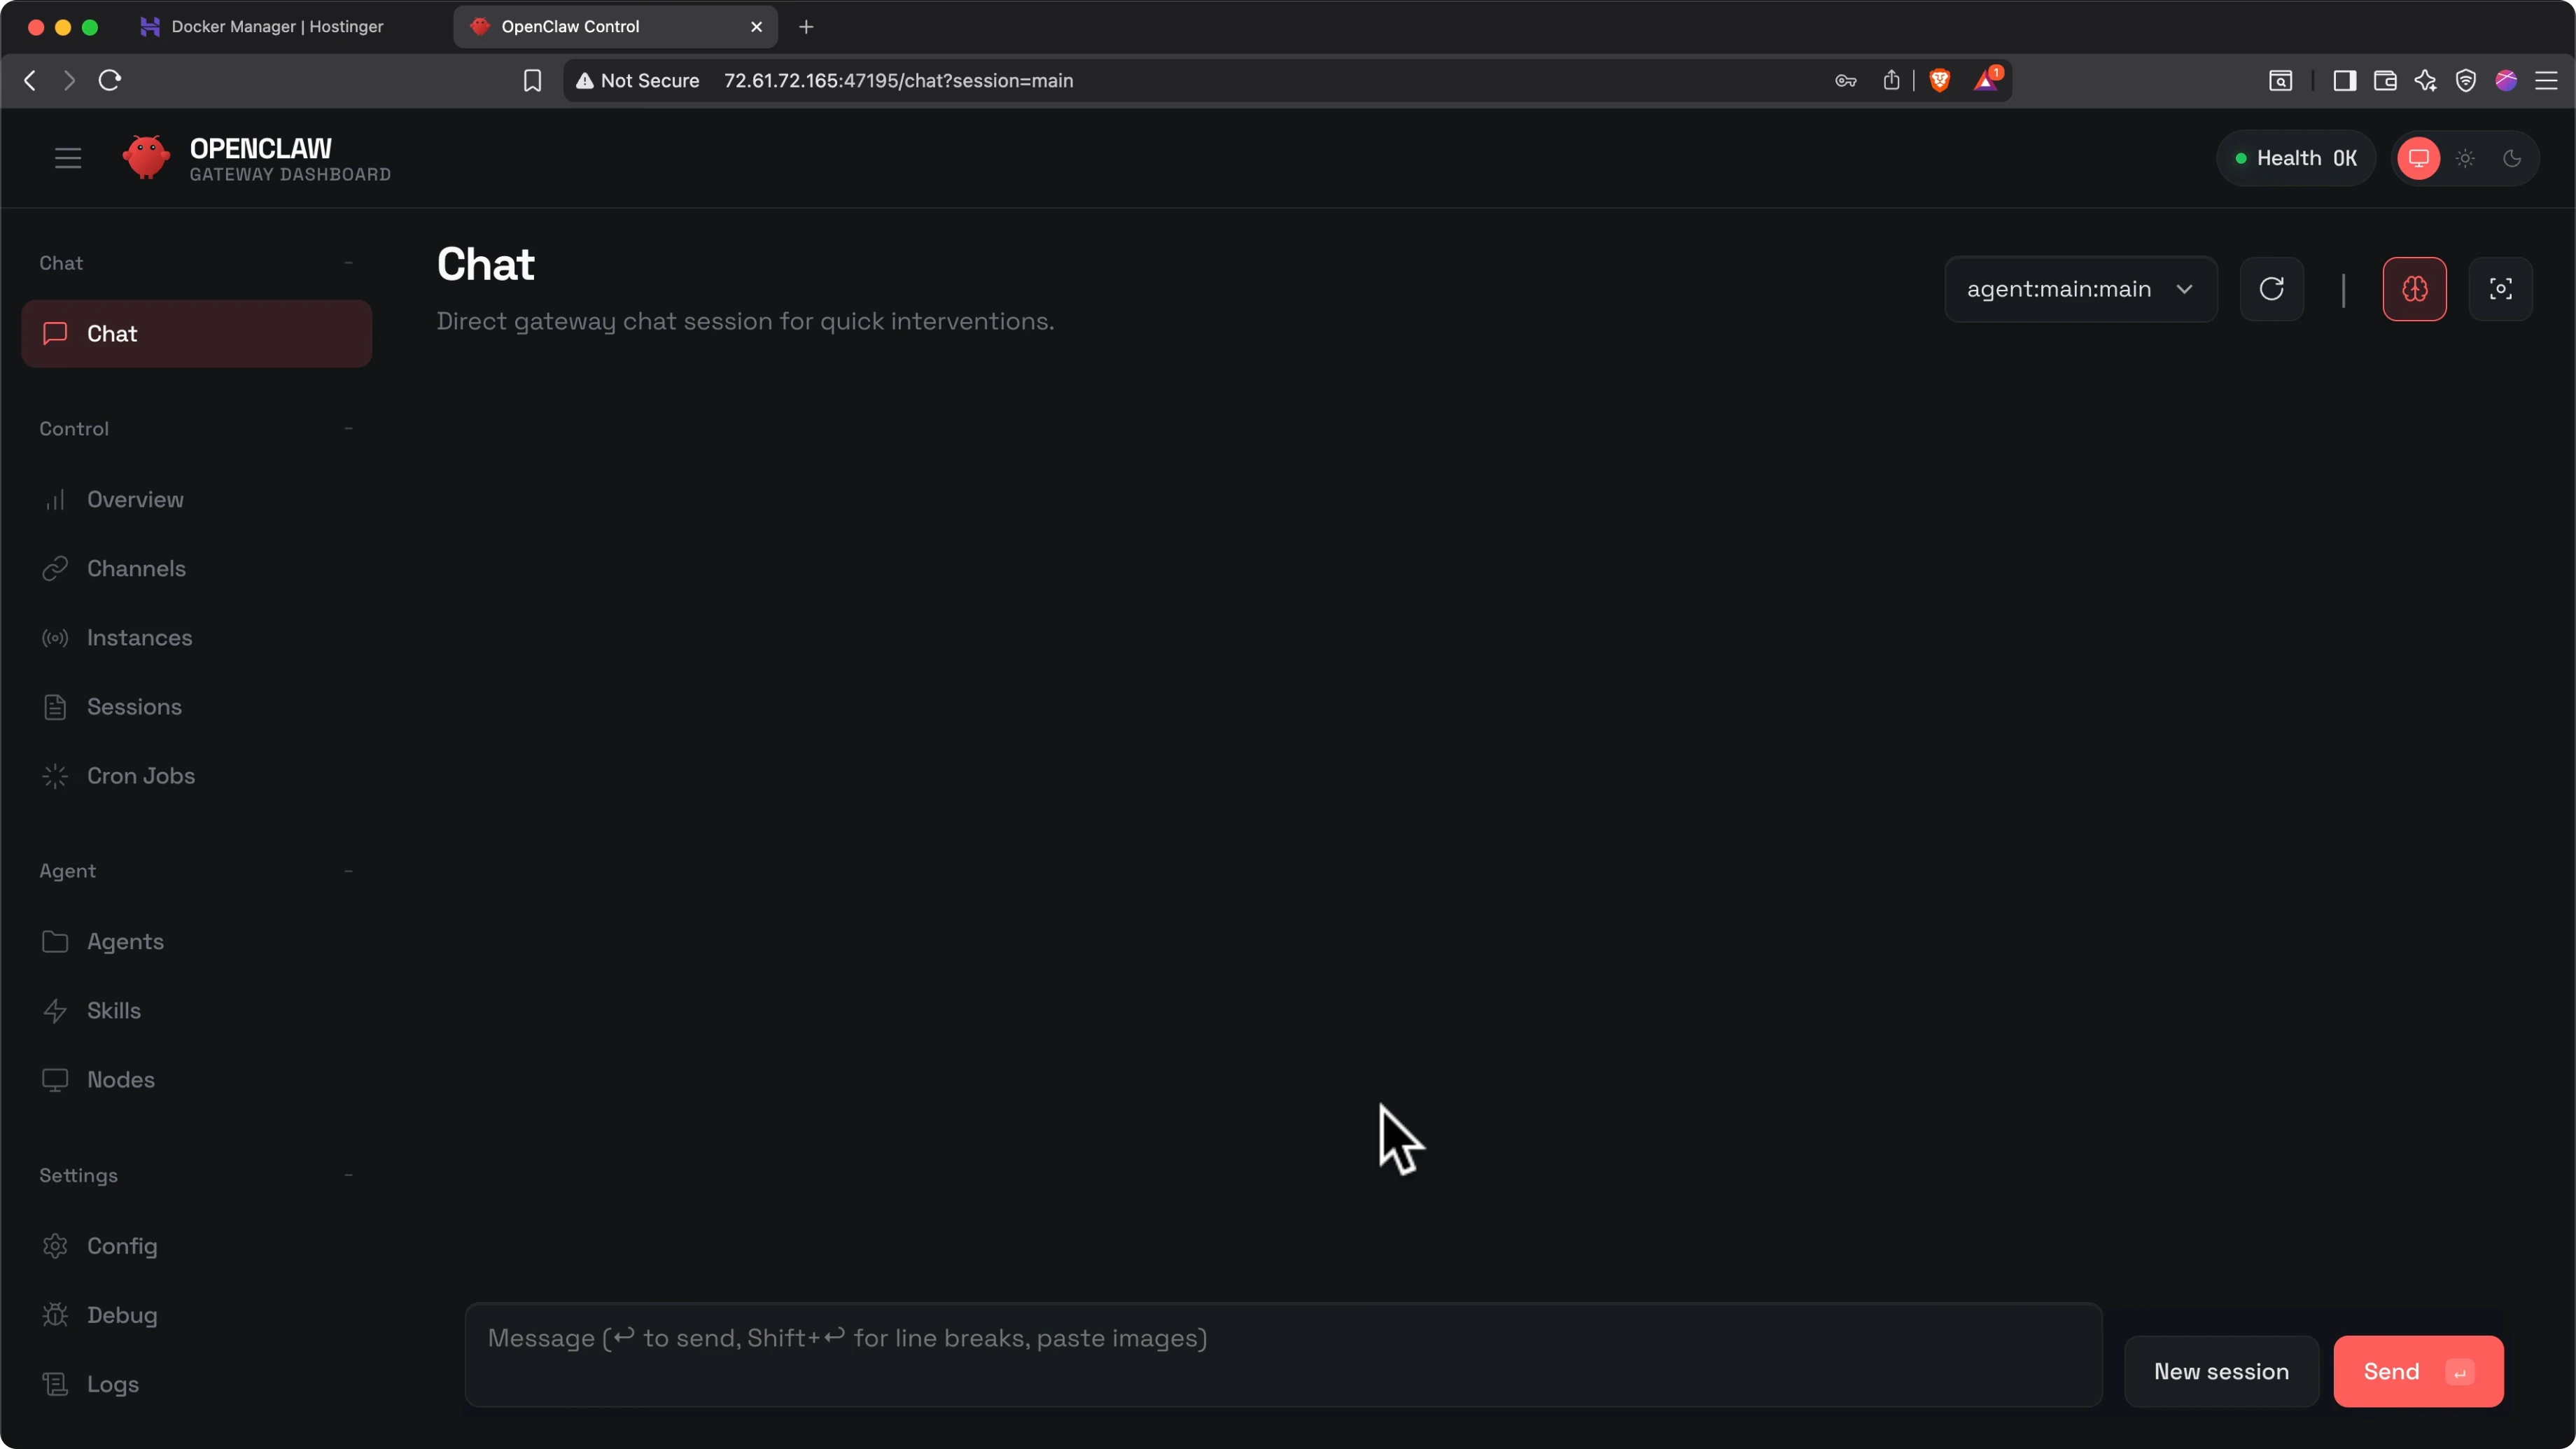
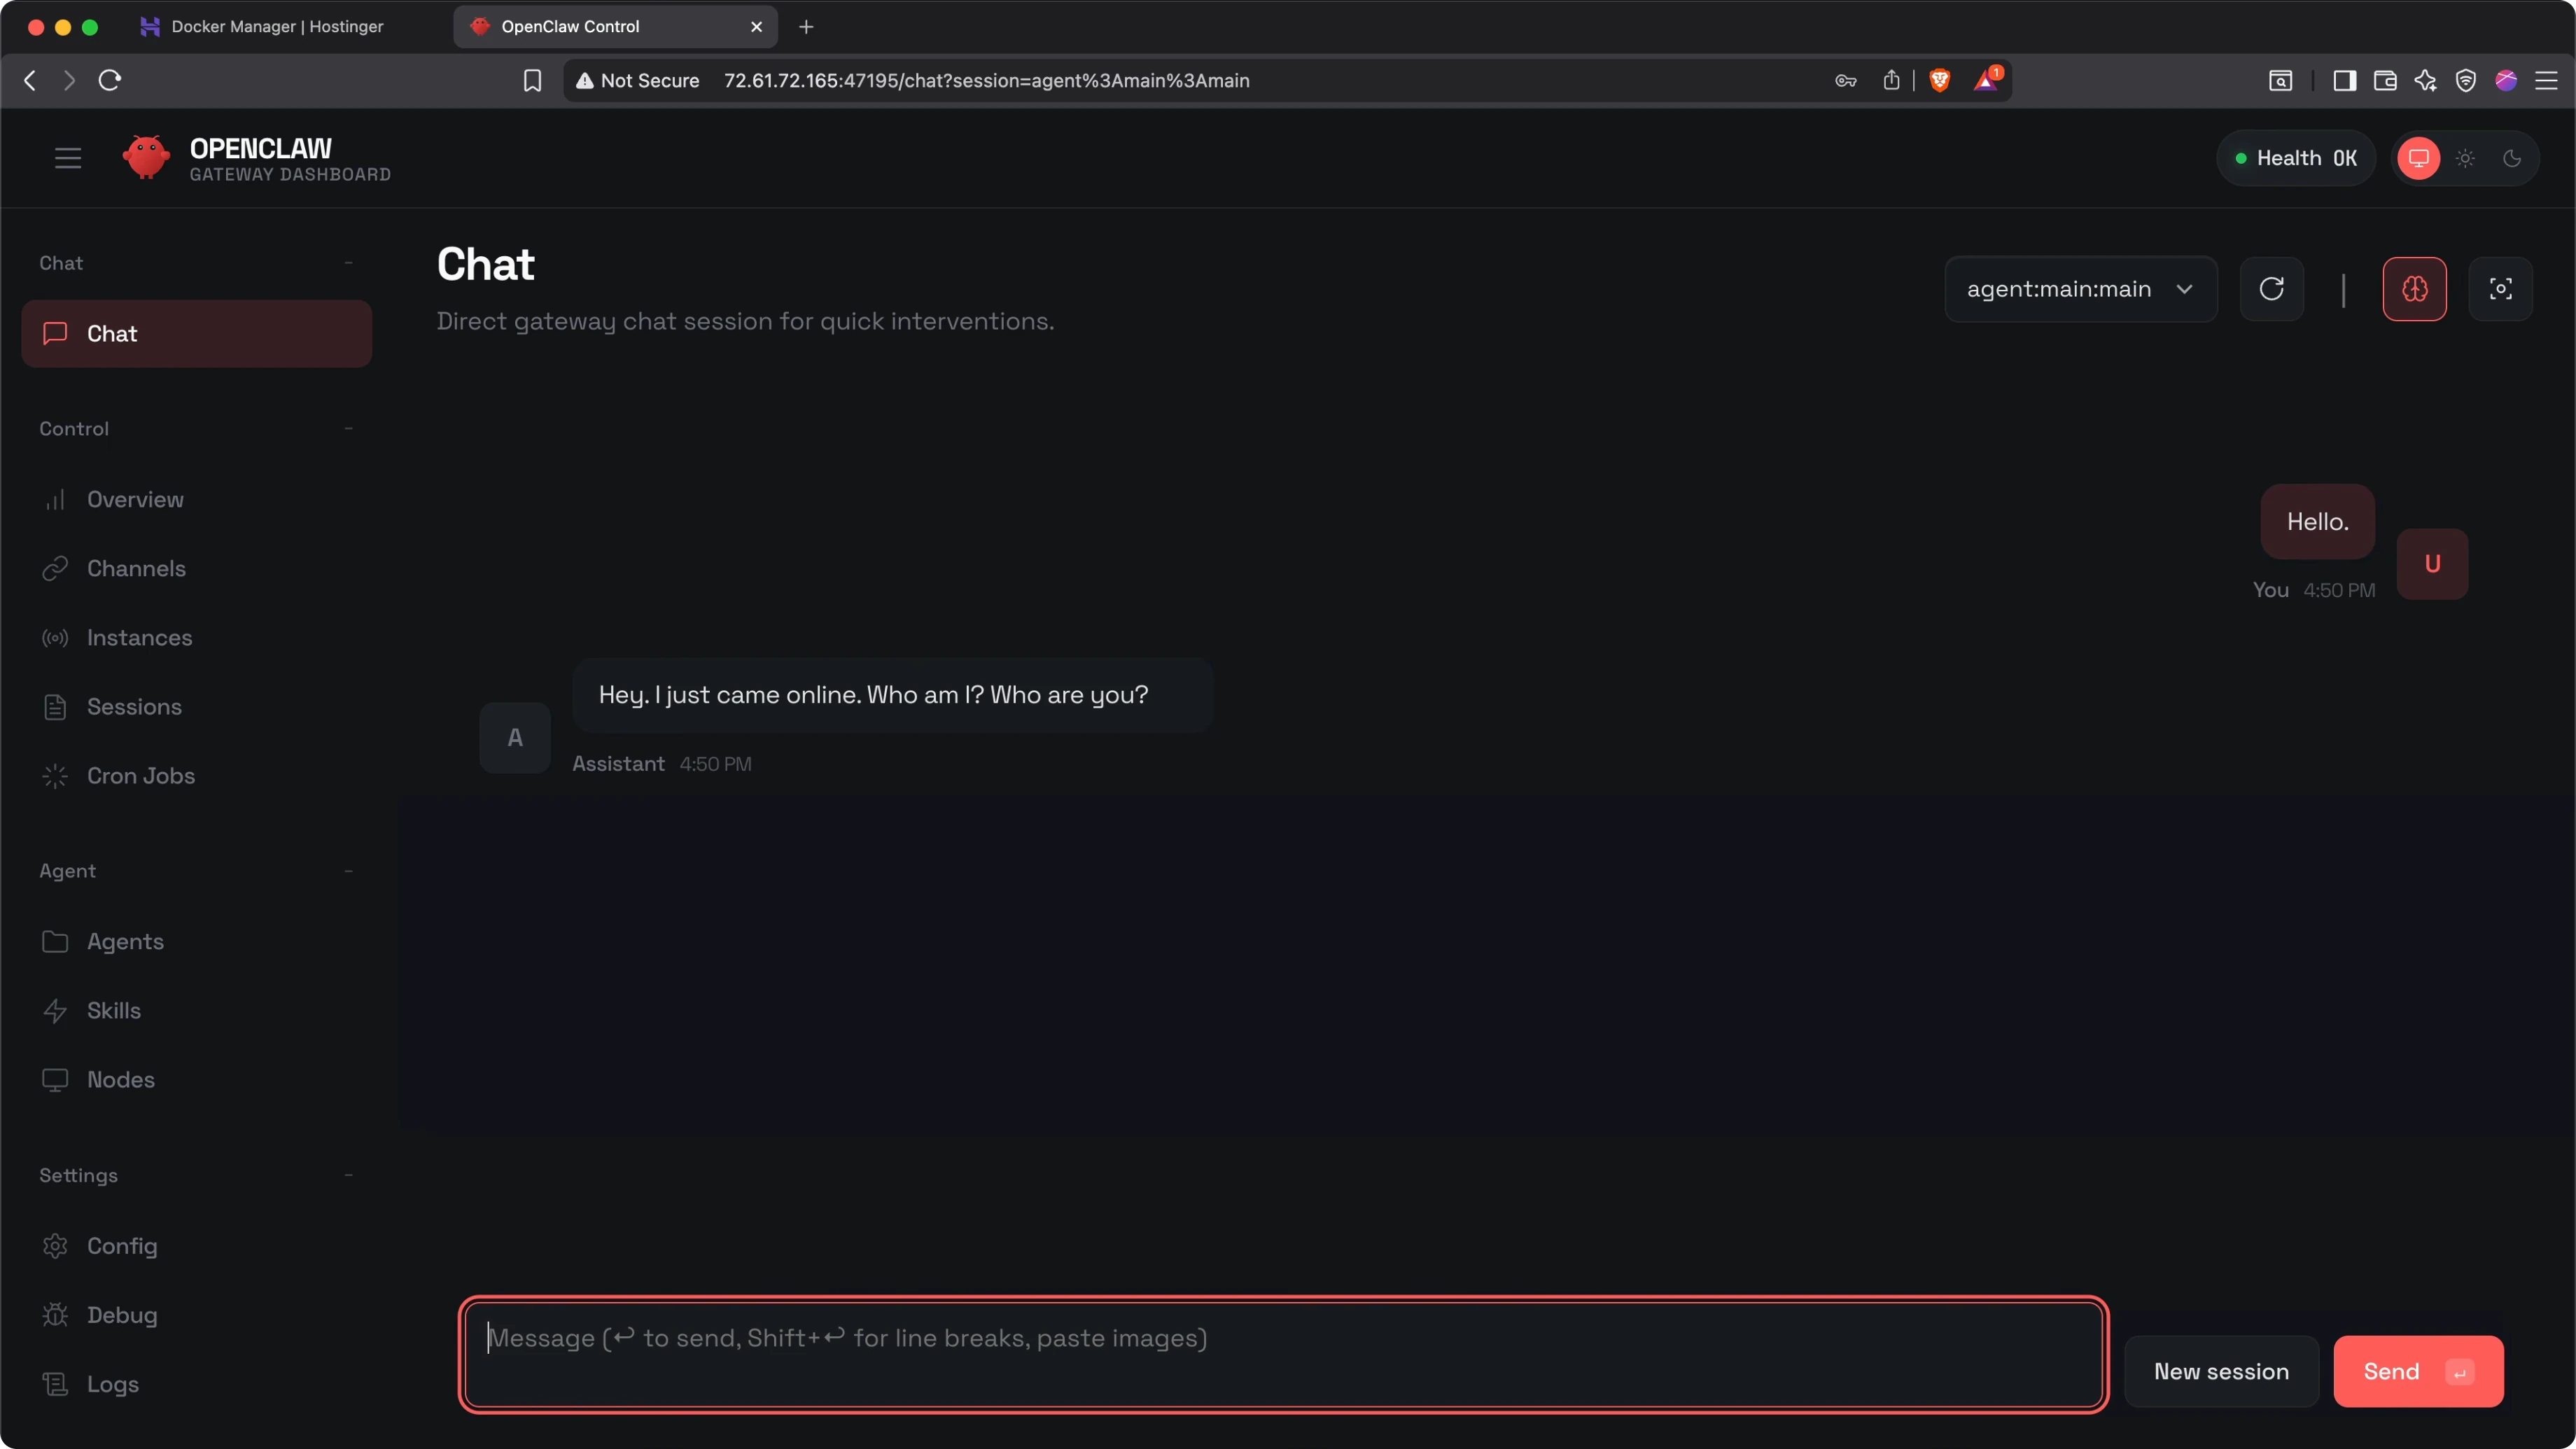
- Say hello in Chat.
- It will ask who it is and who you are. Give it a name.
- It will ask a series of questions to understand who you are, what kind of projects you work on, and what its role is. Follow the prompts and answer its questions.
- Example answer: you are my digital assistant, casual with me and professional with everyone else you interact with on my behalf.
- It will ask about what emoji it should represent itself with and your time zone. I said you pick the emoji and I'm in Central European time zone.
That configures the Identity docs or soul.md.
Connect a Messaging Channel
The cool thing about OpenClaw is that you can communicate with it from anywhere. Right now you're communicating with it in the chat on the web interface, but you can communicate in other apps like Telegram, WhatsApp, iMessage, Slack, Discord, and more. Here, I'm going to demonstrate how to connect it to Telegram.
Ask OpenClaw to Set Up Telegram
- In Chat, say: let's set up Telegram.
- You’ll be presented with instructions. The exact message might look a little different, but it will provide detailed steps to connect your preferred communication channel.
Create a Telegram Bot with BotFather
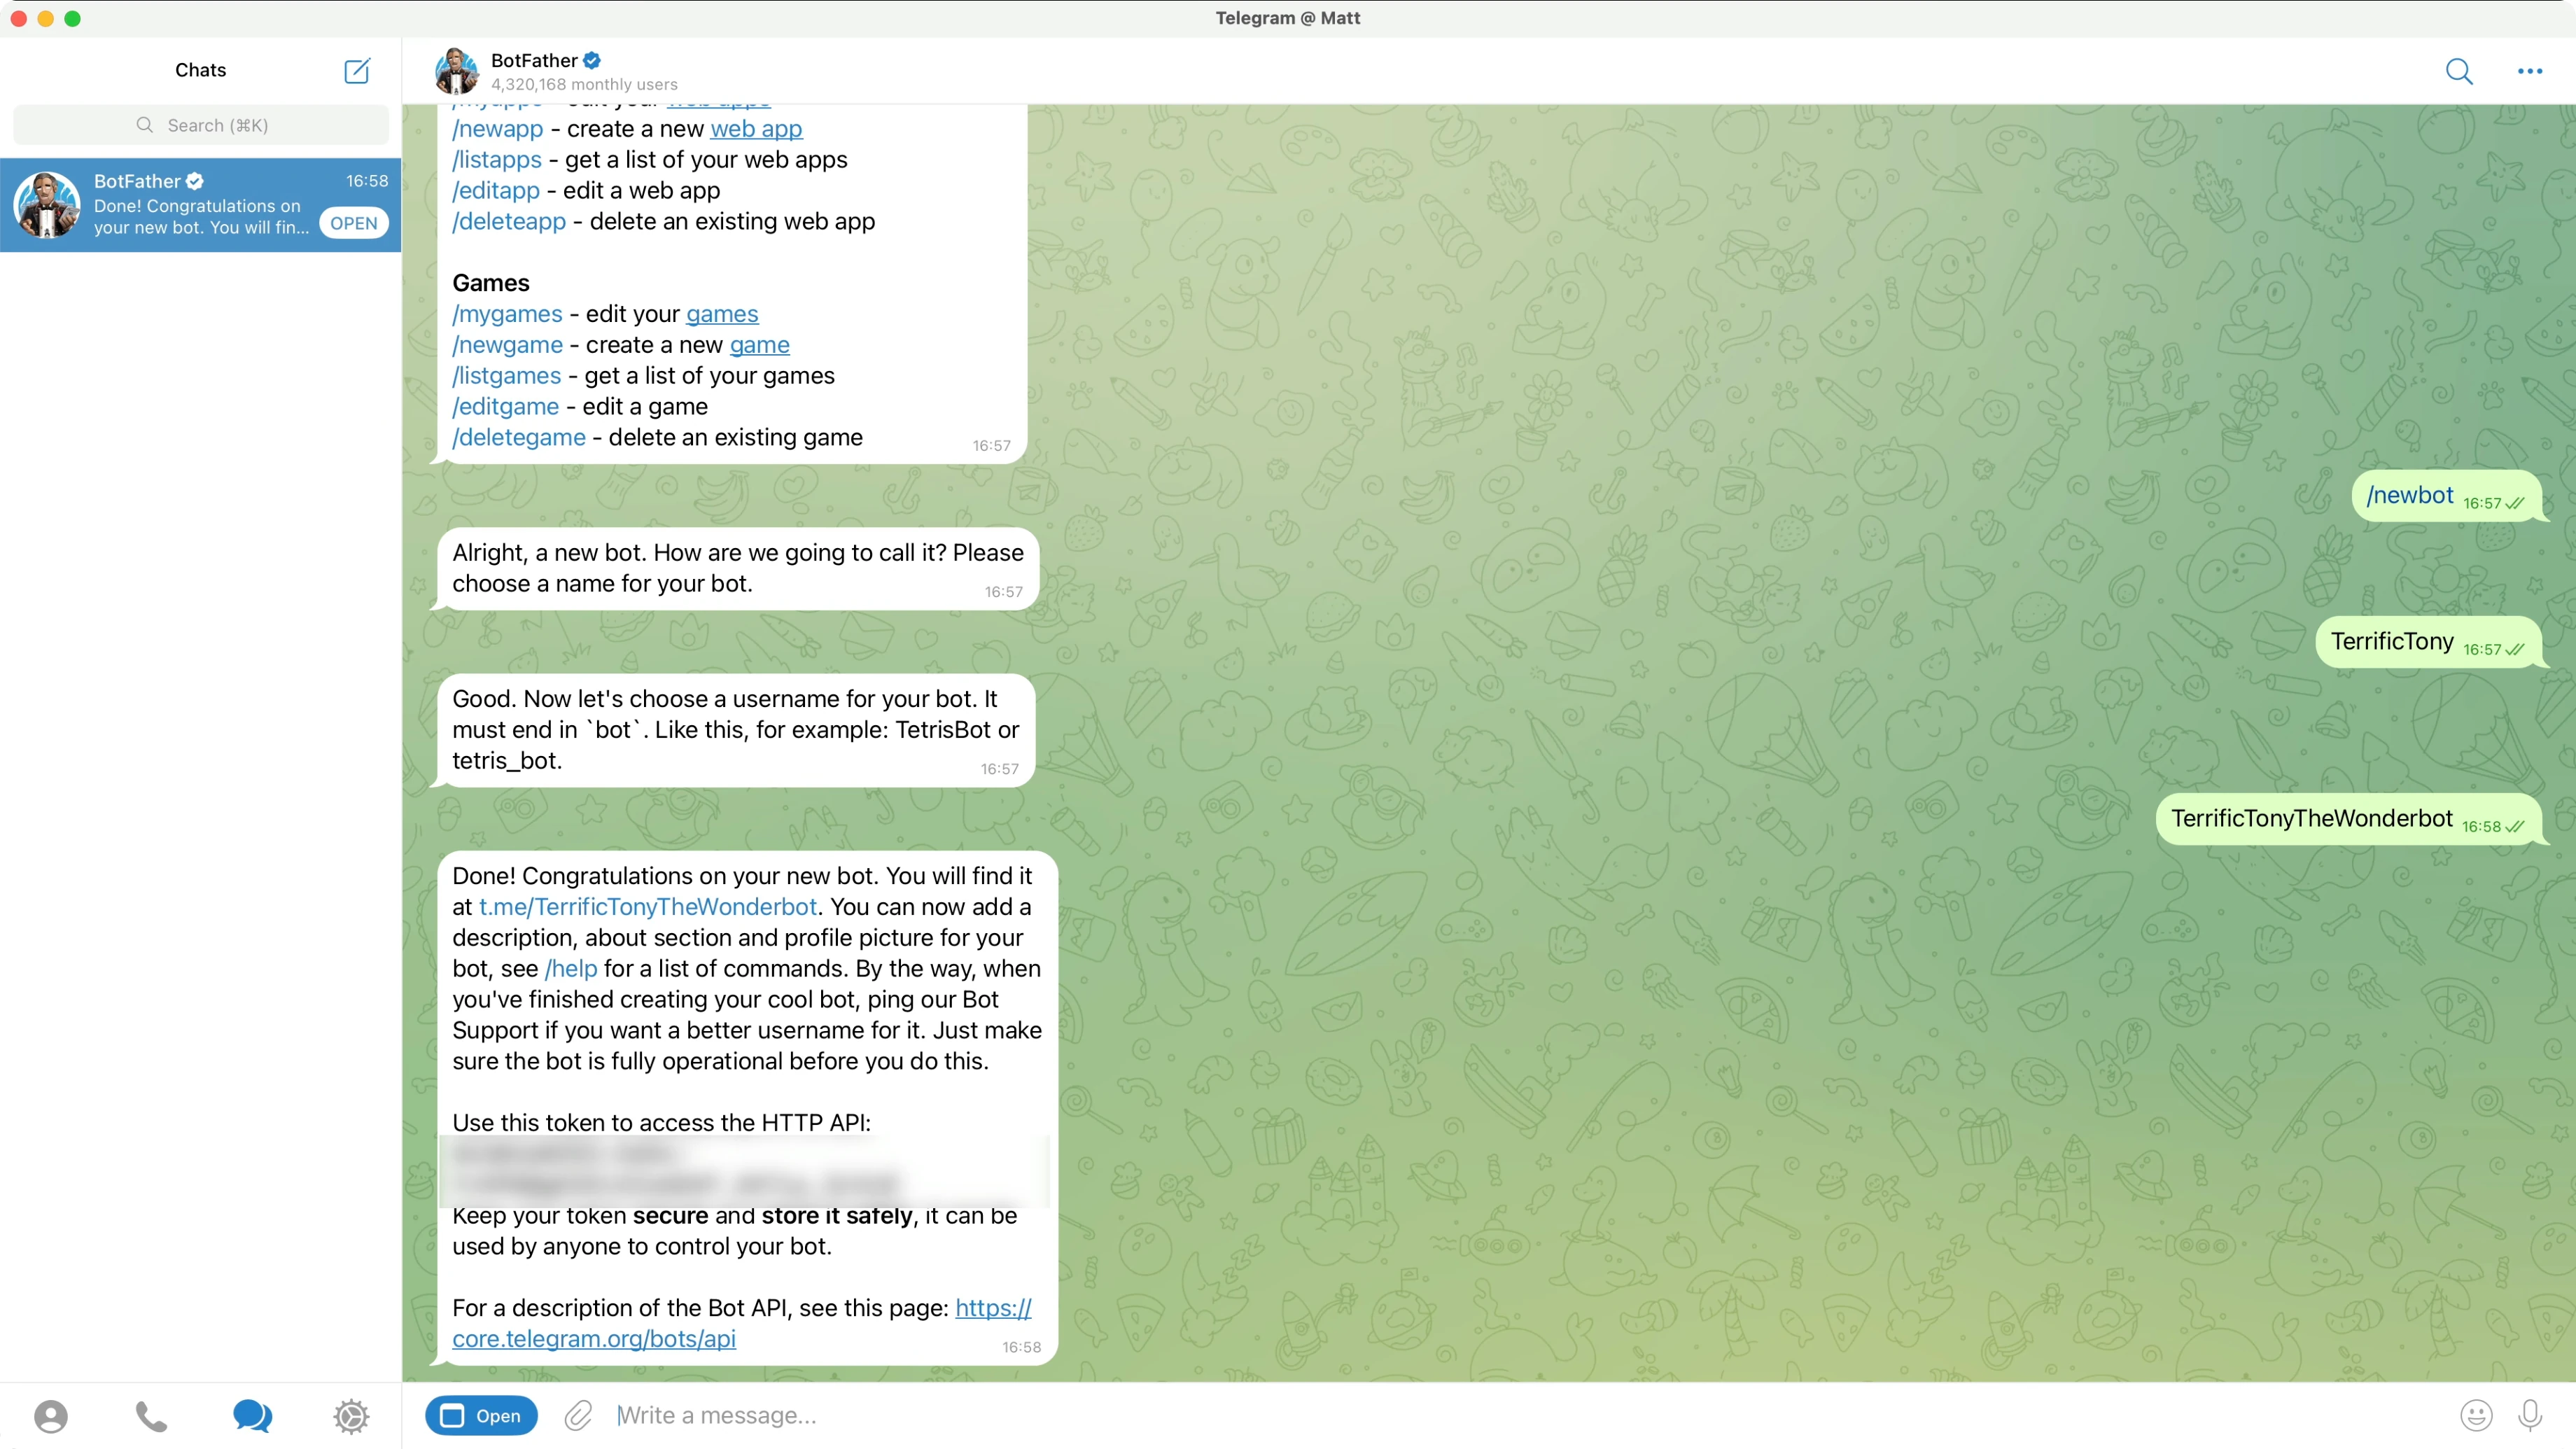
- Open Telegram and search for BotFather.
- Start a conversation and click the blue Start button.
- Use the new bot command:
- Type
/newbotor select it from the command list.
- Type
- Give your bot a name.
- Give it a username. The username must be unique in the Telegram ecosystem and must end with the word bot. I used Terrific Tony The Wonder Bot.
- BotFather will provide an API token. Copy this token.
Connect Telegram to OpenClaw
- Return to your OpenClaw chat and paste the Telegram API token when prompted.
- Treat this API key like a password and don't share it.
If you see a response that shows some code and then a blank reply, see the troubleshooting section below.
Troubleshooting Common Errors
Blank Responses
If you ever get a blank response from your assistant, this typically means you've hit your rate limit with your LLM. On tier one with Anthropic Claude, you're limited to 30,000 input tokens and 8,000 output tokens per minute.
Ways around this:
- Wait 1 to 2 minutes and then send another message.
- Start a new session so you're not sending the whole conversation to your LLM every time.
- Increase your rate limit by bumping up your tier. With Claude you can achieve that by funding at least $40 in credits, which moves you to tier two rate limits: 450,000 input tokens per minute and 90,000 output tokens per minute.
To avoid blank messages, I added $40 worth of credits to my Claude account so that we don't hit rate limits. If you don't want to add $40, just wait it out for a minute or two. After getting a blank message, simply follow up on your request. I asked if Telegram was connected and got a confirmation.
Test Your Telegram Bot
- In Telegram, begin a conversation with your new bot. You can use the link BotFather provided and click Start.
- Your bot will provide a pairing code.
- Copy the pairing code, return to OpenClaw, ask it to approve bot pairing, and provide that code.
- After a success message, you can message OpenClaw on Telegram. I sent my bot a message and got a message back.
Add Skills: Extending What It Can Do
Now that you've got your bot and a communication channel configured, the next thing most people want to do is configure some skills. Skills are essentially plugins or add-ons that you can give to your bot to teach it how to do new things.
- Visit the official Claw Hub to see the skills list, or simply ask your bot for a skills list.
- I asked: what skills can we add? It provided a list of popular skills, including calendar, email, and smart home skills.
- Setting up each skill is a little bit different, but you can simply ask it to install a skill and it will walk you through all the steps.
- Example: I know that the GOG skill is the Google workspace, so I said: install GOG Google Workspace Skill. It provided a list of instructions.
- Follow the instructions it provides, and if you get lost, ask follow-up questions. Your new assistant is here to help you.
Restore From a Backup
Since OpenClaw is capable of changing its own configuration, there is a possibility that something goes wrong and it breaks. If you ever need to roll back to a previous version:
- Return to your hosting or dashboard.
- In the VPS manager, click Backups and monitoring, then Snapshots and backups.
- Review previous backups and snapshots and choose the version you'd like to restore from.
Start From Scratch
If you want to start from scratch and reconfigure OpenClaw from the beginning:
- Go to Docker Manager.
- Click Projects.
- Click the three dots next to your OpenClaw instance, then click Delete.
- Click Delete project.
- Go to Catalogue, search for OpenClaw, and deploy the template.
- You’ll get the same onboarding flow you saw at the beginning.
Final Thoughts
You now have a complete workflow for deploying OpenClaw on a Hostinger VPS: set up the server with backups, add your preferred LLM API key, deploy, access the dashboard with your gateway token, complete the identity onboarding, connect Telegram, and extend capabilities with skills. Keep an eye on LLM rate limits to avoid blank responses, and use snapshots or a fresh deploy if you need to roll back or start over.
Subscribe to our newsletter
Get the latest updates and articles directly in your inbox.

Related Posts

8 Best Claude Code Plugins in 2026 (You Need to Know)
8 Best Claude Code Plugins in 2026 (You Need to Know)

7 Best Claude Code Skills (You Need to Know)
7 Best Claude Code Skills (You Need to Know)

Claude Code Desktop IDE Features (You Need to Know)
Claude Code Desktop IDE Features (You Need to Know)